Interior Strip Out and Preparation.
- Sep 5th. 2012
- By mapw
In preparation for the roll cage fitting, the interior was stripped out to allow removal of the curtain airbags, and for the Recaro Pole Position Front Seats to be fitted.
So to get started the rear side boot trim panels, and quarter panels have been removed. Upon removal a huge amount of Dynamat sound deadening material was found. Adding extra unnecessary weight it all had to go:
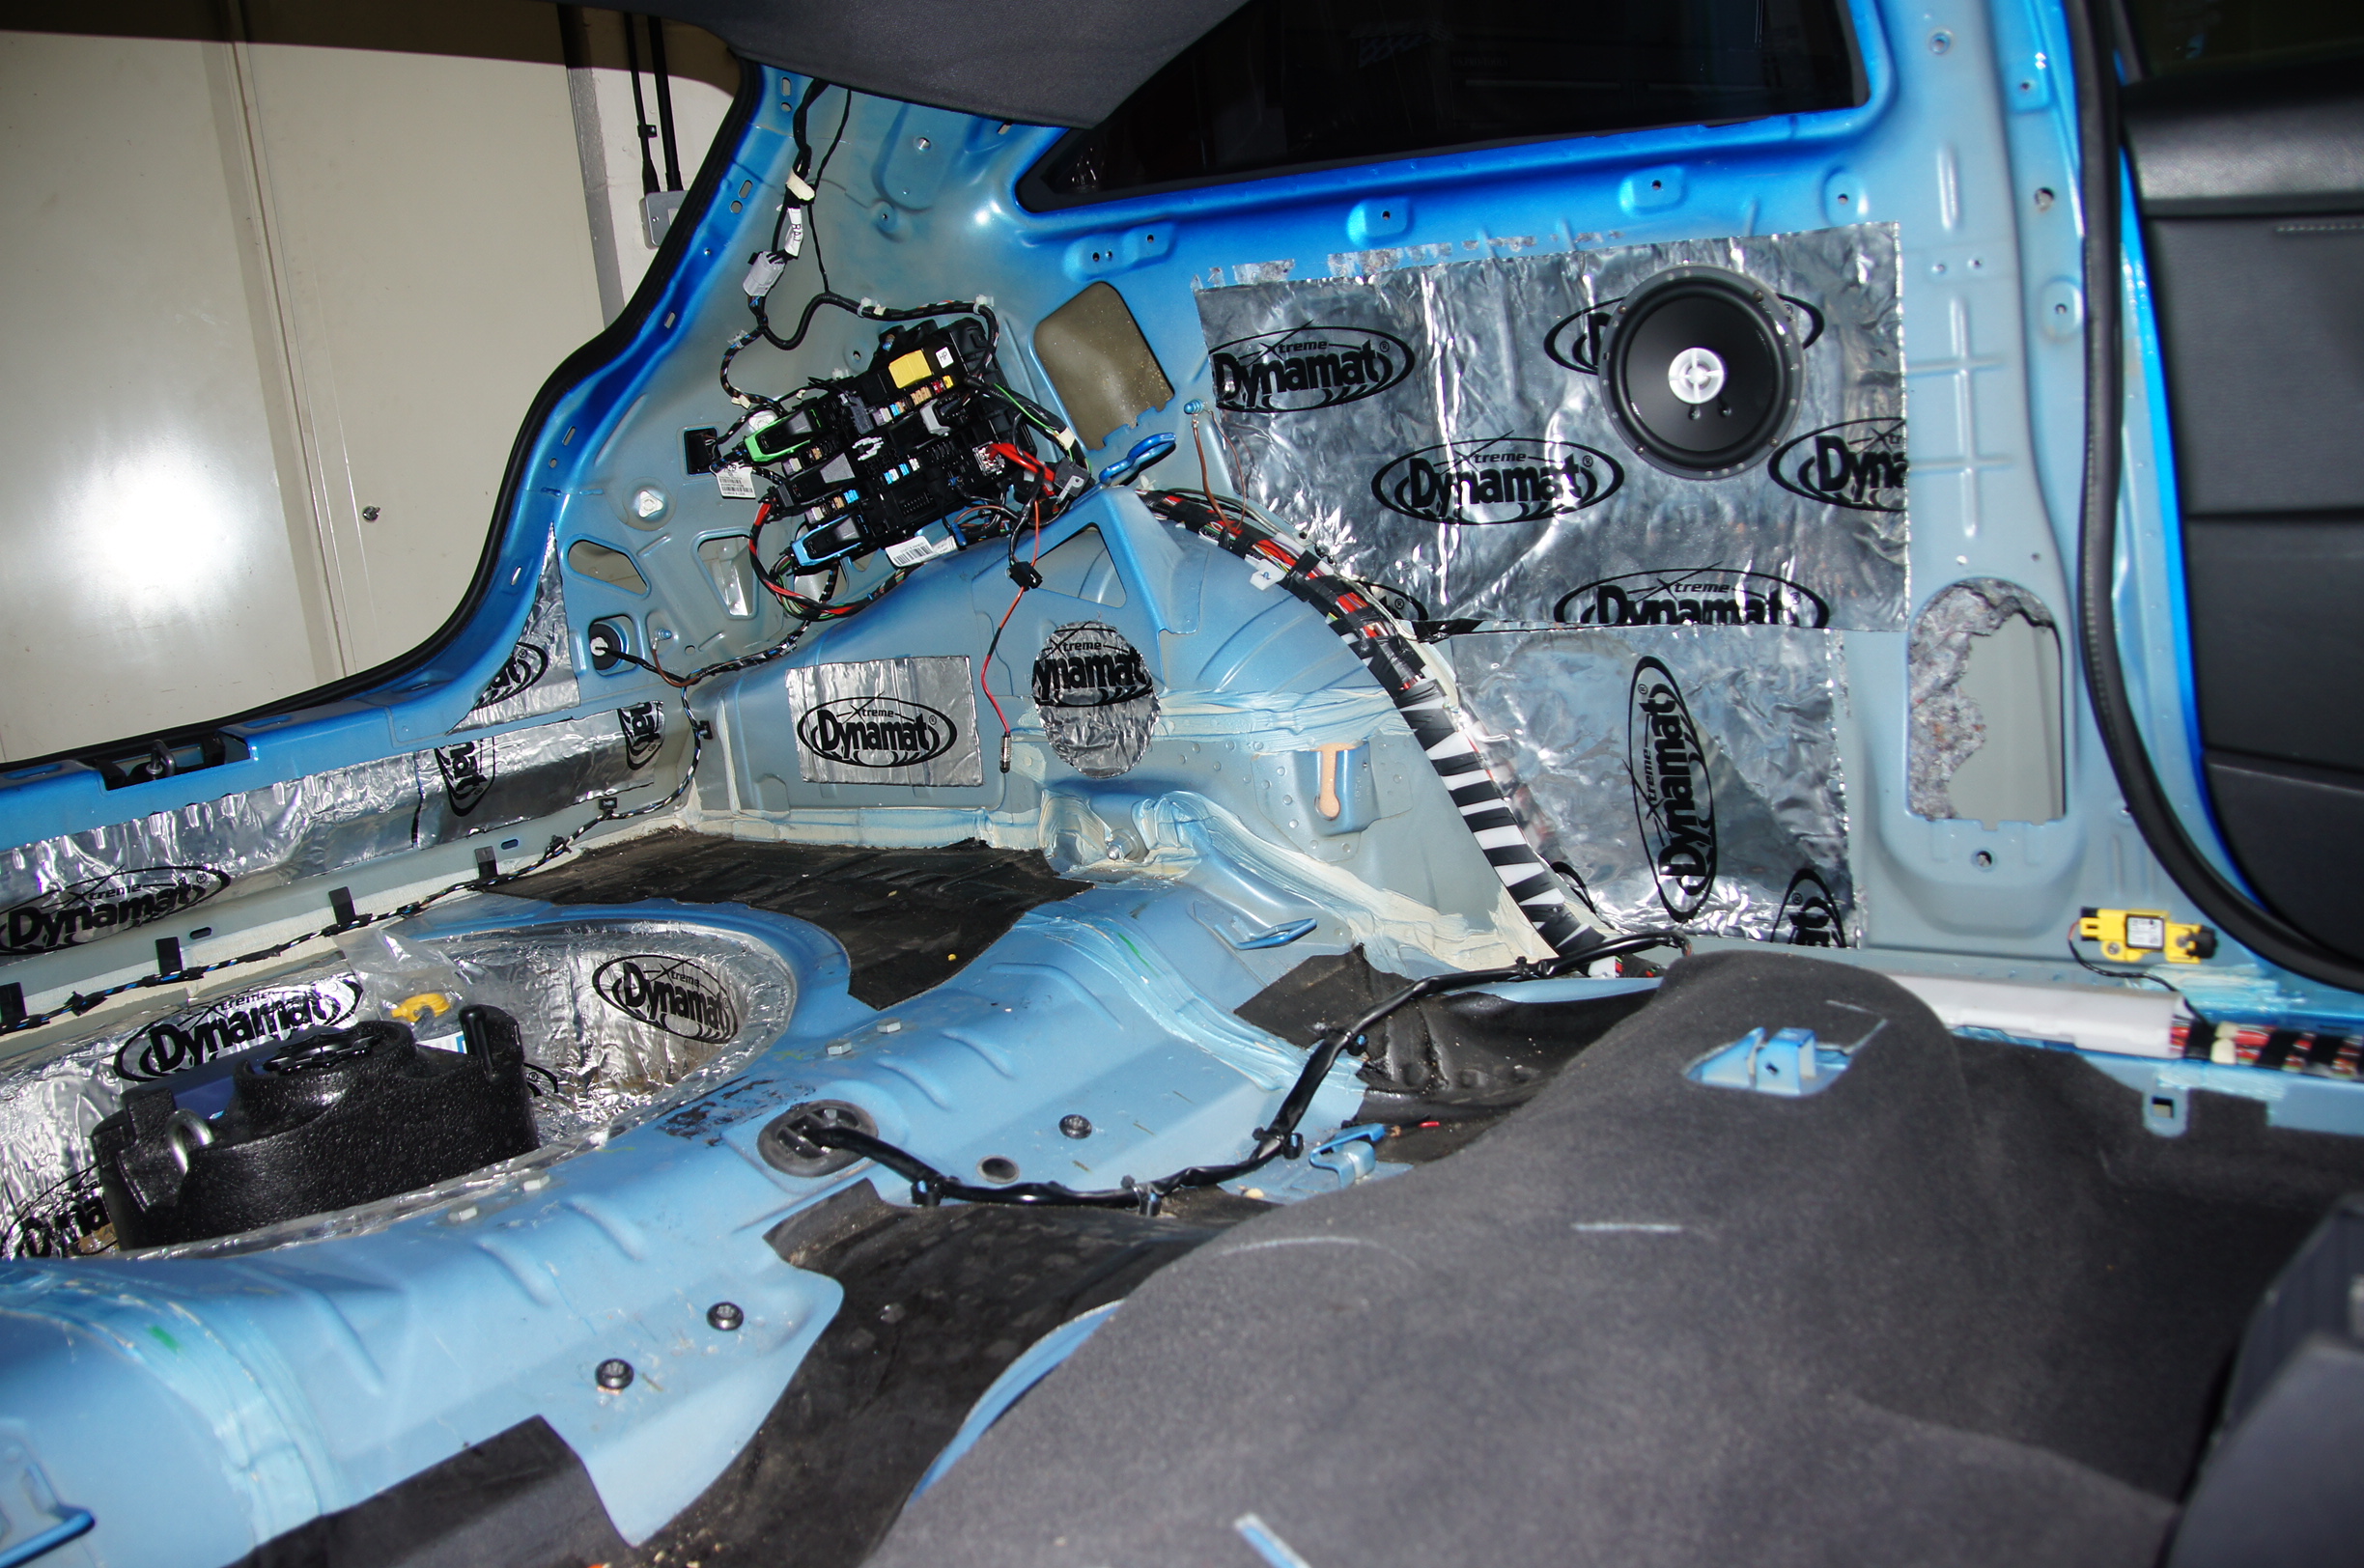
Interior Preparation
Several hours with a heat gun and scraper (and some sore fingers and blisters) later:

Interior Preparation
It started to get cleared out:
Interior Preparation
Interior Preparation
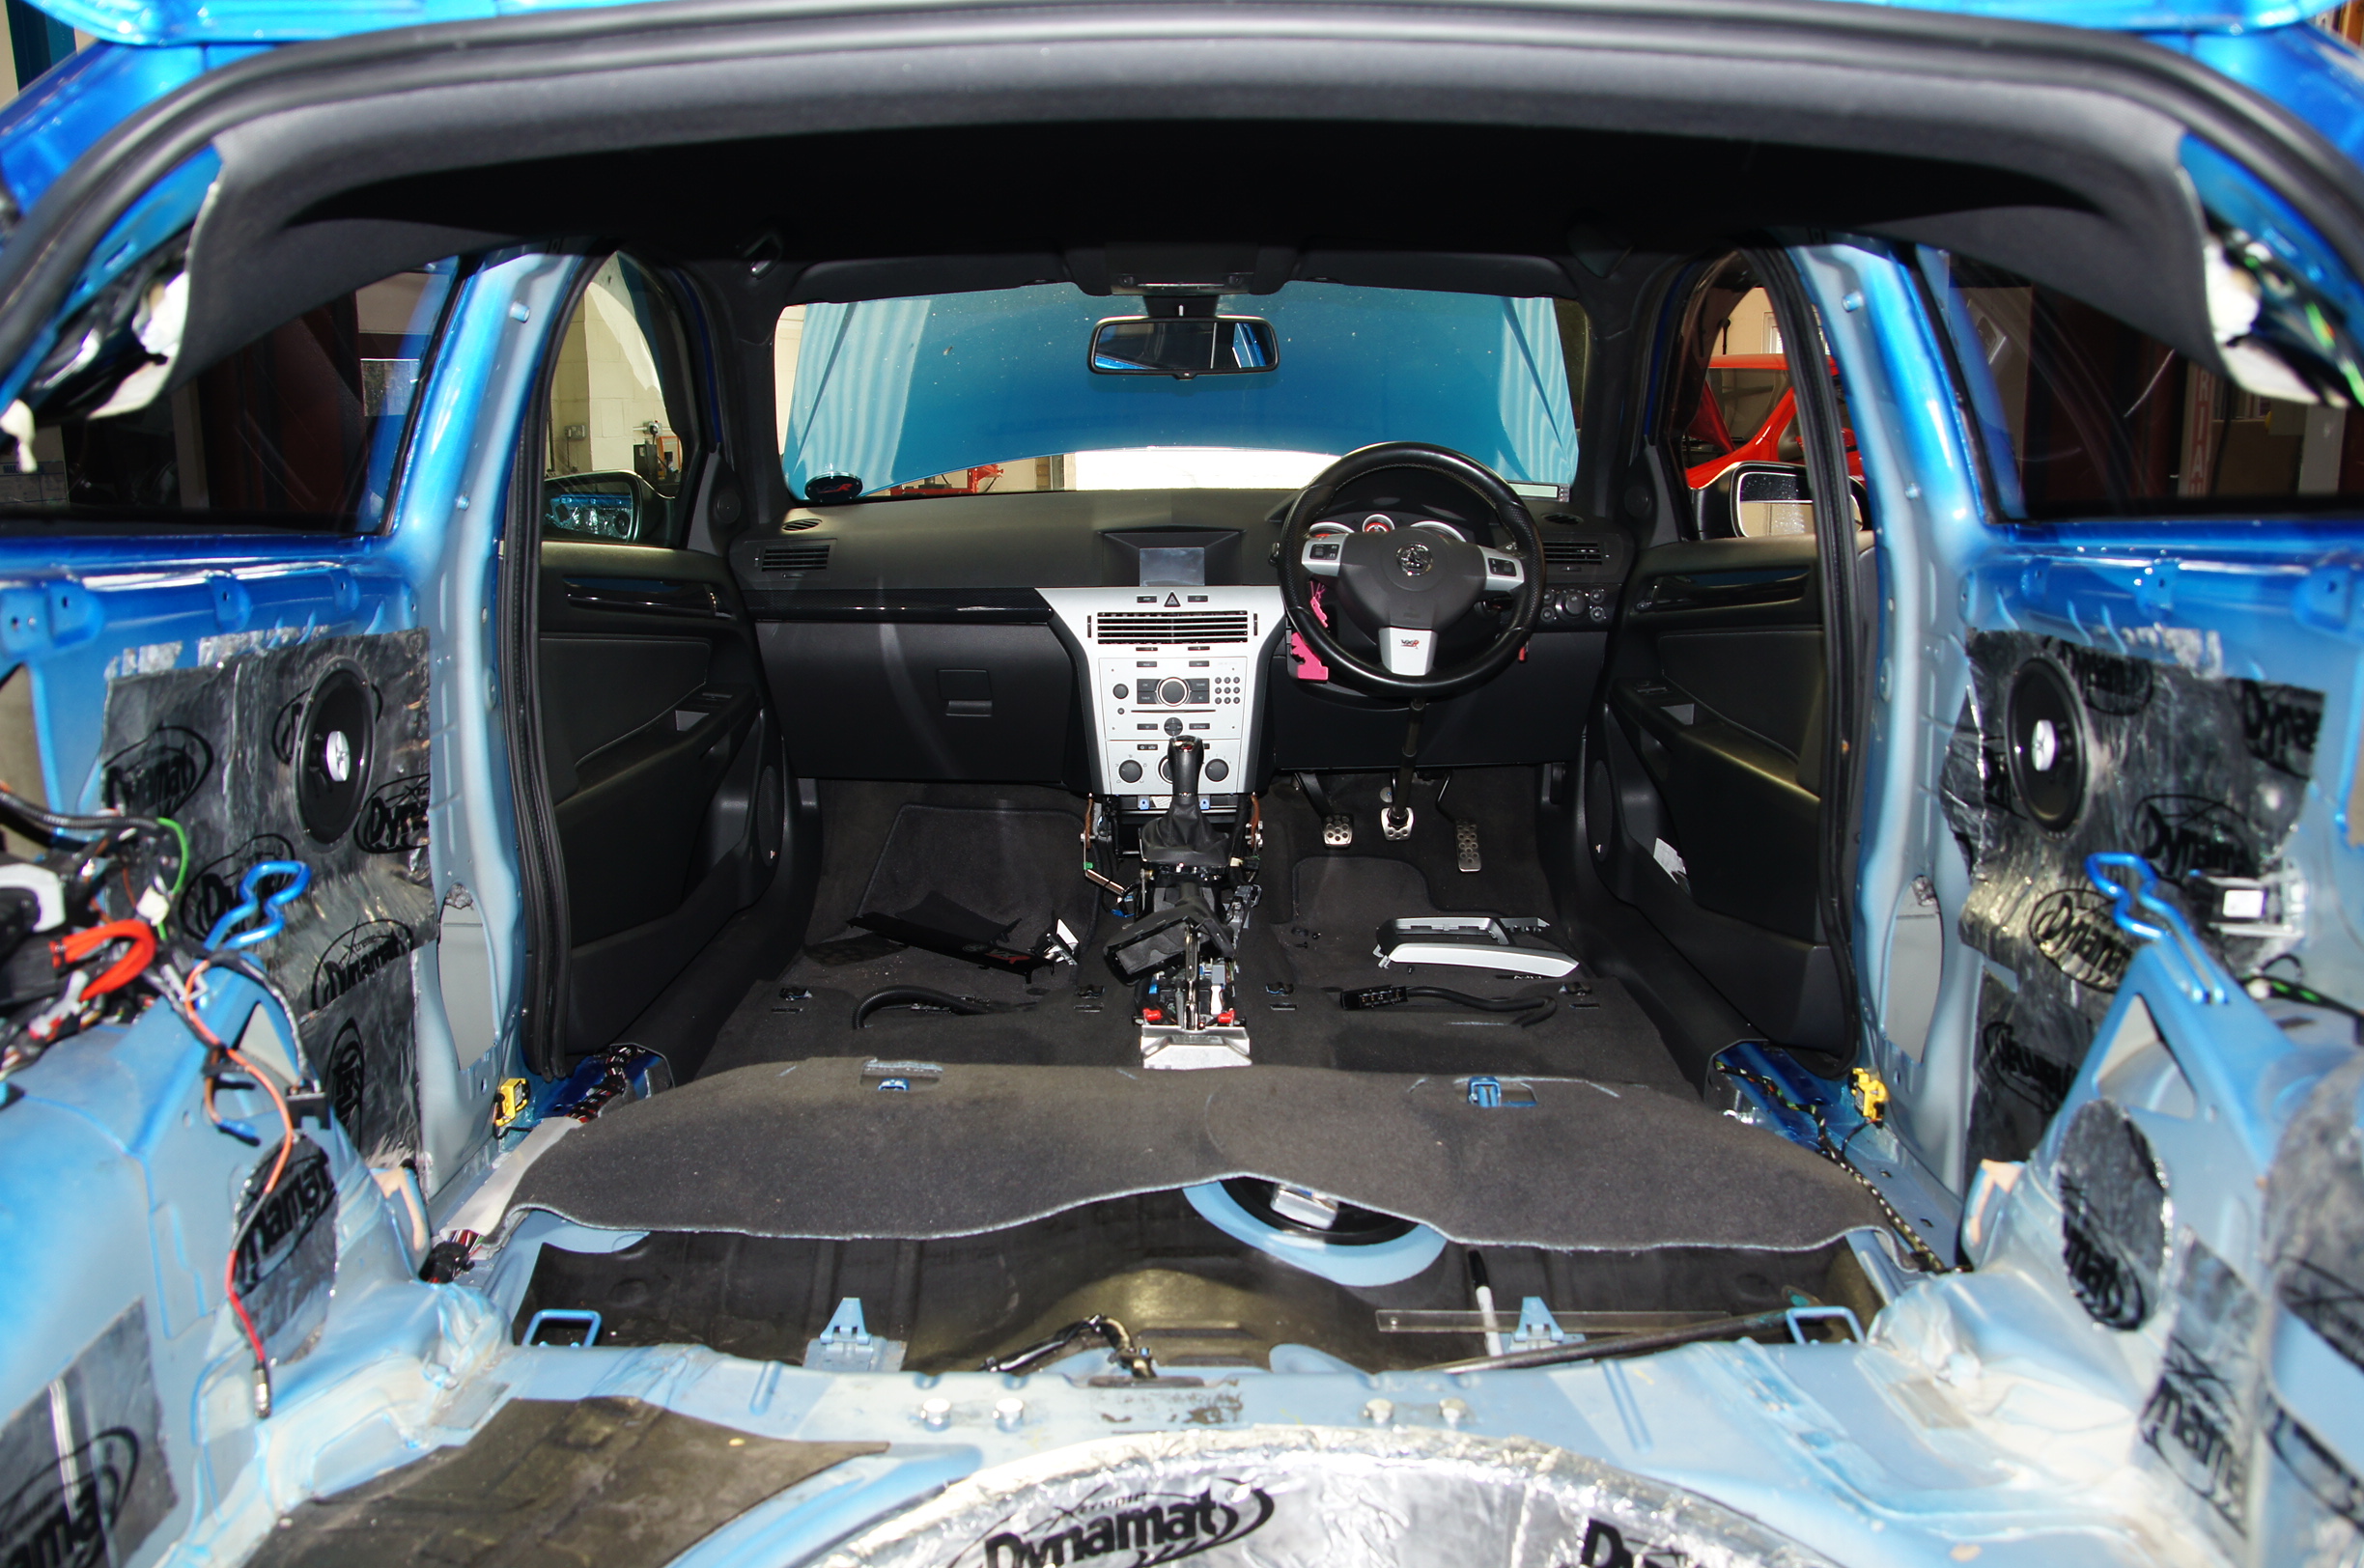
Looking much better (and lighter!) now:

Interior Preparation
The head lining had to be dropped down to remove the curtain airbags and guess what? More Dynamat was revealed. So once the curtain airbags had been unplugged and removed it was onto the dynamat:
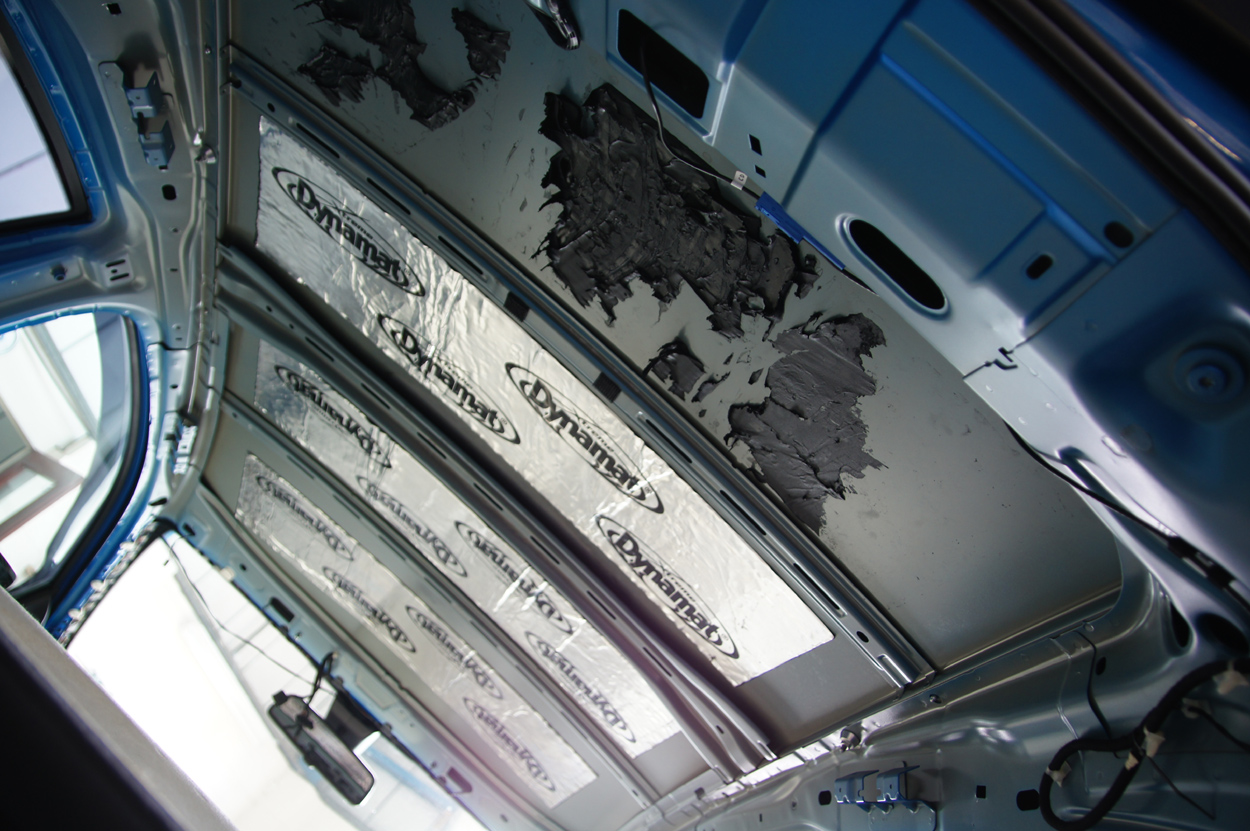
Dynamat Removal
Removed after several hours of hard work:
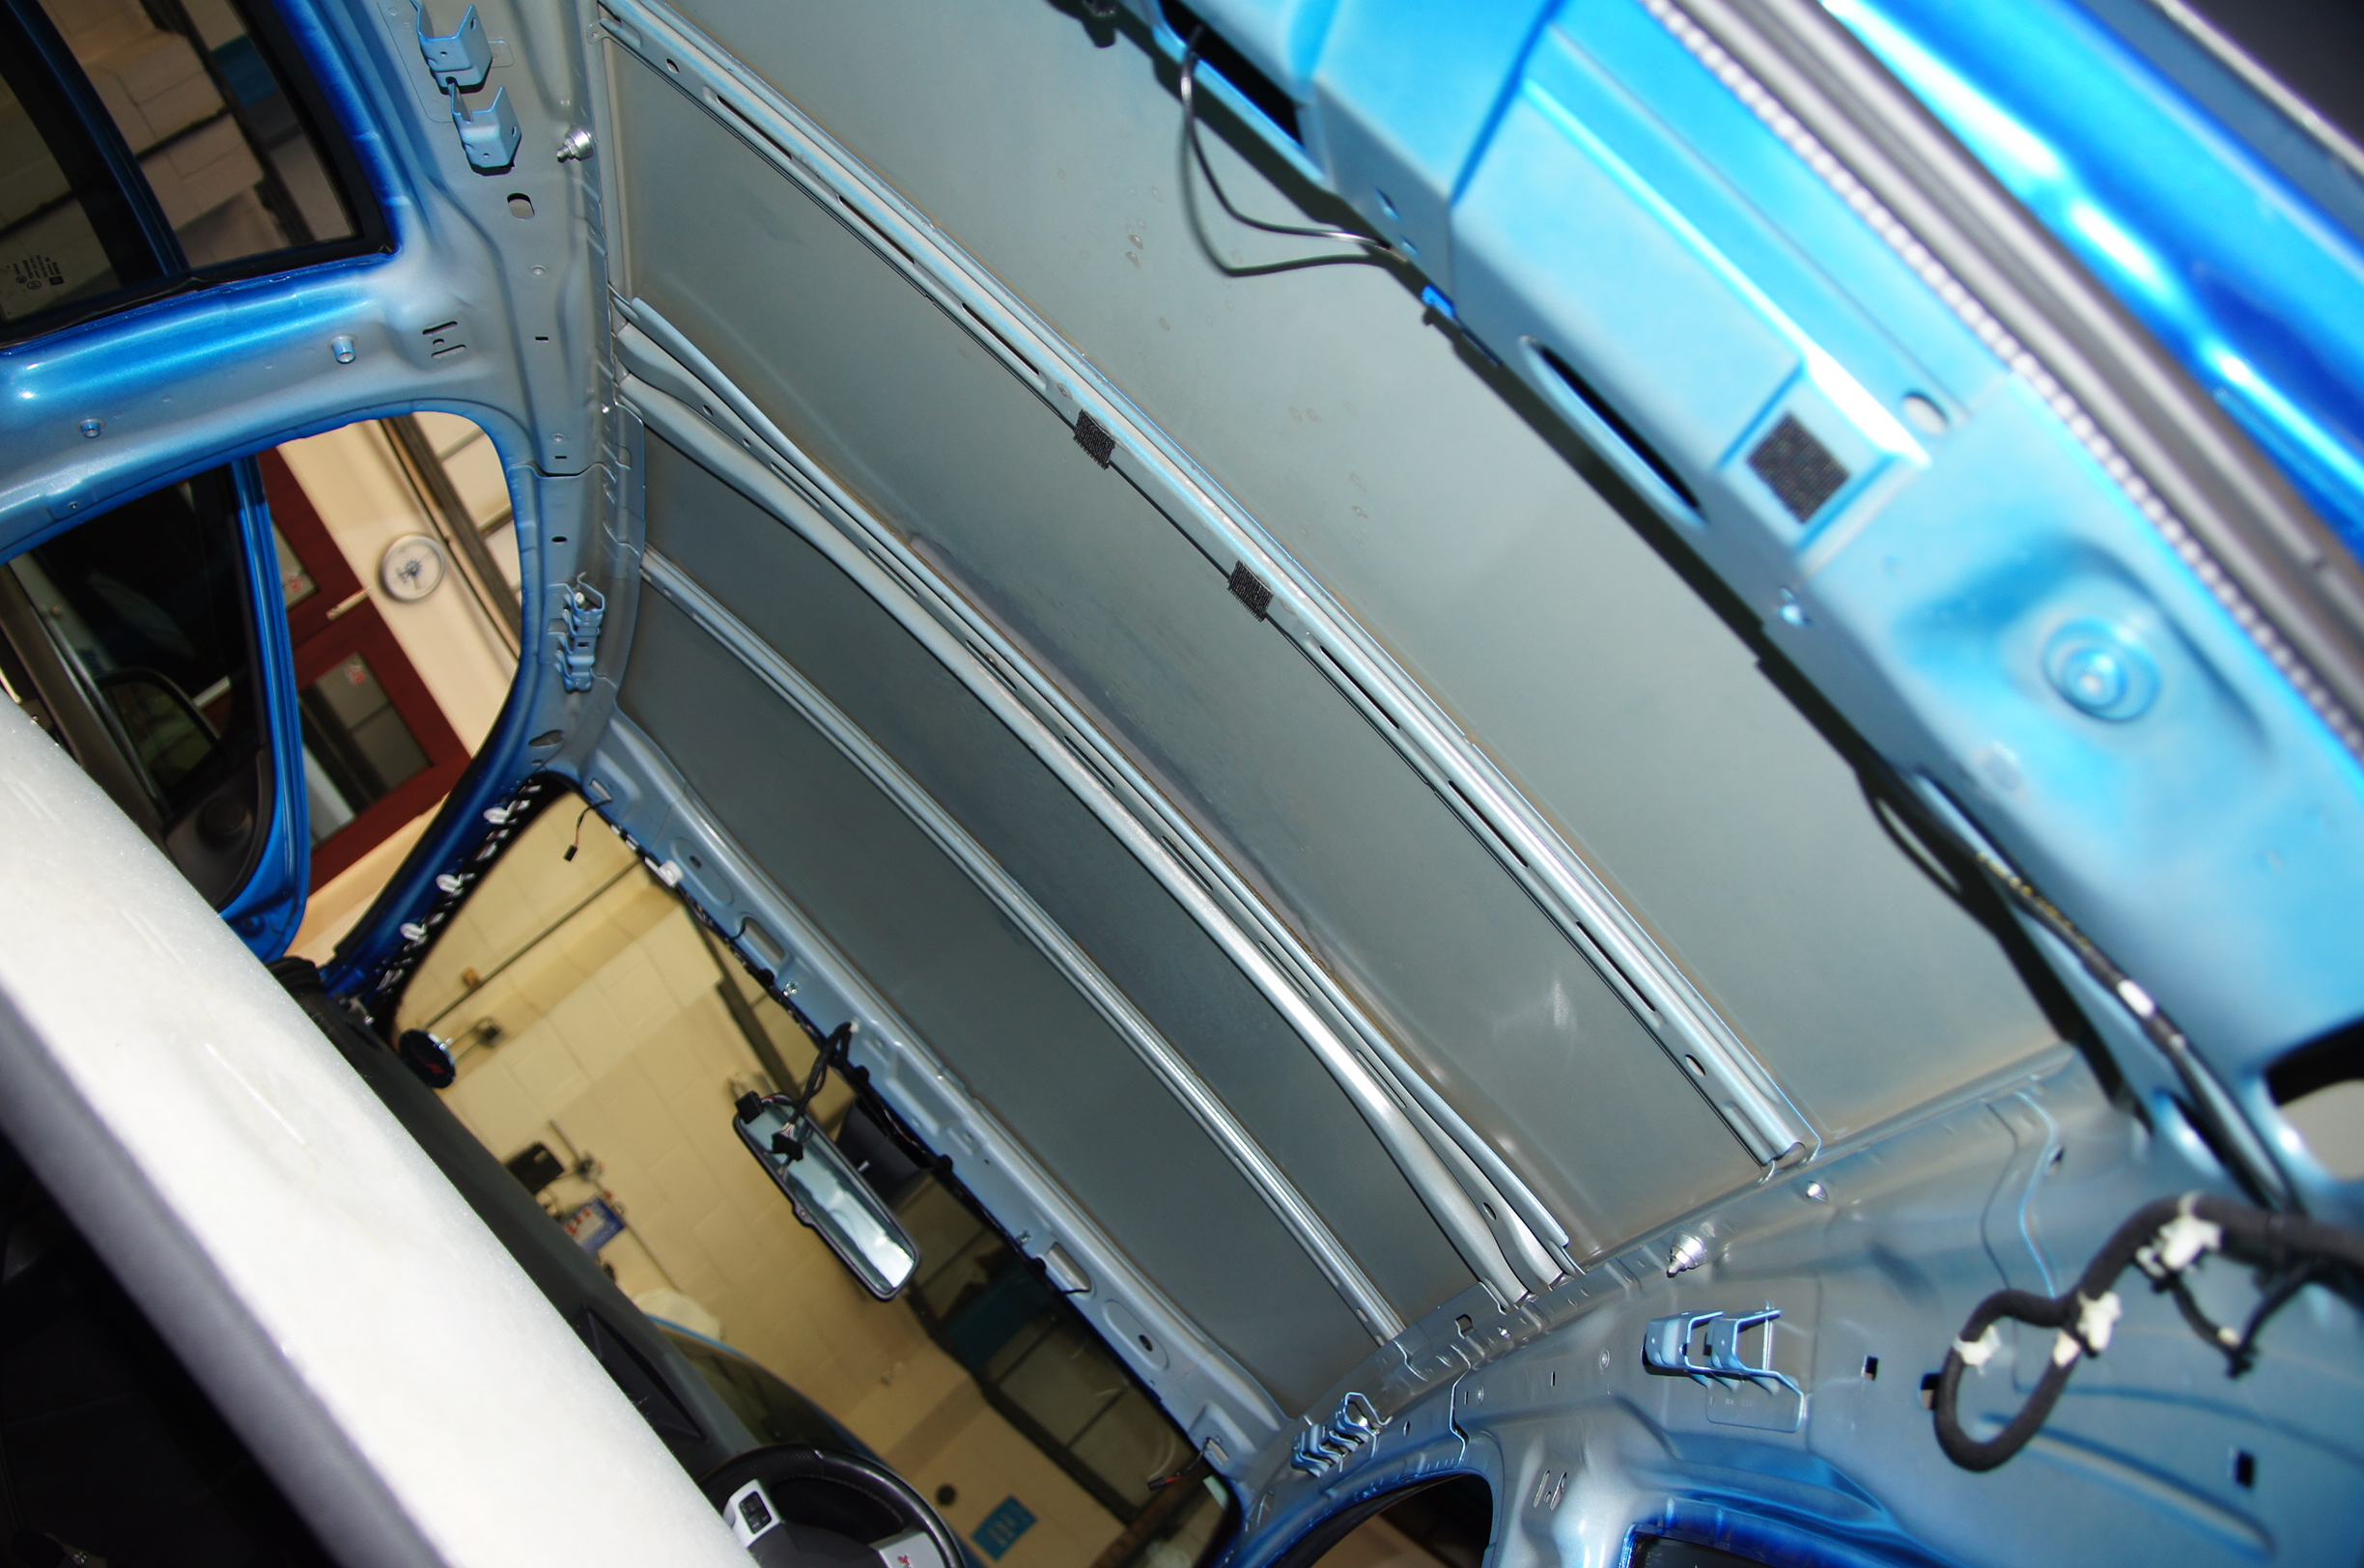
Dynamat Removed from Roof
And then the headlining could go back in:

Headlining Refitted
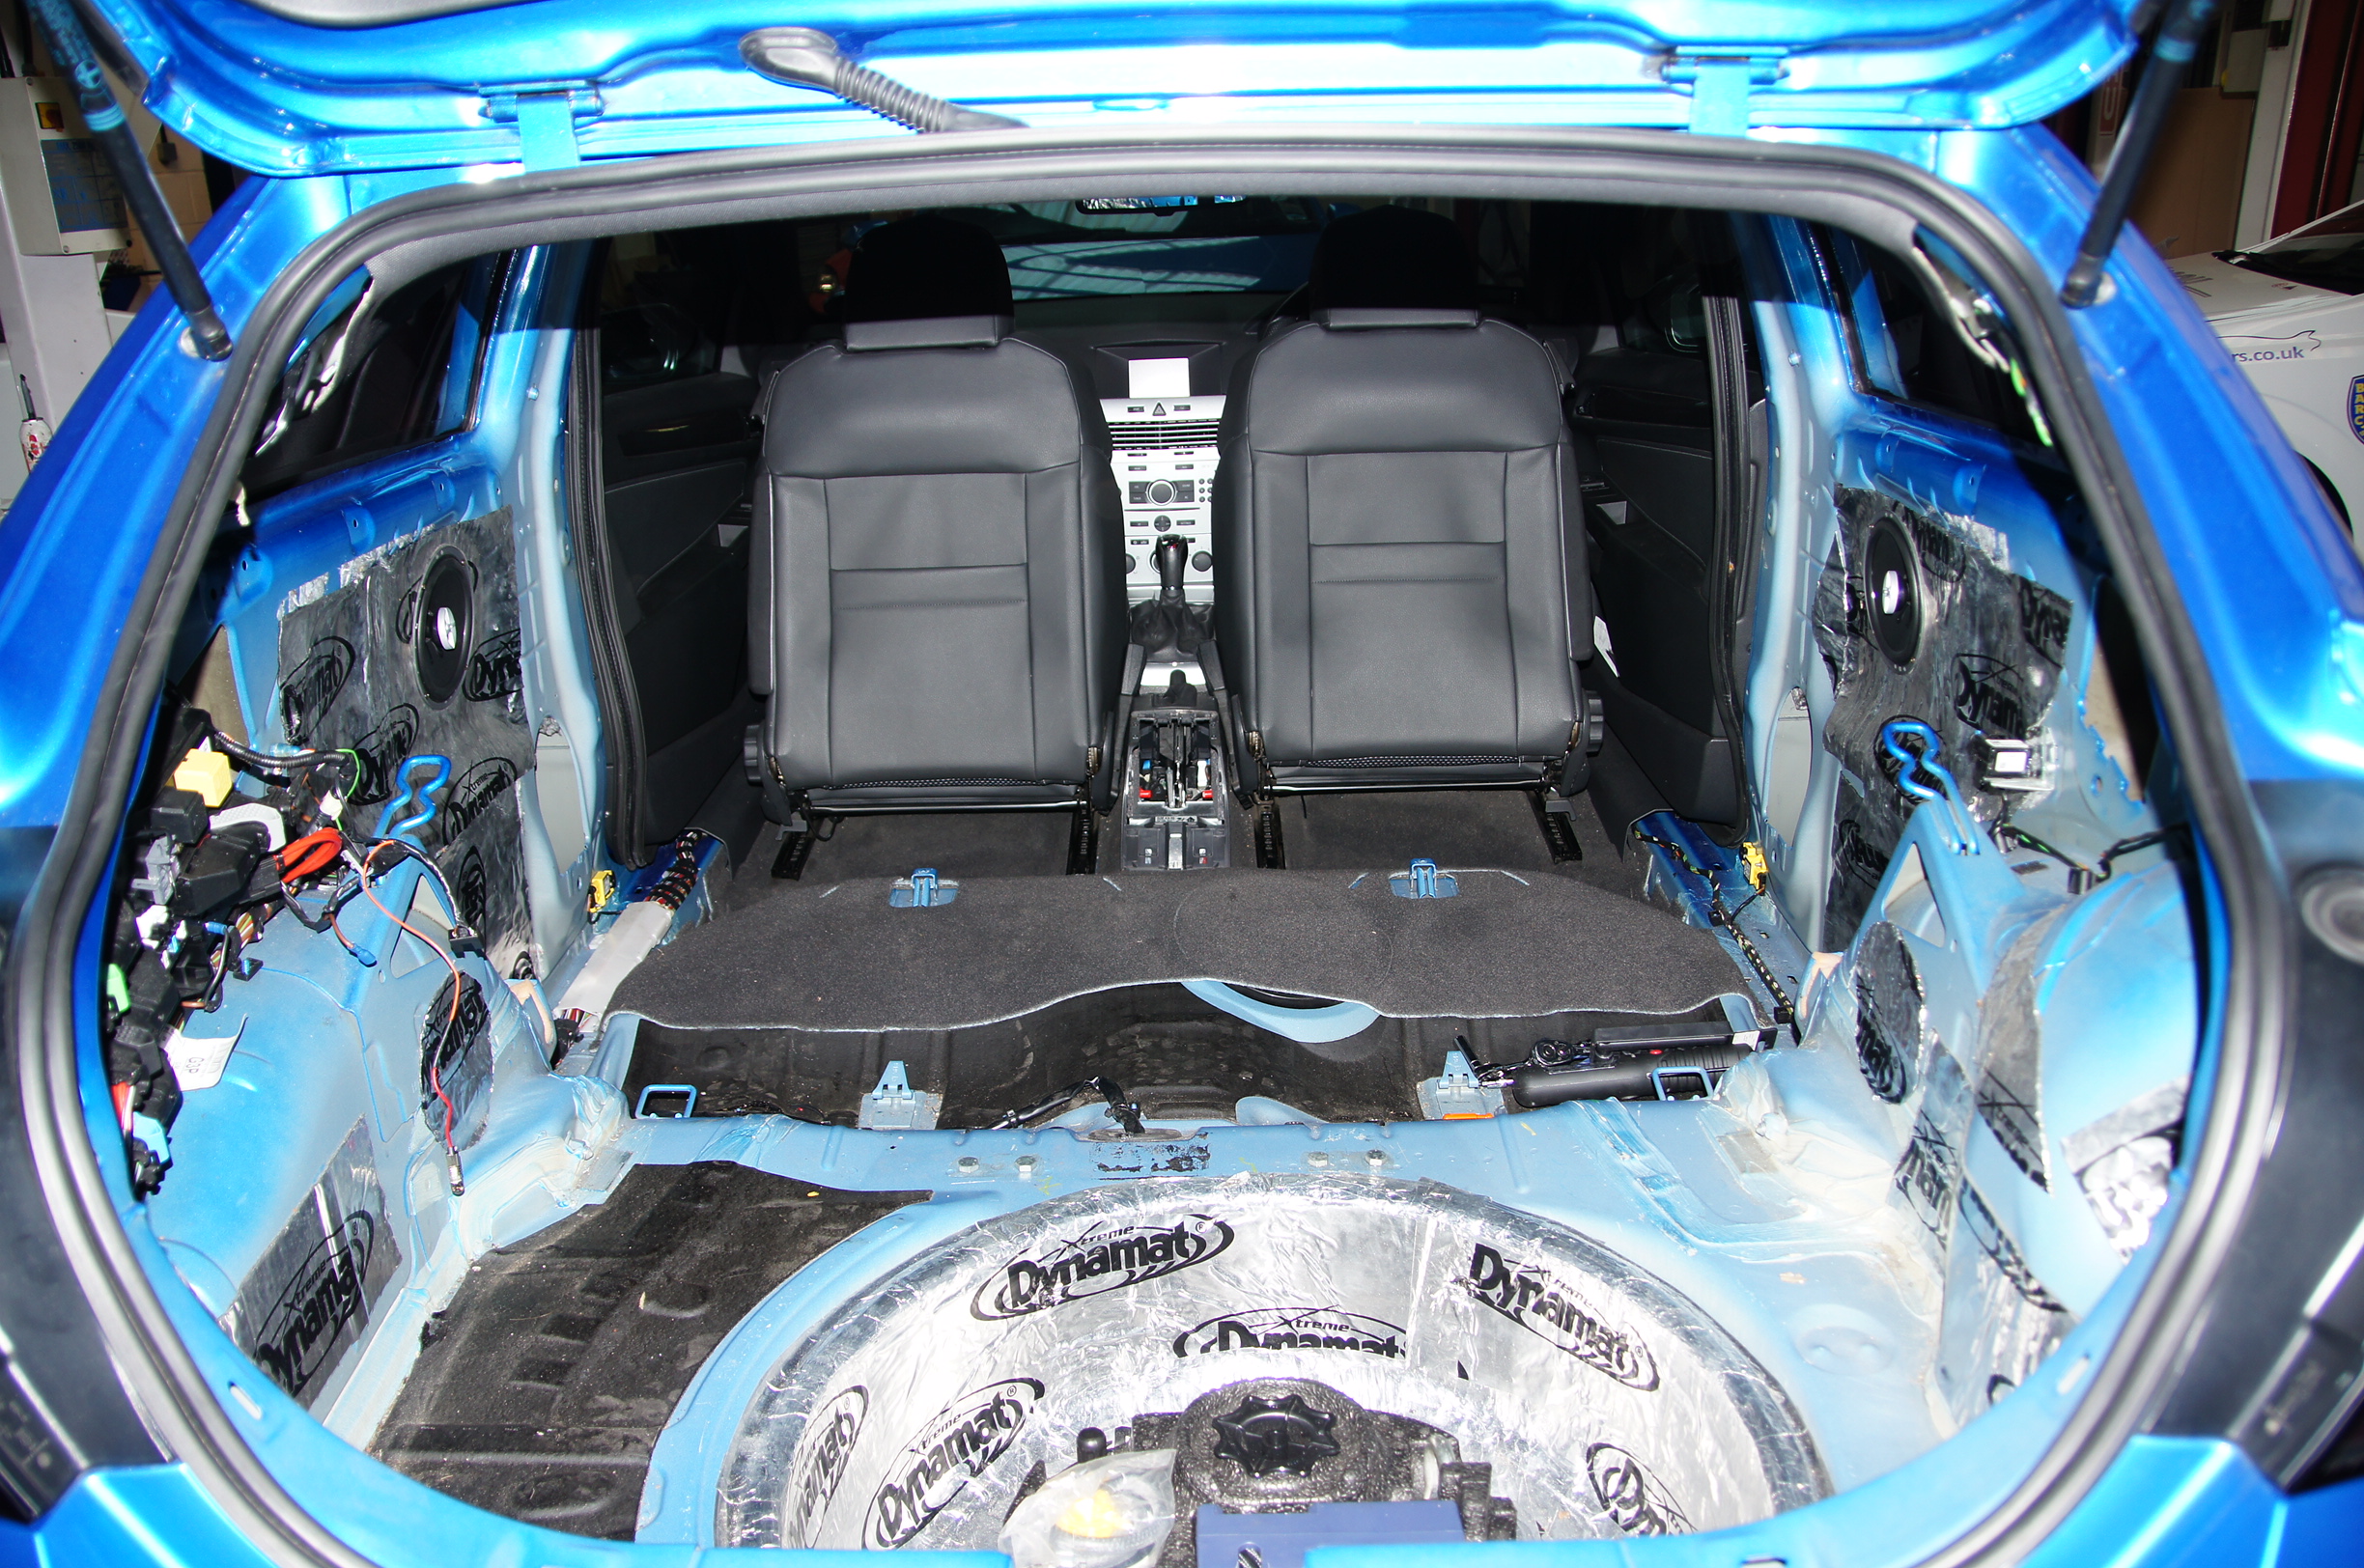
Interior trim going back in (to prevent the car from looking ‘half finished’):
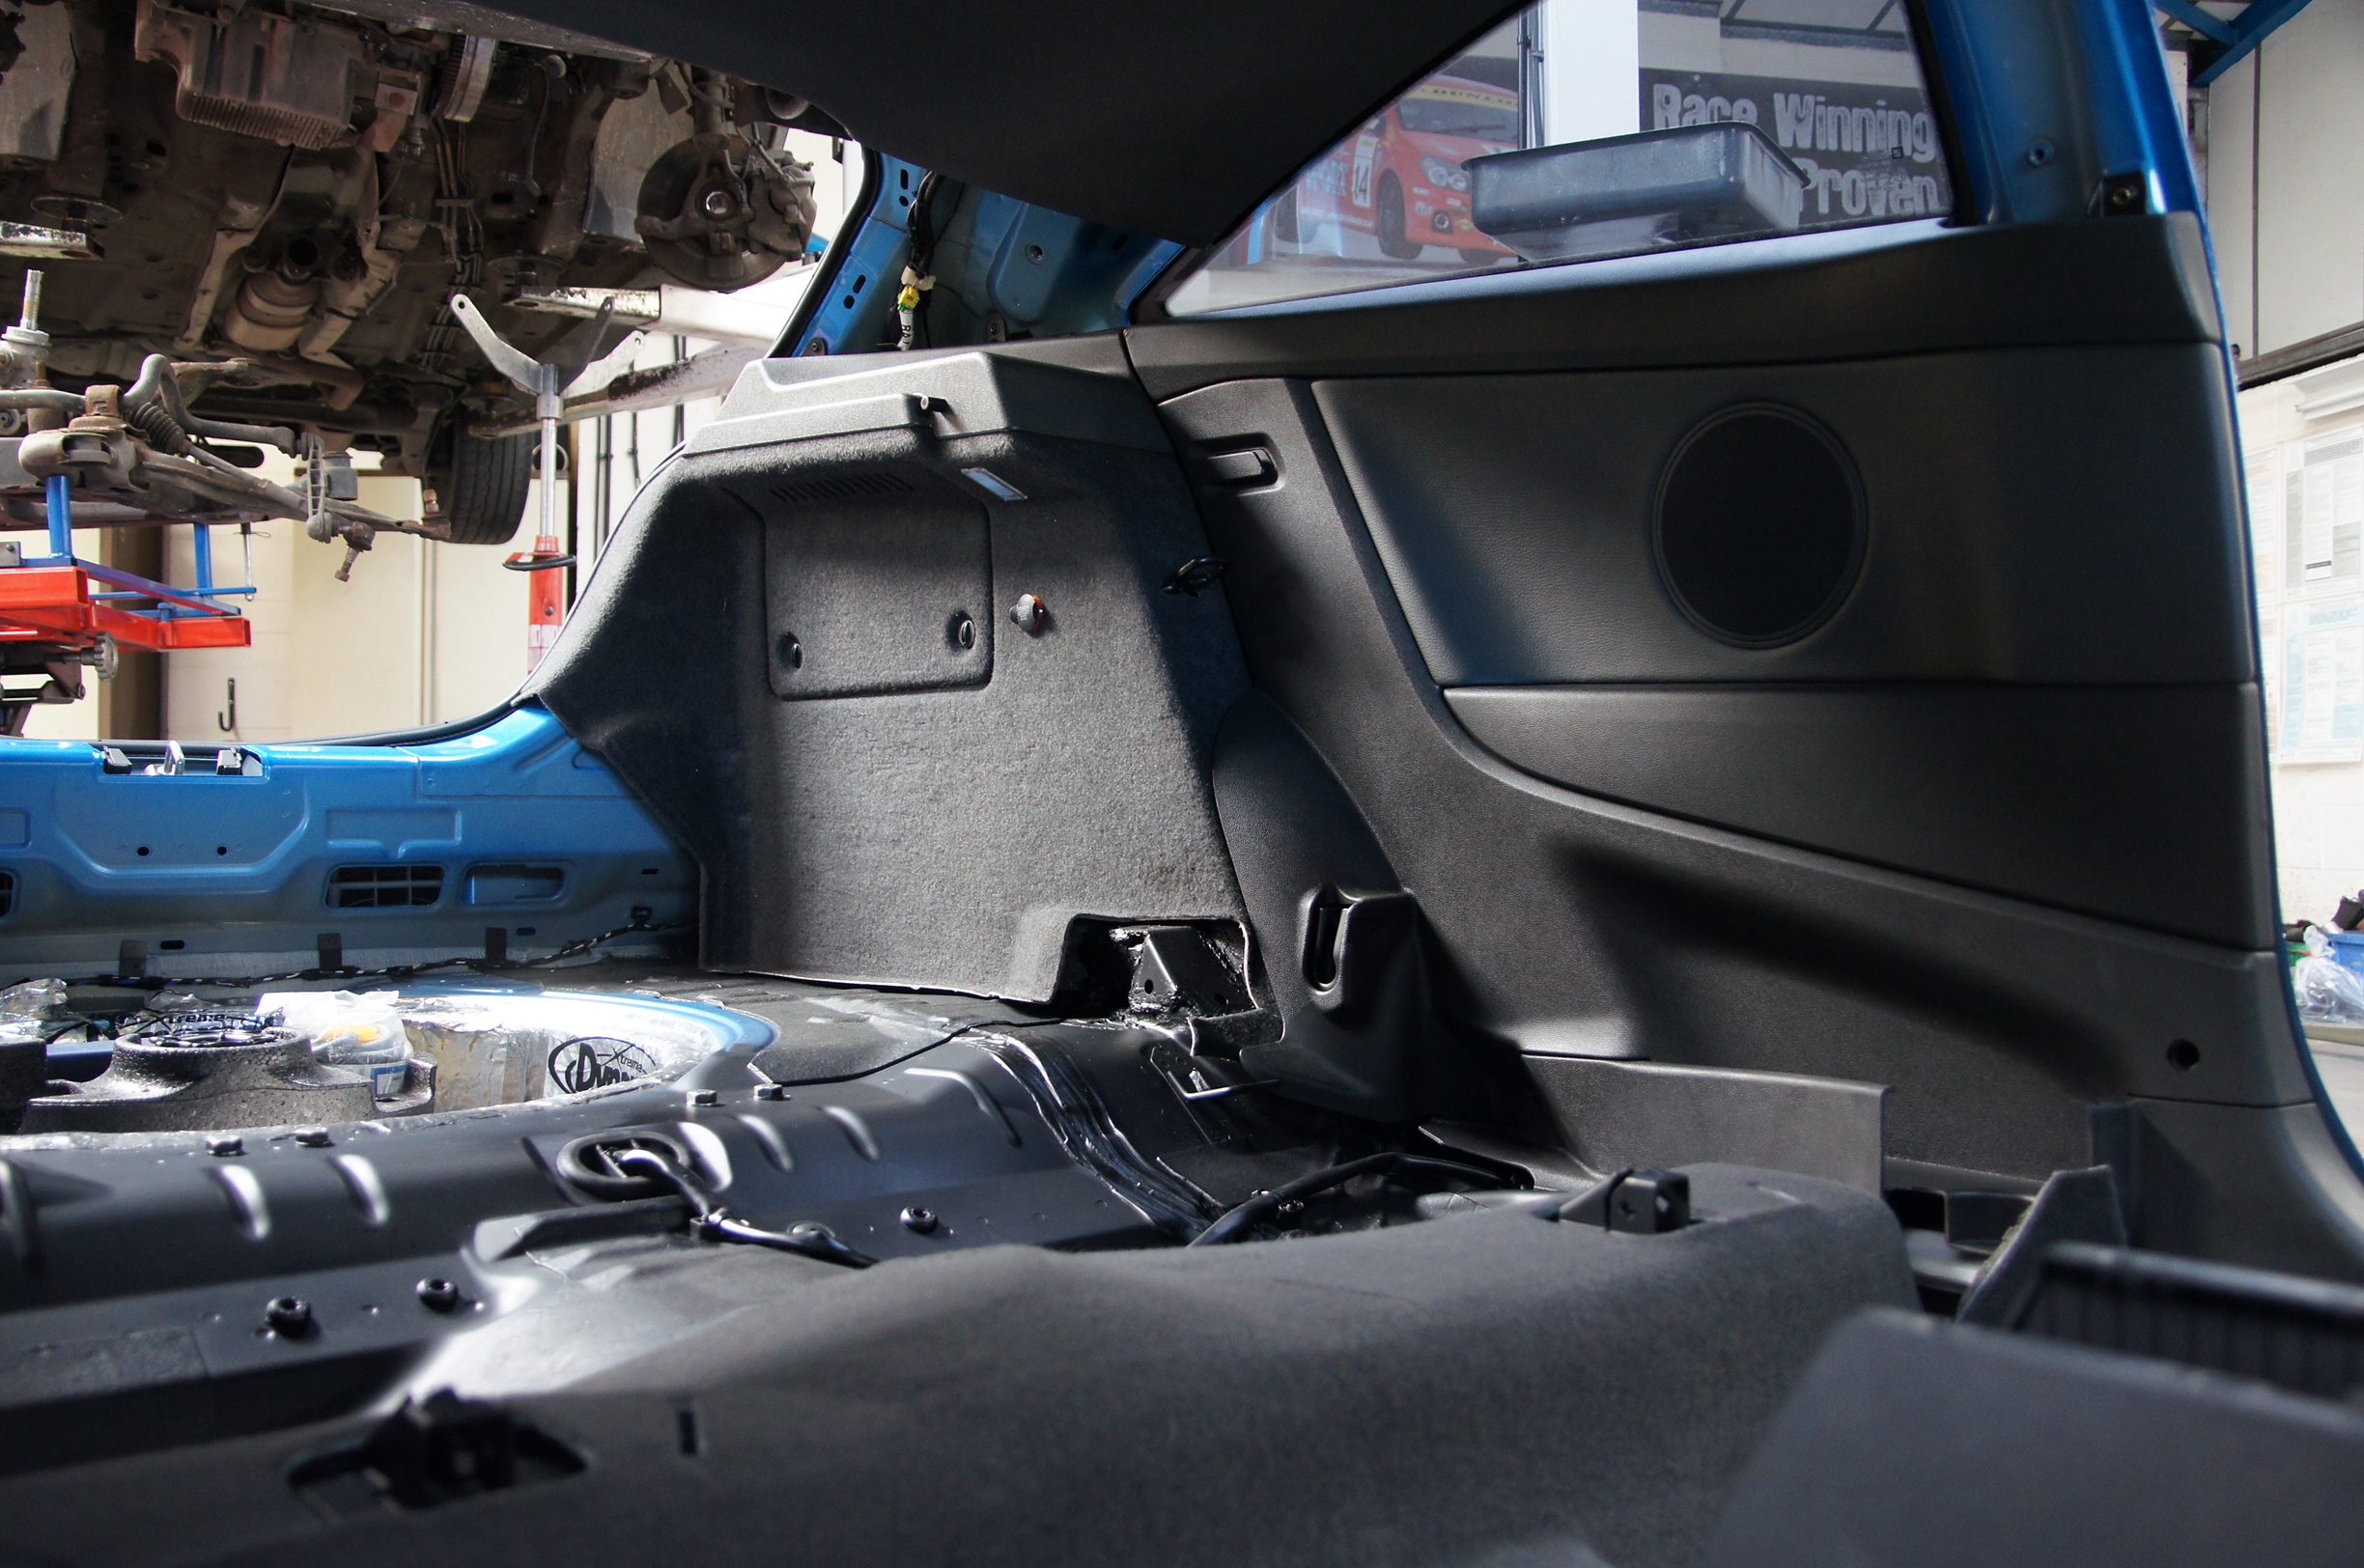
Interior going back in
And this is what came out from behind all the rear panels, under the headlining and the spare wheel well:
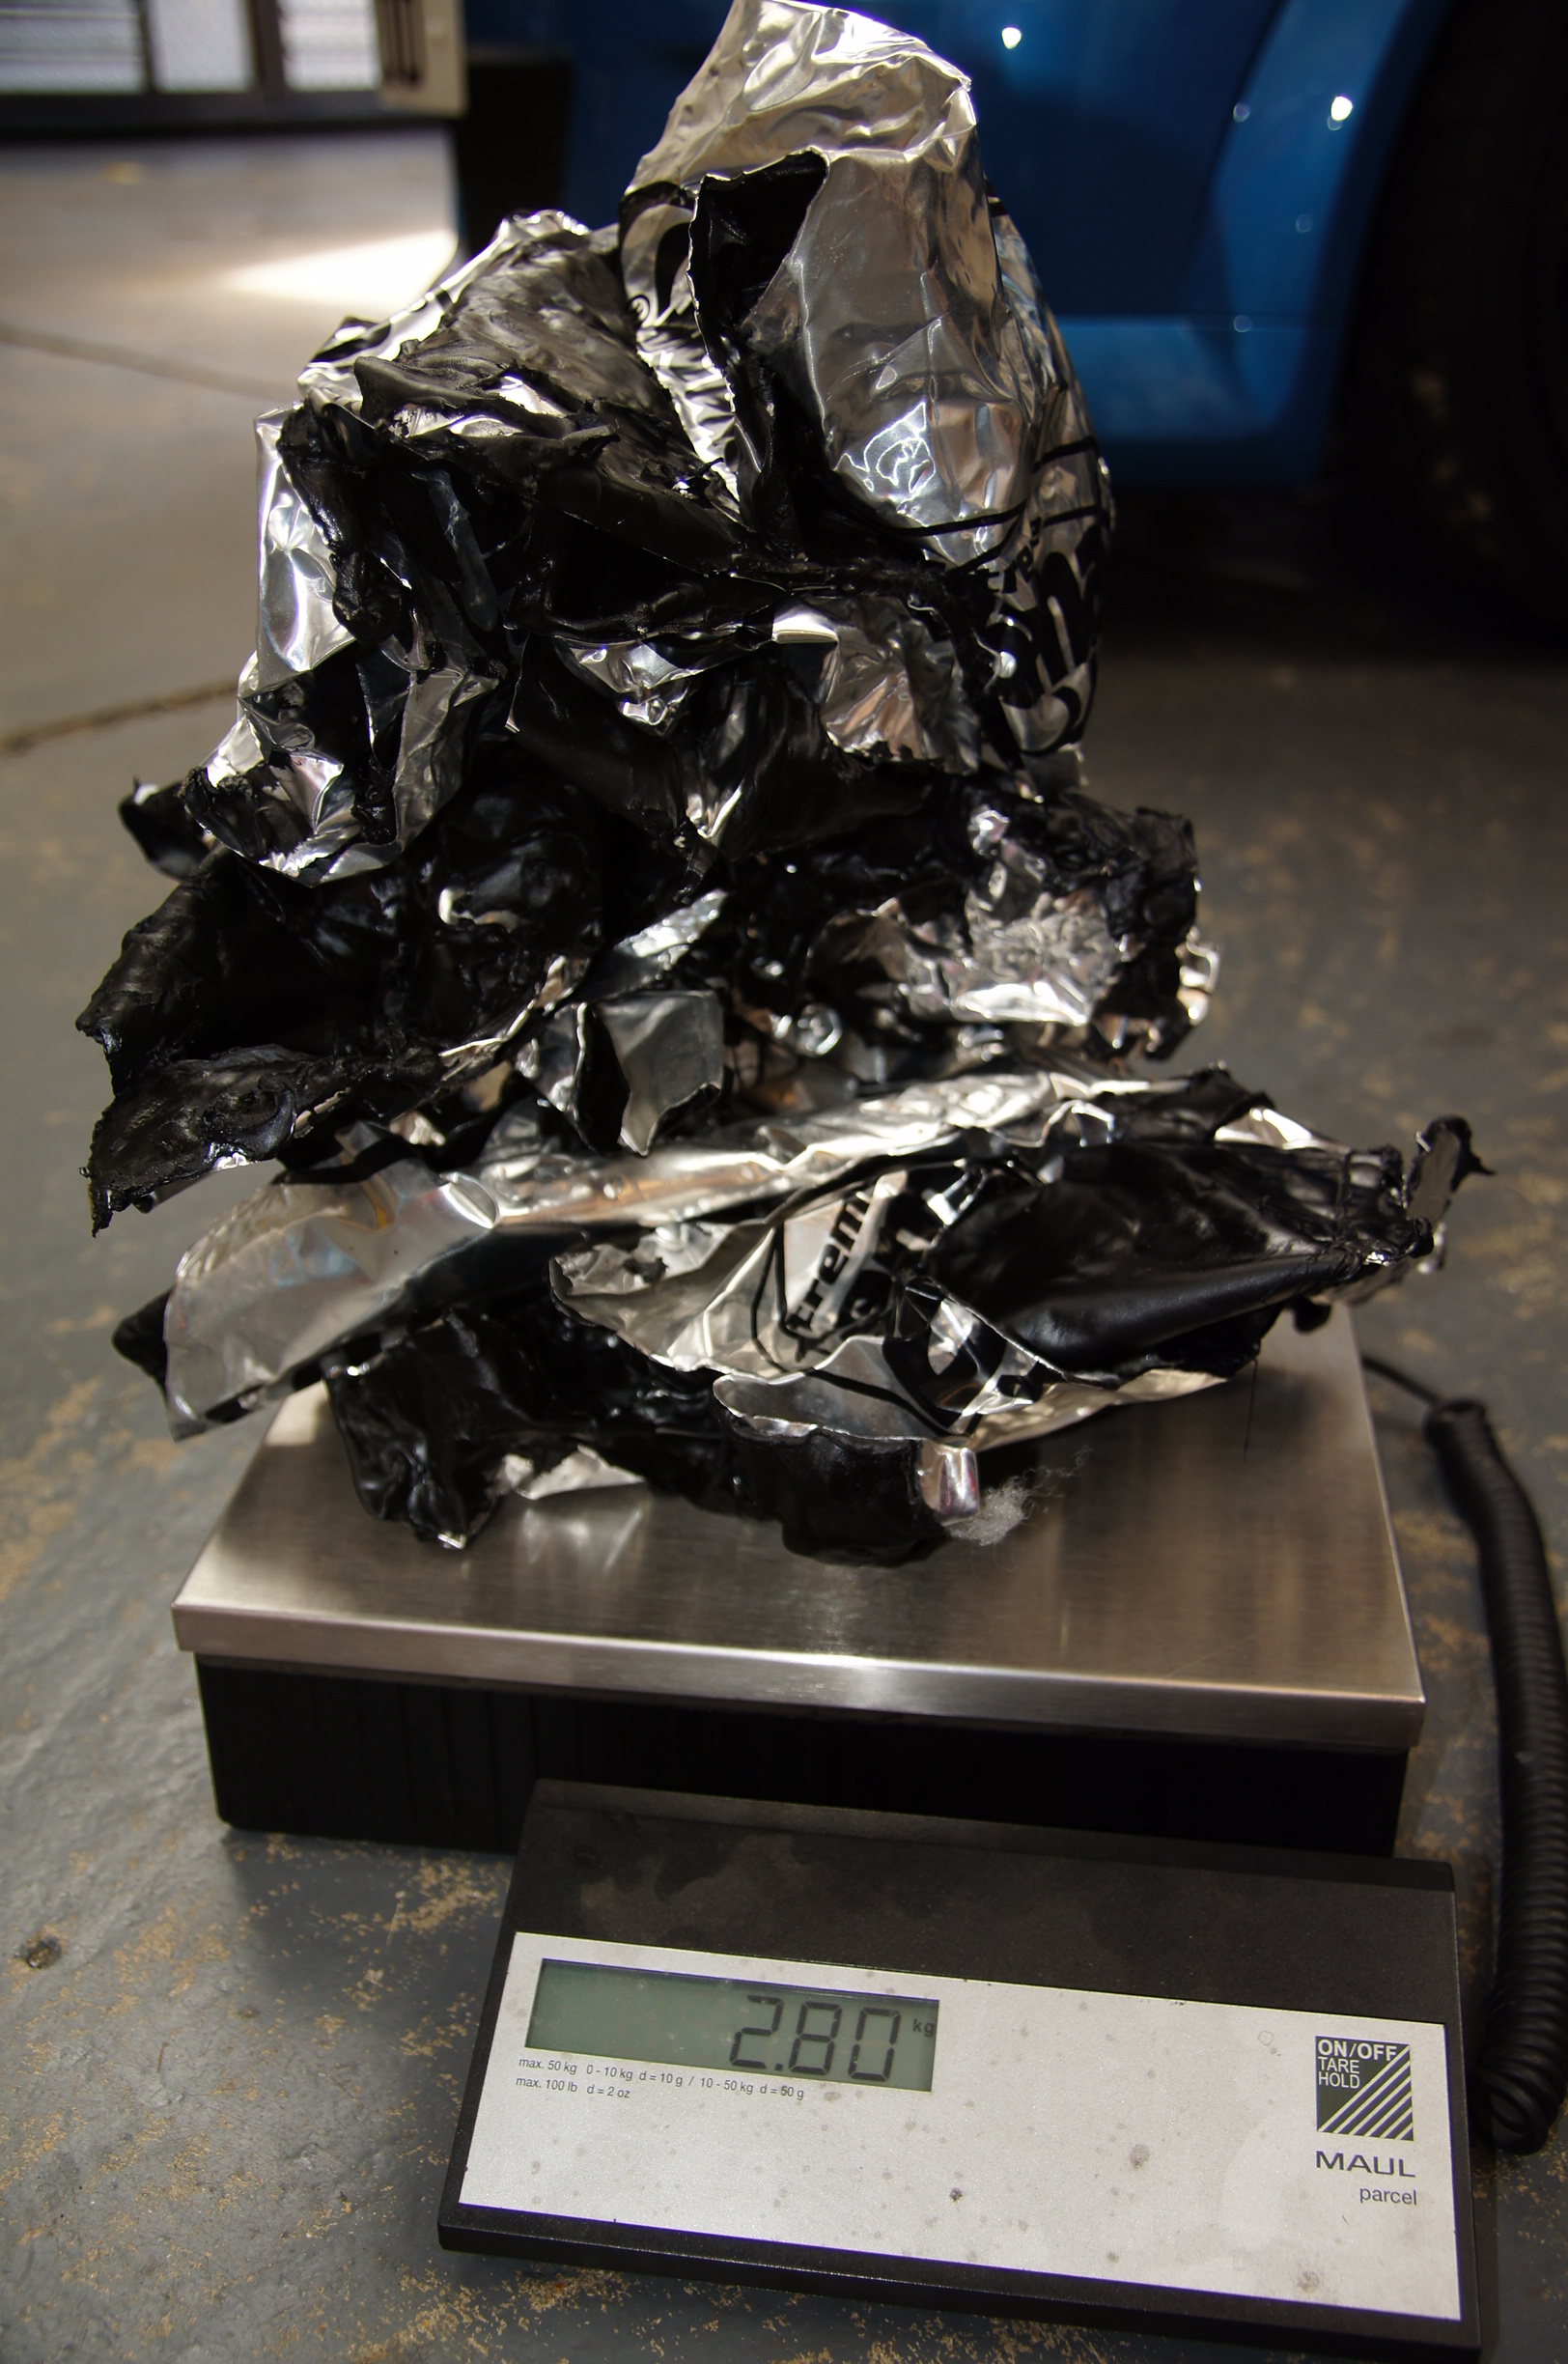
Dynamat Removed
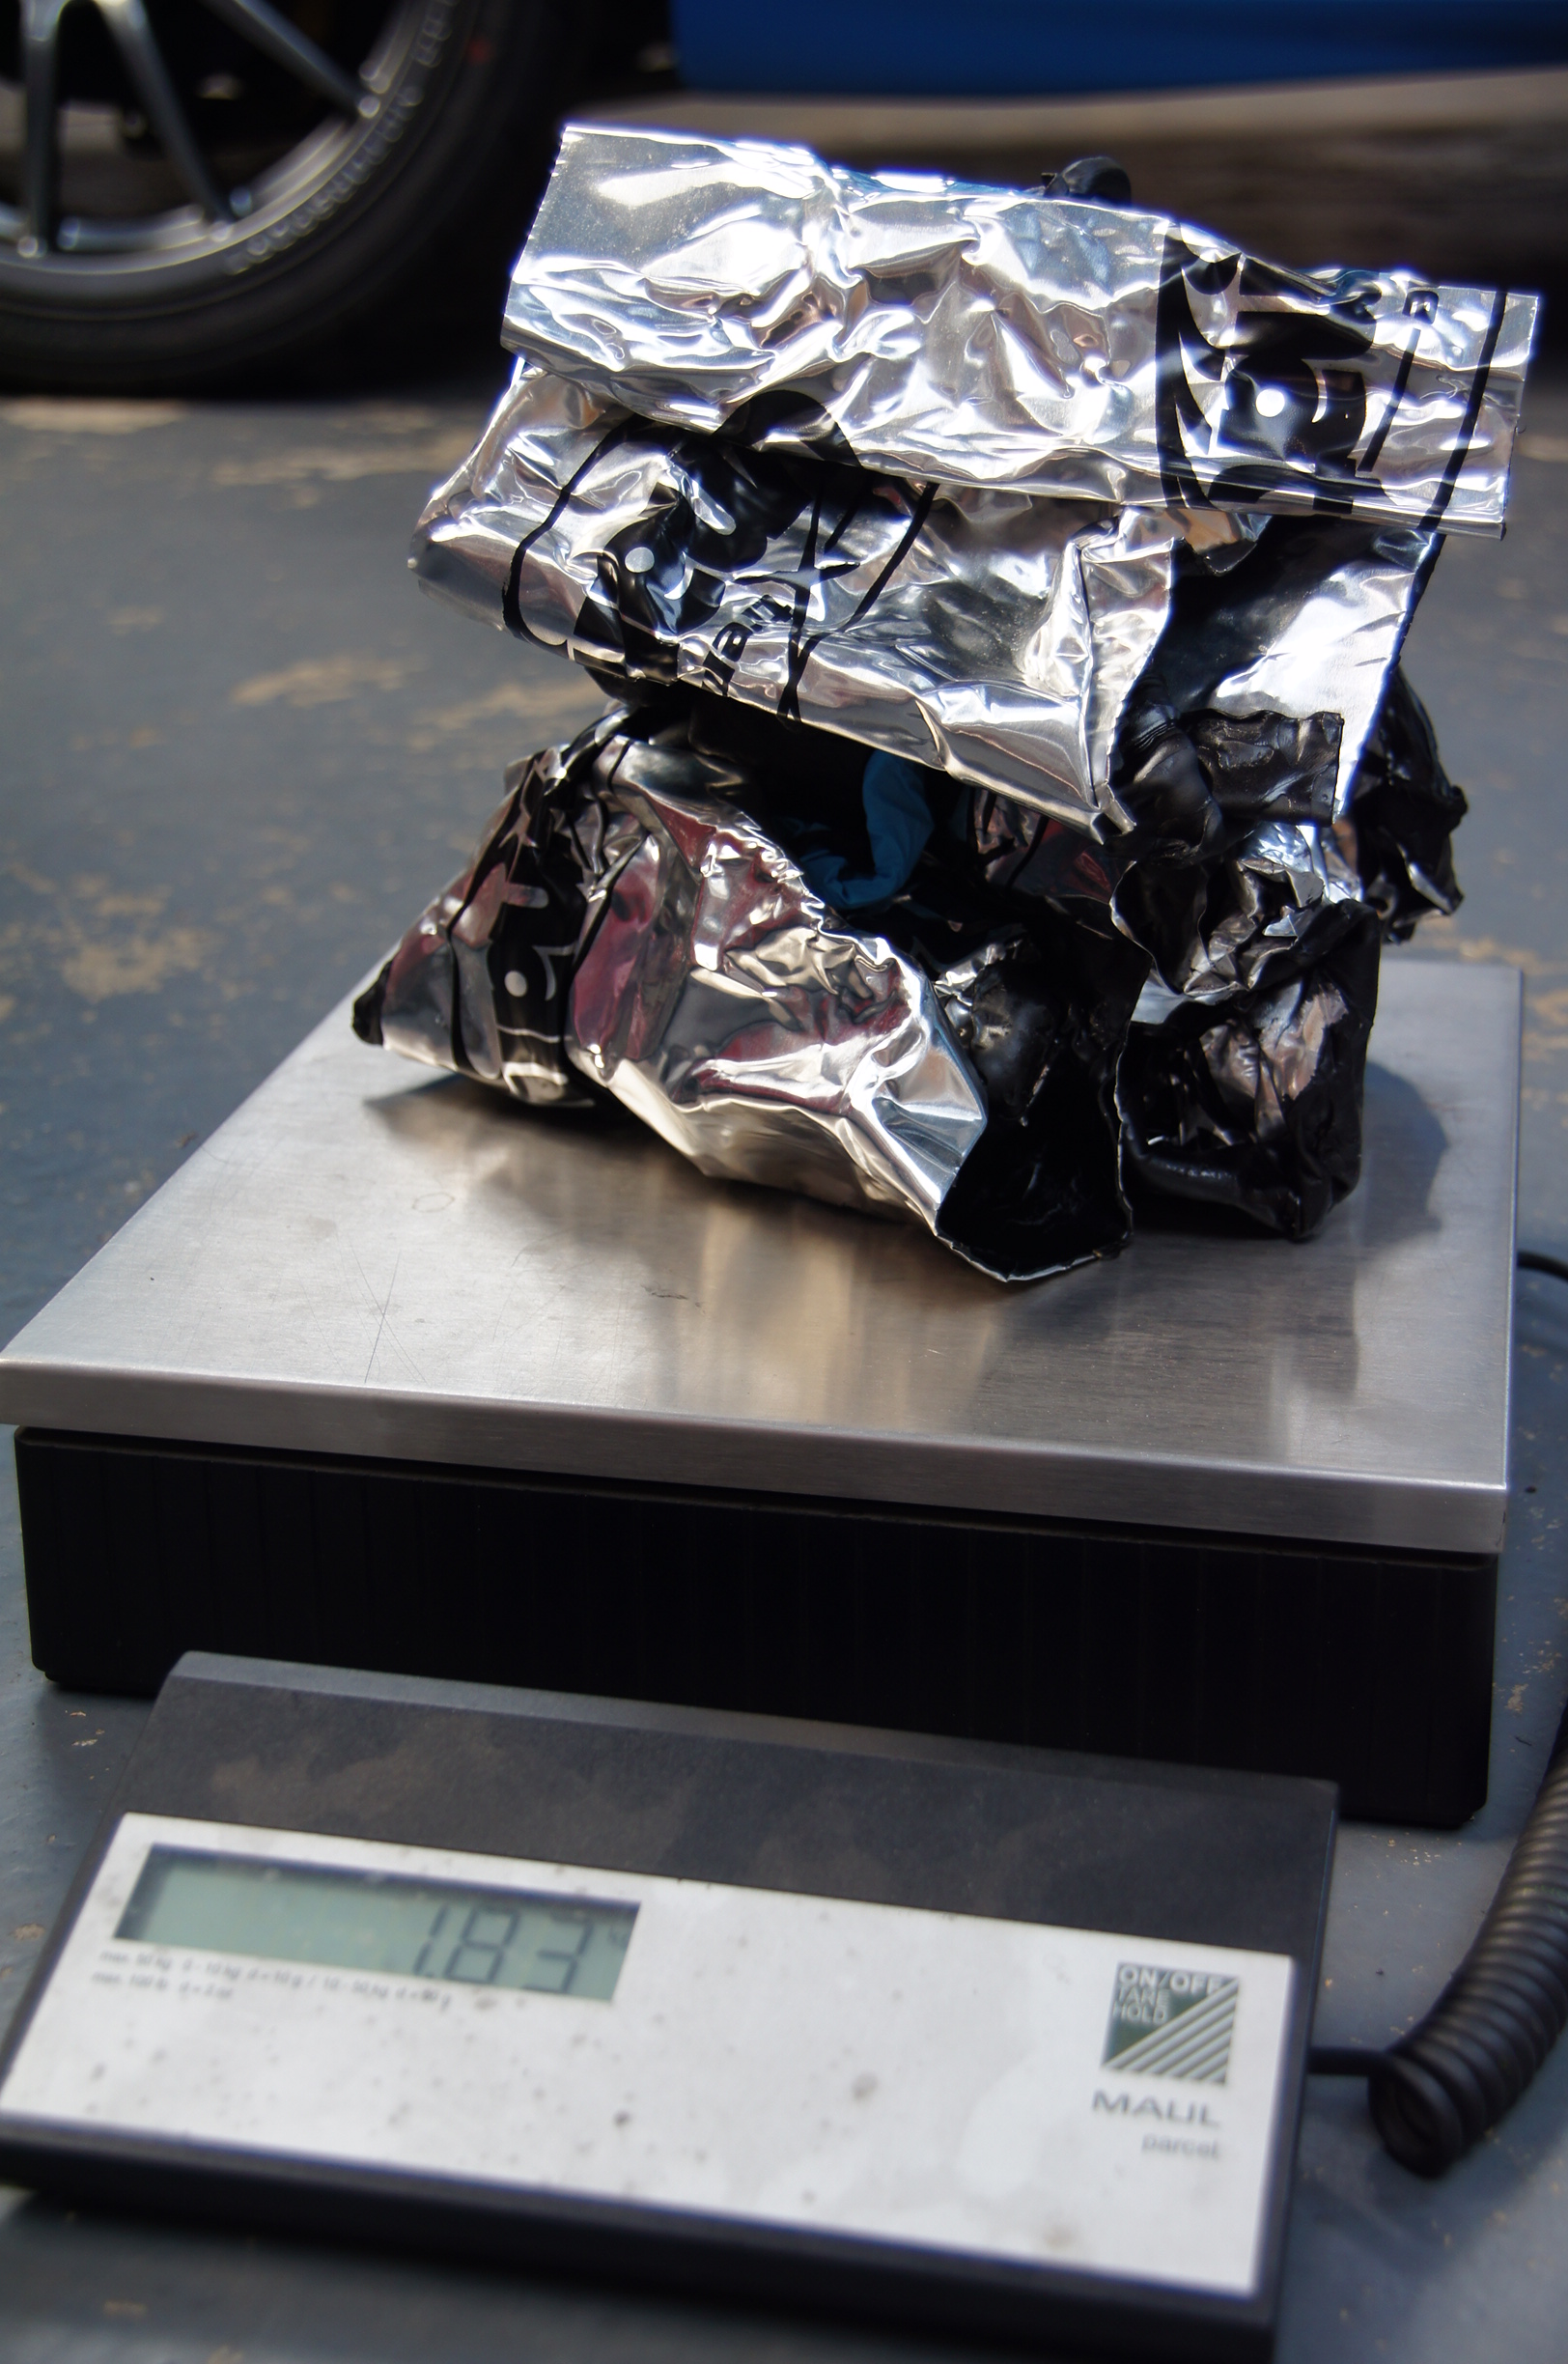
Dynamat Removed
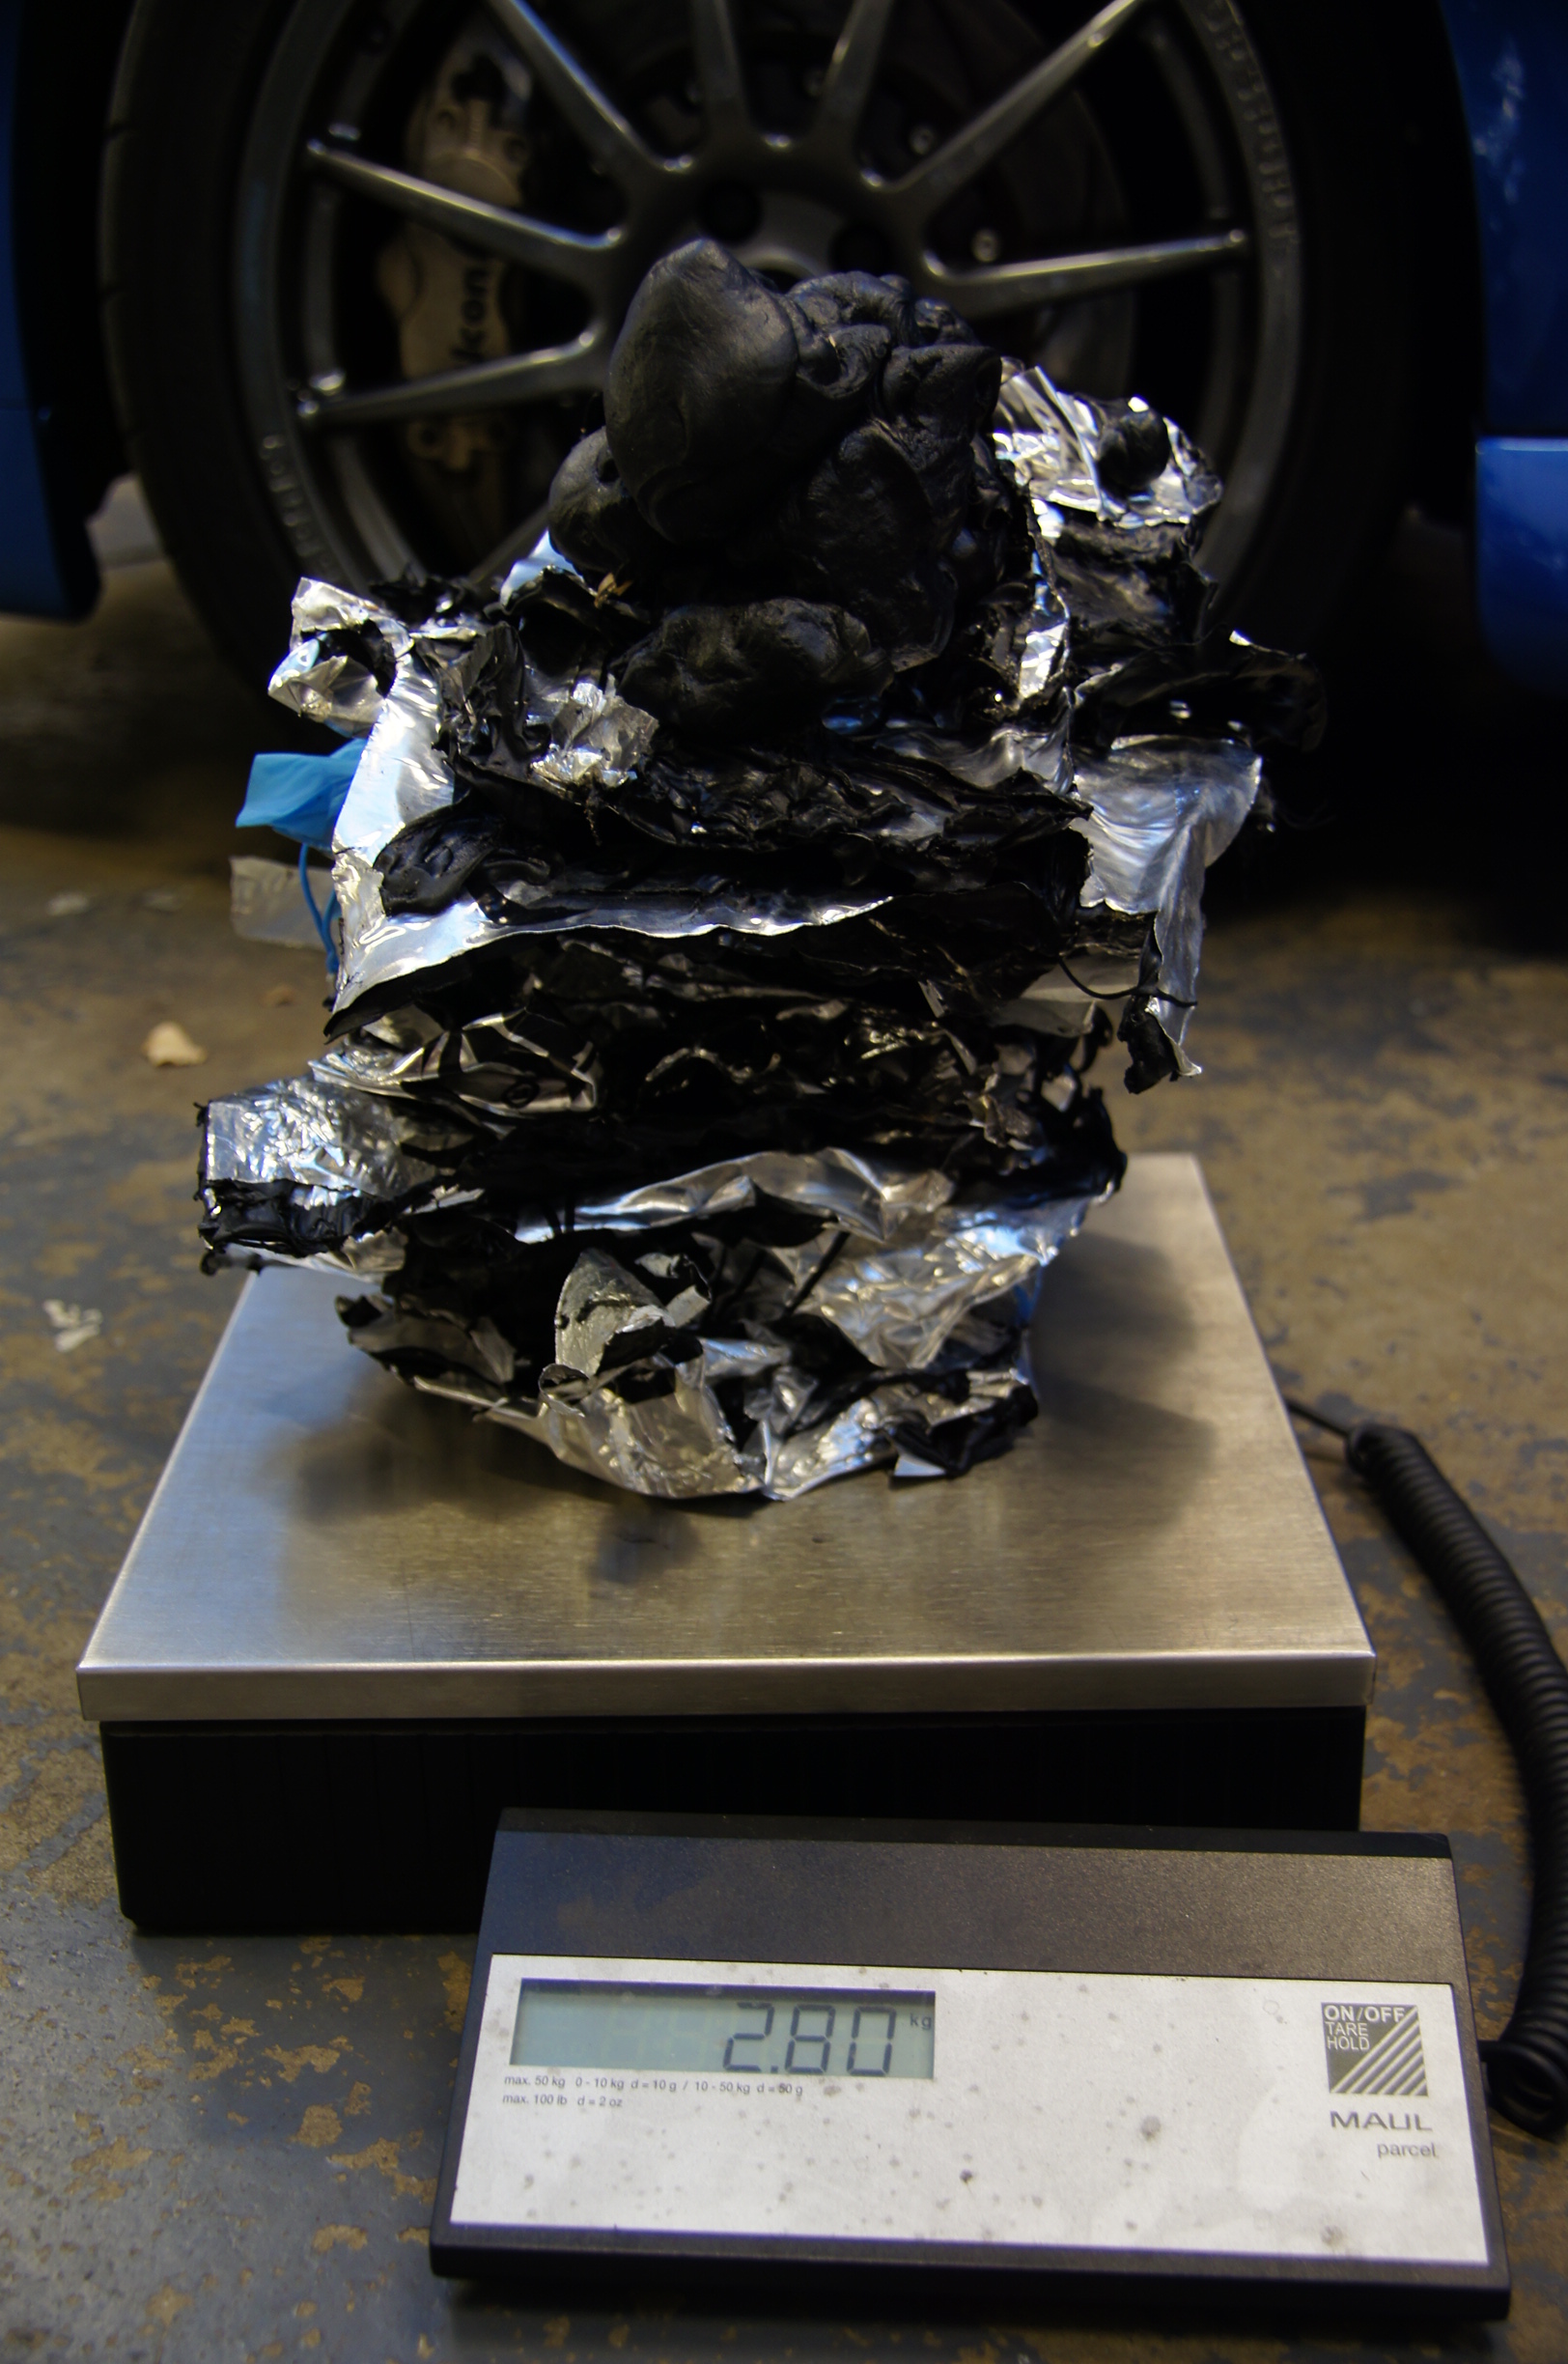
Dynamat Removed
Nearly 7.5kgs of Dynamat in total!!