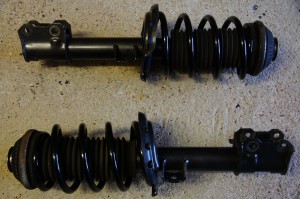
After the car’s first outing on track, at the end of July, on its original suspension which comprised DAP Road Springs and factory VXR dampers, I decided it was time for an upgrade to something more track biased. The original suspension is very capable for fast road use, but I wanted something more track orientated. So DAP Race Spec springs and Bilstein B8 dampers are being fitted. A massive thank you to Bilstein UK for the supply of the fantastic B8 dampers.
The DAP Race Spec springs are further uprated and slightly lower than their road spec siblings and work exceptionally well on the uprated Bilstein B8 dampers. Due to the removal of the rear seats, reducing the weight of the rear of the car, a slightly lower spec rear spring was chosen to reduce the rear ride height slightly.
Original Front DAP Road Springs and VXR Factory Dampers:
Original Front Springs and Dampers
Original Rear DAP Road Springs and VXR Factory Dampers:
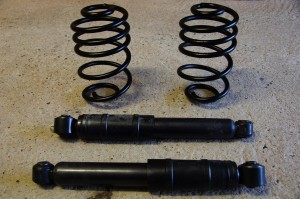
Original Rear Springs and Dampers
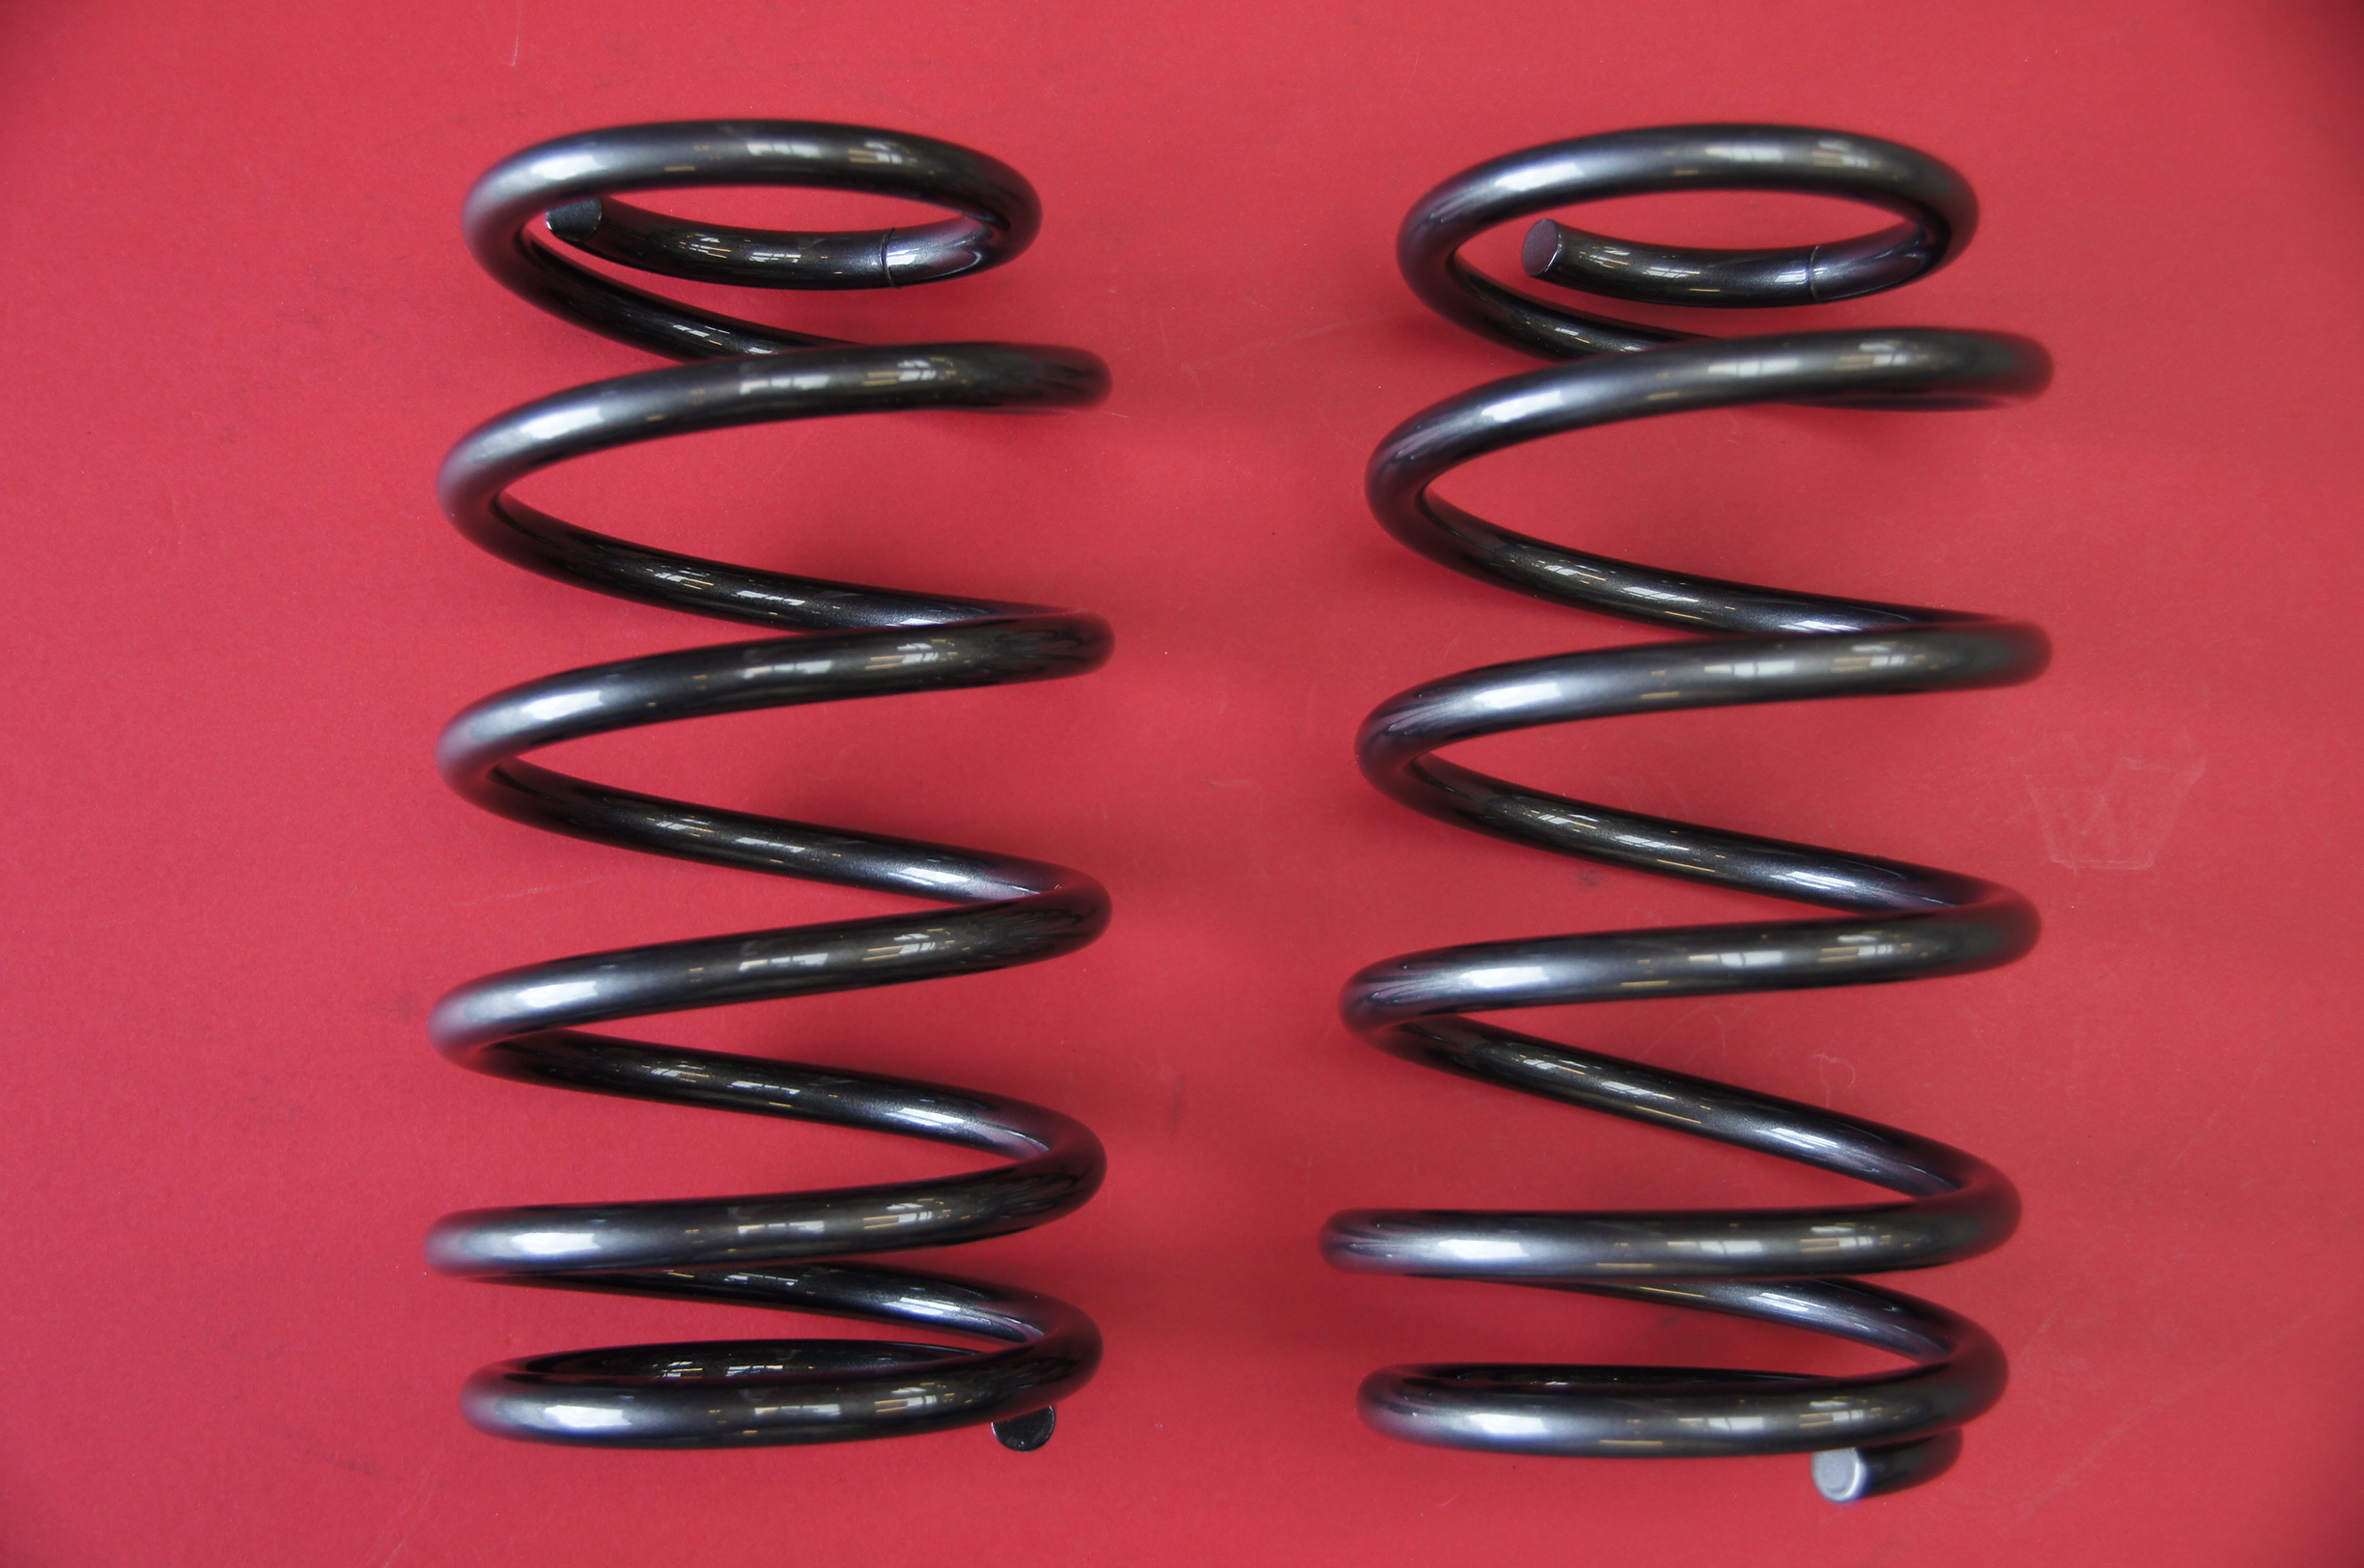
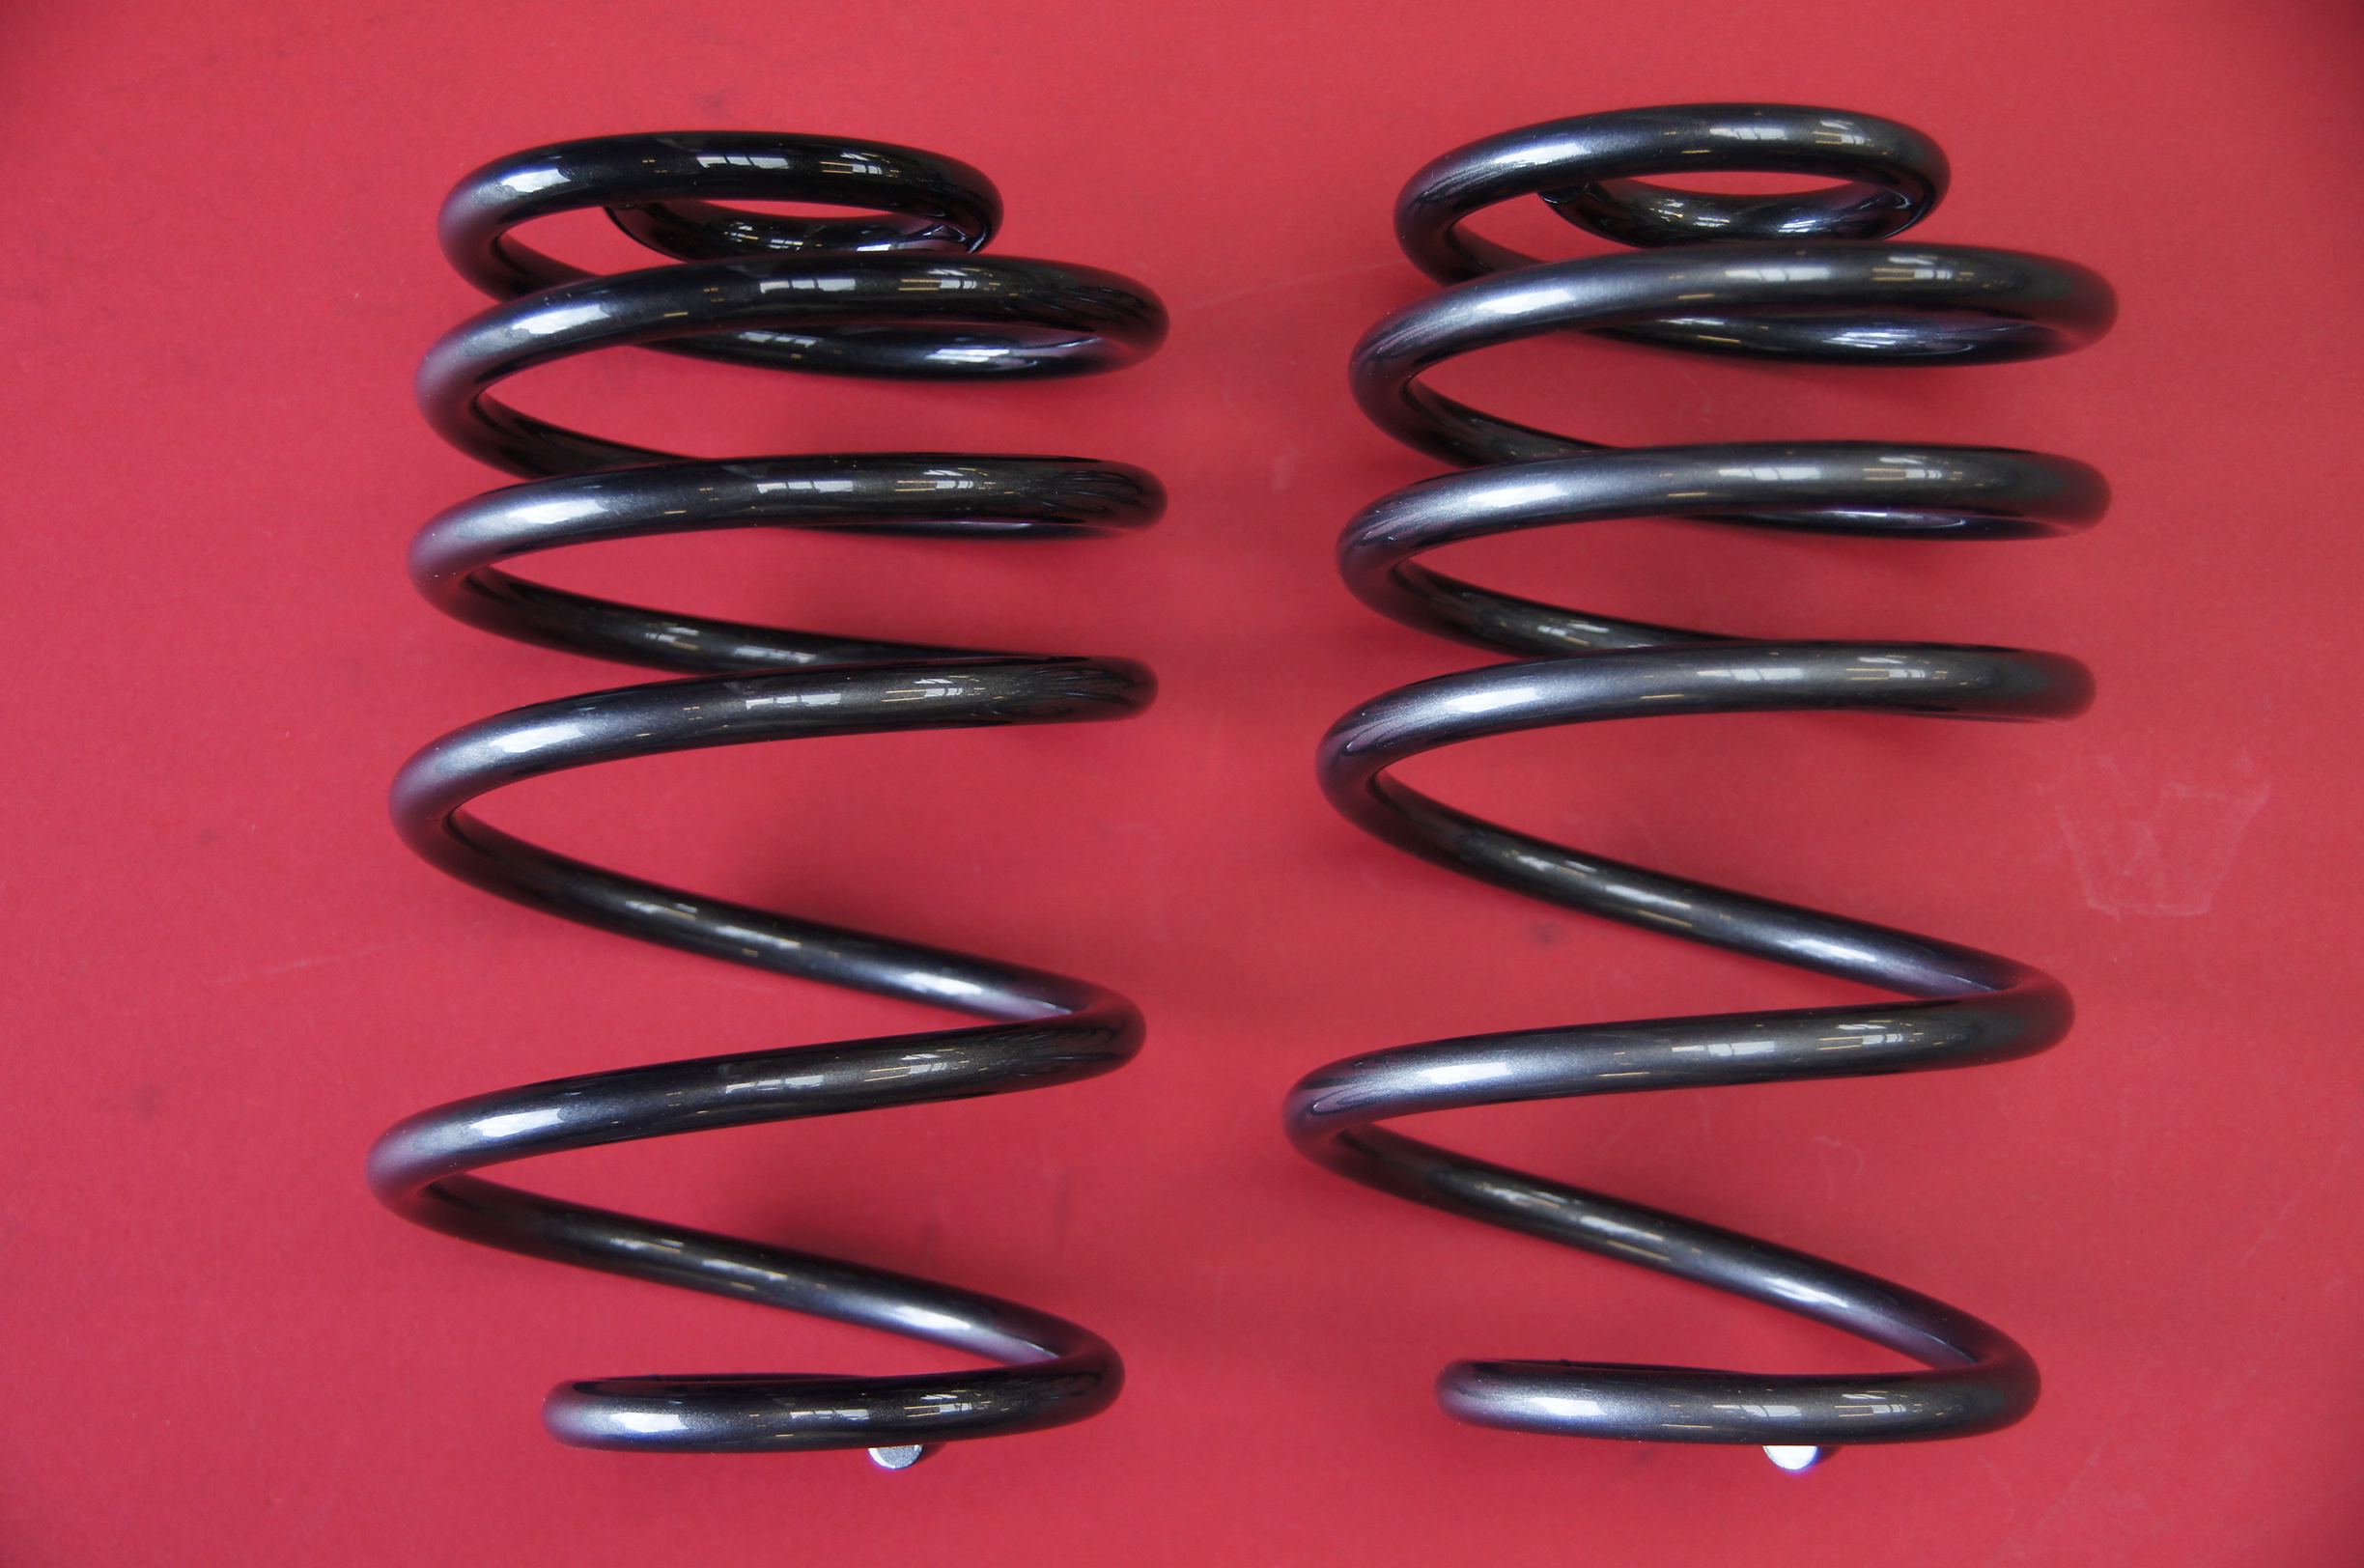
DAP Race Spec Front Springs:
DAP Race Spec Front Springs
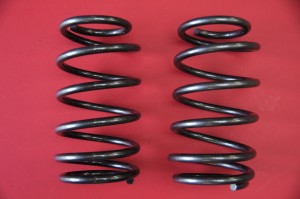
DAP Race Spec Rear Springs:

DAP Race Spec Rear Springs
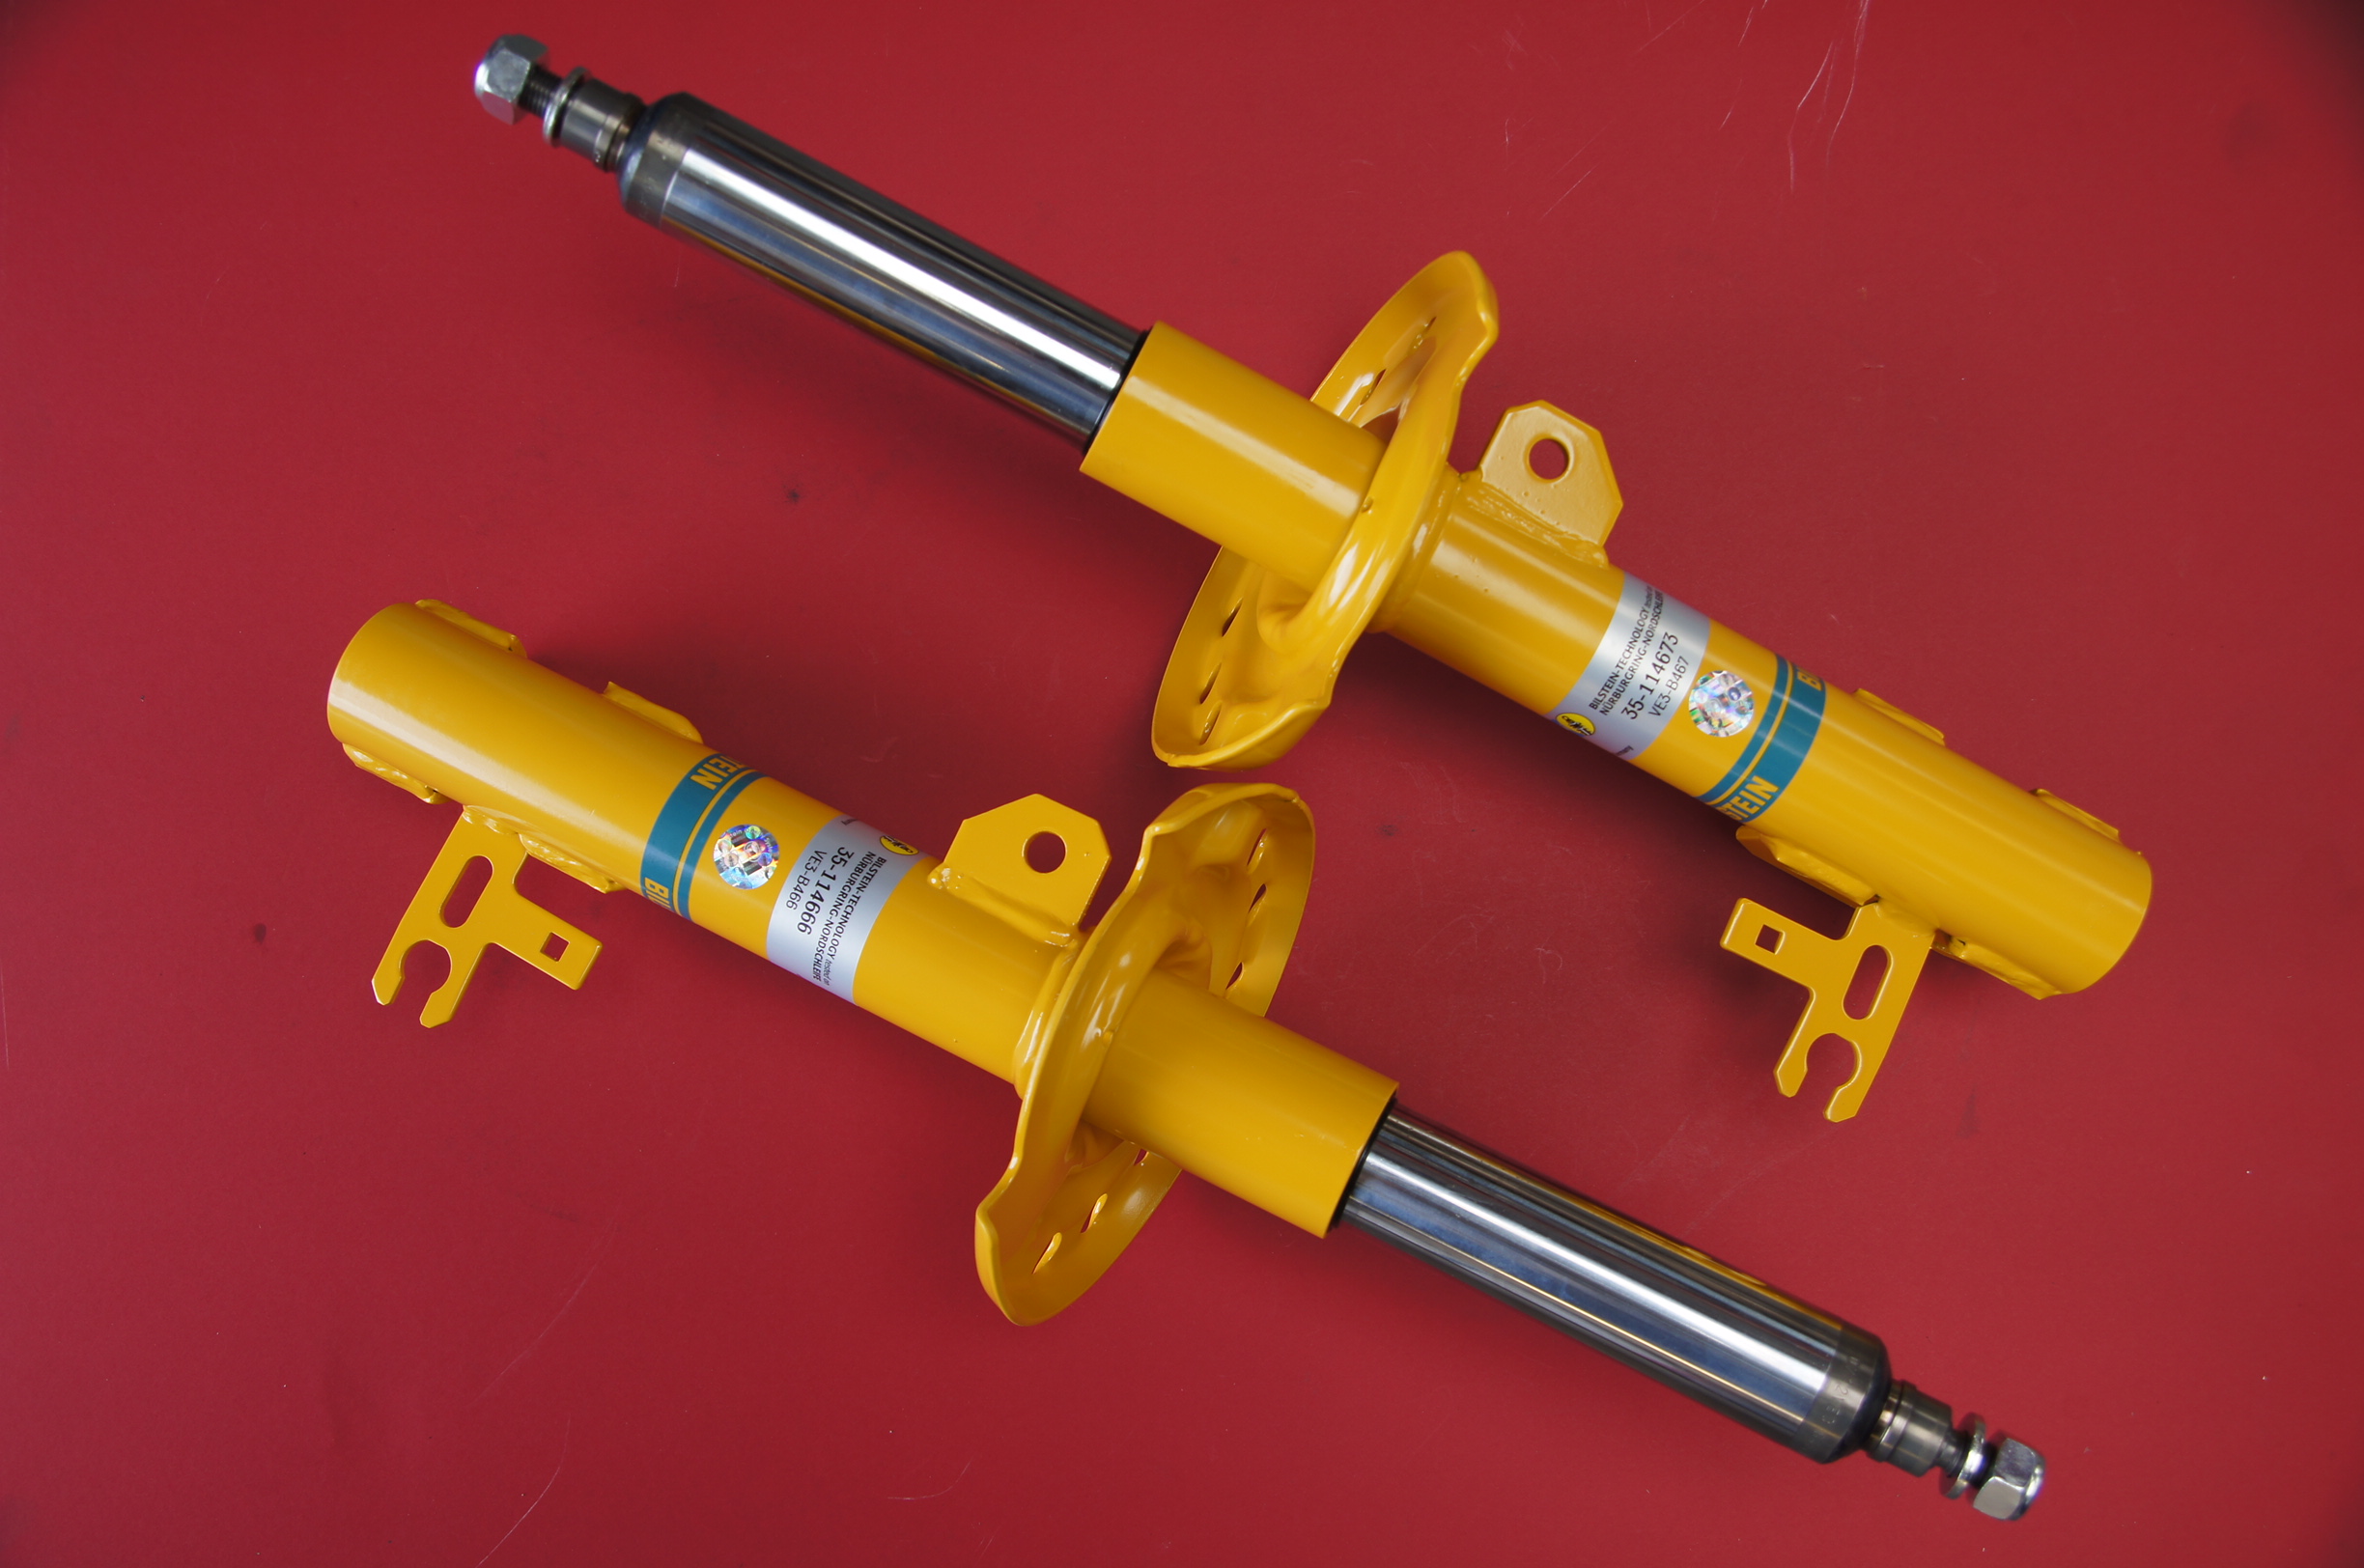
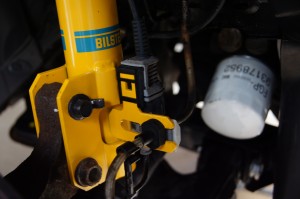
Bilstein B8 Front Dampers, which have much thicker struts compared to the factory dampers:

Bilstein B8 Front Dampers
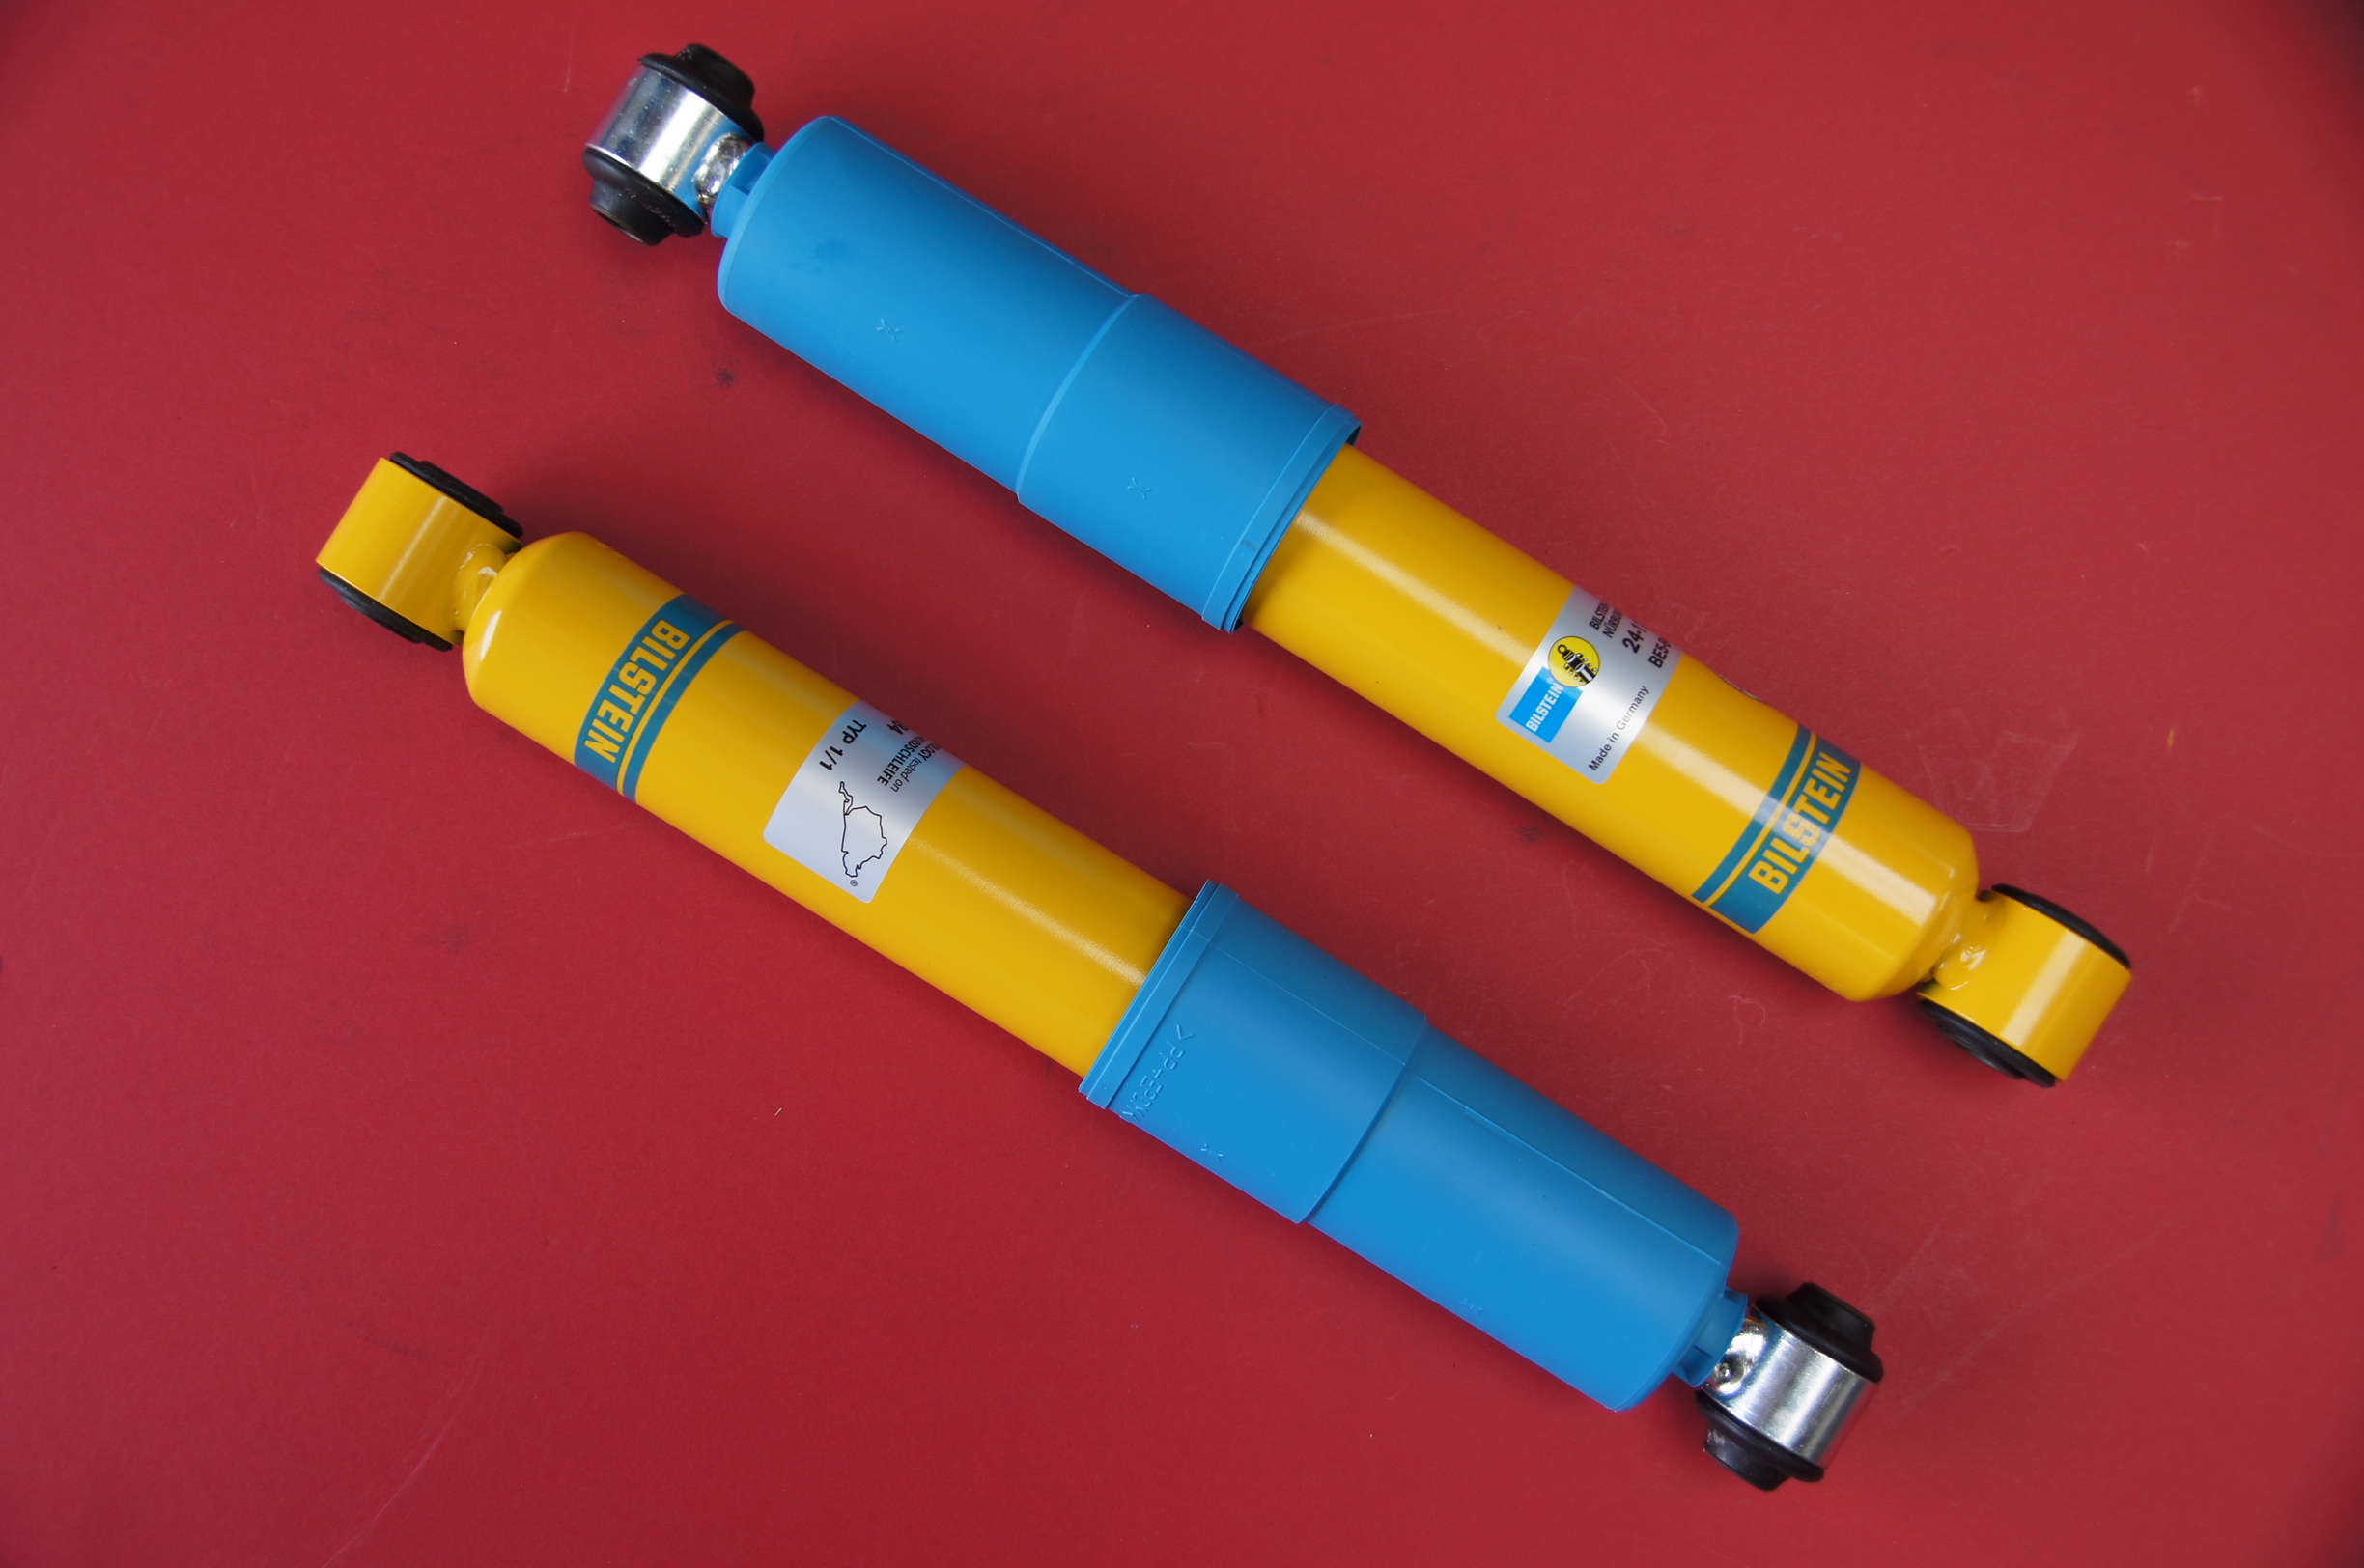
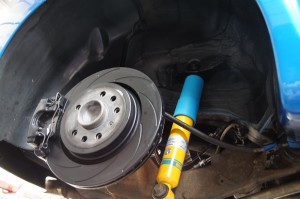
Bilstein B8 Rear Dampers:
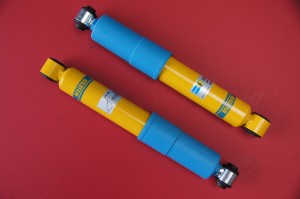
Bilstein B8 Rear Dampers
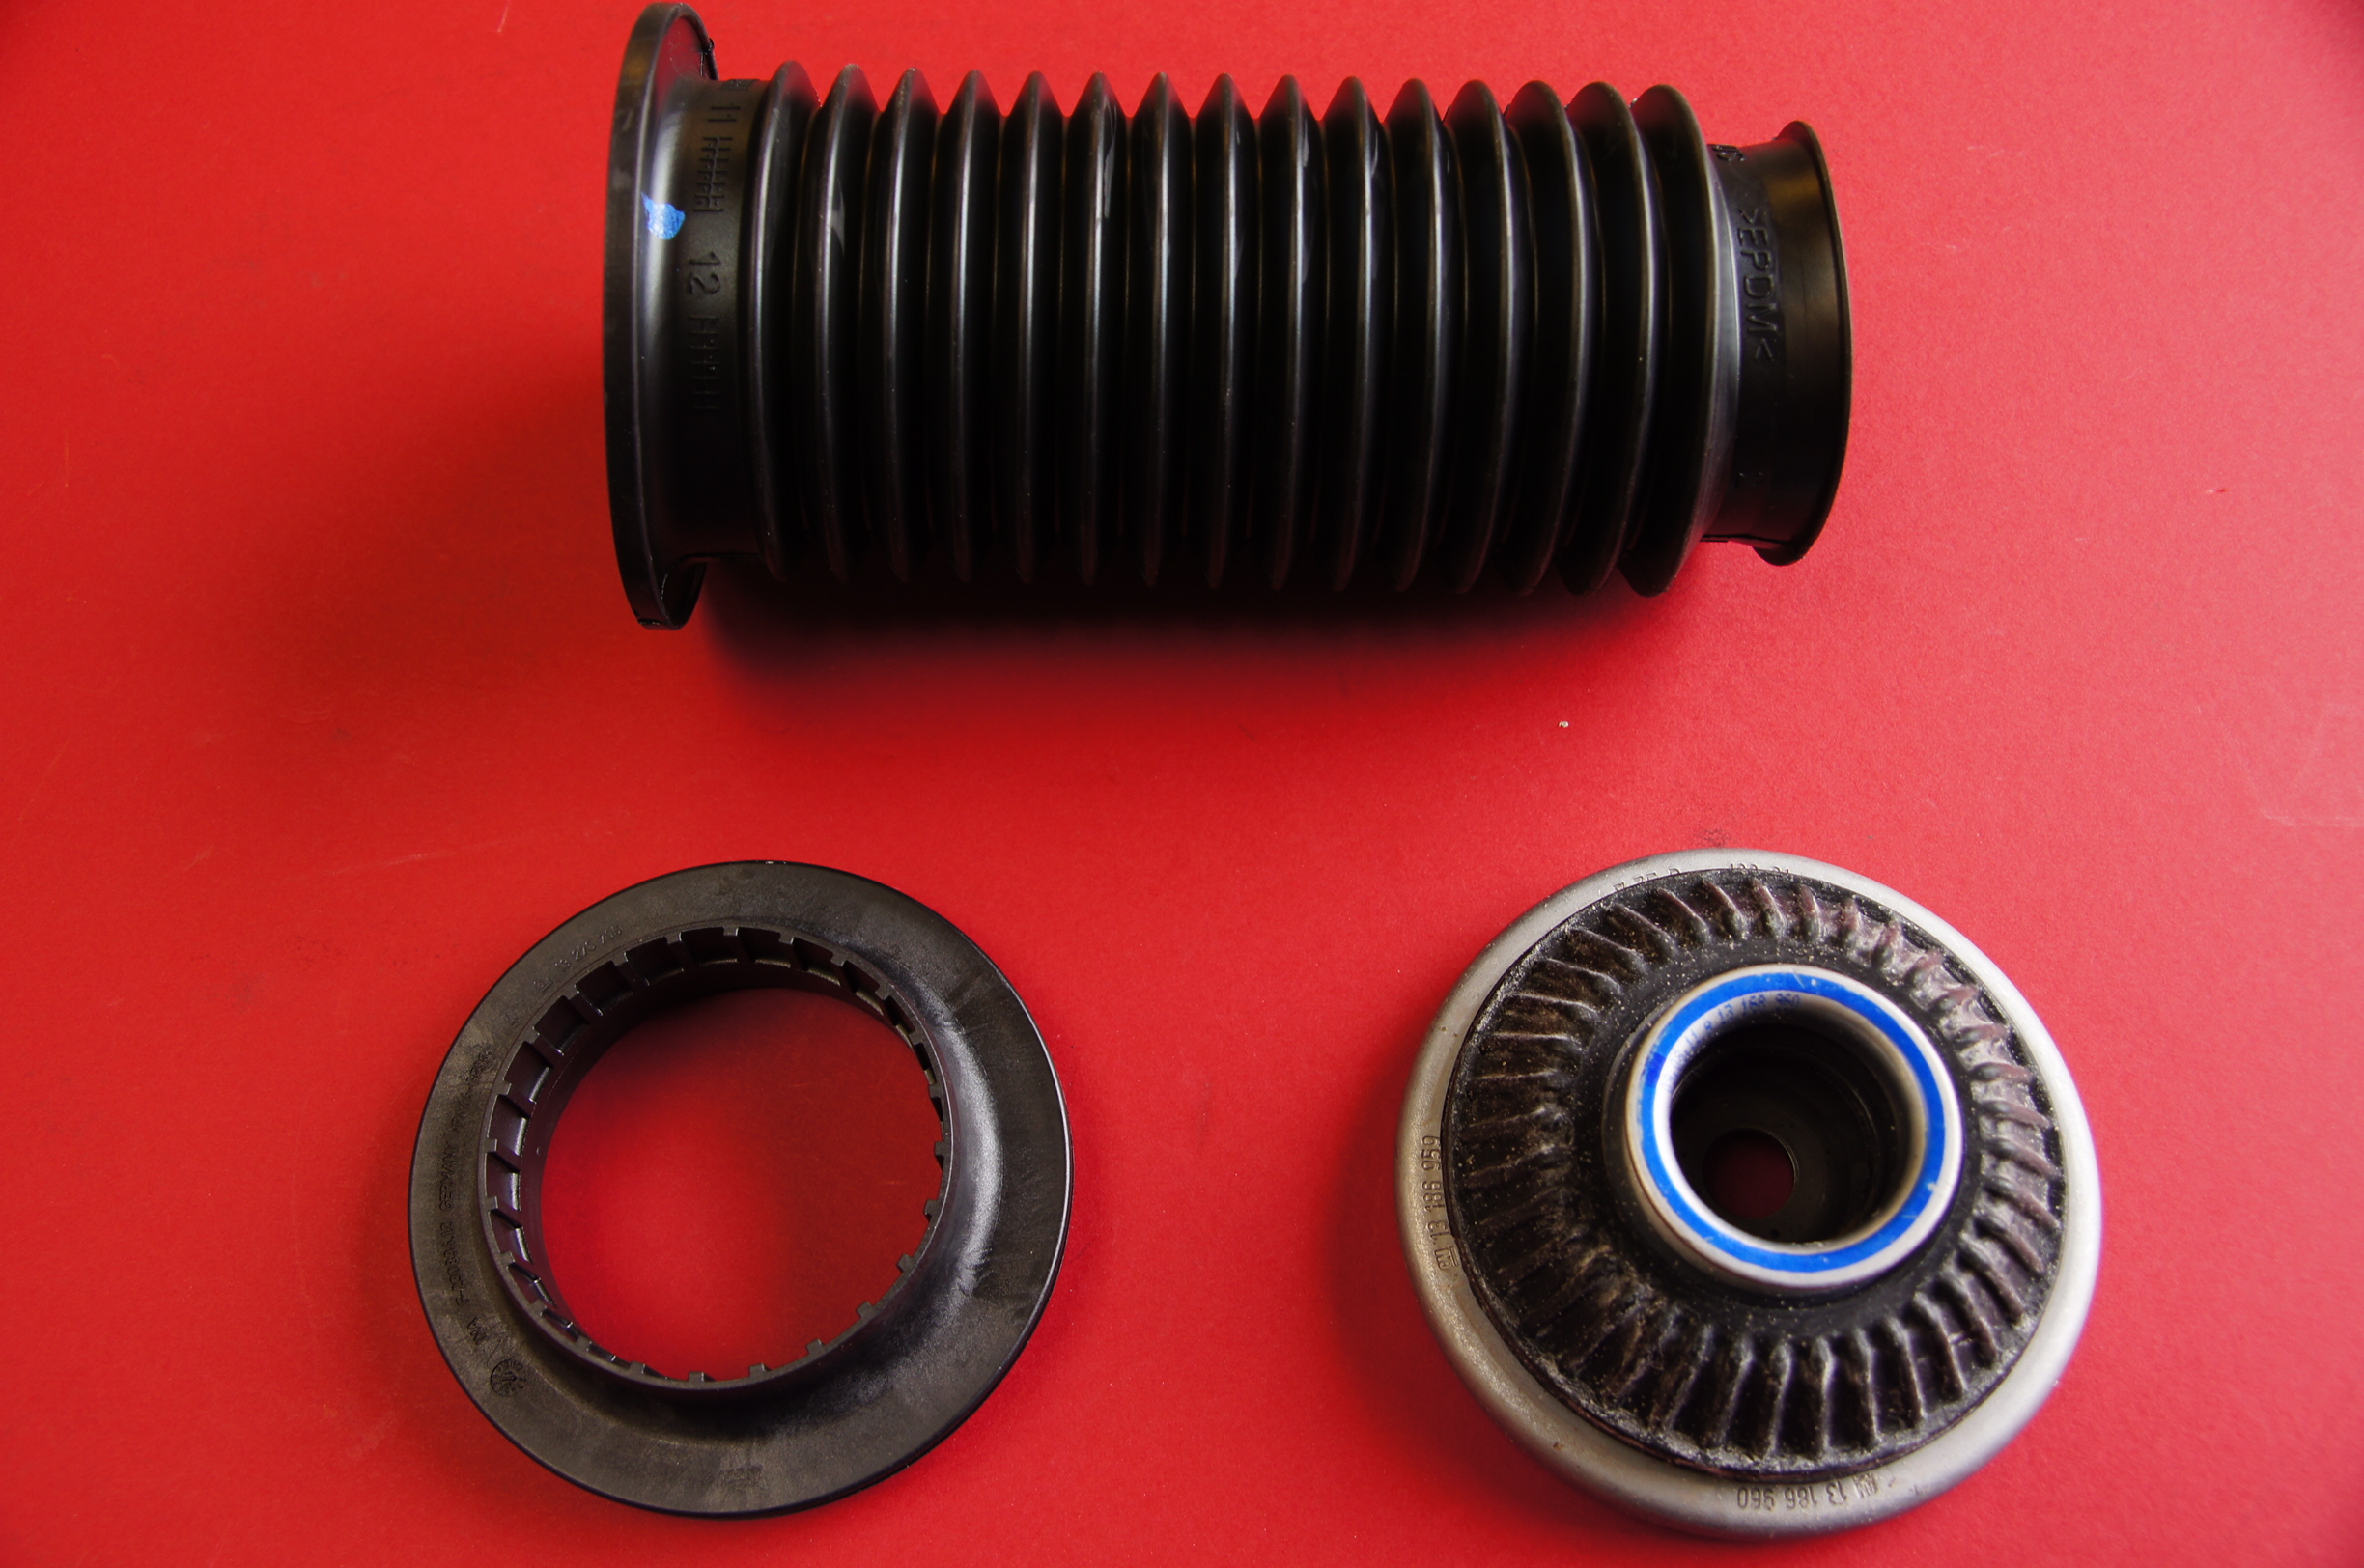
New Top Mount (Upper Spring Support), Bearing and Rubber Gaitor for the front assembly:
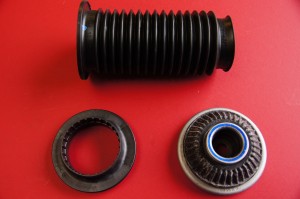
Top Mount, Bearing and Gaiter
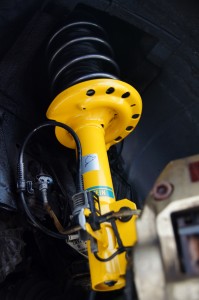
Front Spring and Damper assembly built up ready to go onto the car, making fitting a simple straight swap:
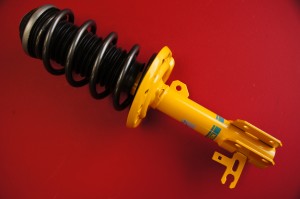
Front Damper Built Up
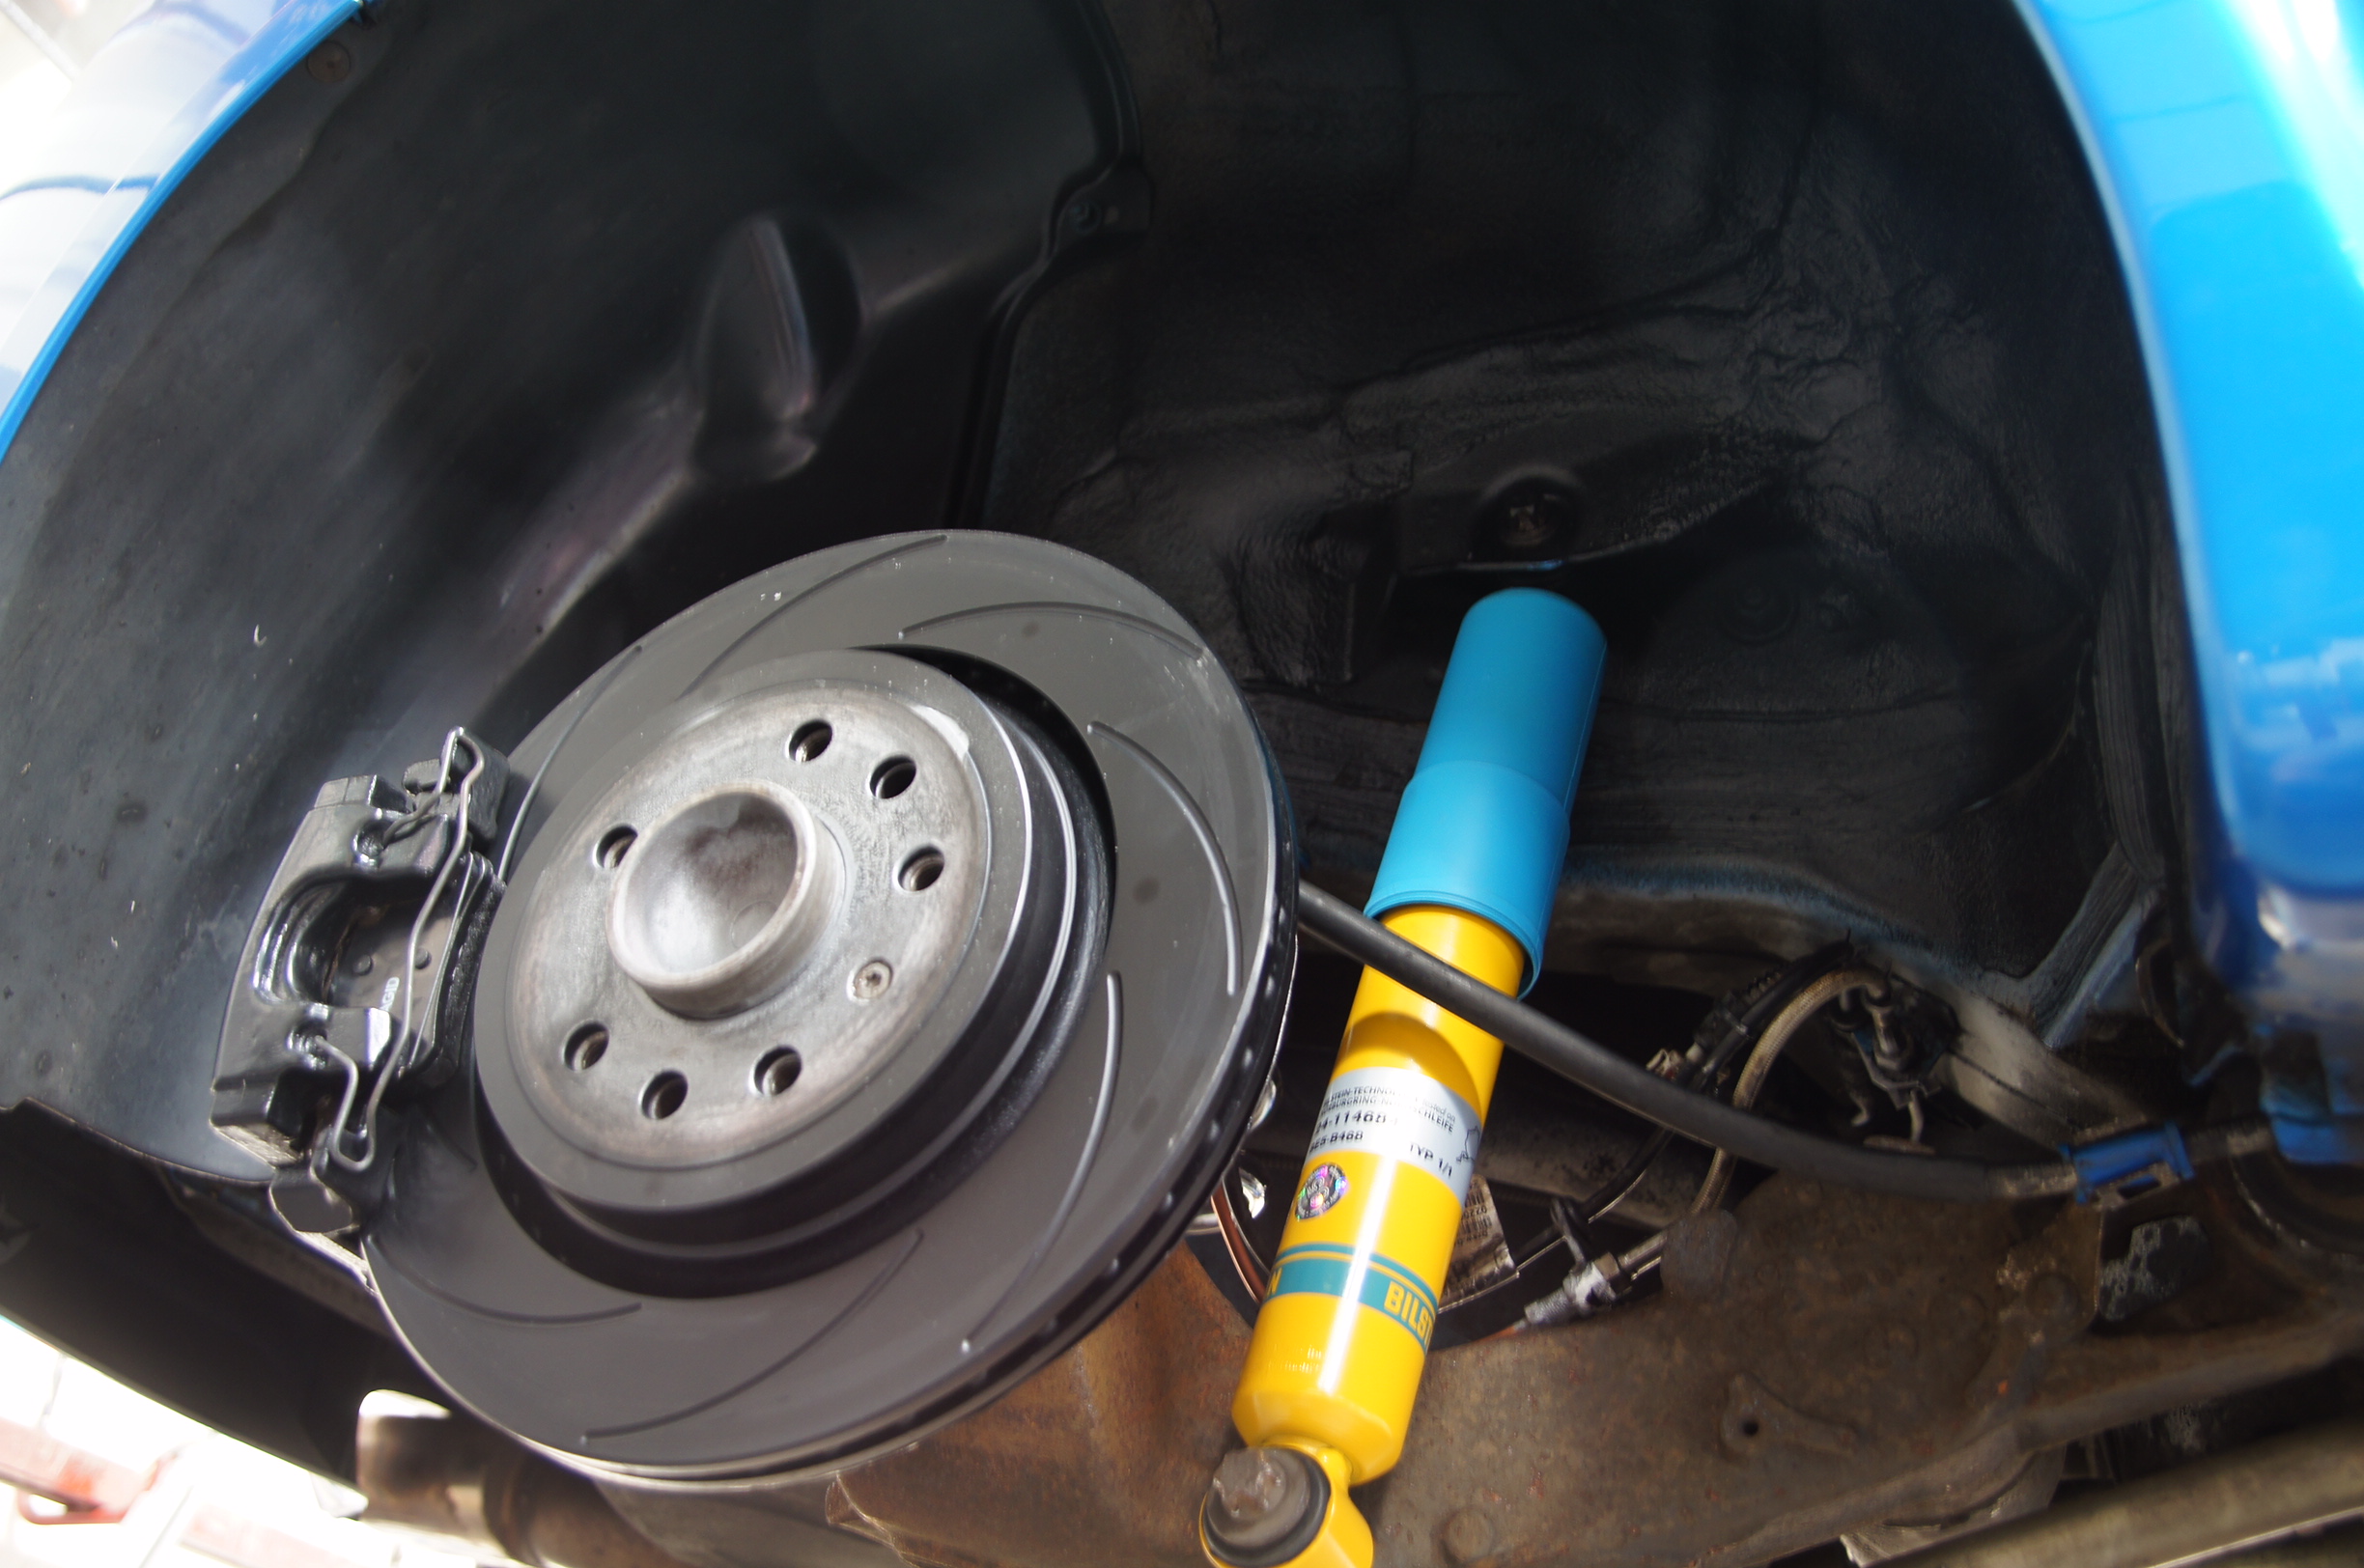
Rear Springs and Dampers fitted:

Rears Fitted
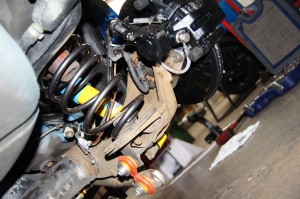
Rears Fitted
Rears Fitted
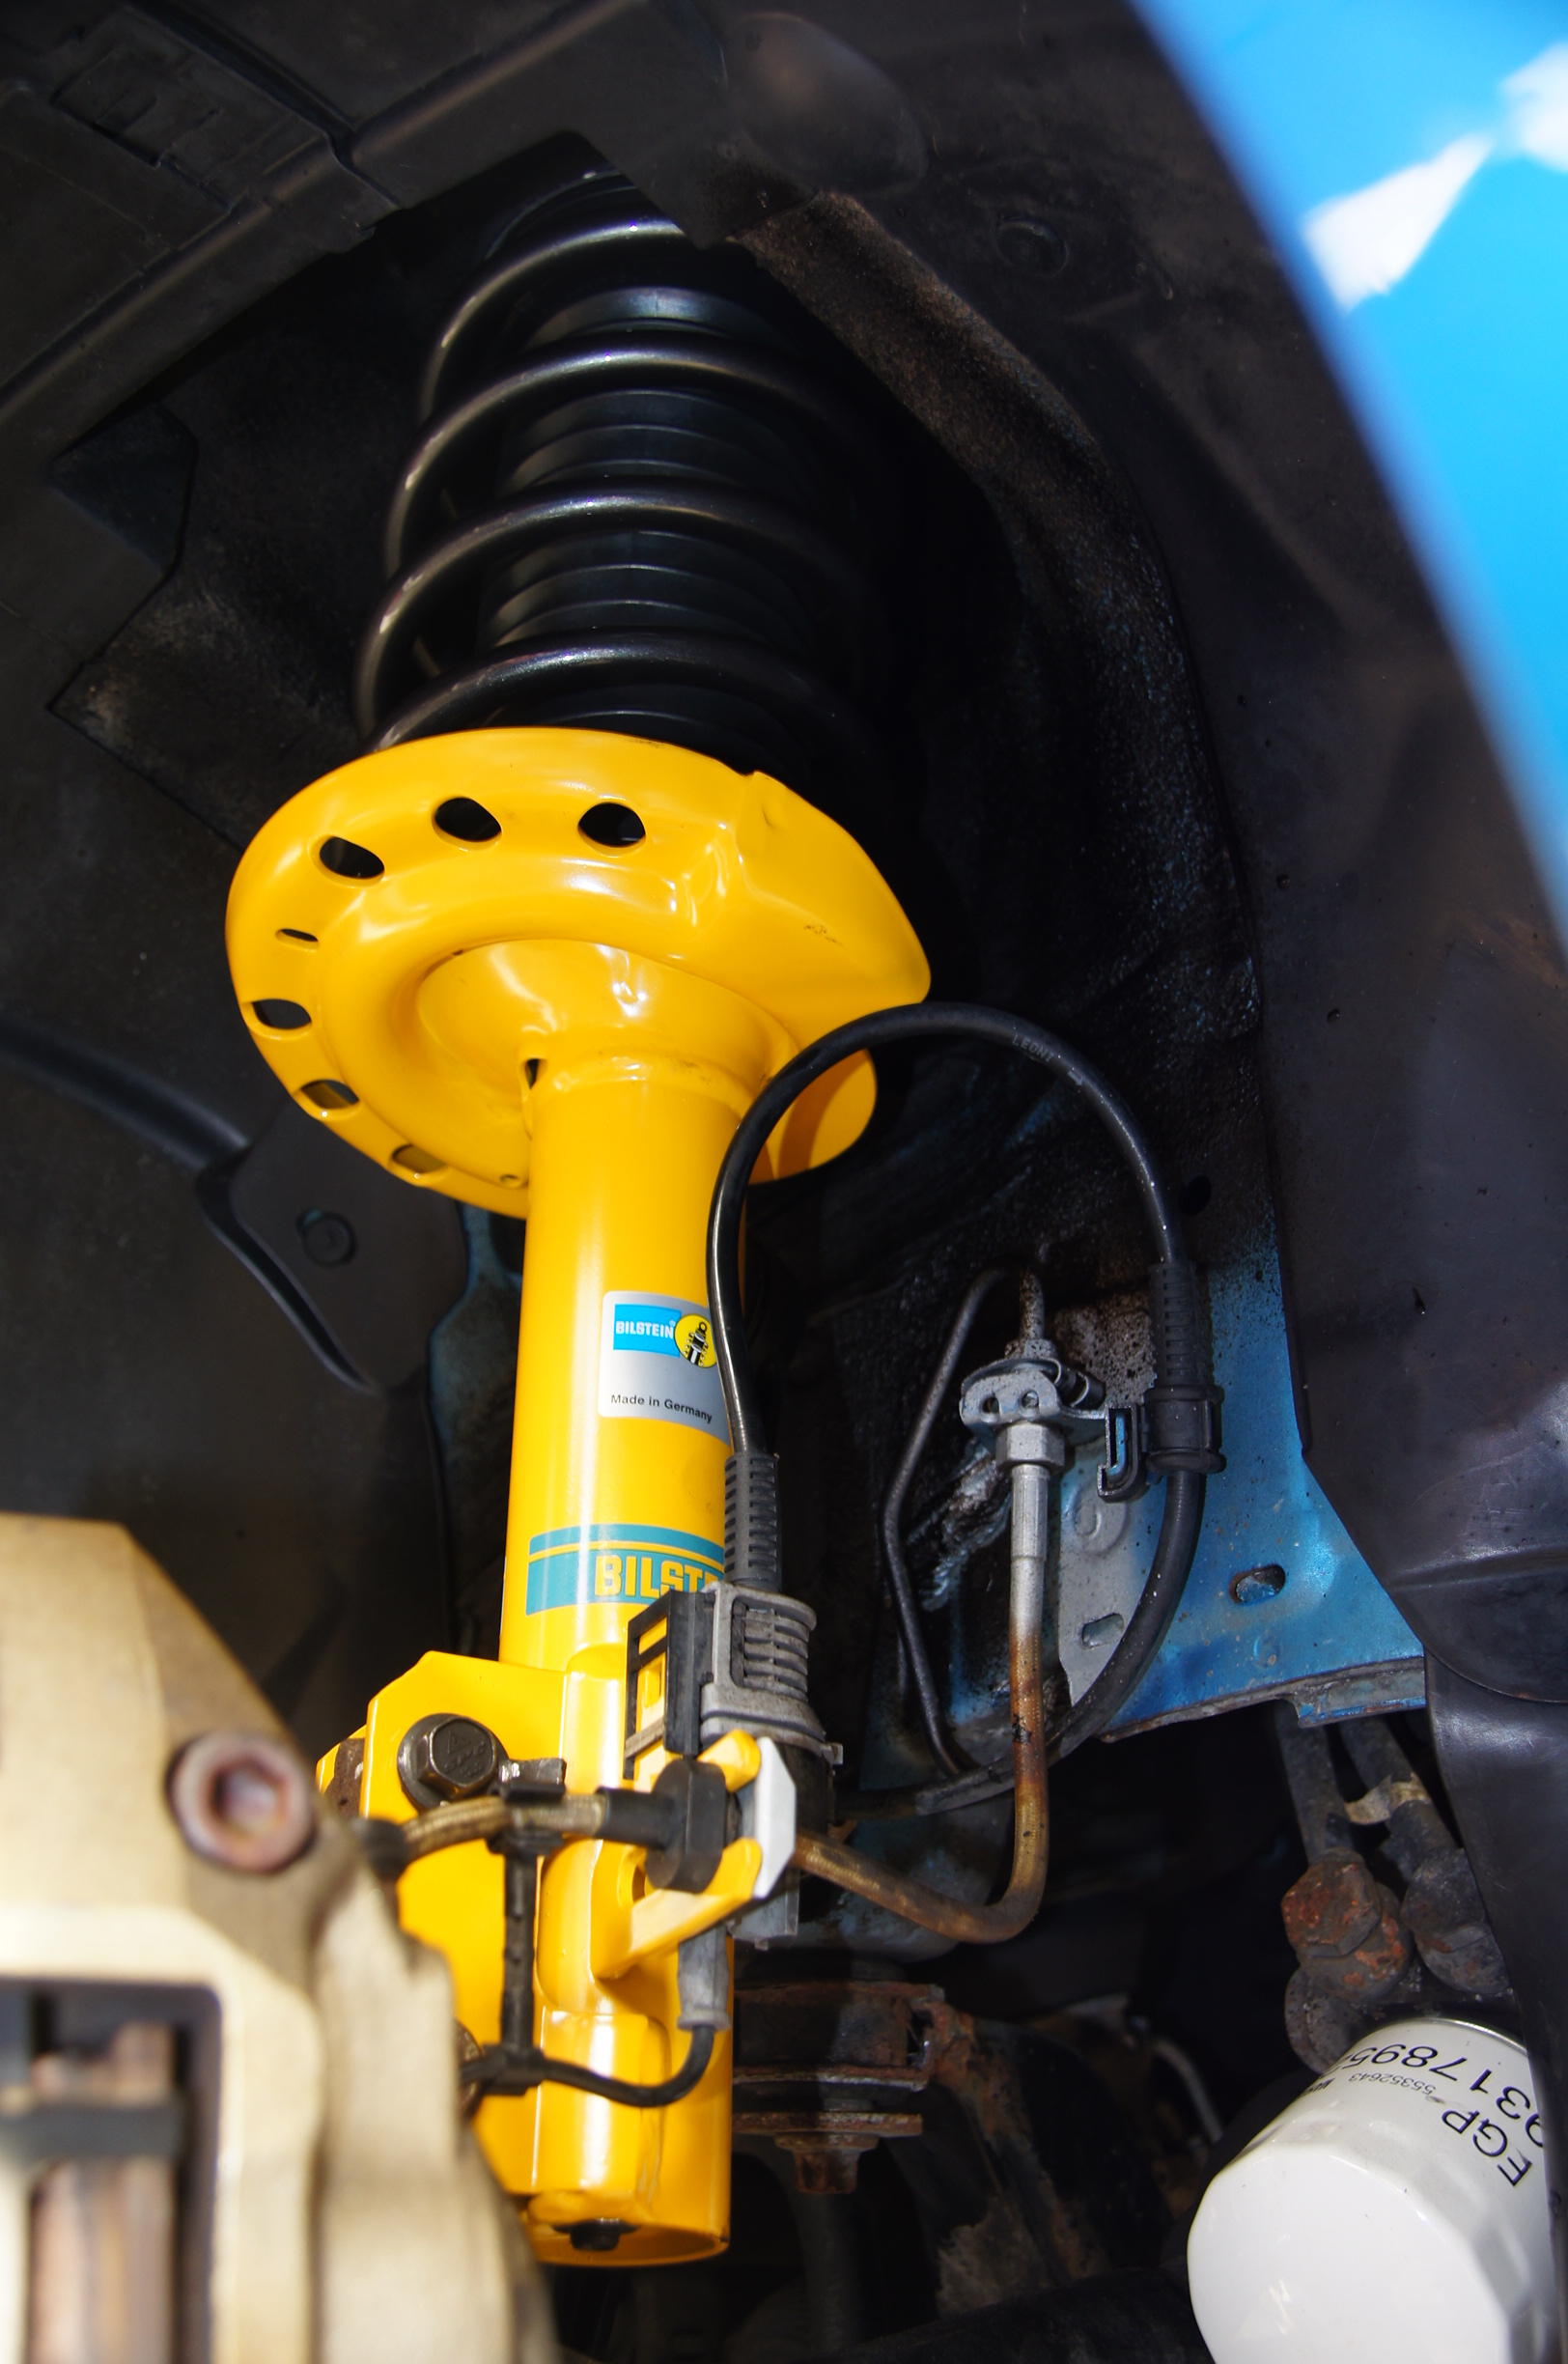
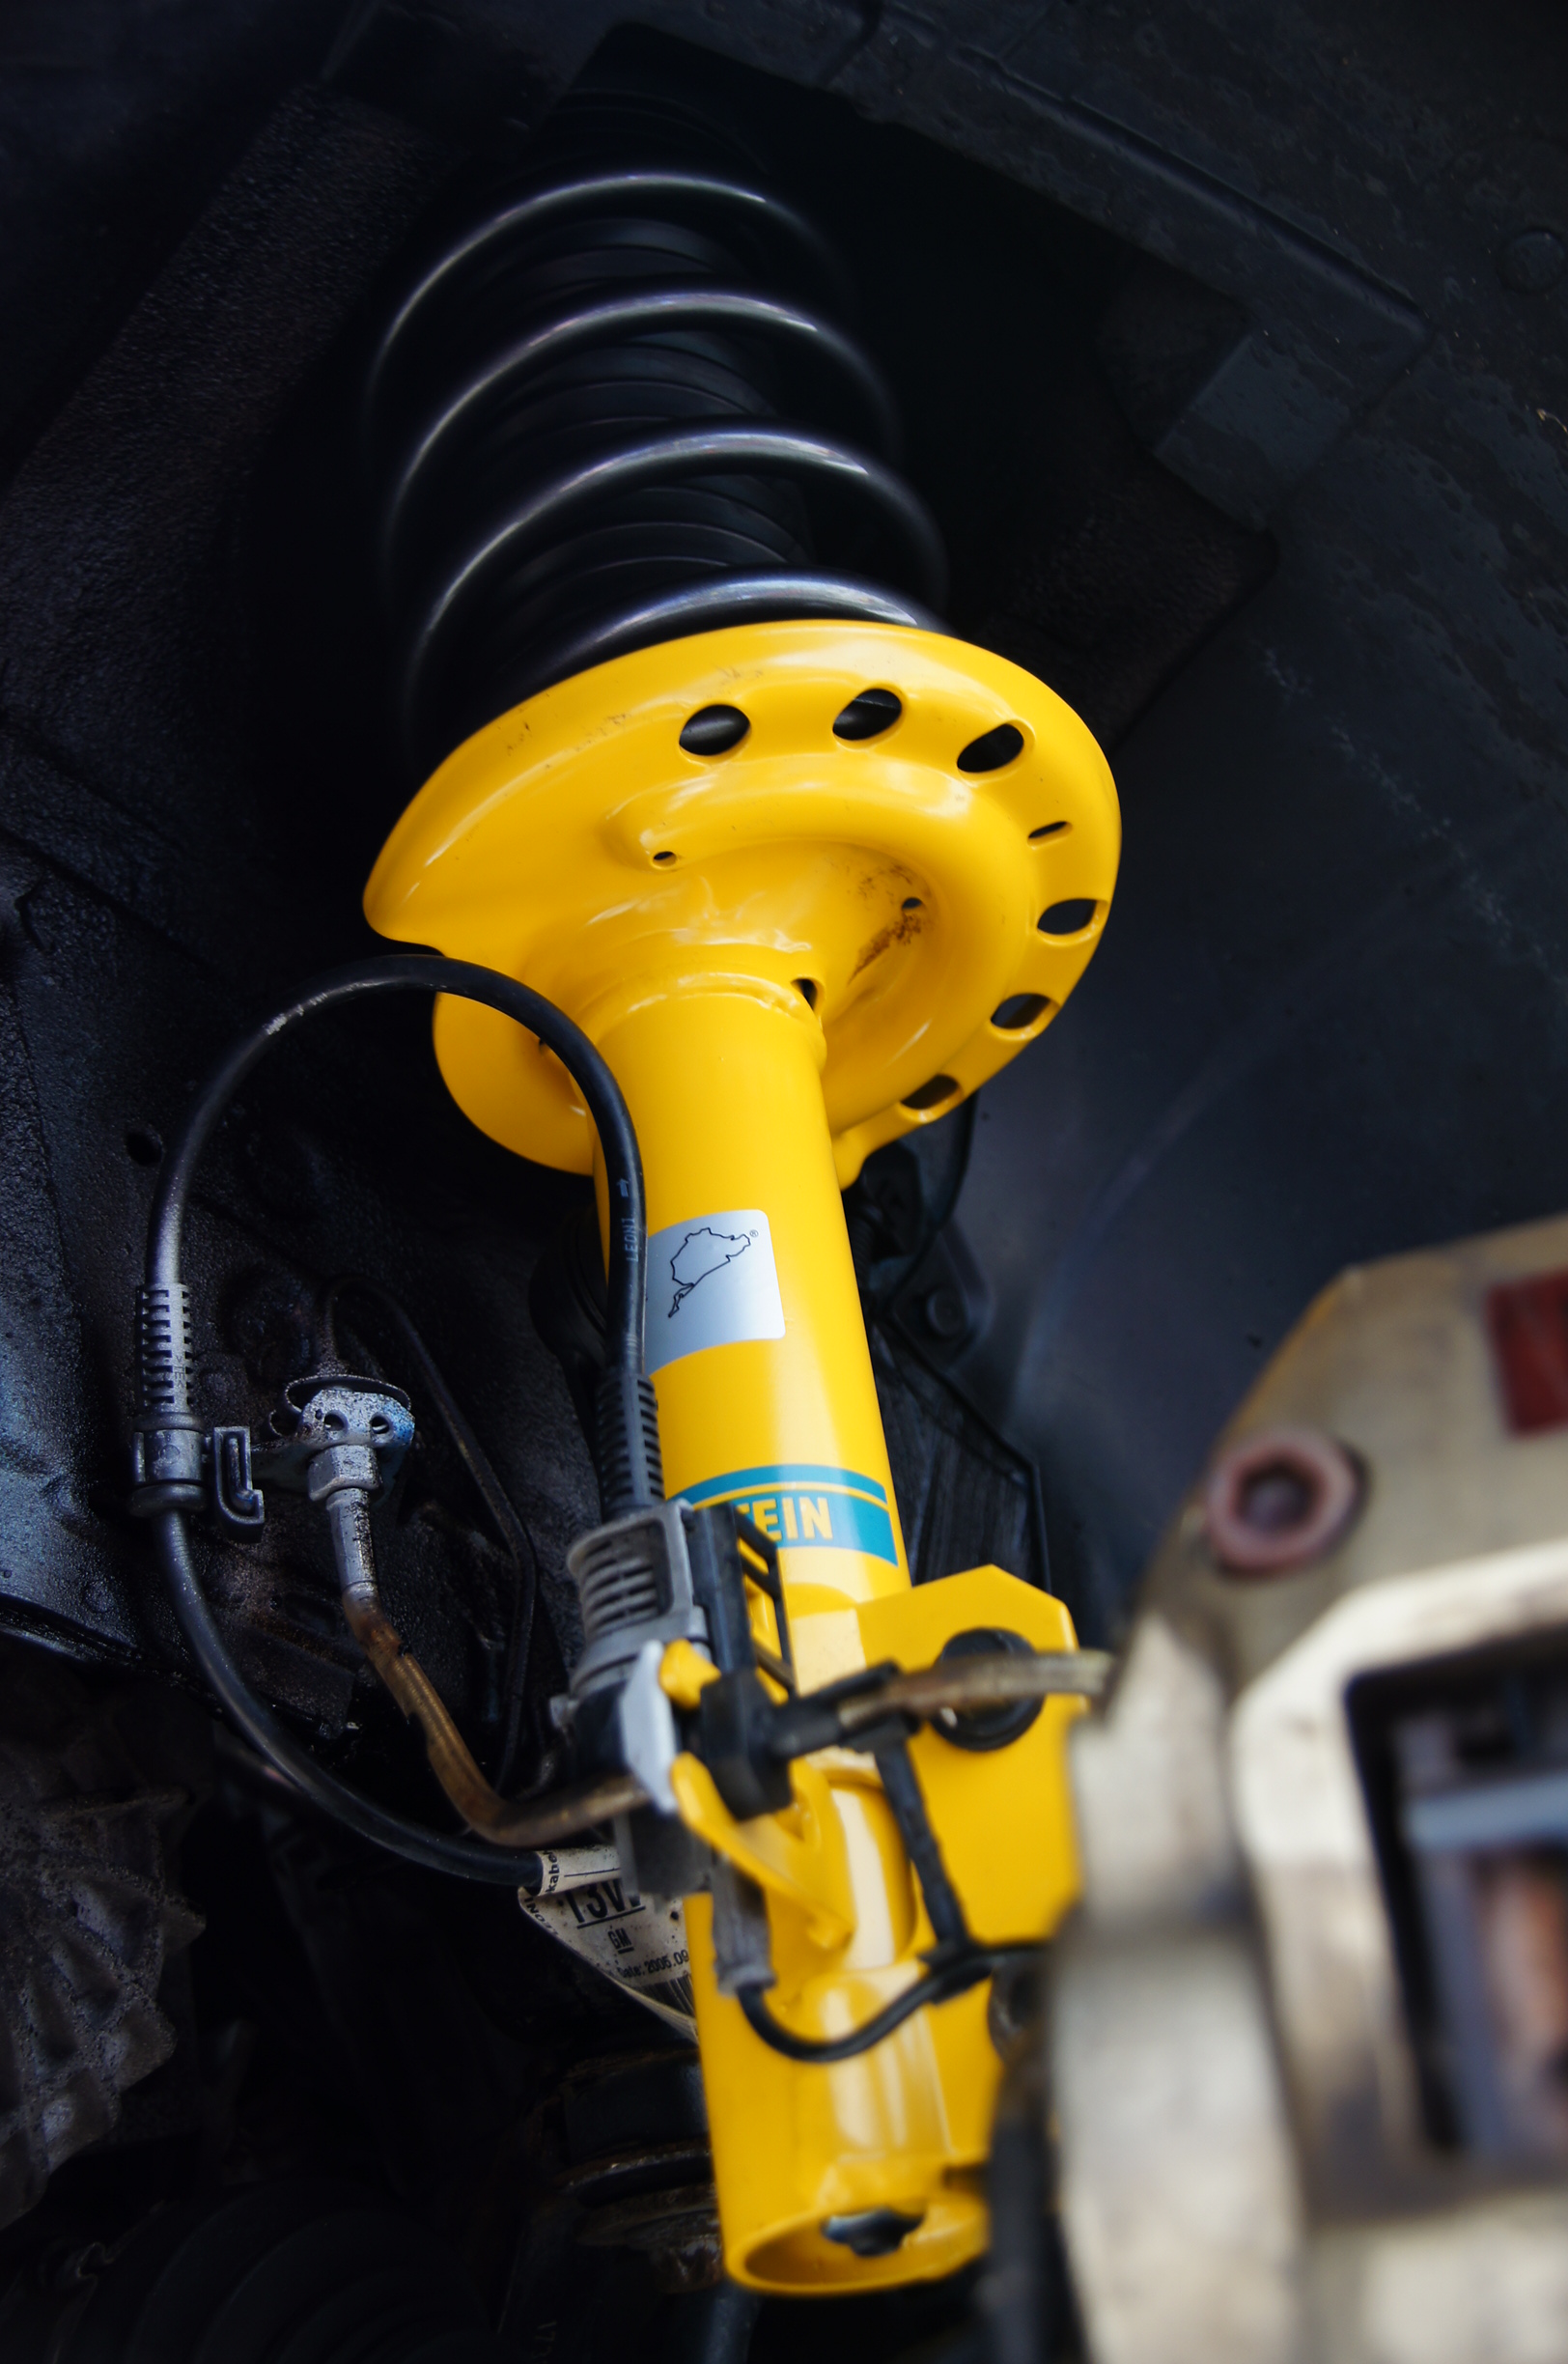
Front Struts fitted:
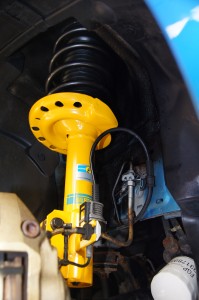
Front Strut Fitted
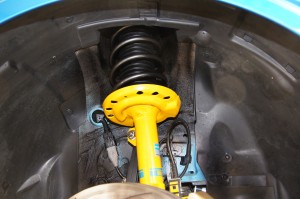
Front Strut Fitted
Front Strut Fitted
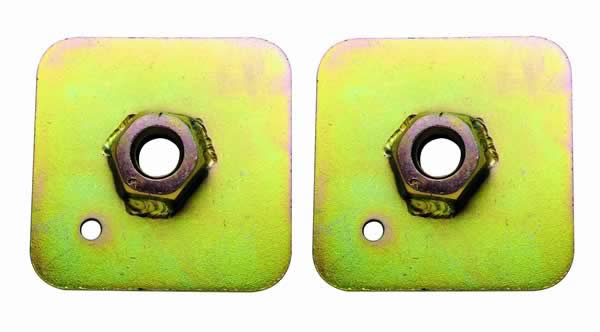
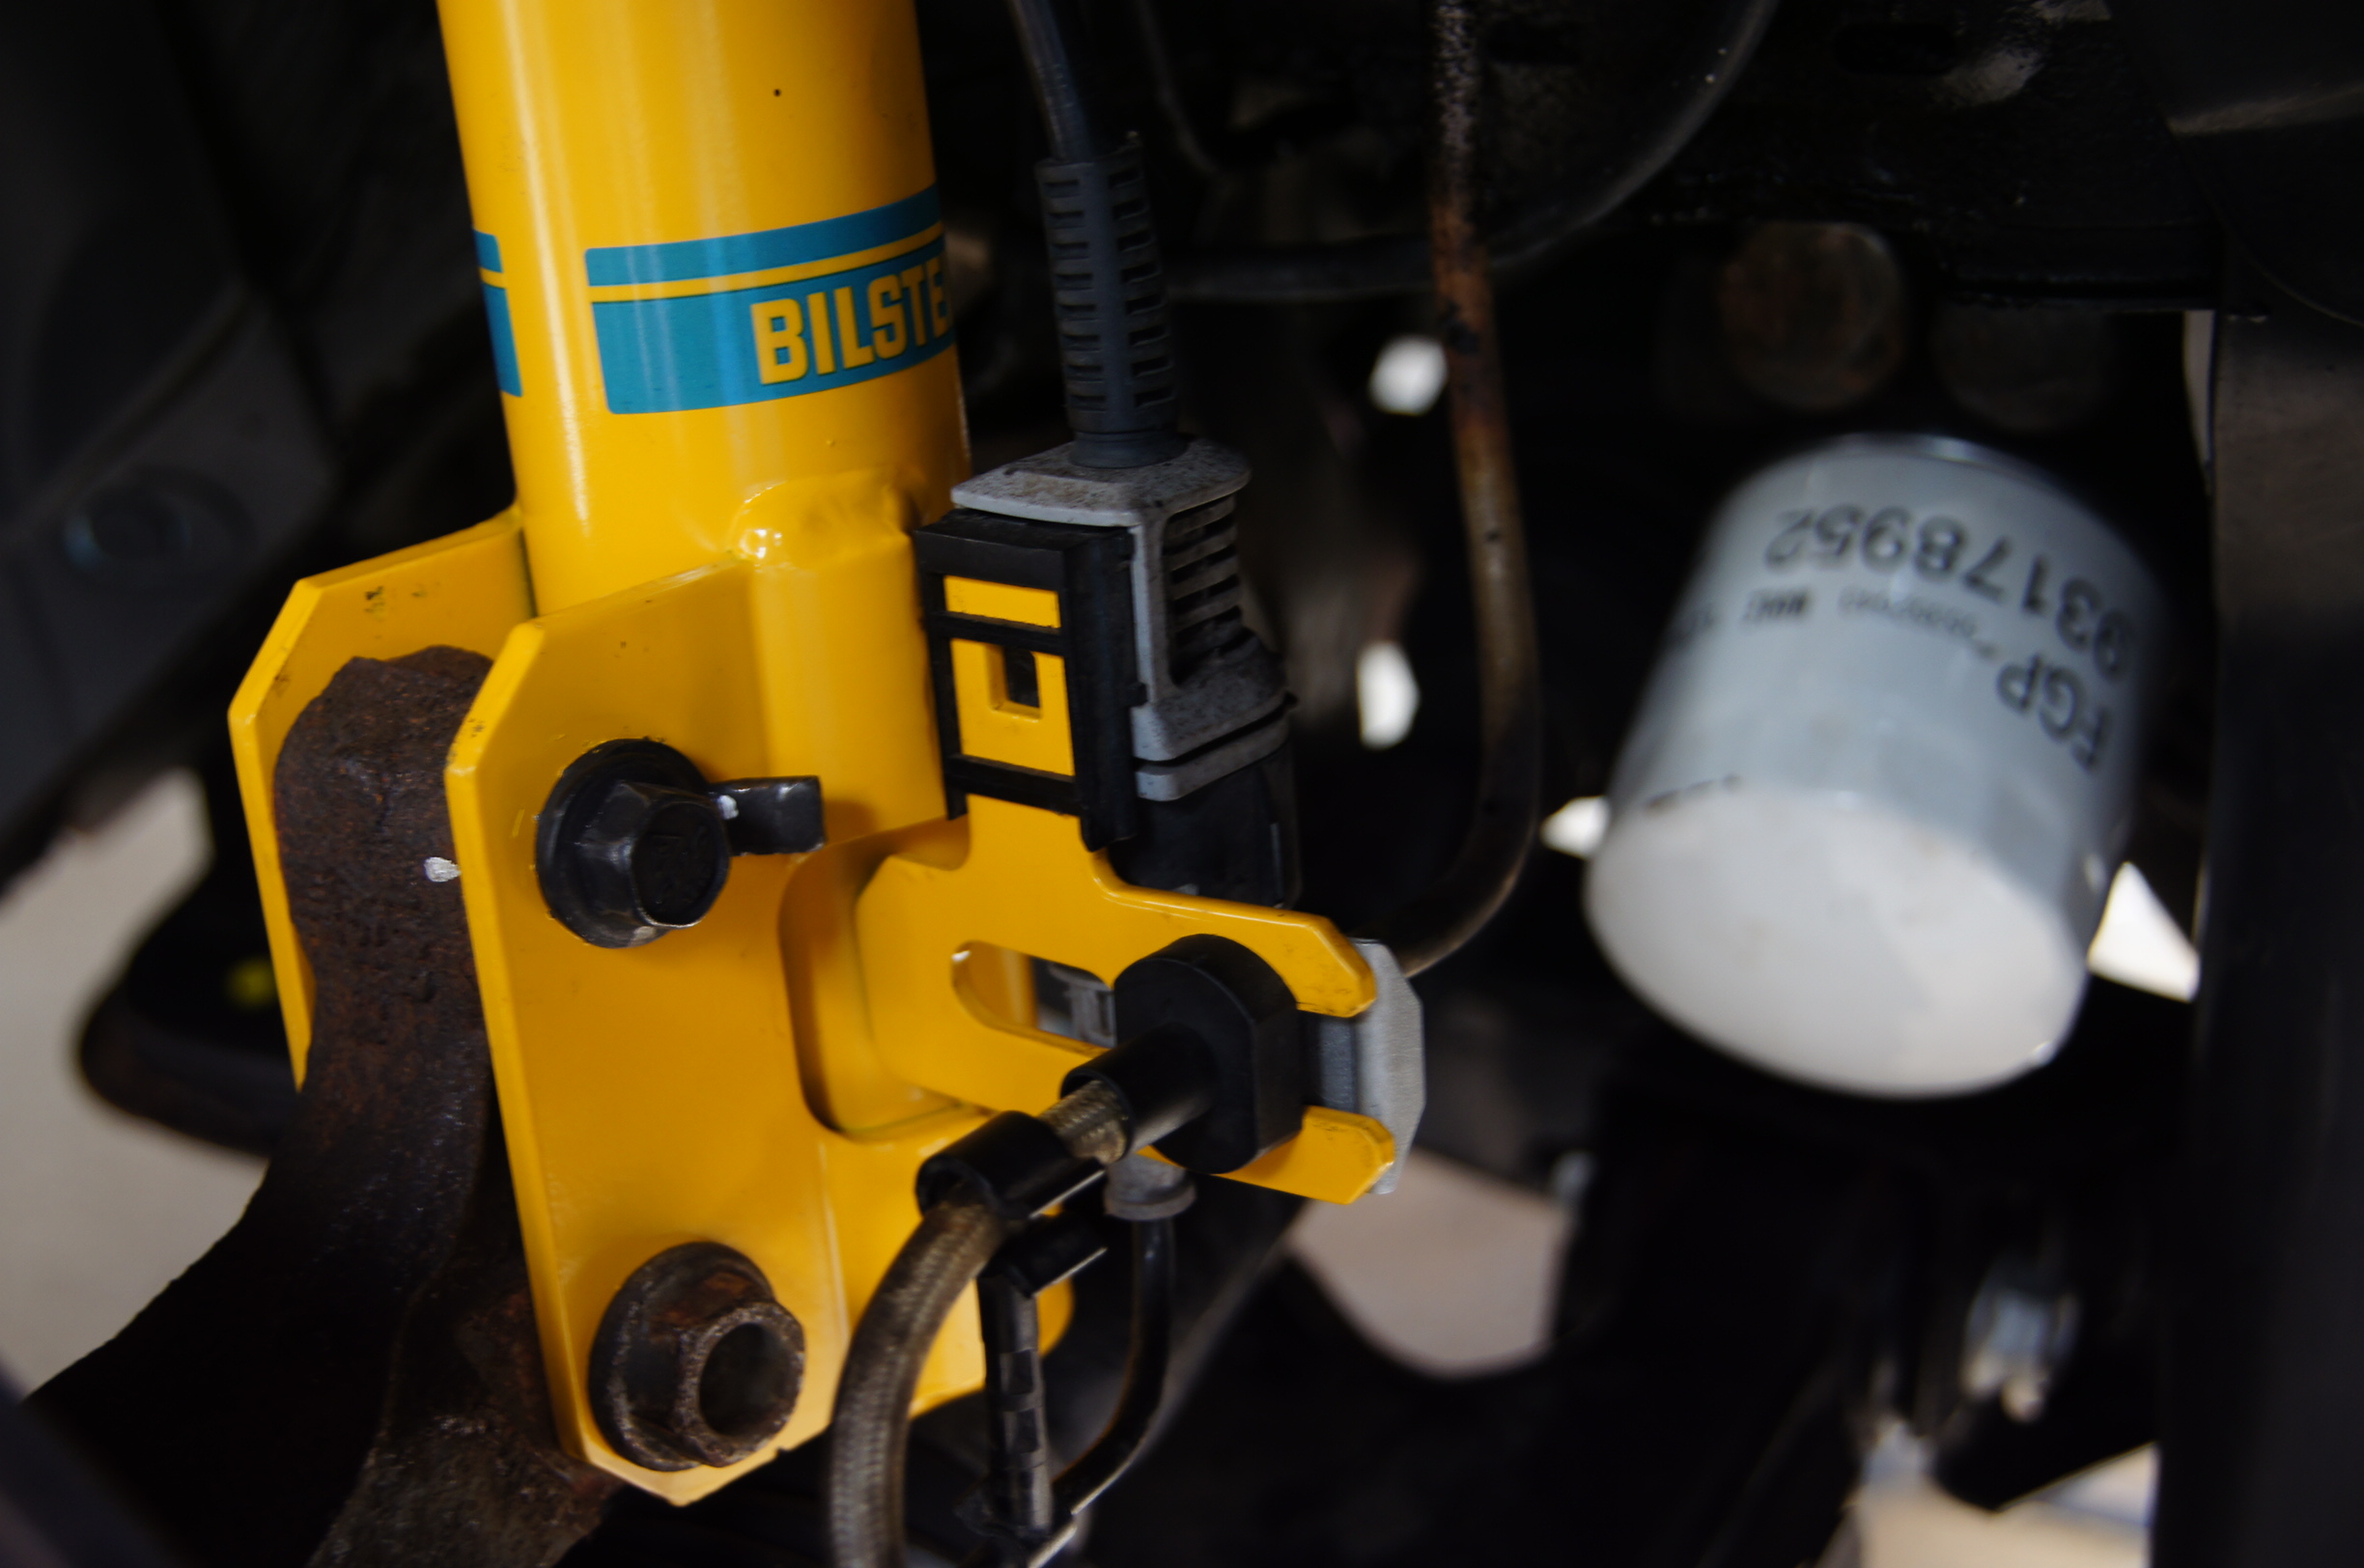
Front Eibach Camber Bolts (top), adding some additional negative camber for improved turn in for track use:
Camber Bolt
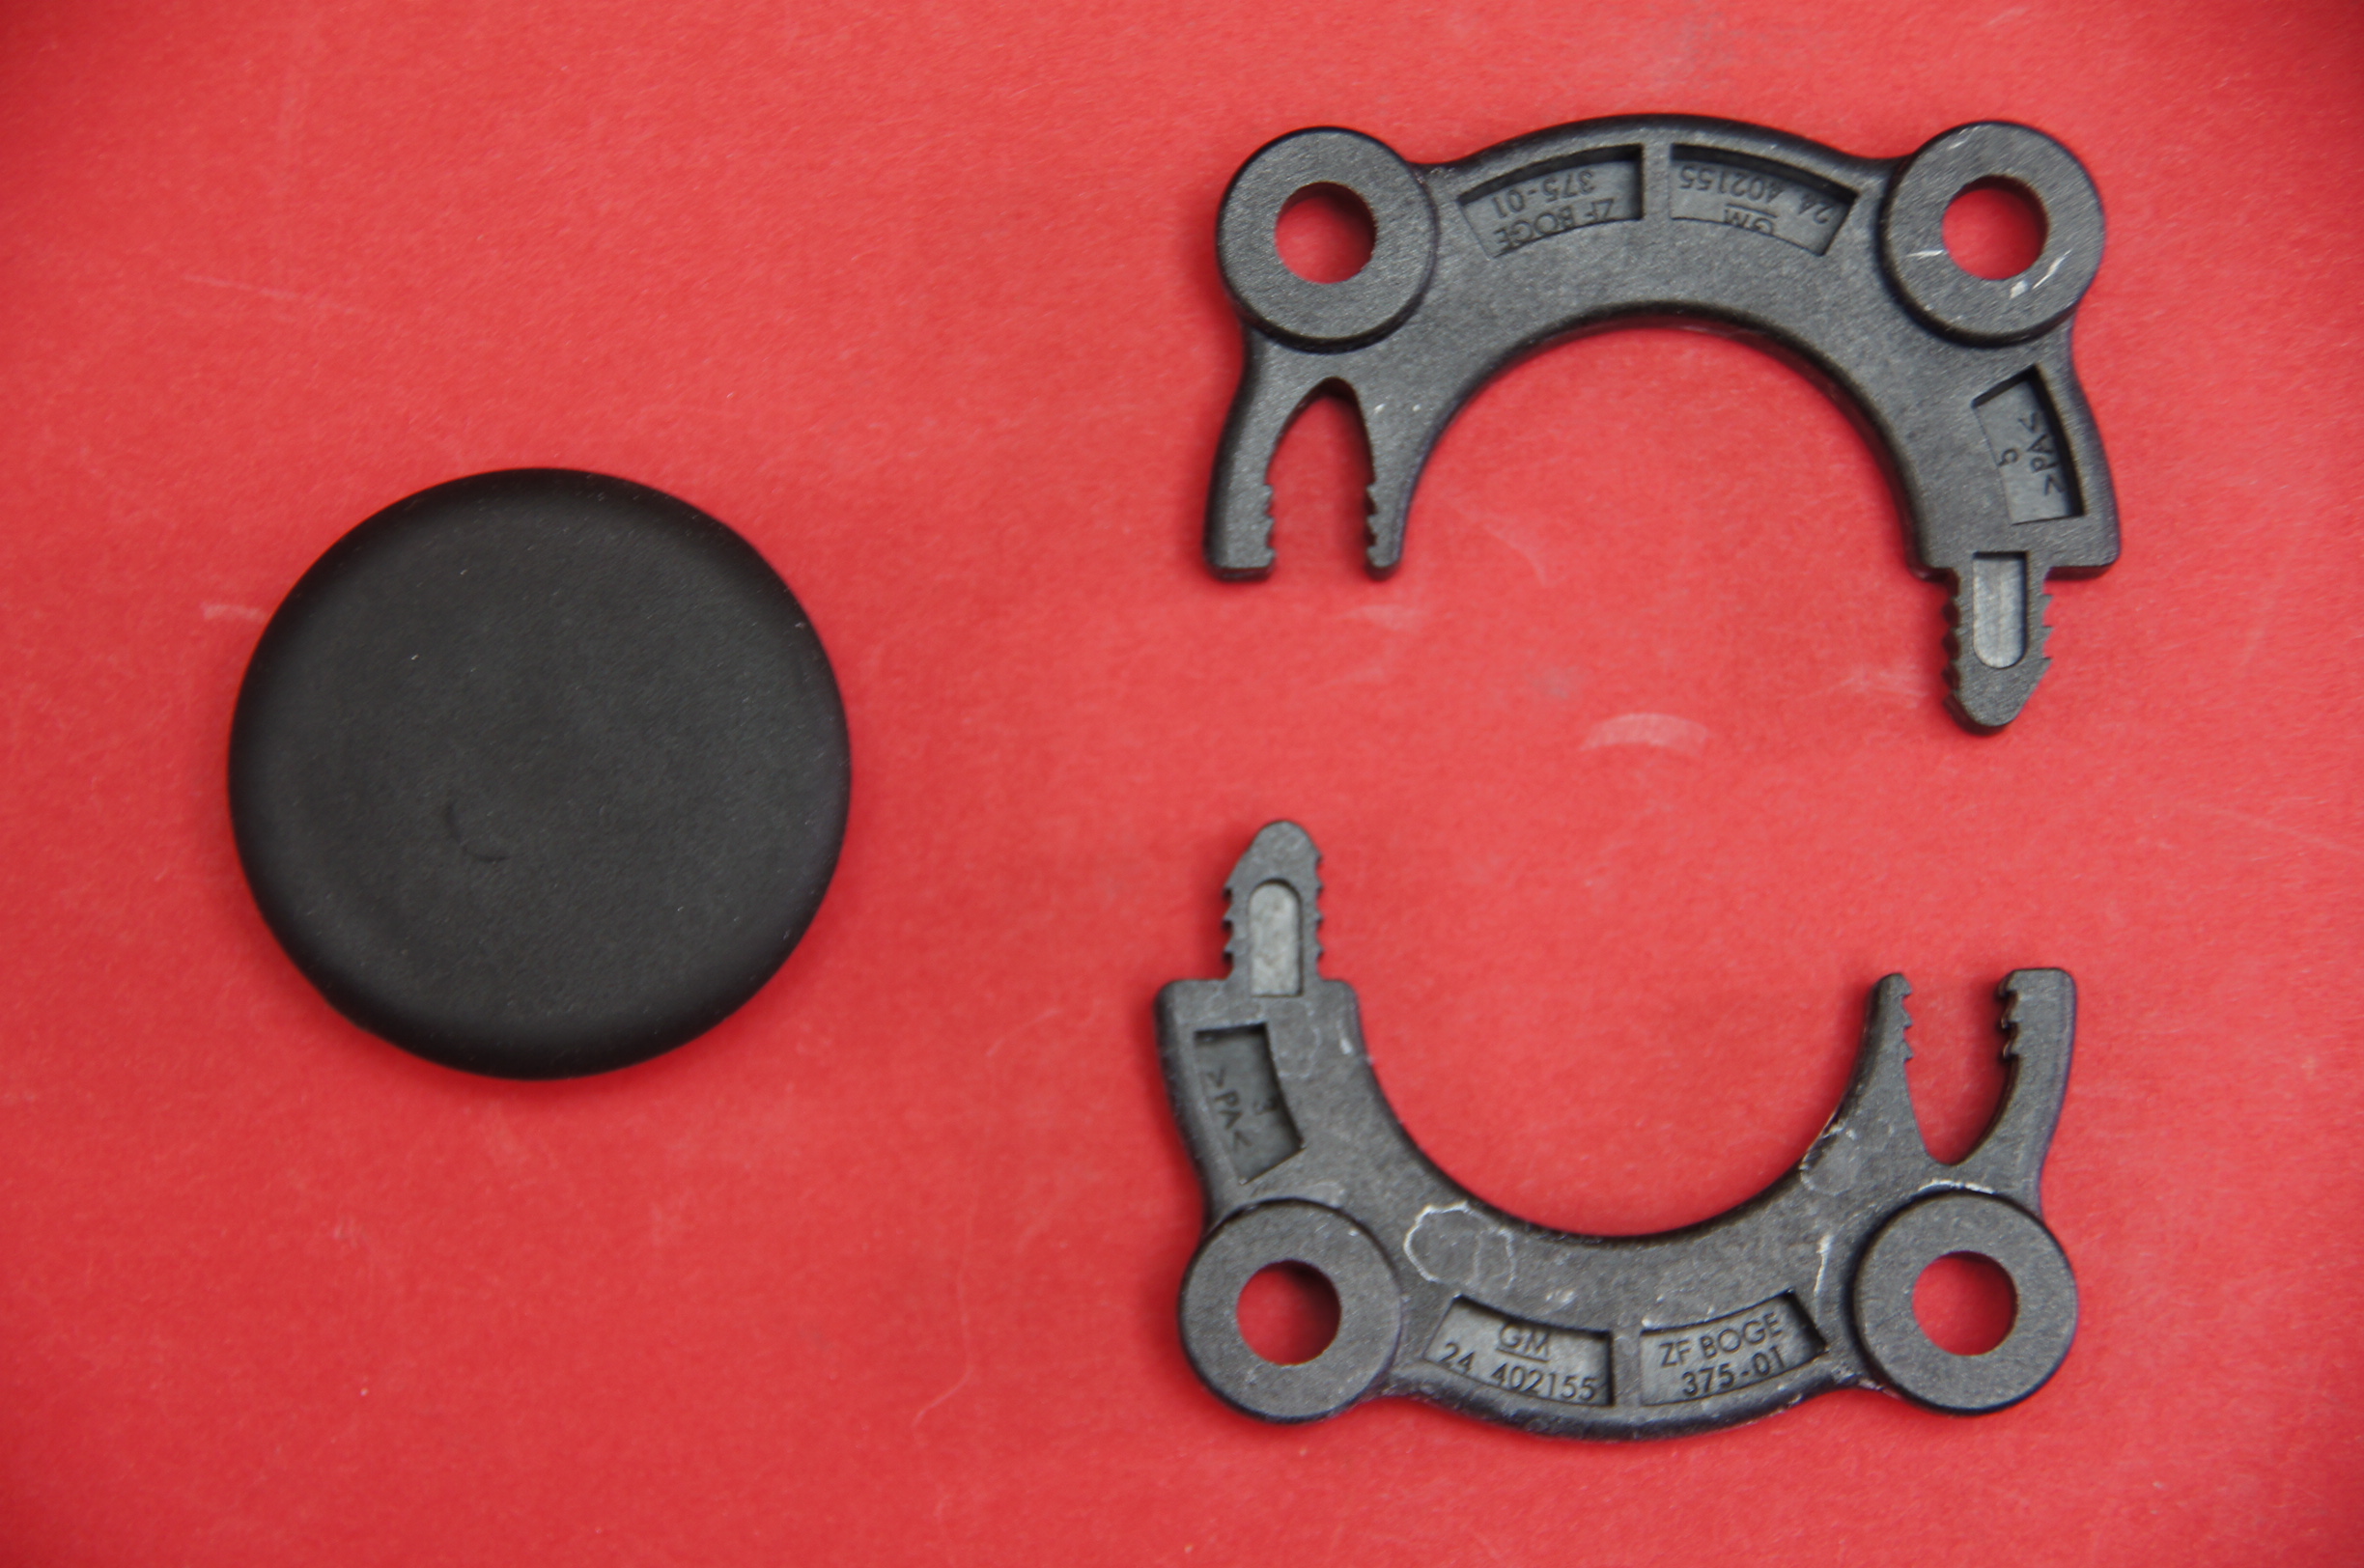
Damper Retaining Clips and new rubber cover:
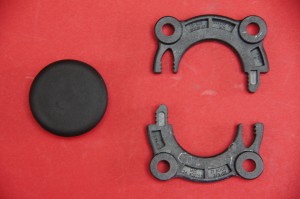
Strut Top Clips and Cover
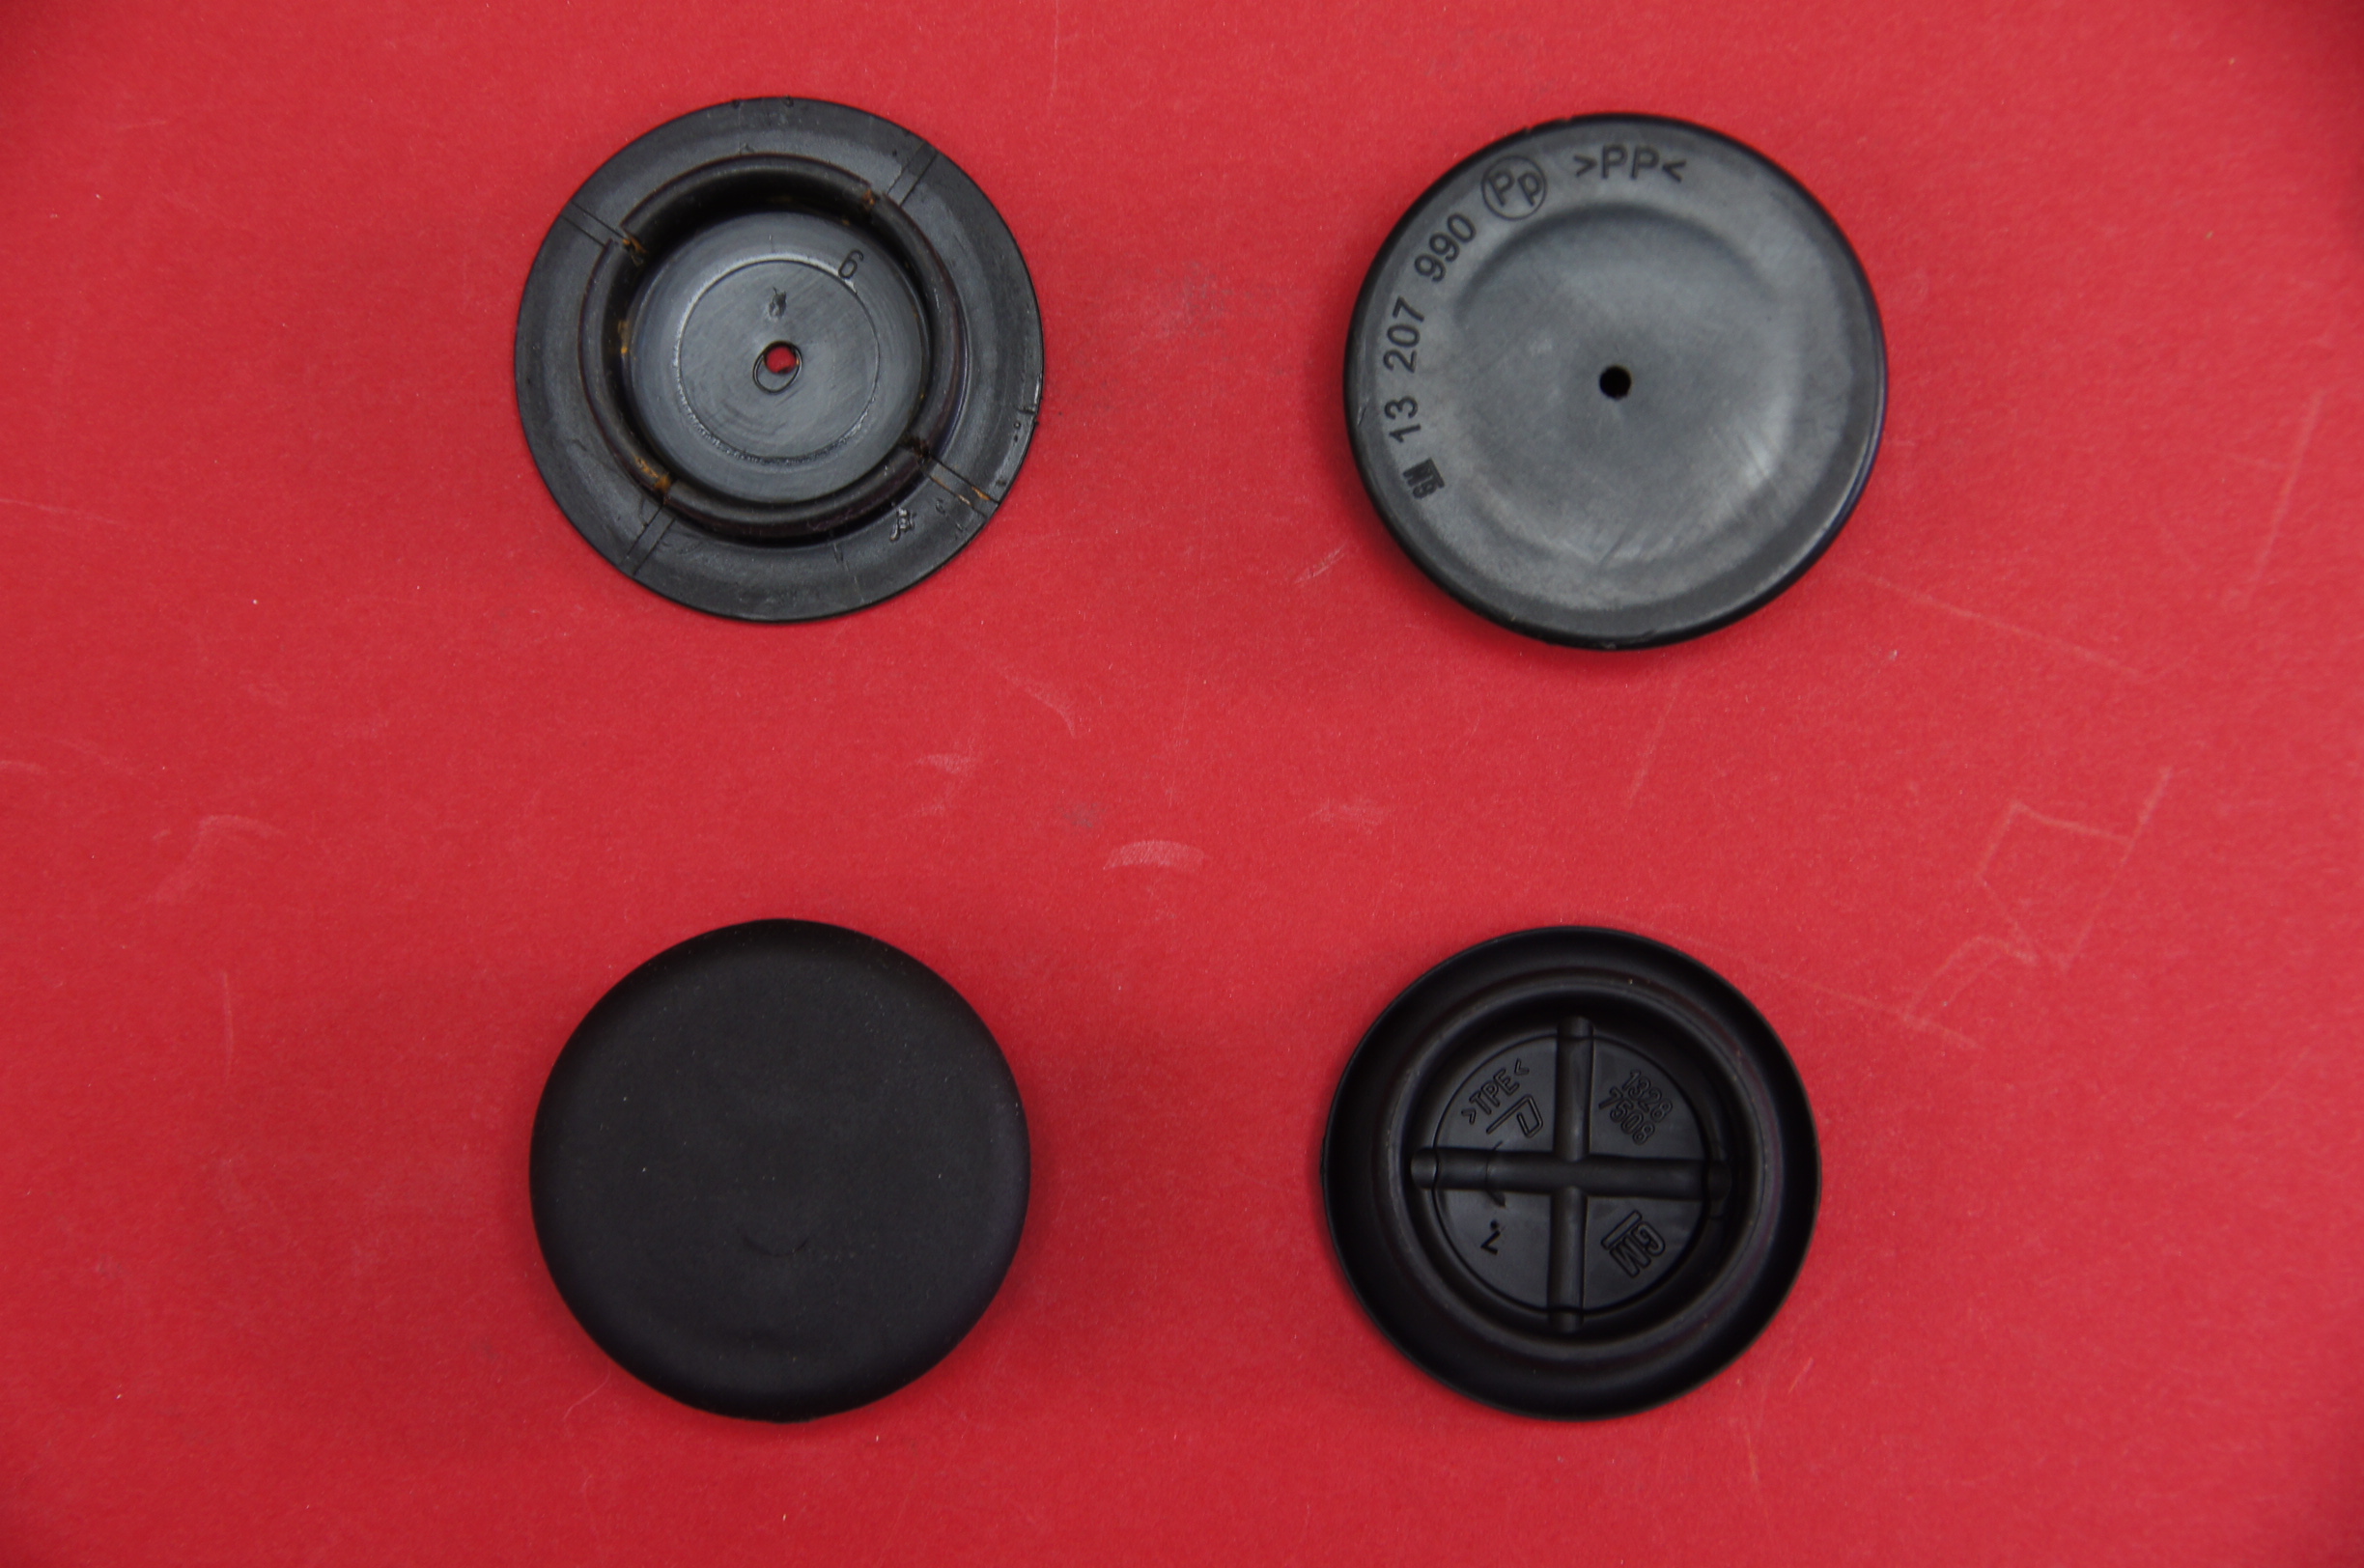
Original plastic covers (top) and new replacement rubber covers (bottom) which seal better:
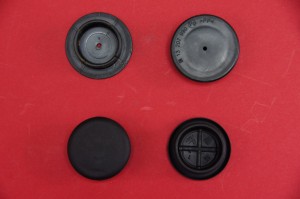
Damper Covers
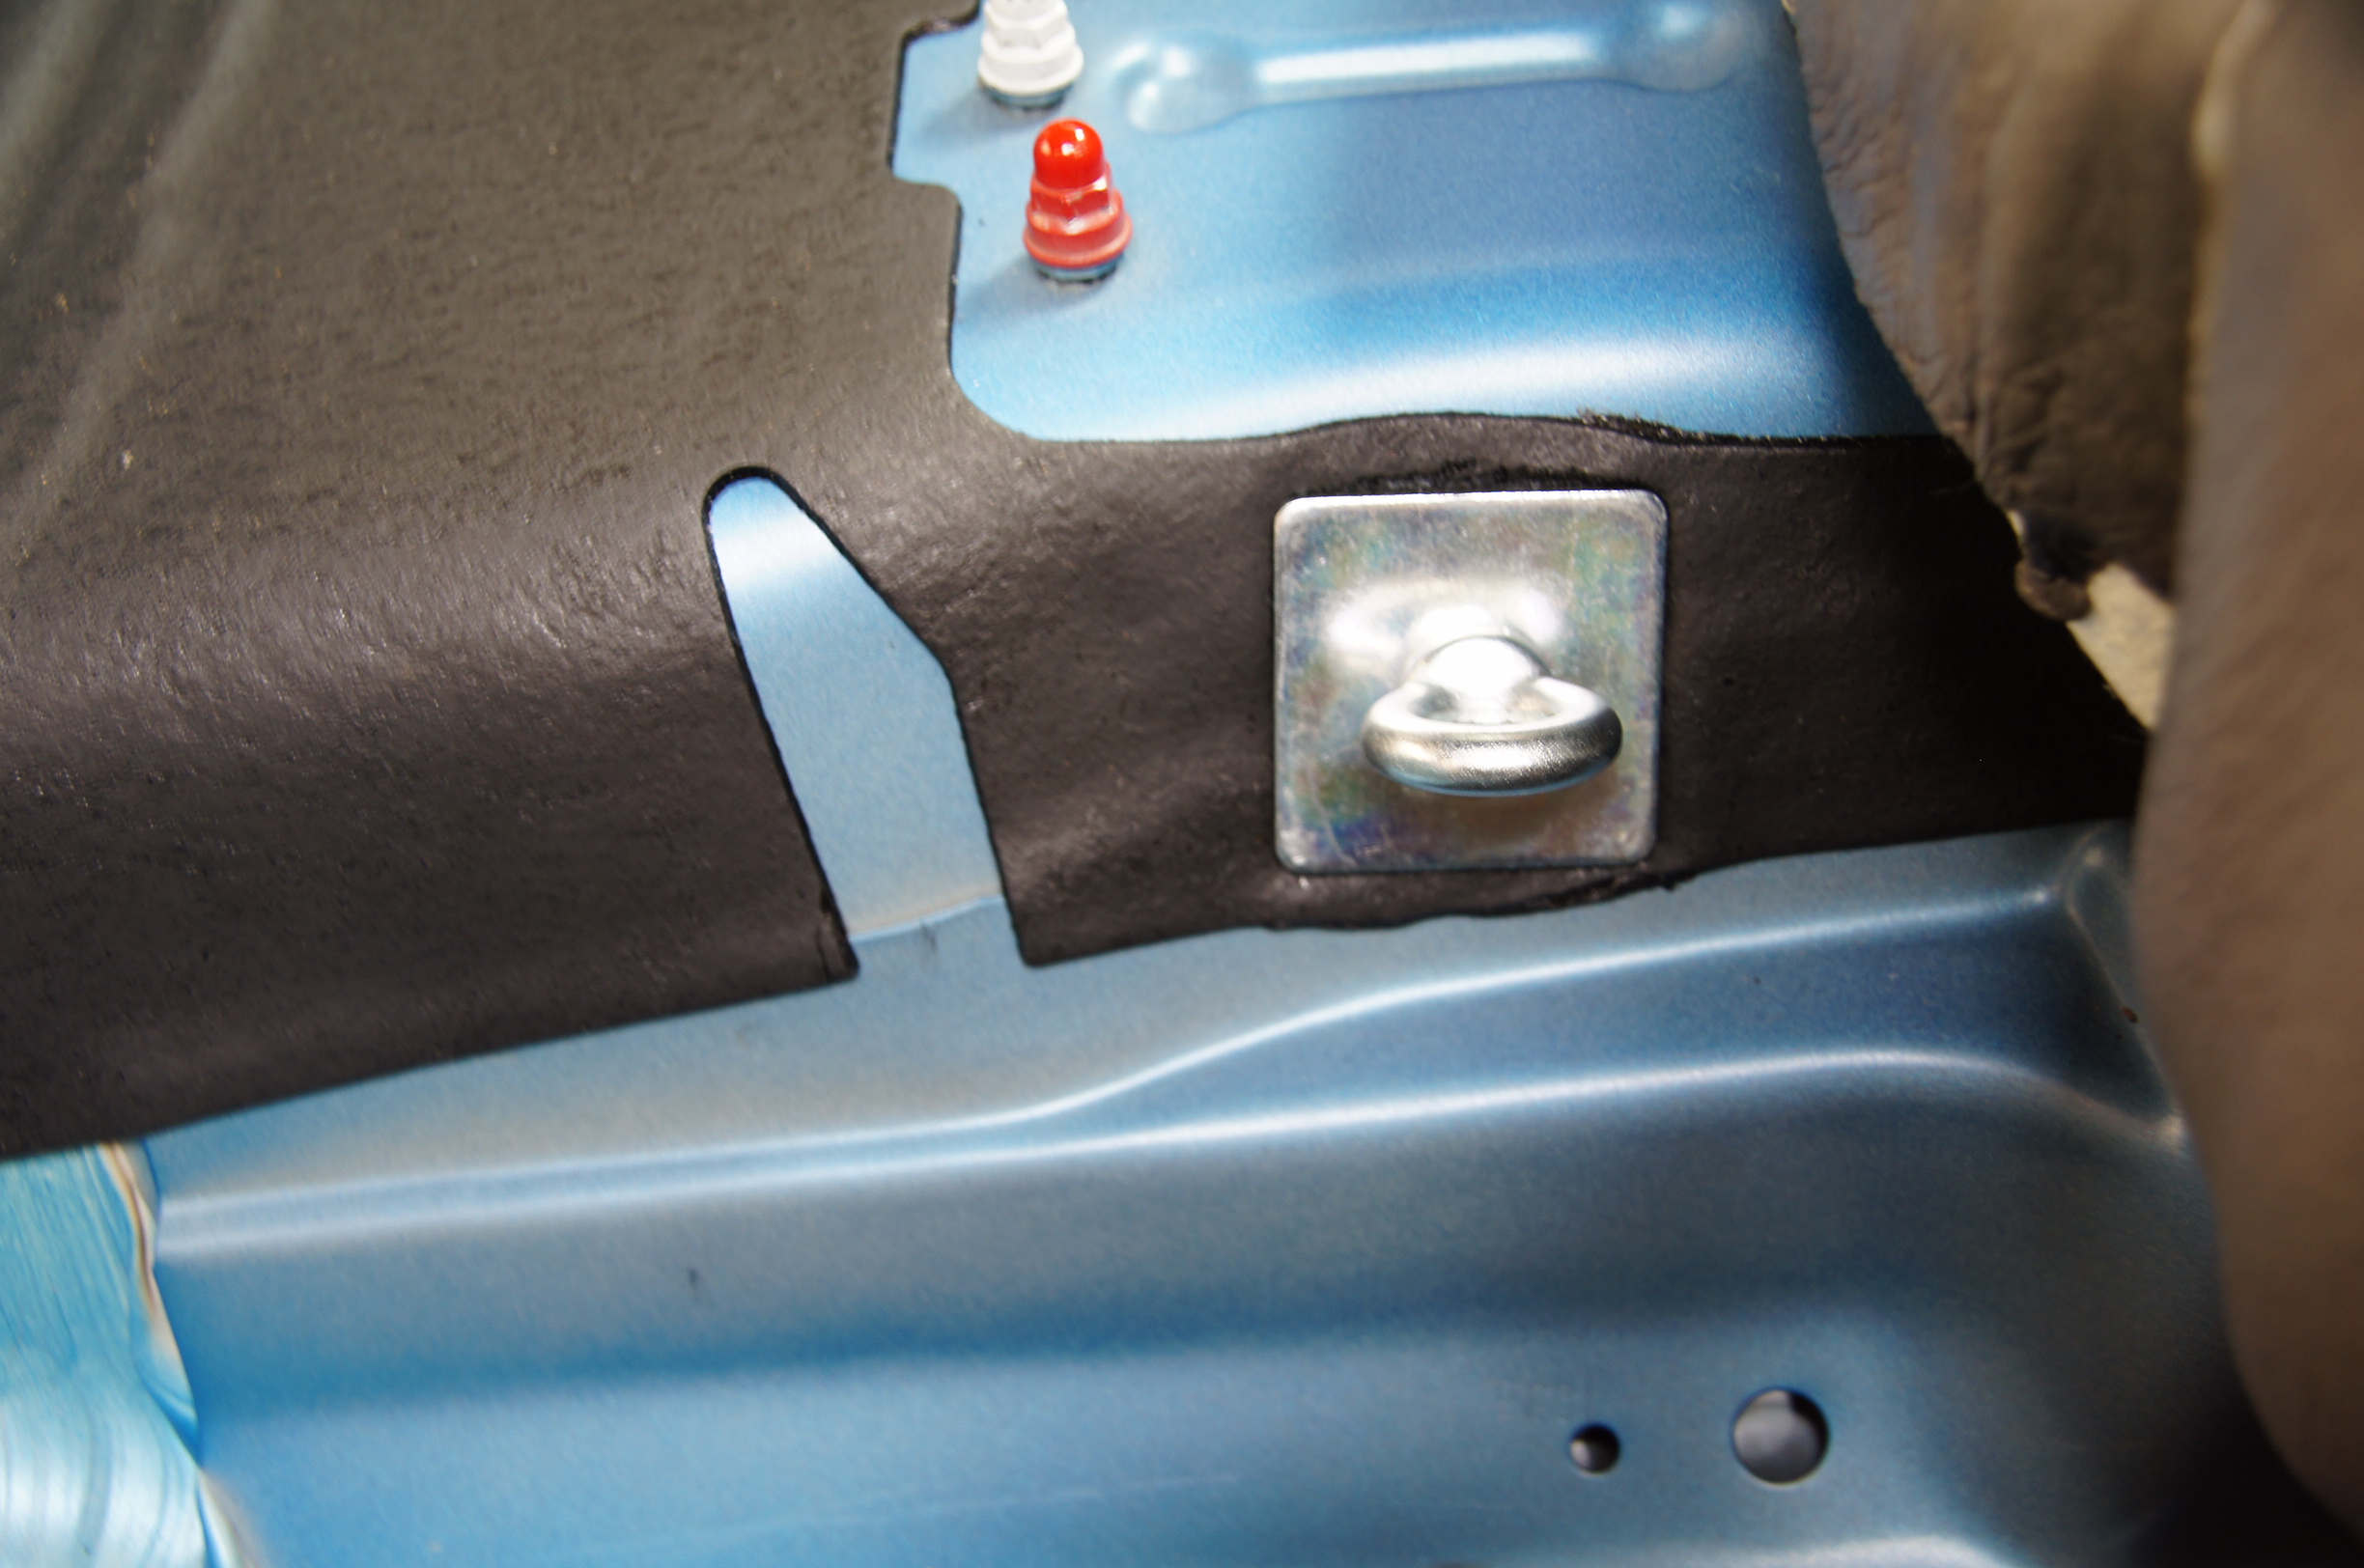
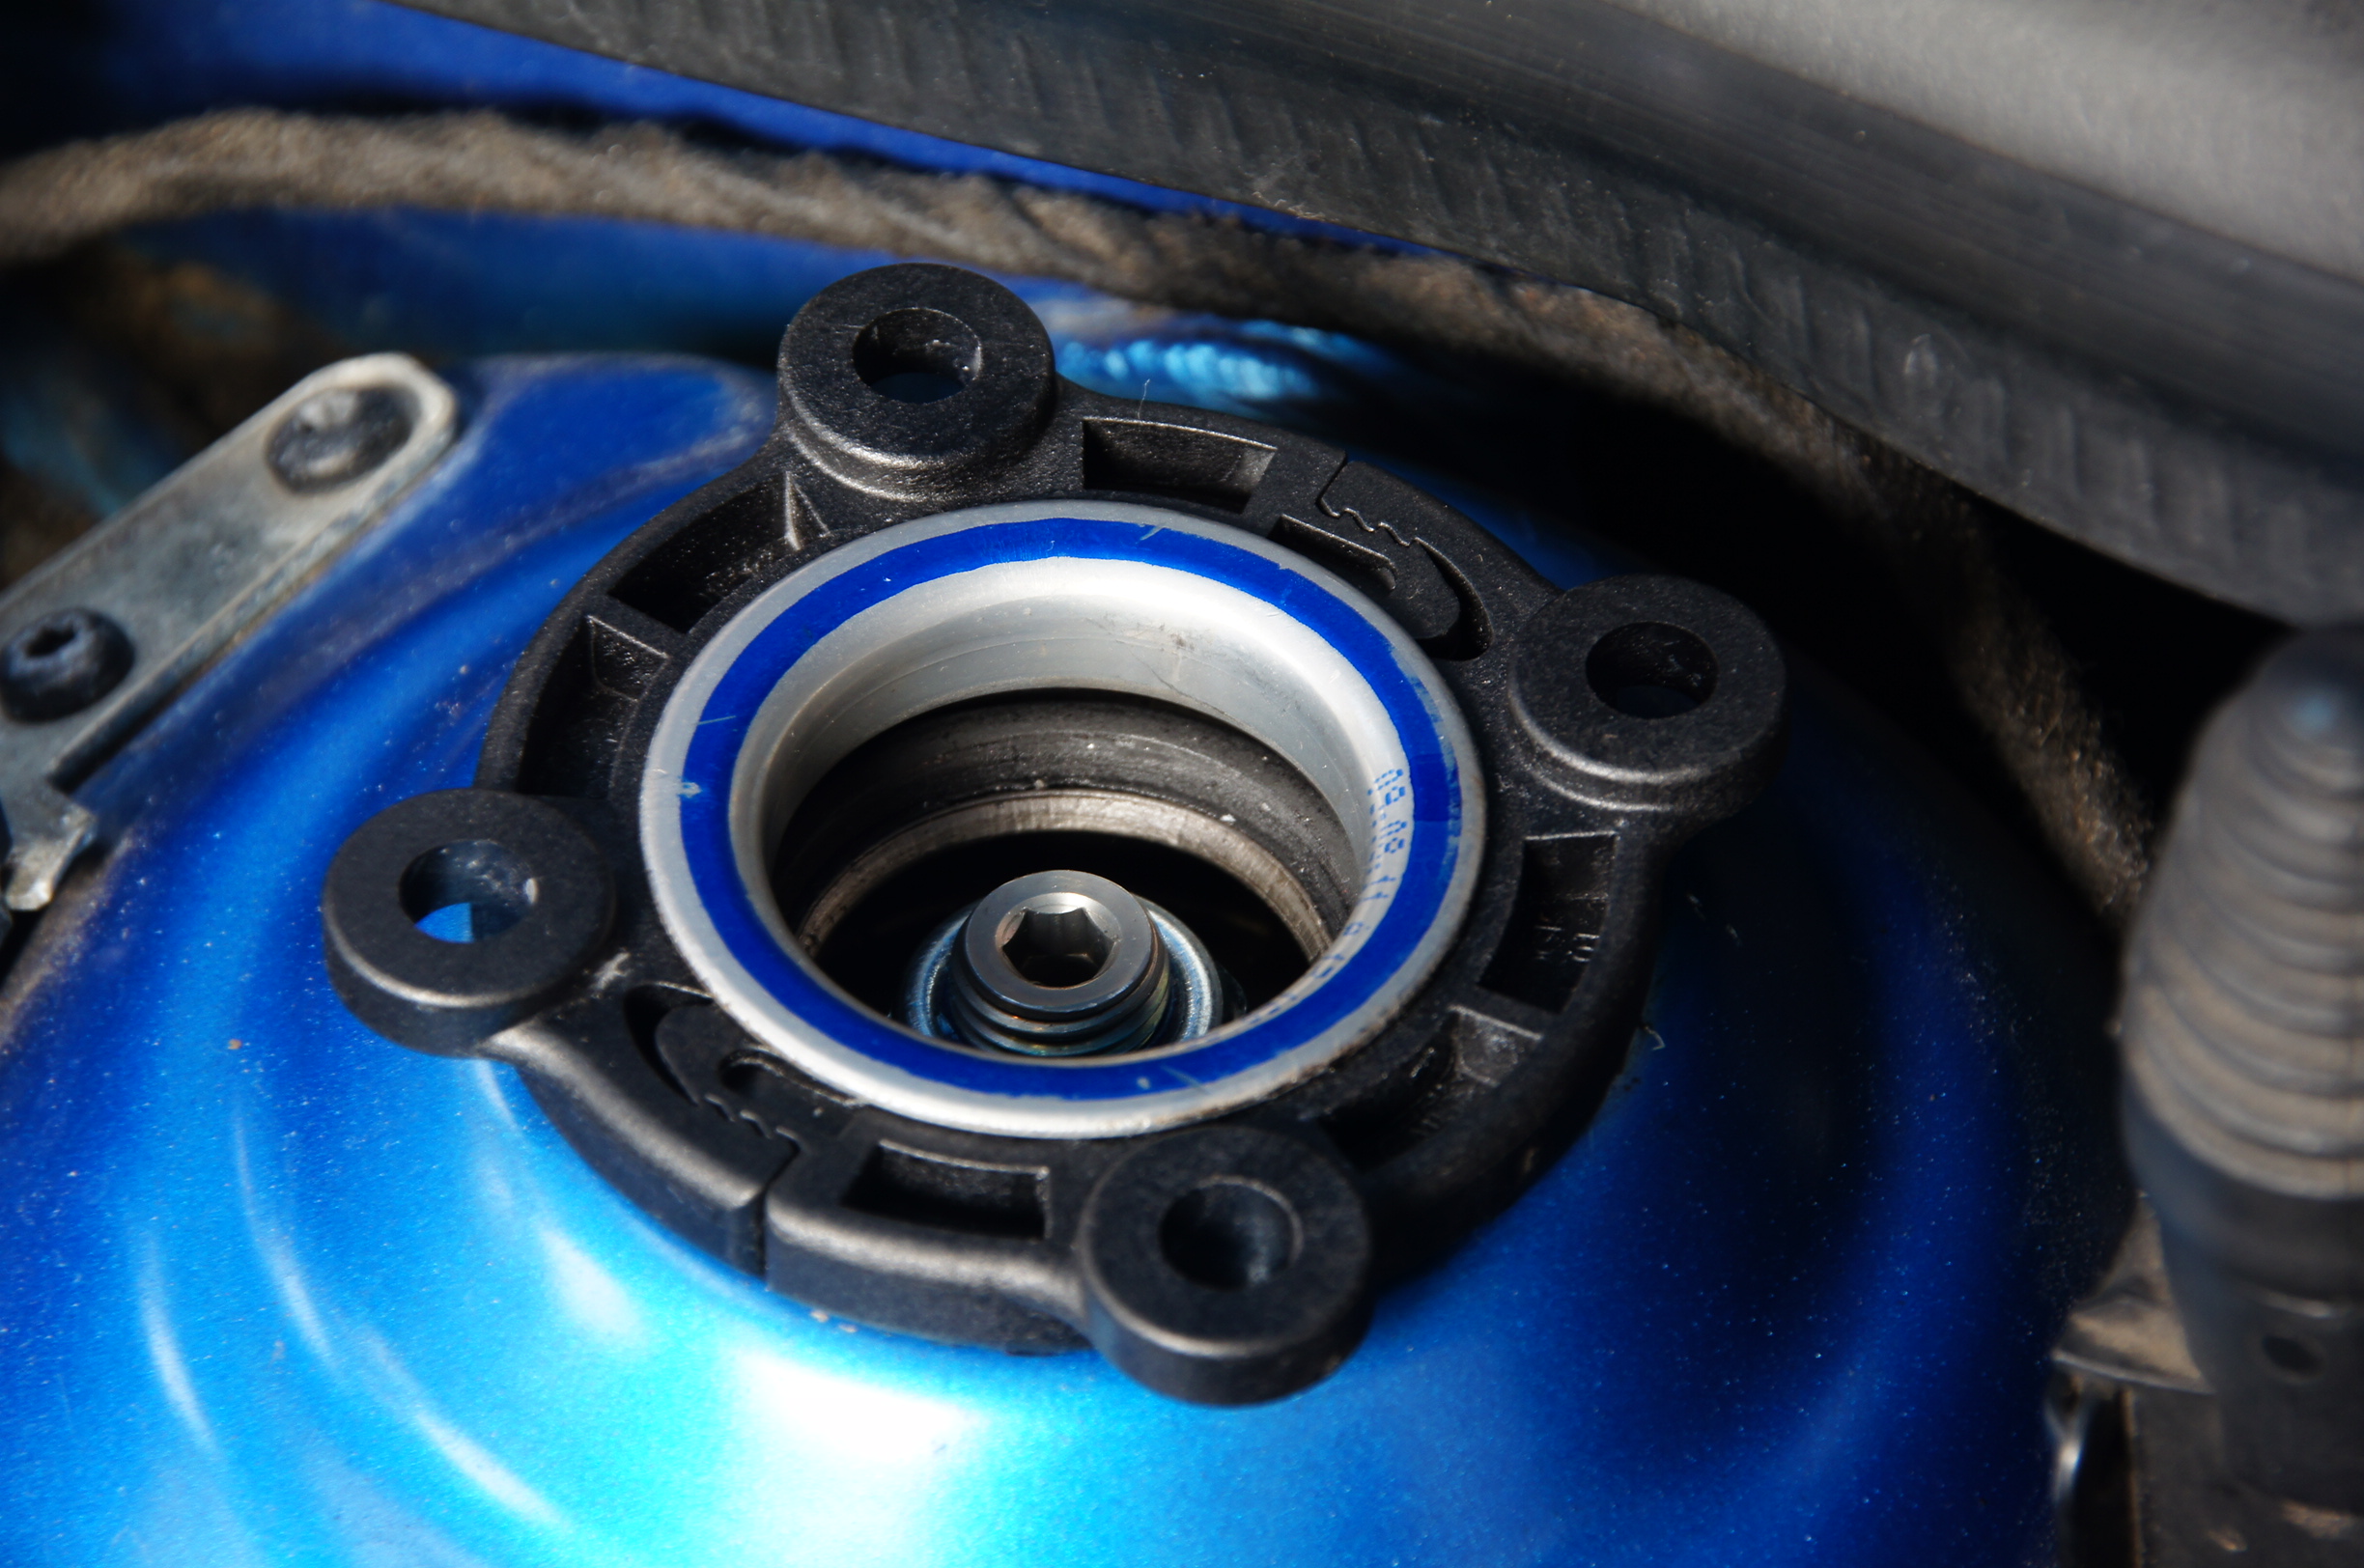
Retaining clips fitted, securing the damper into the suspension turret (covers to be fitted):

Strut Retaining Clips Fitted
Like this:
Like Loading...