Archive for the ‘ Build 2015 ’ Category

Chassis Alignment.

Chassis Alignment Time Again.

Having had the new engine bed and KW Clubsport coilovers fitted it meant it was time to have the chassis alignment carried out again and have the front camber and toe adjusted. The rear settings are fixed from the factory and cannot be altered easily without shims, but for trackday use I have found that the factory rear settings are suitable providing they are within spec when aligned to the front end.

The car went to a local specialist who have Hunter 4 Wheel Laser Alignment equipment and who have carried out chassis alignment on the car previously for me. Once on the ramp and set up, initial measurements were taken. Camber was at about 2.5 degrees negative each side and the tracking was 1.0 degree toe in each side, which was not surprising given the changes that have taken place!

After the starting measurements were obtained the front camber and toe settings were altered to my preferred requirements which are designed to give a positive chassis feel. I choose to have both caster and toe and increased over the factory settings, but are not too aggressive that they will cause high tyre wear. The chosen settings work for me.

Chassis set up is very much a personal preference. What works for one person may not suit another. The best advice is to choose a base setting and run with it, and evaluate the chassis and how it handles. From that point it is then possible to start altering settings to fine tune the chassis to suit each individual driver.

Brake Servo Vacuum Hose

Time to change the original hard plastic brake serve vacuum hose for an aftermarket one, mainly due to the fact that the original hose does not sit quite as well as it could do with the aftermarket high flow inlet manifold fitted. The replacement part is made up using reinforced servo hose with OE fittings.

So here are the required parts. A length of servo hose, an OE one-way valve and and OE fittings:

Brake Servo Vacuum Hose and Fittings

Brake Servo Vacuum Hose and Fittings

The aftermarket servo hose is strong, reinforced and more flexible and as it is cut as needed is can be routed slightly differently compared to the original hose. Once measured and cut as required the OE one way valve and elbows are fitted. The finished hose can then be routed out of the way behind the inlet manifold and plenum and across the bulkhead to the brake servo.

Original Servo Hose – Top and Replacement Hose – Bottom

Original Hose (Top) Replacement Hose (Bottom)

Original Hose (Top) Replacement Hose (Bottom)

And fitted:

Modified Brake Servo Hose Fitted

Modified Brake Servo Hose Fitted (Servo End)

Modified Brake Servo Hose Fitted

Modified Brake Servo Hose Fitted (Manifold End)

Time to fit the KW Clubsport kit

The KW Clubsport coilover kit was fitted on Friday. The build quality of the KW parts is excellent and fitment is very straightforward.

So a reminder of the kit:

KW Clubsport 2 Way Coilover Kit

KW Clubsport 2 Way Coilover Kit

Some fitted pictures of the rear set up:

Rear Helper Spring Upper Seats

Rear Helper Spring Upper Seats

The above upper support had to be opened out using a flap wheel attached to a drill from 46mm to about 53mm to allow it to fit over the OE bump stop. See below:

Rear Helper Spring Upper Seats fitted to OE Rear Bump Stops

Rear Helper Spring Upper Seats fitted to OE Rear Bump Stops

Rear Upper Support

Rear Upper Support

Rear Spring Adjuster

Rear Spring Adjuster

Rear Spring

Rear Spring

Rear KW Clubsport Set Up

Rear KW Clubsport Set Up

Front Set Up:

After an initial road test to settle everything, the height was adjusted and then it will be chassis alignment time (again!) to recheck everything and just get it all back to the required settings prior to the next track day.

The first real test will be back at Snetterton at the end of February.

Engine Bed and Bush Replacement

In preparation for replacing the engine bed bushes and front anti roll bar bushes a second engine bed was sourced. I decided to prepare another engine bed with the uprated polyurethane bed bushes and then swap the beds over, rather than to fit the new bushes to the current subframe already fitted to the car. It also meant the replacement subframe could be painted first before being fitted to the car, as the subframes are subject to surface corrosion. Preparing a second subframe will make the whole process easier, rather than having to remove and then paint the current subframe fitted to the car.

The new subframe will be cleaned up, the areas of rust removed, treated with a rust neutraliser, primed with a zinc primer (given several coats) and finally painted with a rust-proof metal paint, again given several coats. Then the uprated subframe bushes can be fitted to the new subframe.

The existing subframe will then be removed from the car, the front anti roll bar (with new uprated anti roll bar bushes), uprated rear engine mount, wishbones and power steering rack will be transferred across to the new subframe which will be fitted onto the car. At the same time a PAS fluid change will be carried out.

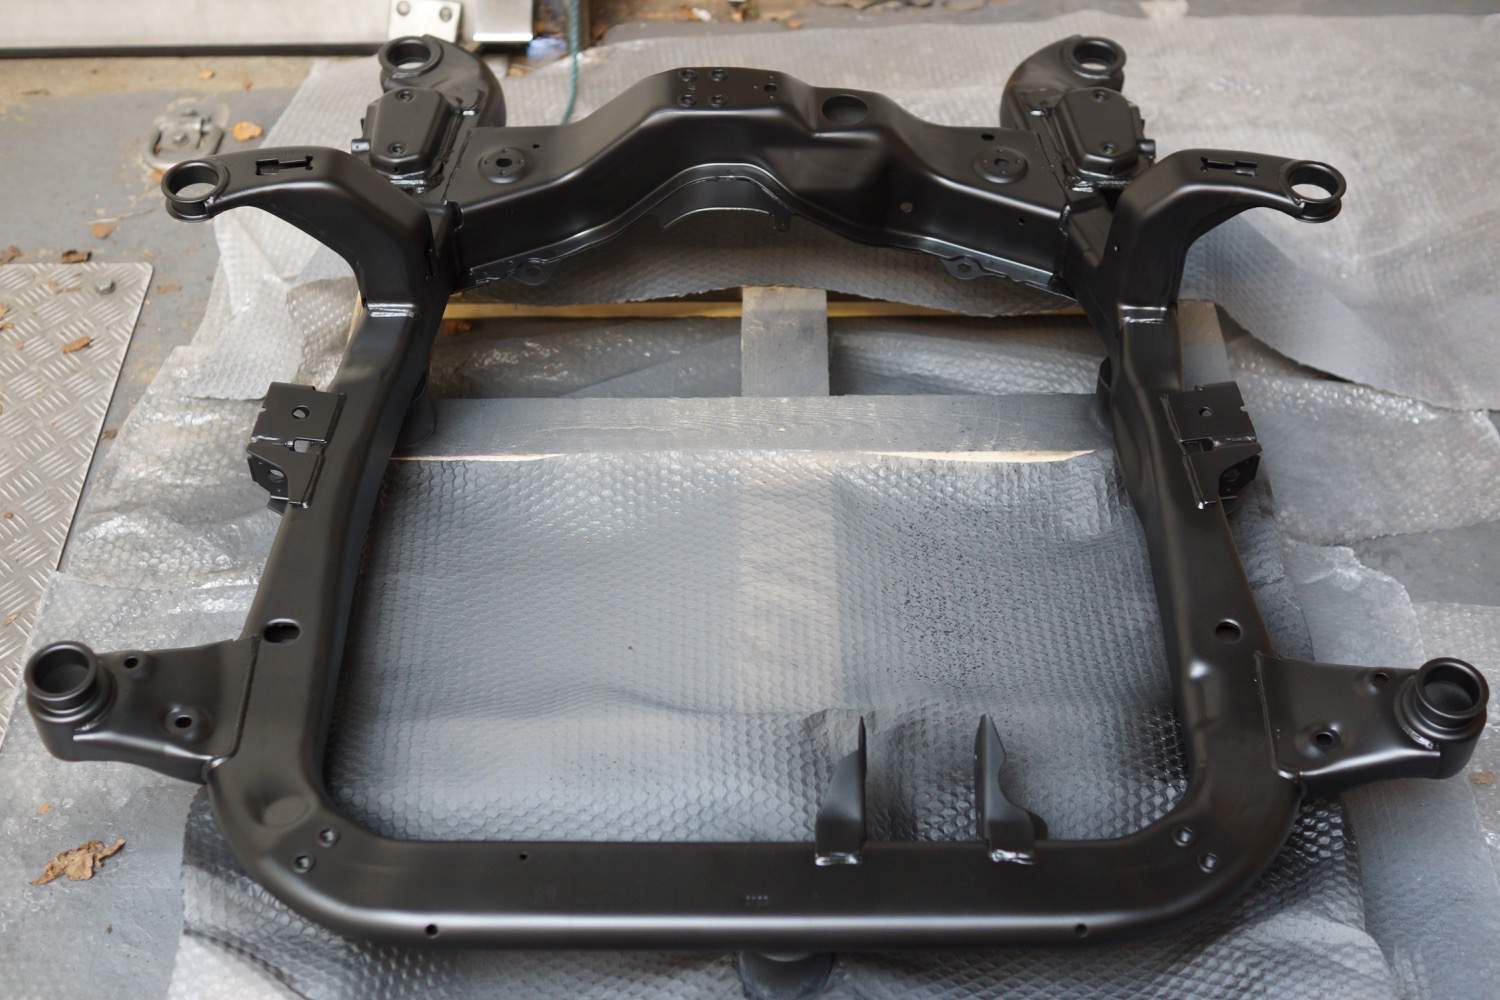
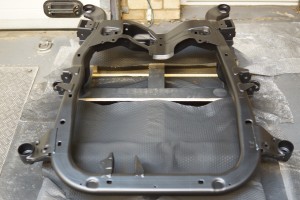
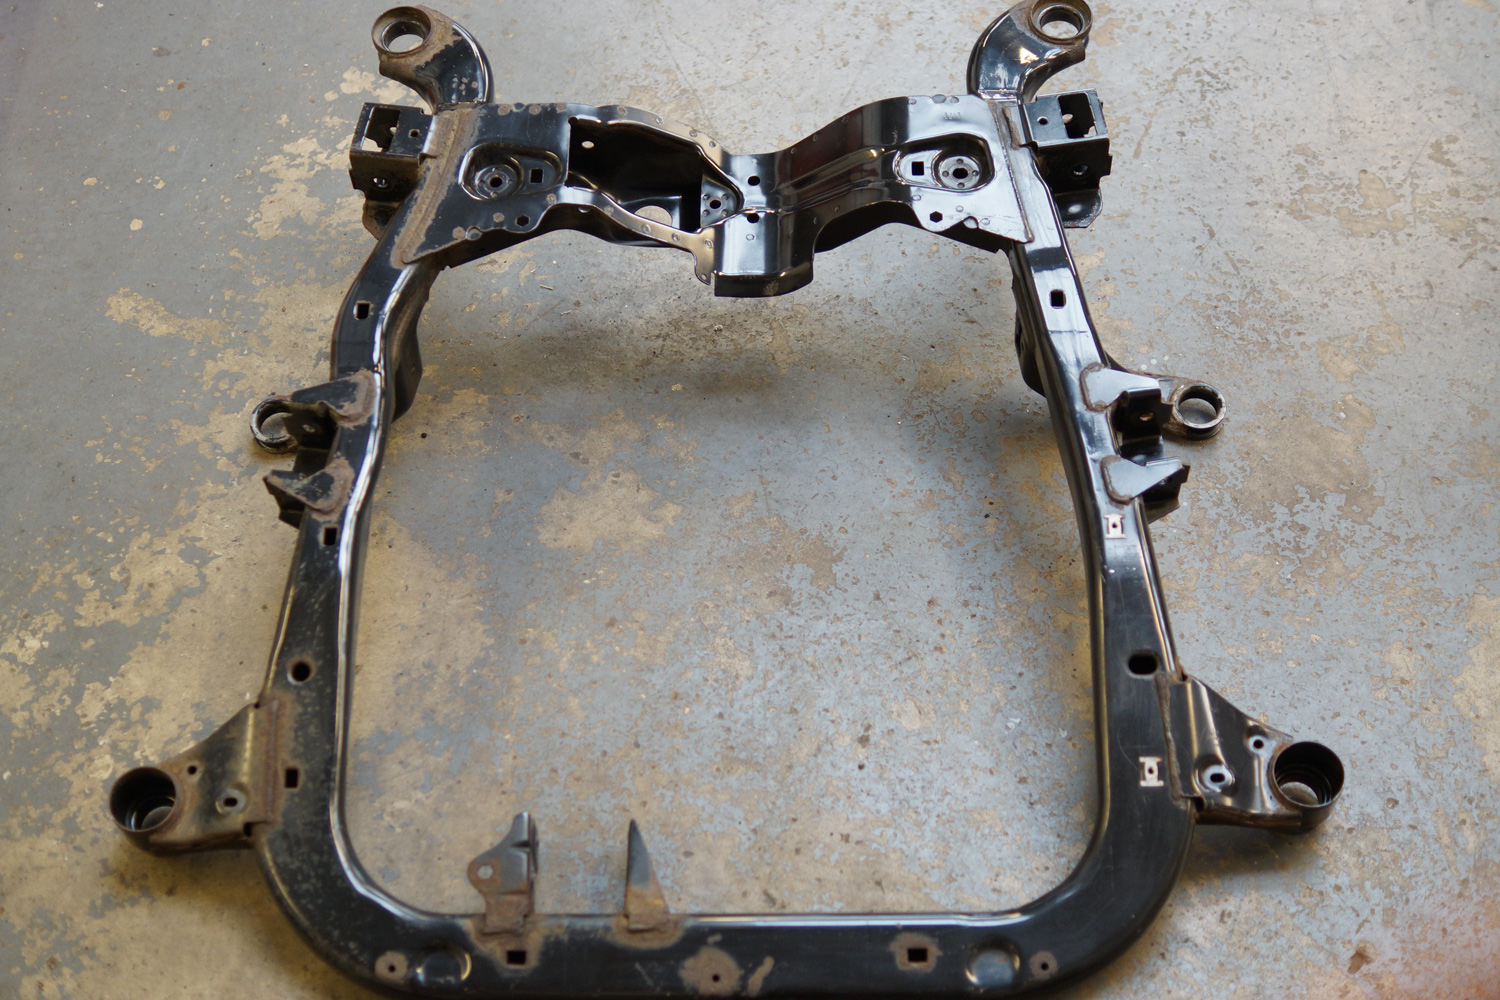
So to begin, one engine bed after a quick clean up and degrease to get rid of the worst of the grime, and with the original subframe bushes and wishbones removed:
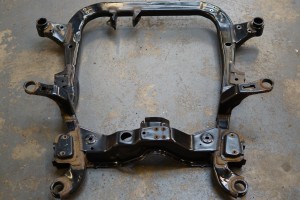
Engine Subframe

Engine Subframe

Engine Subframe

Engine Subframe

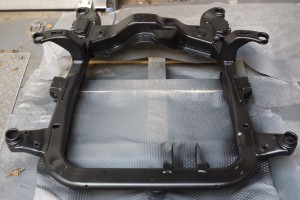
So the next stage was to strip it back and remove the main areas of surface rust, after which the subframe was treated with an anti-rust neutraliser to give a stable sound bonded surface, followed by zinc priming in preparation for the top coat.

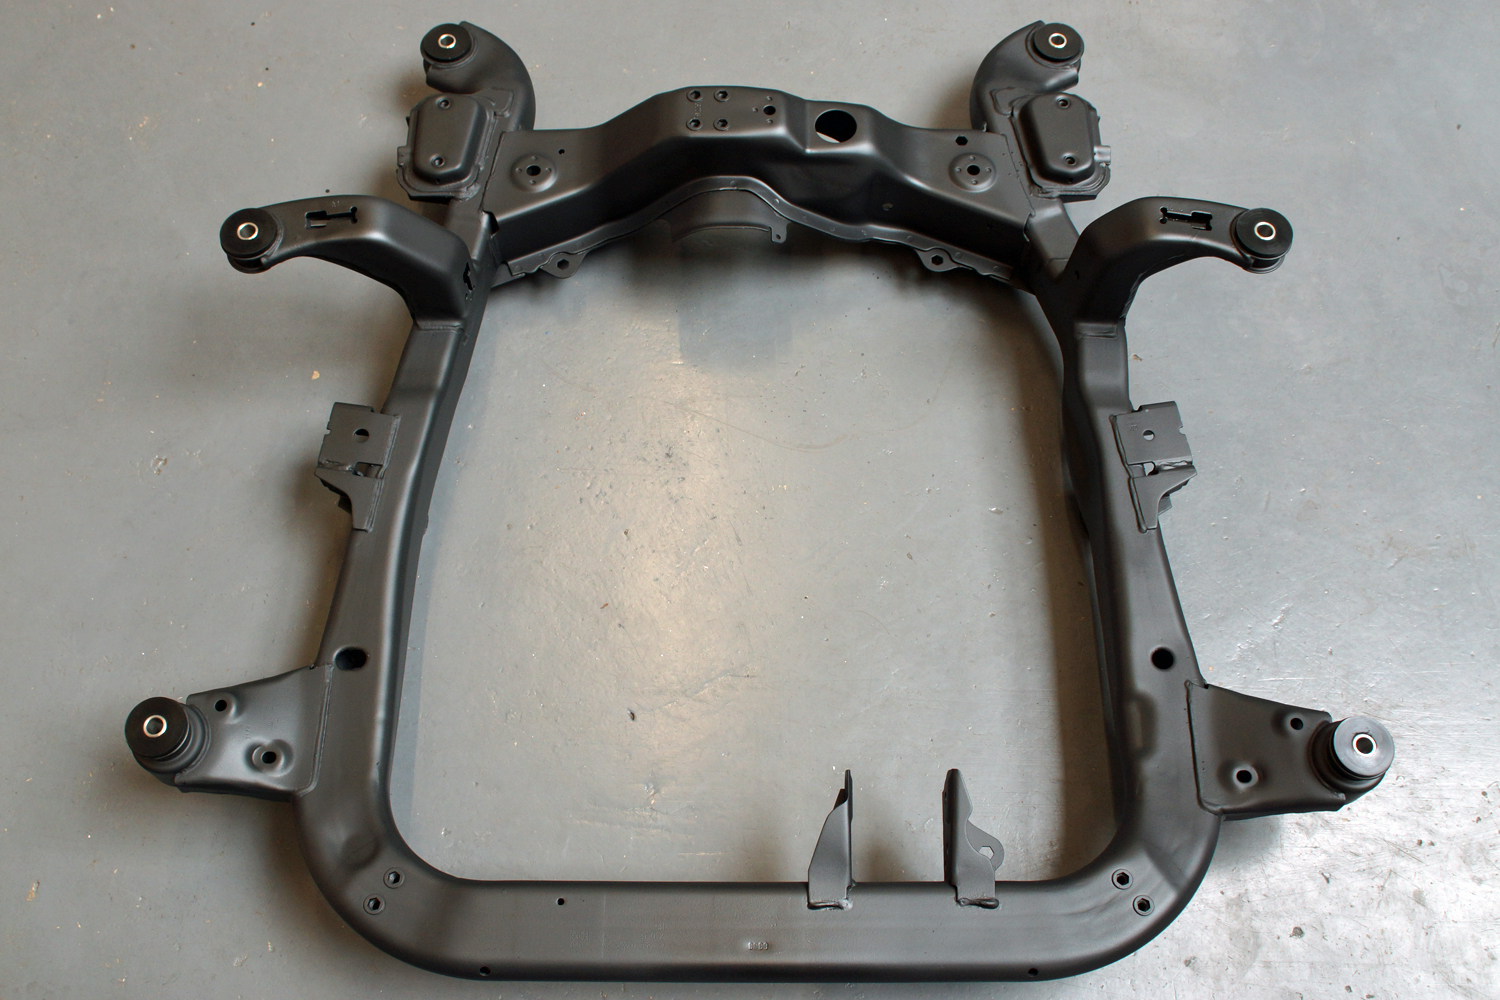
The final stage was to paint the subframe with a metal protection paint to give it an OE look.

Finished Subframe

Finished Subframe

Finished Subframe

Finished Subframe

During preparation, priming and painting particular attention was paid to the areas that are most susceptible to corrosion, mainly the areas where the subframe has been welded.

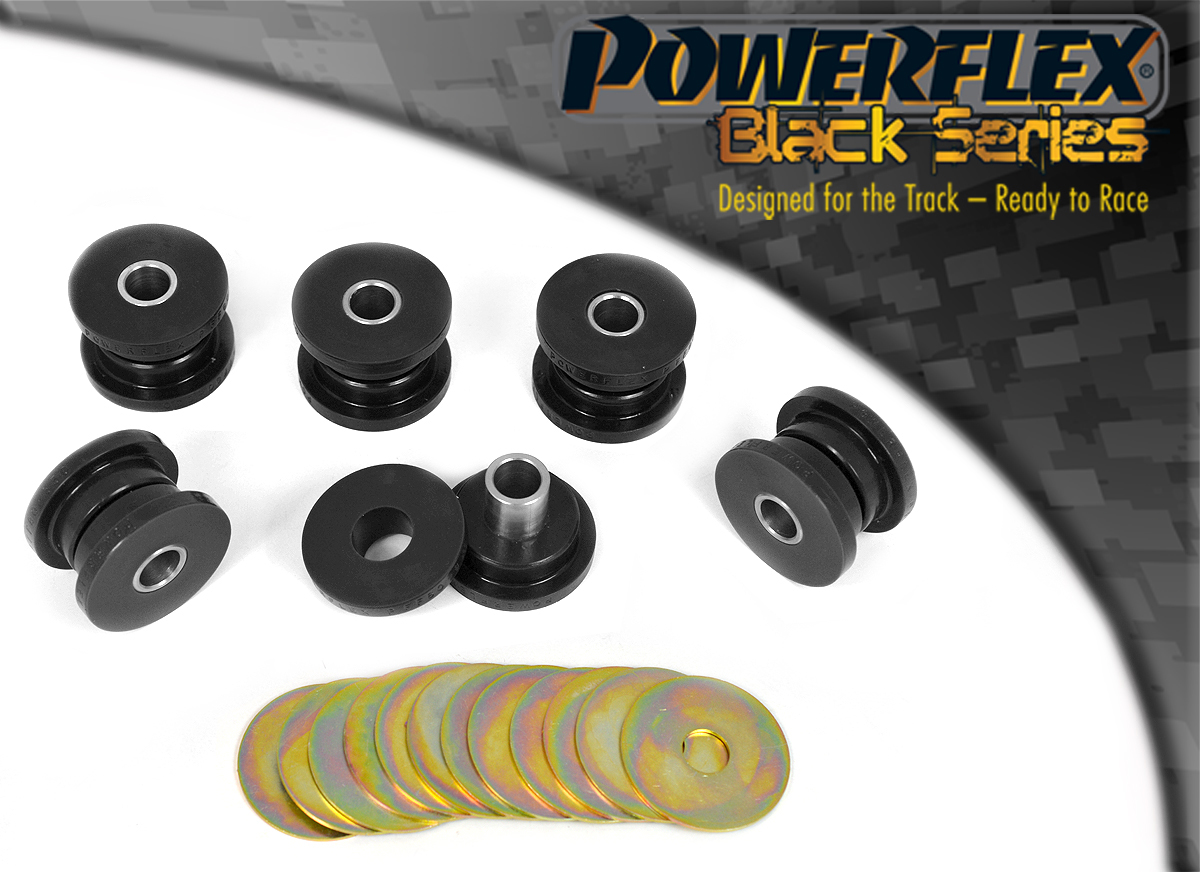
And with the uprated bushes fitted.

Astra Subframe with Uprated Polyurethane Bushes Fitted

Astra Subframe with Uprated Polyurethane Bushes Fitted

Just the the swap over to do.

12/01/2015
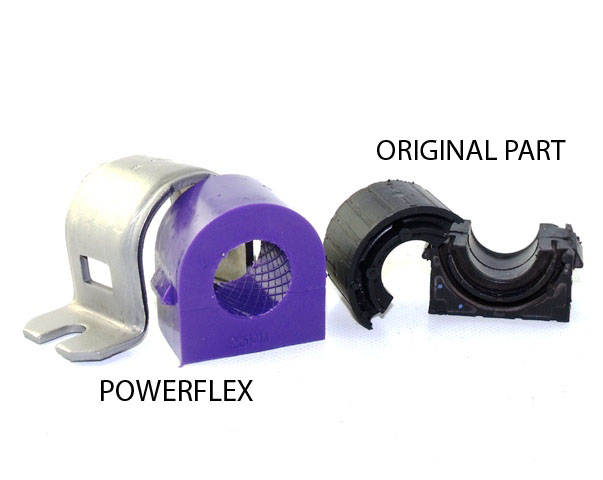
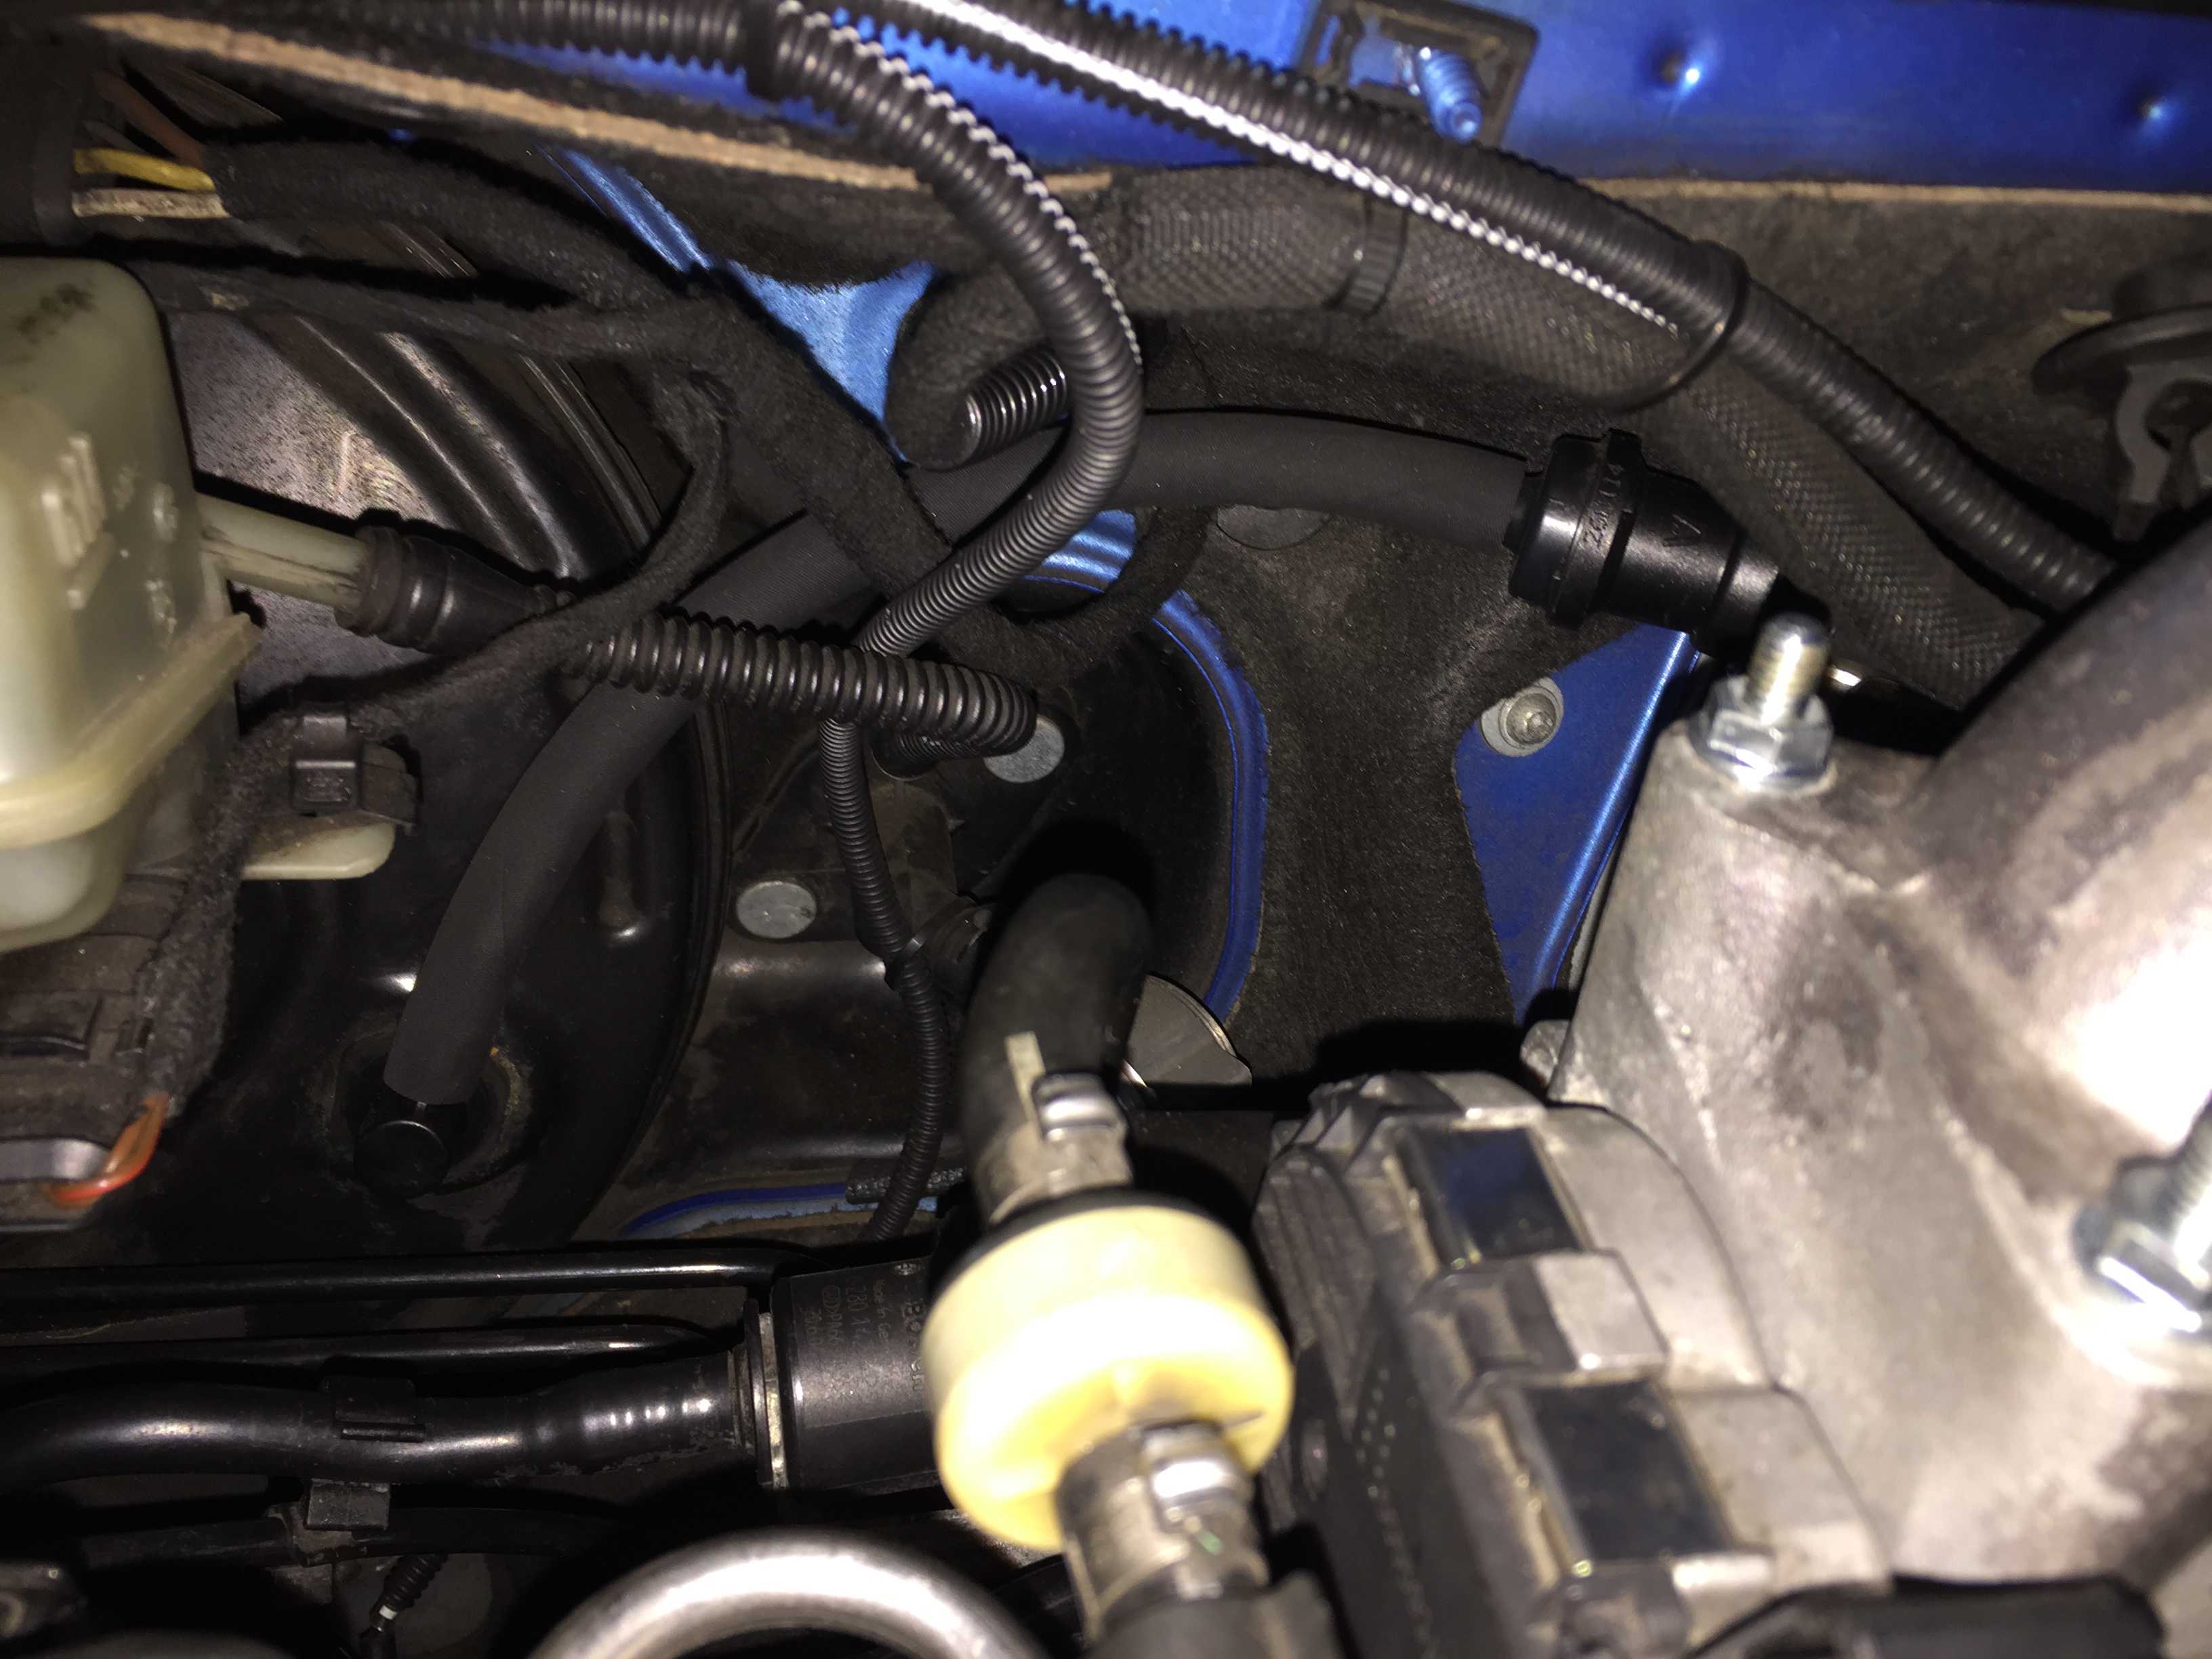
The original subframe was removed from the car and the front wishbones, front anti roll bar and power steering rack were swapped over onto the new subframe with the uprated black series Powerflex bushes which was then refitted onto the car.

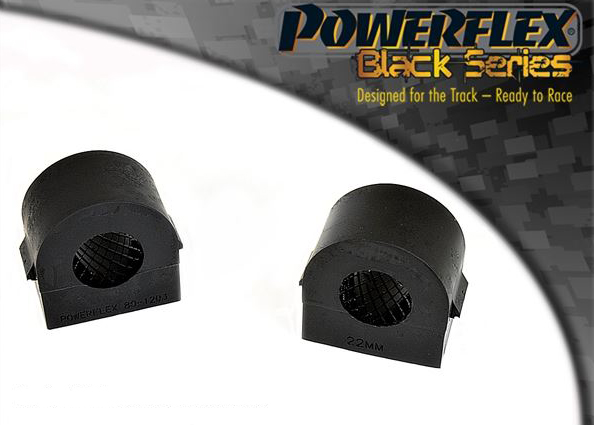
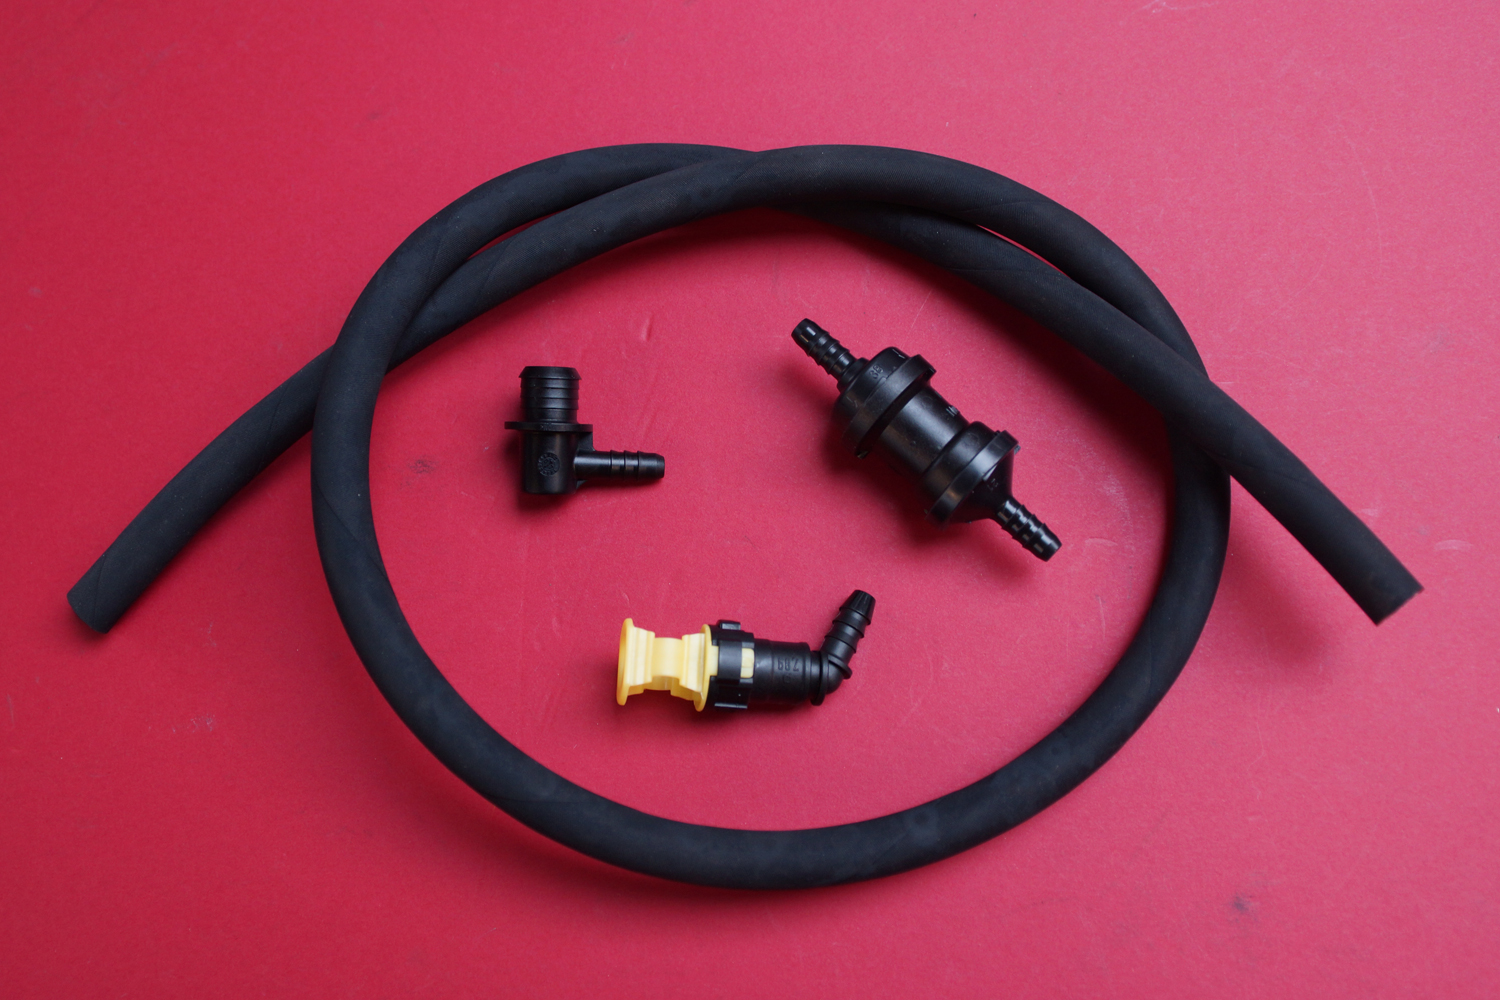
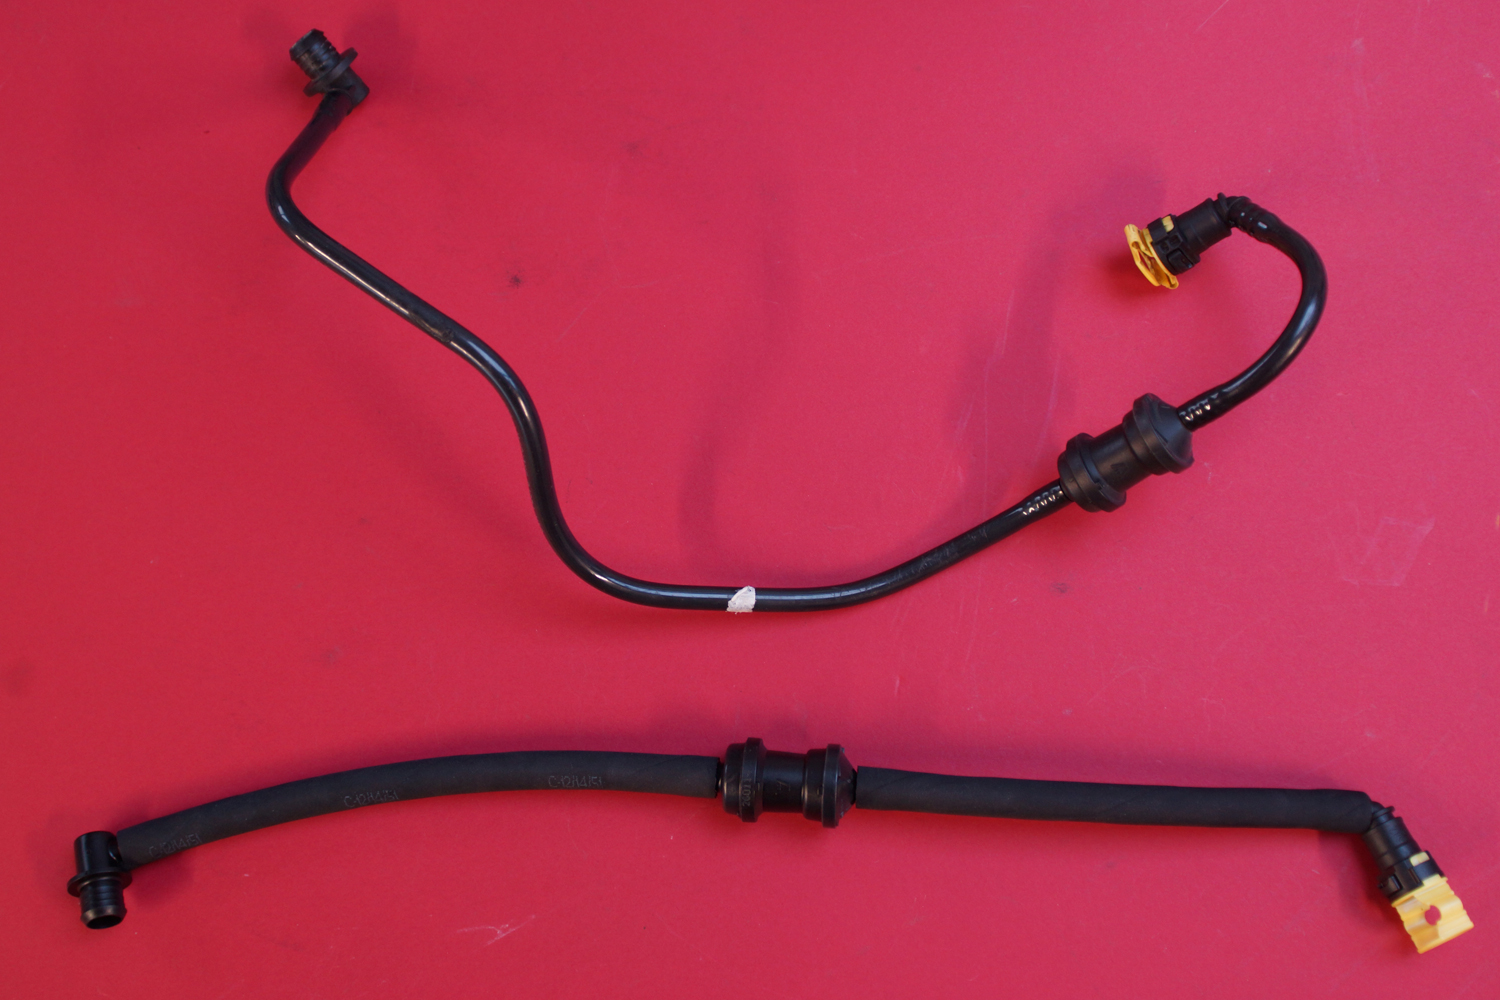
At the same time the factory anti roll bar bushes were replaced with Powerflex black series uprated anti roll bar bushes and the power steering fluid was replaced with new Pentosin CHF 202 fluid, as it had most likely been in use since day one.

The exposed captive nuts and subframe bolts were treated to some AL1100 anti-seize spray when refitted, as it is not uncommon for the bolts to seize in. This is especially common due to corrosion from winter salt, which fortunately the car does not get exposed to. Additionally the exposed areas of the chassis were treated with Waxoyl underseal.

Underside

Underside

Underside

Underside

Radiator Support Brackets

Ready to be fitted to the replacement subframe, another pair of radiator support brackets which have had a refresh in the same way the subframe has. Cleaned, zinc primed and finished in satin black metal paint.

Replacement Radiator Lower Support Brackets

Replacement Radiator Lower Support Brackets

Bed Bushes Arrived Today

Uprated polyurethane engine bed bushes arrived today. So a big Thank you Powerflex for supplying these bushes.

Poly Engine Bed Bushes

Poly Engine Bed Bushes

Uprated Engine Bed/Subframe Bushes

One area that is often neglected, along with front anti roll bar bushes, are the engine bed/subframe bushes, mainly because the bed needs to be dropped to replace them, so there is a reasonable amount of work involved. Additionally because the engine bed captive retaining nuts are floating (i.e. they can move once the subframe bolts are undone) there is a danger that once removed the engine bed could be refitted out of alignment unless the correct jig to re-align the subframe onto the car is used. Correct alignment of the subframe is essential because the wishbones are bolted to the subframe and if incorrectly aligned the chassis settings will be out, affecting the handling.

With the factory subframe mounts there is some compliance/flex in them as they are designed for road use and have a rubber core to help dampen out vibrations, however stiffer bed bushes reduce this compliance removing any flex in the bushes, ideal for improving the chassis and feel both on road and especially on track.

These front subframe mounts feature two polyurethane ‘top-hat’ style bushes that make for simple installation and durability. The bushes house a stainless steel sleeve and are supported by zinc coated steel washers at each end for increased support under load. The stainless steel sleeves should also help to prevent instqances where the bed bolts seize into the factory bushes over time.

These polyurethane uprated subframe mounts are manufactured from two material types; either 80 shore purple material or 95 shore black material. Purple is ideal for road use and black is best suited for track use.

I have chosen the black 95 shore bushes for the car due to its use on track. They are all but solid removing the flex in the bed bushes during hard use, so improving front end feel, especially during cornering and under high loads on track.

Whilst there are also some solid engine bed bushes on the market, manufactured from aluminium, they were unavailable at the time these upgrades were being carried out hence opting for these uprated 95 shore poly mounts.

All being well I will get the engine bed bushes fitted during December.

Uprated 95 Shore Black Polyurethane Engine Bed Bushes:

Black Polyurethane Engine Bed Bushes

Black Polyurethane Engine Bed Bushes

KW Clubsport Coilovers Arrive…..

The KW Clubsport 2 Way Coilover Kit arrived today, a couple of weeks ahead of schedule. Cannot wait to get this fitted onto the car ready for 2015 track days. A huge thank you to Richard Good at KW Automotive for organising this.

KW Clubsport 2 Way Coilover Kit

KW Clubsport 2 Way Coilover Kit

KW Clubsport 2 Way Coilover Kit

KW Clubsport 2 Way Coilover Kit

KW Clubsport 2 Way Coilover Kit

KW Clubsport 2 Way Coilover Kit

KW Clubsport Coilover Kit

KW Clubsport Coilover Kit

Polyurethane Anti Roll Bar Bushes

The car is currently running the original factory anti roll bar bushes (which have now covered 88,000 miles) and these have never been changed so it is about time they were replaced. To replace them I have a pair of Powerflex Black Series track spec (95 Shore) anti roll bar bushes ready to fit.

This will be a job to do when the engine bed/subframe is dropped as I will be fitting a set of uprated engine bed bushes over the winter. Due to the location of the front anti roll bar on the engine subframe, replacing these bushes with the subframe on the car is all but impossible. With the subframe off it makes the job so much easier.

The aim is to get these fitted during December.

1 Piece Replacement Poly Bush (shown in road spec 80 shore purple material – left) and Original 2 Piece Rubber Bush (right):

Poly 1 Piece ARB Bush and Original 2 Piece ARB Bush

Poly 1 Piece ARB Bush and Original 2 Piece ARB Bush

Front ARB Bushes in Black track spec 95 shore material:

Anti Roll Bar Bush - Black Material 95 Shore

Anti Roll Bar Bush – Black Material 95 Shore

KW Clubsport Suspension

I’ve now owned the Astra for about two and a half years and have run it on some good suspension which is one of the key elements to producing a quick track day car, but the aim was to always fit a KW coilover kit when the right time came.

Over the time I have owned the car I initially ran factory VXR original equipment (OE) dampers with DAP Road springs – a great fast road set up that was capable on track.

I very quickly upgraded to Bilstein B8 dampers and DAP Race Springs, more geared to track day use, but still an excellent road set up for the money. This has served well over the last couple of years but the time has come to upgrade again.

The KW suspension set up will be fitted over the winter. Without doubt the best set up for track day use, but still retaining some road manners. KW Clubsport 2 way coil overs, height adjustment with independently adjustable rebound and compression damping. Full stainless steel bodies with top mounts.

KW Clubsport 2 Way Coilovers

KW Clubsport 2 Way Coilovers

Astra VXR Sprint.....

%d bloggers like this: