Odyssey Motorsport Battery
- Apr 8th. 2014
- By mapw
The Odyssey lightweight motorsport battery came about for a couple of reasons. Firstly the battery on the road car died, and needing a battery for it in a hurry I ‘borrowed’ the Yuasa battery that was originally fitted to the track car.
So the option was to either replace it with another heavy wet cell car battery for about 50 quid or to justify the additional expense of a smaller much lighter weight motorsport battery. Simple choice really!
The Odyssey PC680 has enough capacity to run a 2.0 engine is much smaller than a ‘normal’ battery and weighs only 6.65kgs (despite the battery label stating 7kgs!), compared to a typical car battery at 16kgs or so. The weight saving is ideal, especially because of the additional oil cooler and pump that have gone in.
So, one Odyssey Extreme Motorsport Battery was ordered. The PC680 battery is only about 10mm taller than an original car battery meaning there is plenty of clearance on the bonnet and to make fitting simpler I specced it with SAE brass terminals to take the factory clamps, meaning no requirement to alter any of the cabling:
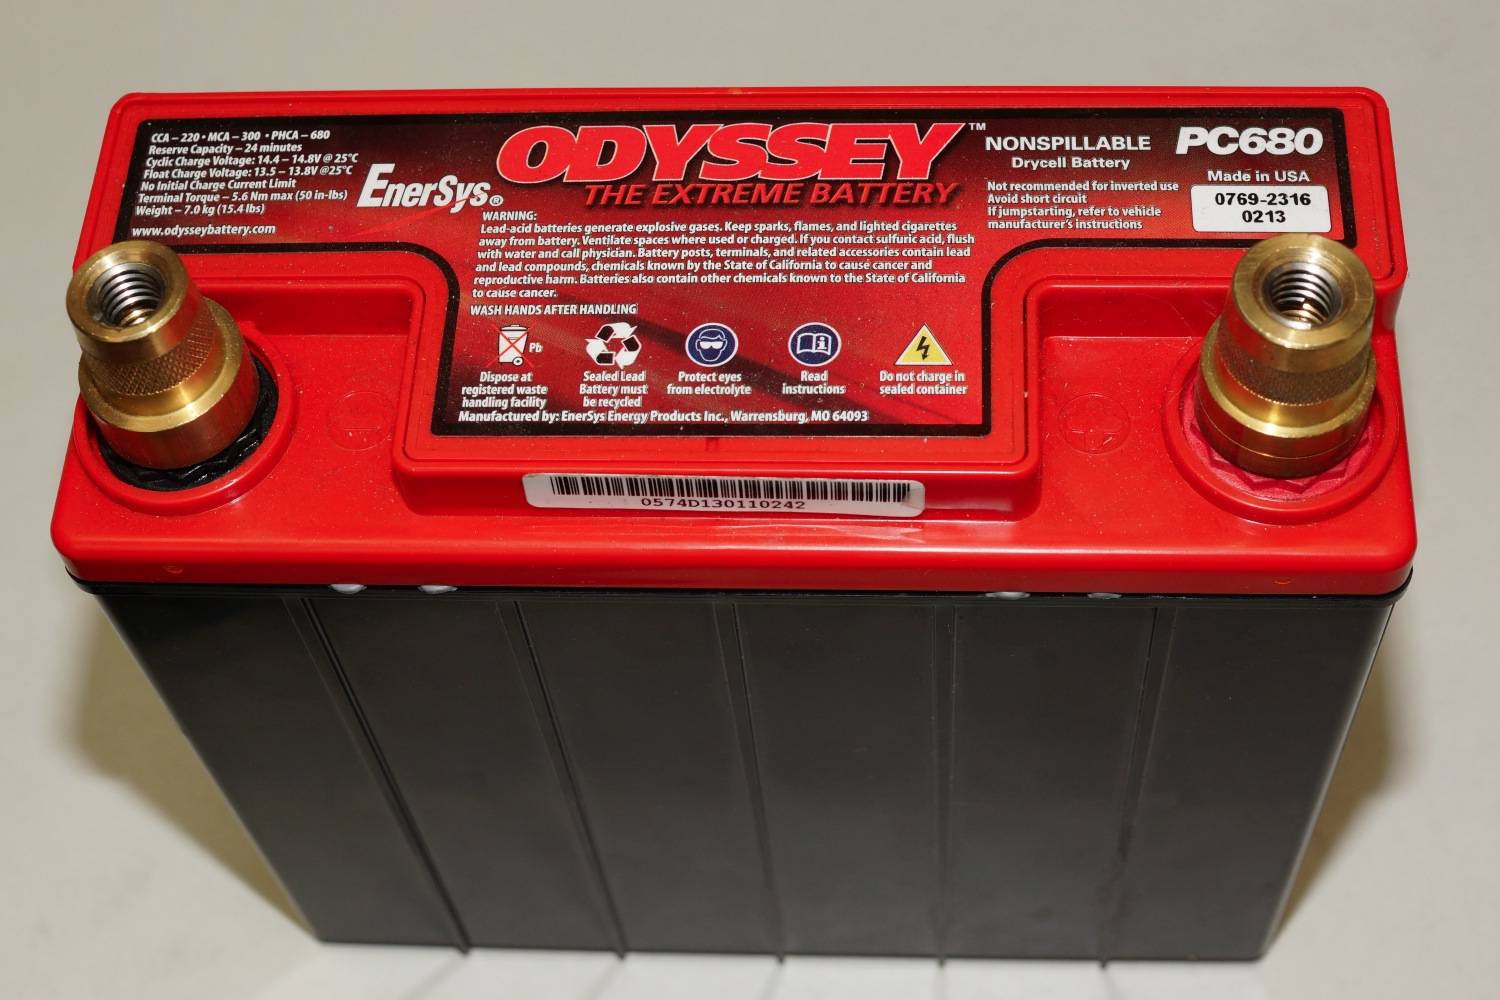
Odyssey PC680 Motorsport Battery
The next problem to be solved was how to mount the battery into the engine bay. There are plenty of functional battery clamps around for motorsport use for when a battery is mounted inside a vehicle, but very few visually appealing ones. Not wishing to have to make something from scratch, a search online discovered a hold-down clamp designed and sold by Odyssey.

Odyssey Battery Clamp
Unfortunately despite searching I could not find it available in the UK but not wanting to be defeated kept searching and found it available online in the USA so went about importing it. Possibly at US$110 it could be considered expensive, but I felt that for something well manufactured and ideal for the job worth every penny!
So I set about trial fitting the clamp and the battery into the car. The great thing with this clamp is that it sits on the factory battery support (which is integrated into the chassis leg) and the bottom left hole in the battery clamp lines up perfectly with one of the original M8 battery bolt fixings.
Odyssey Battery Trial Fit
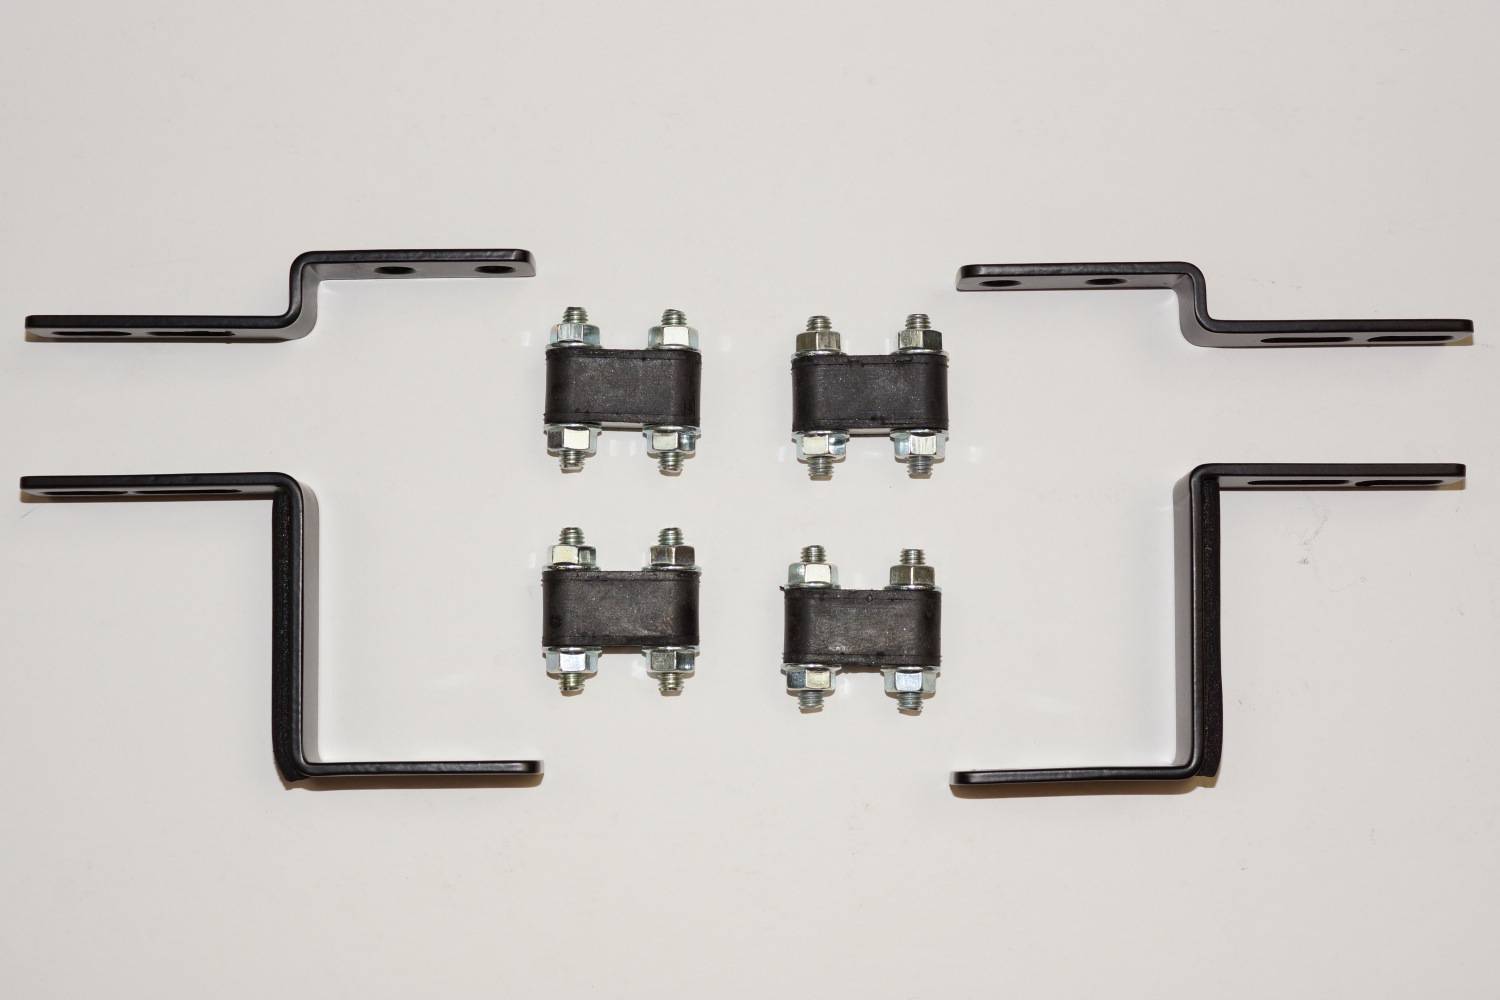
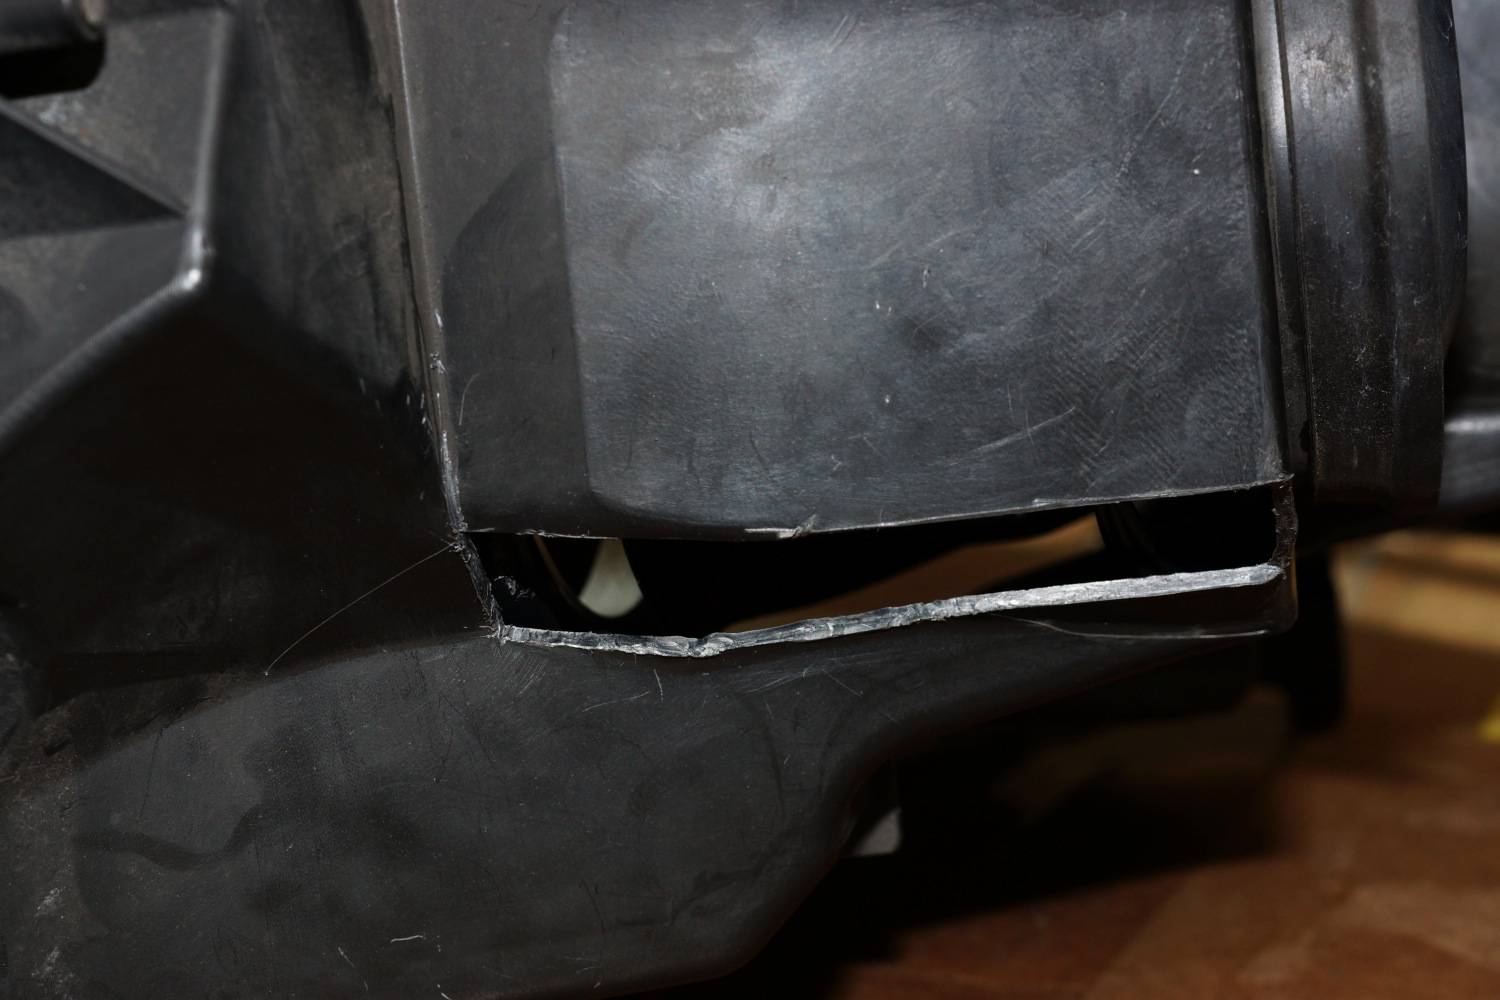
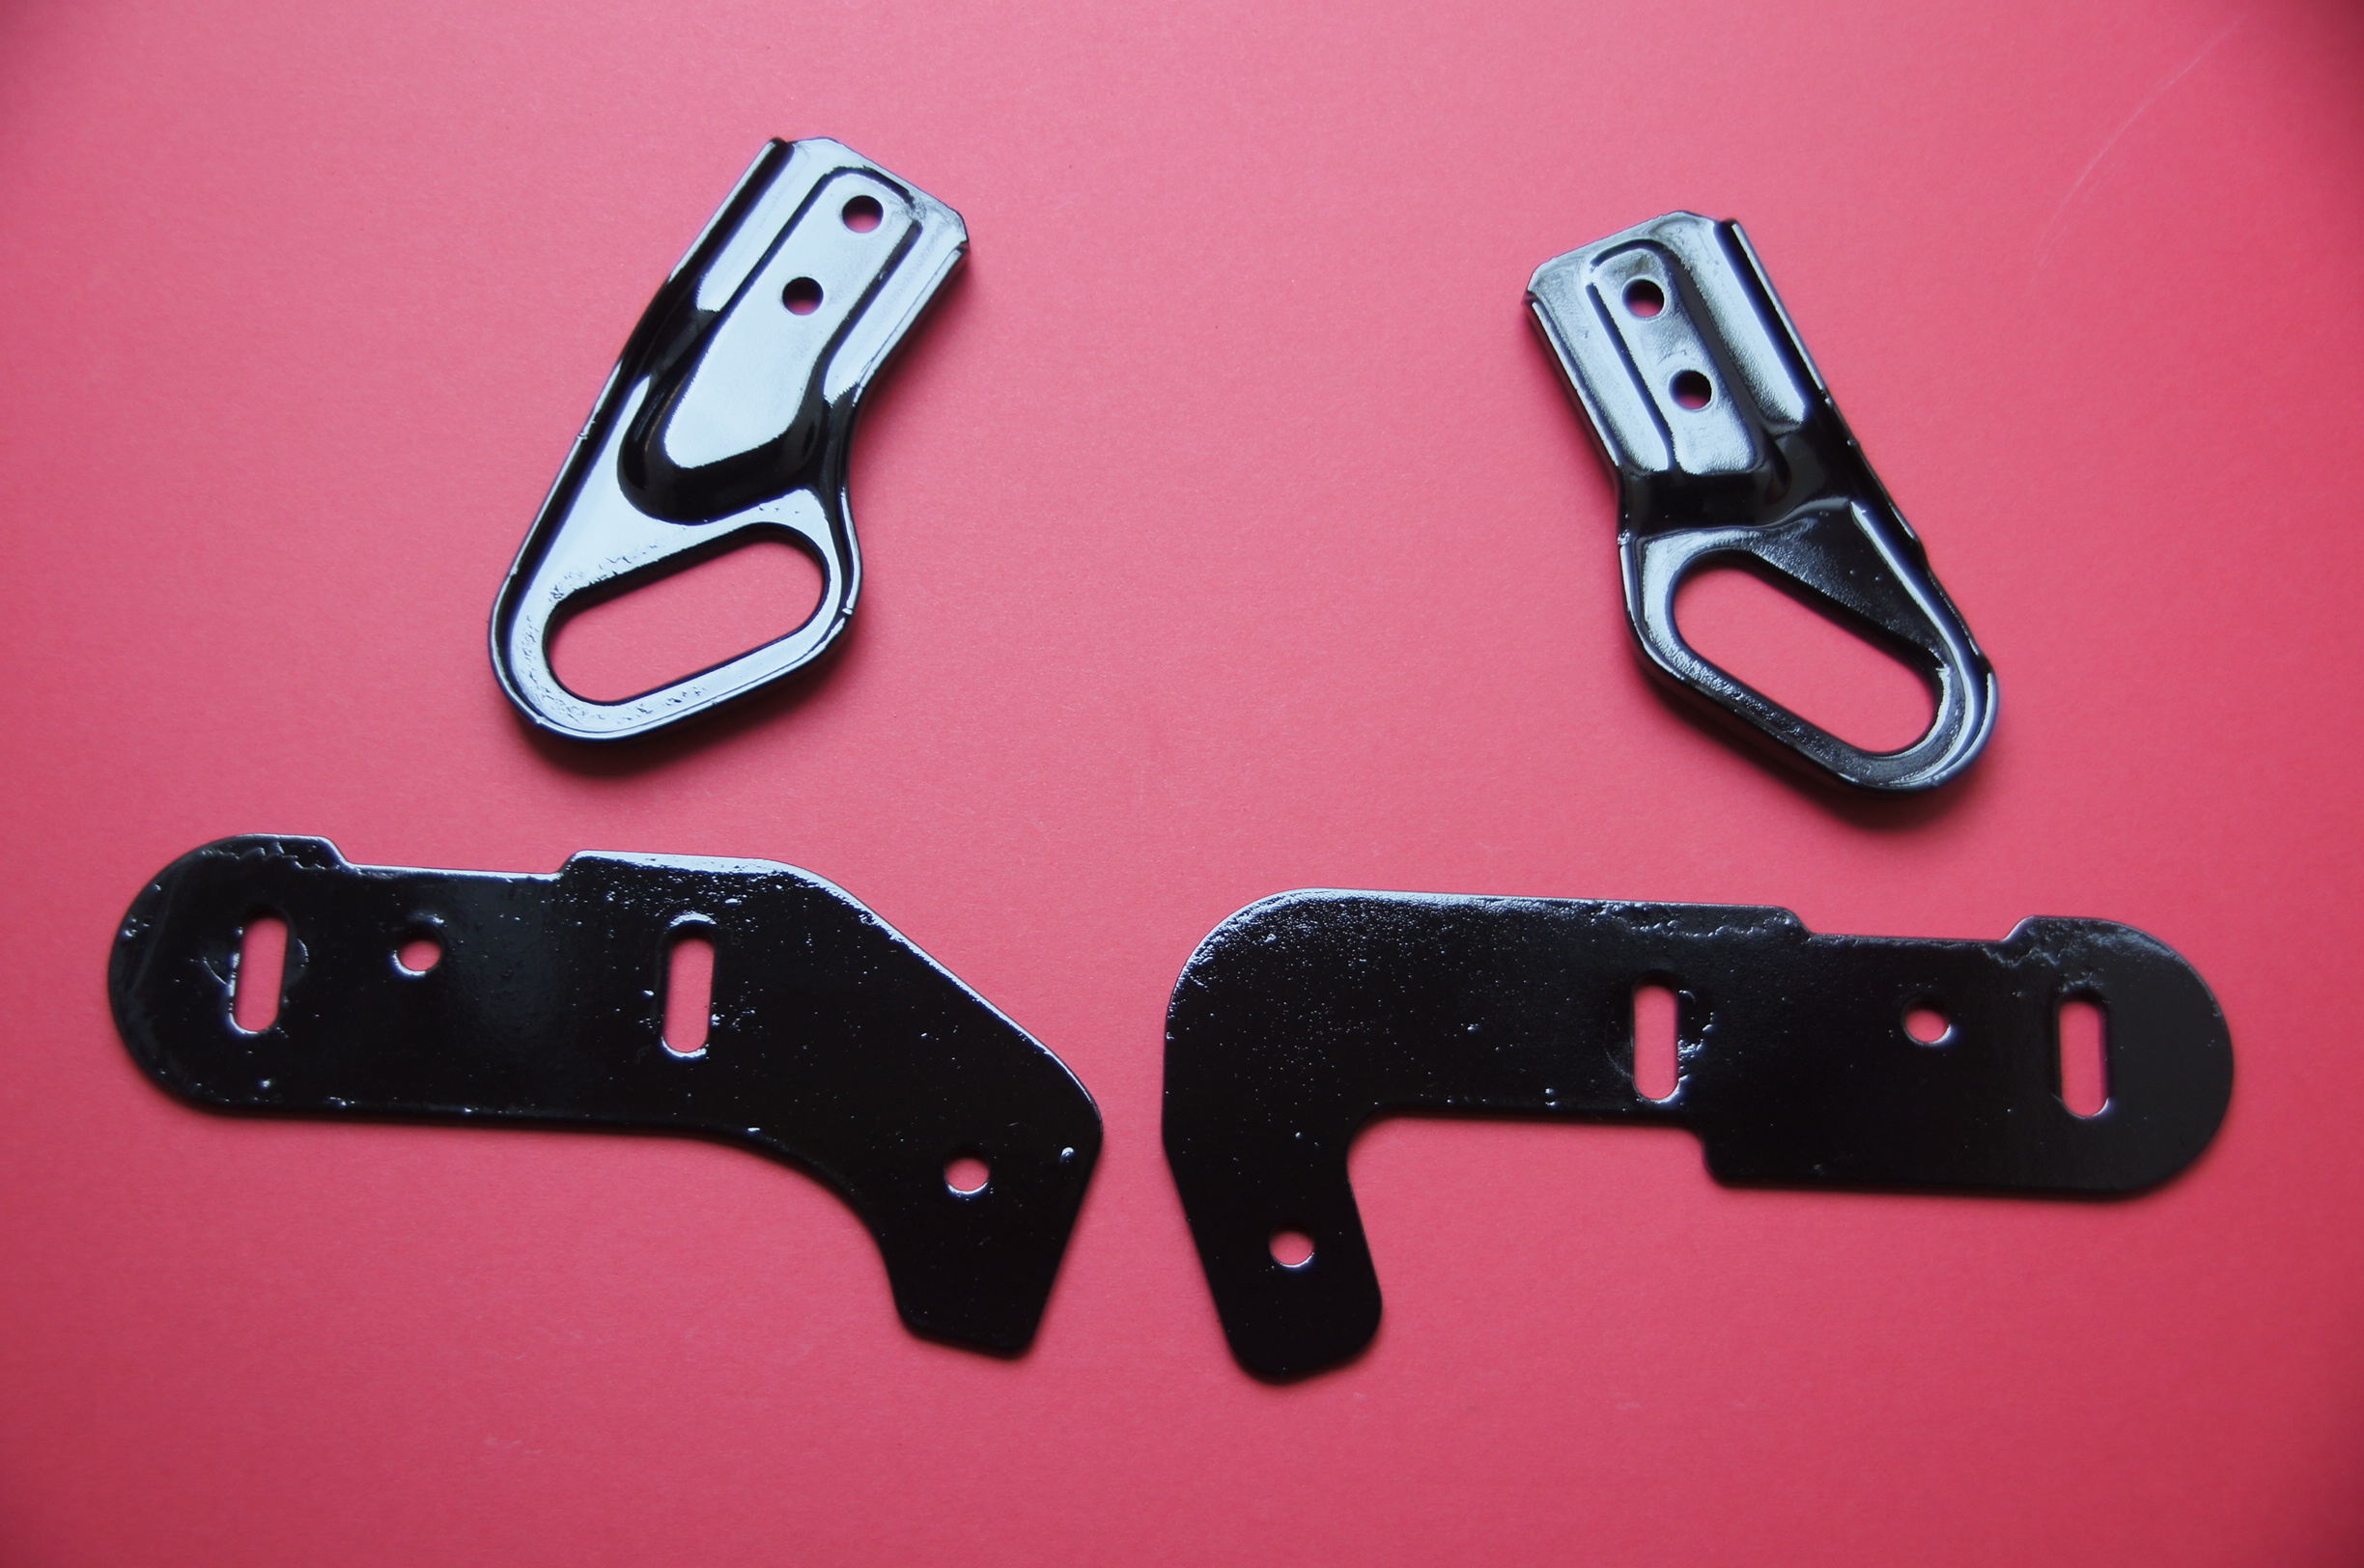
To support the battery and clamp securely, Pro Alloy Motorsport made up a couple of additional supporting brackets to my supplied patterns. The first one, secures the bottom right fixing point to the OE pickup point on the chassis leg:
Mounting Bracket
The second bracket is a U shaped one and bolts to the clamp in 2 points and across onto the remaining pick up point on the chassis leg:

Mounting Bracket
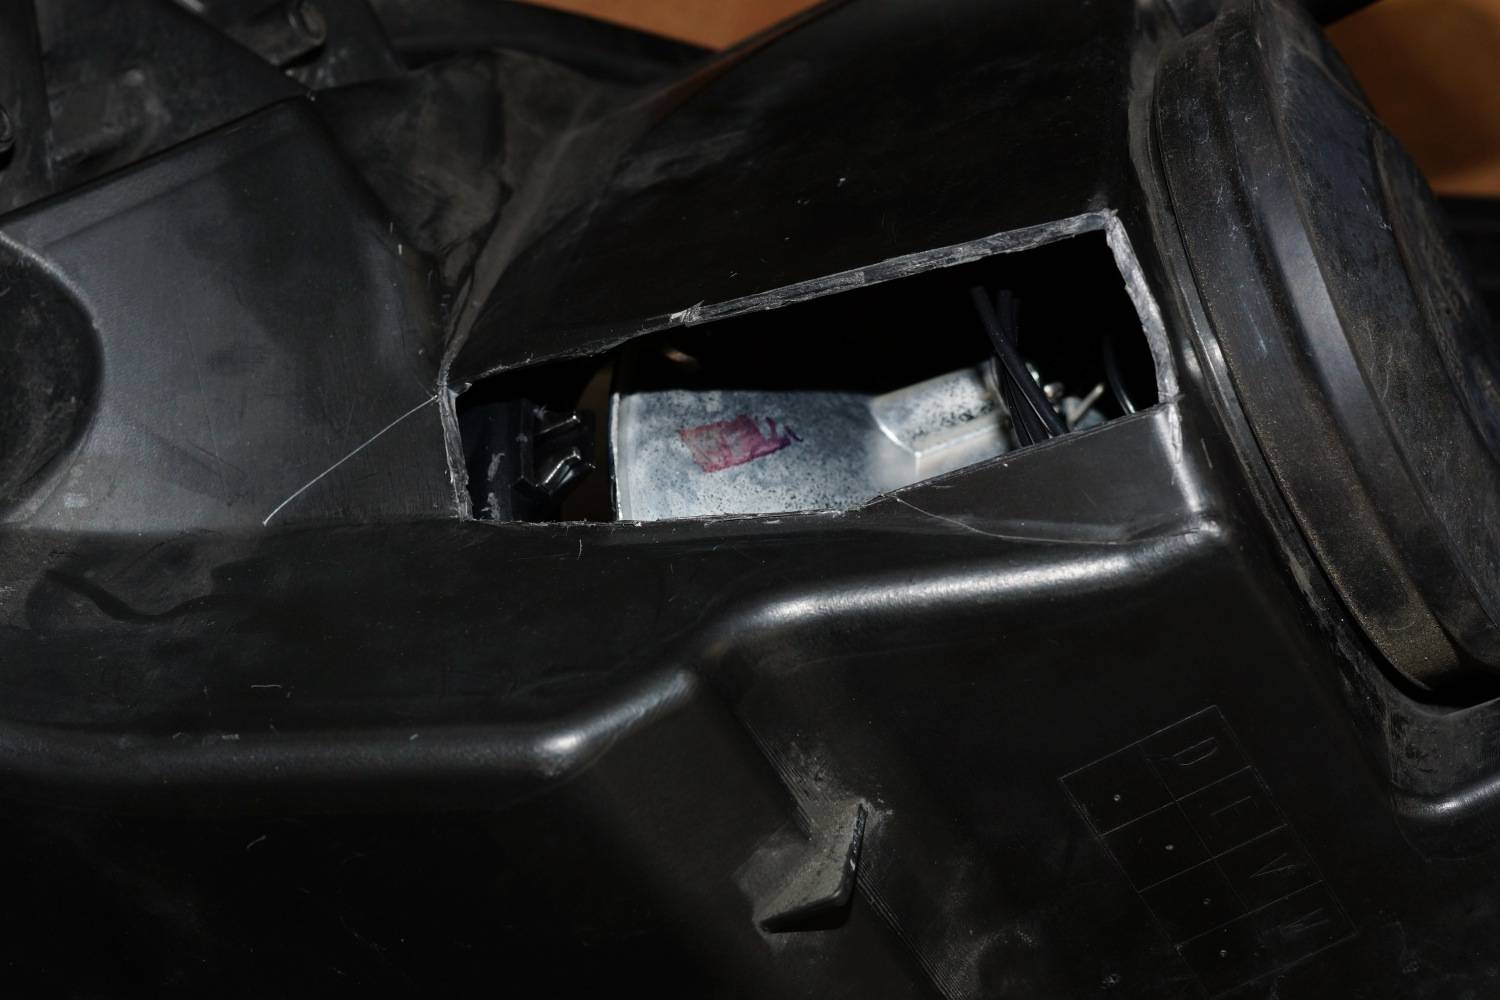
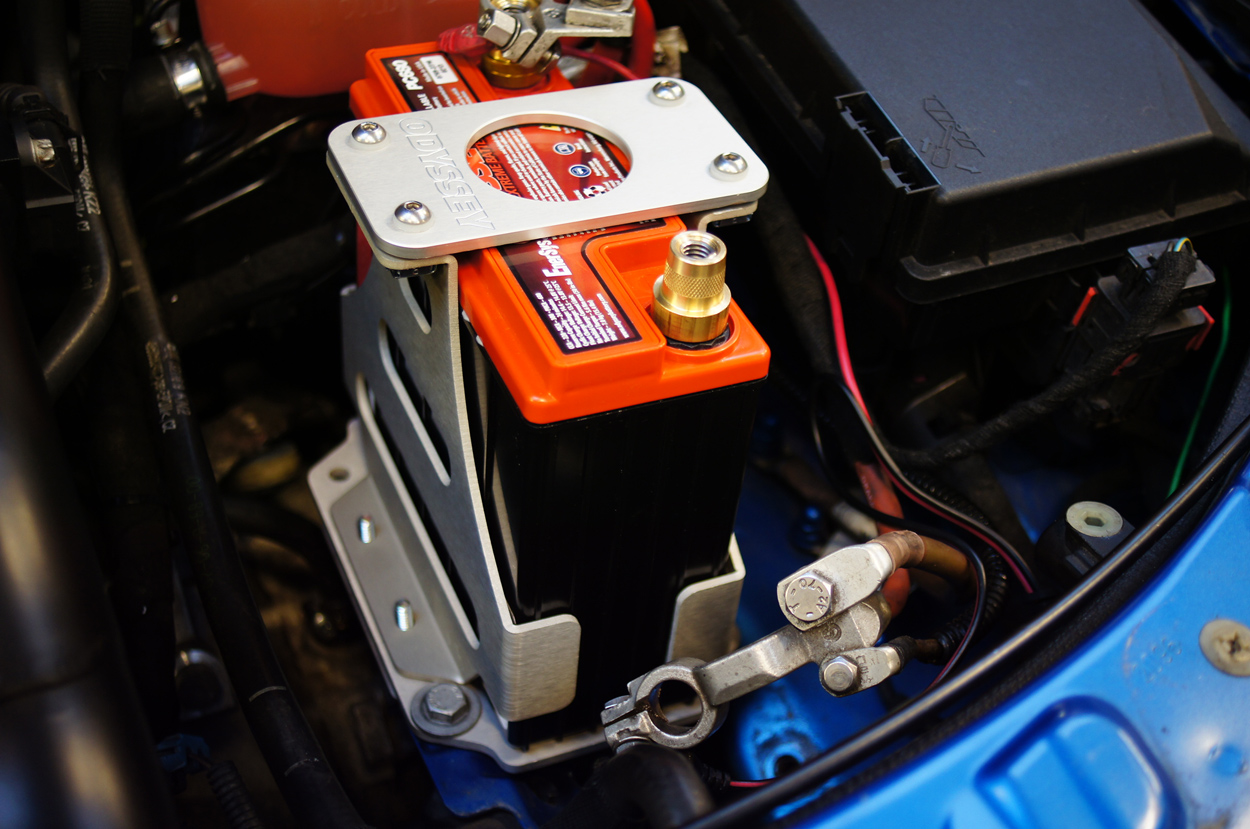
All mounted securely, just the battery leads to be connected:
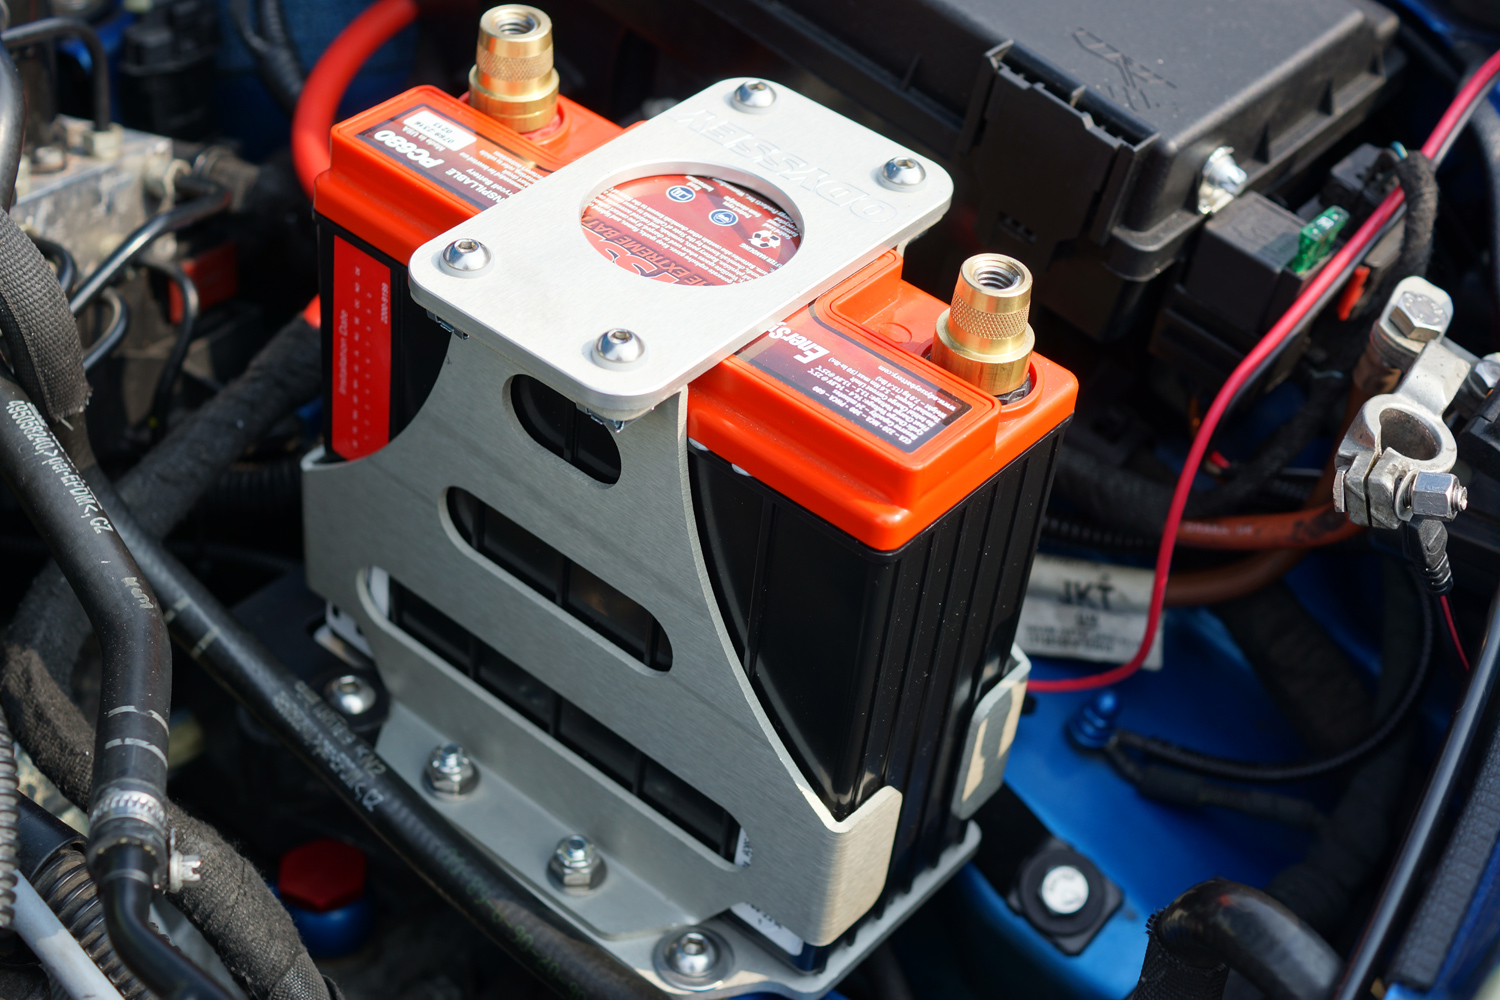
All Fitted – Just needs connecting up
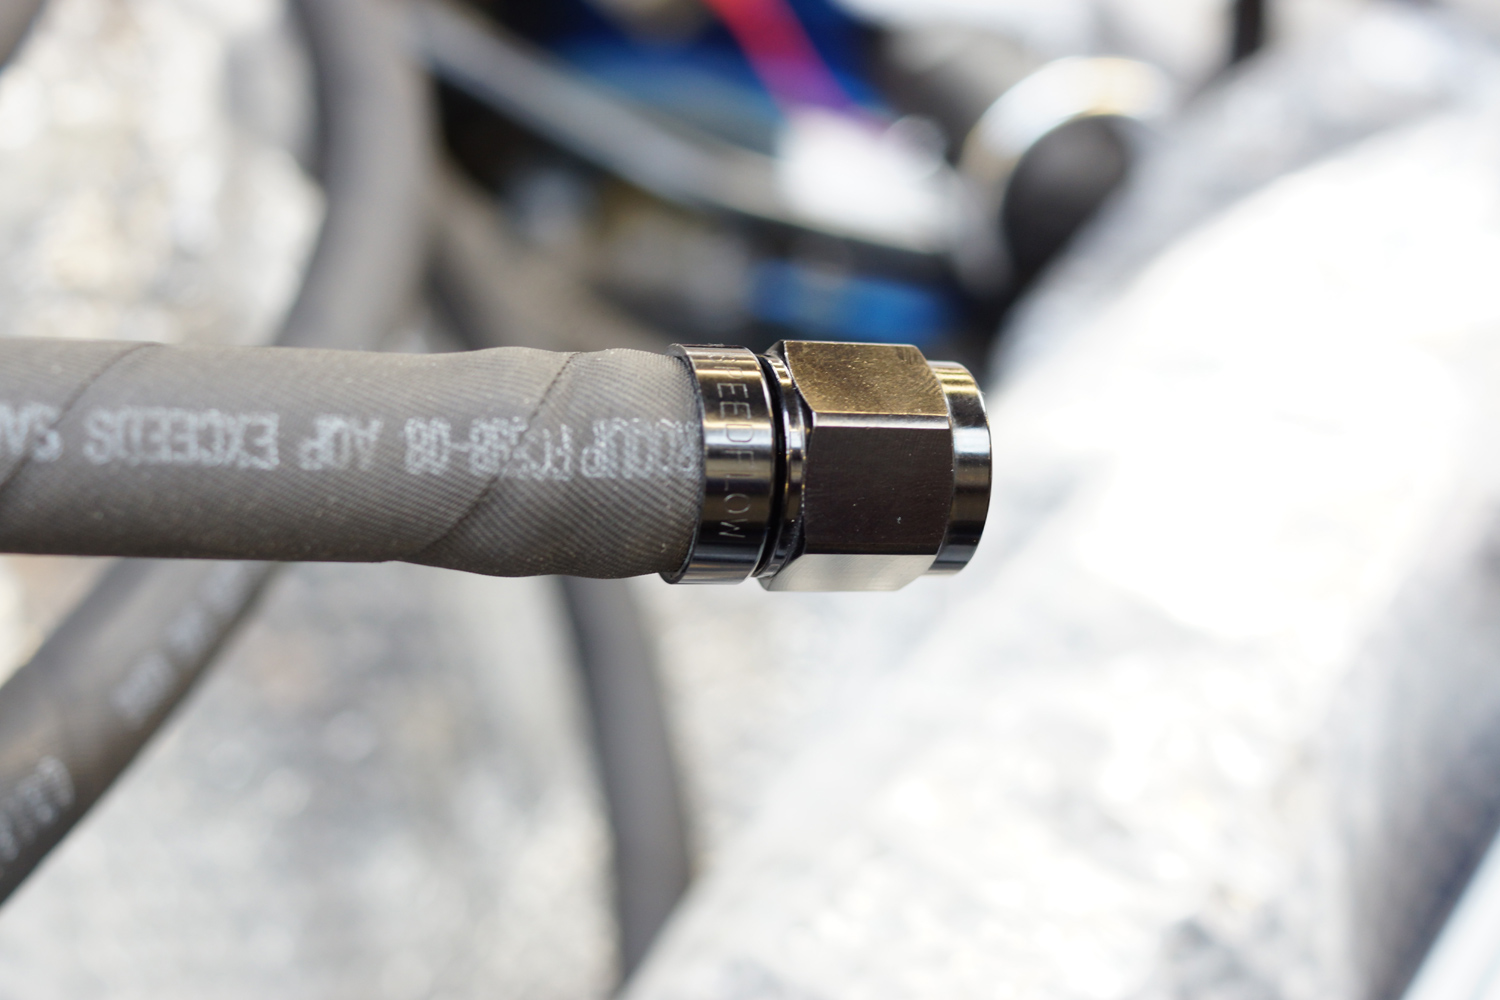
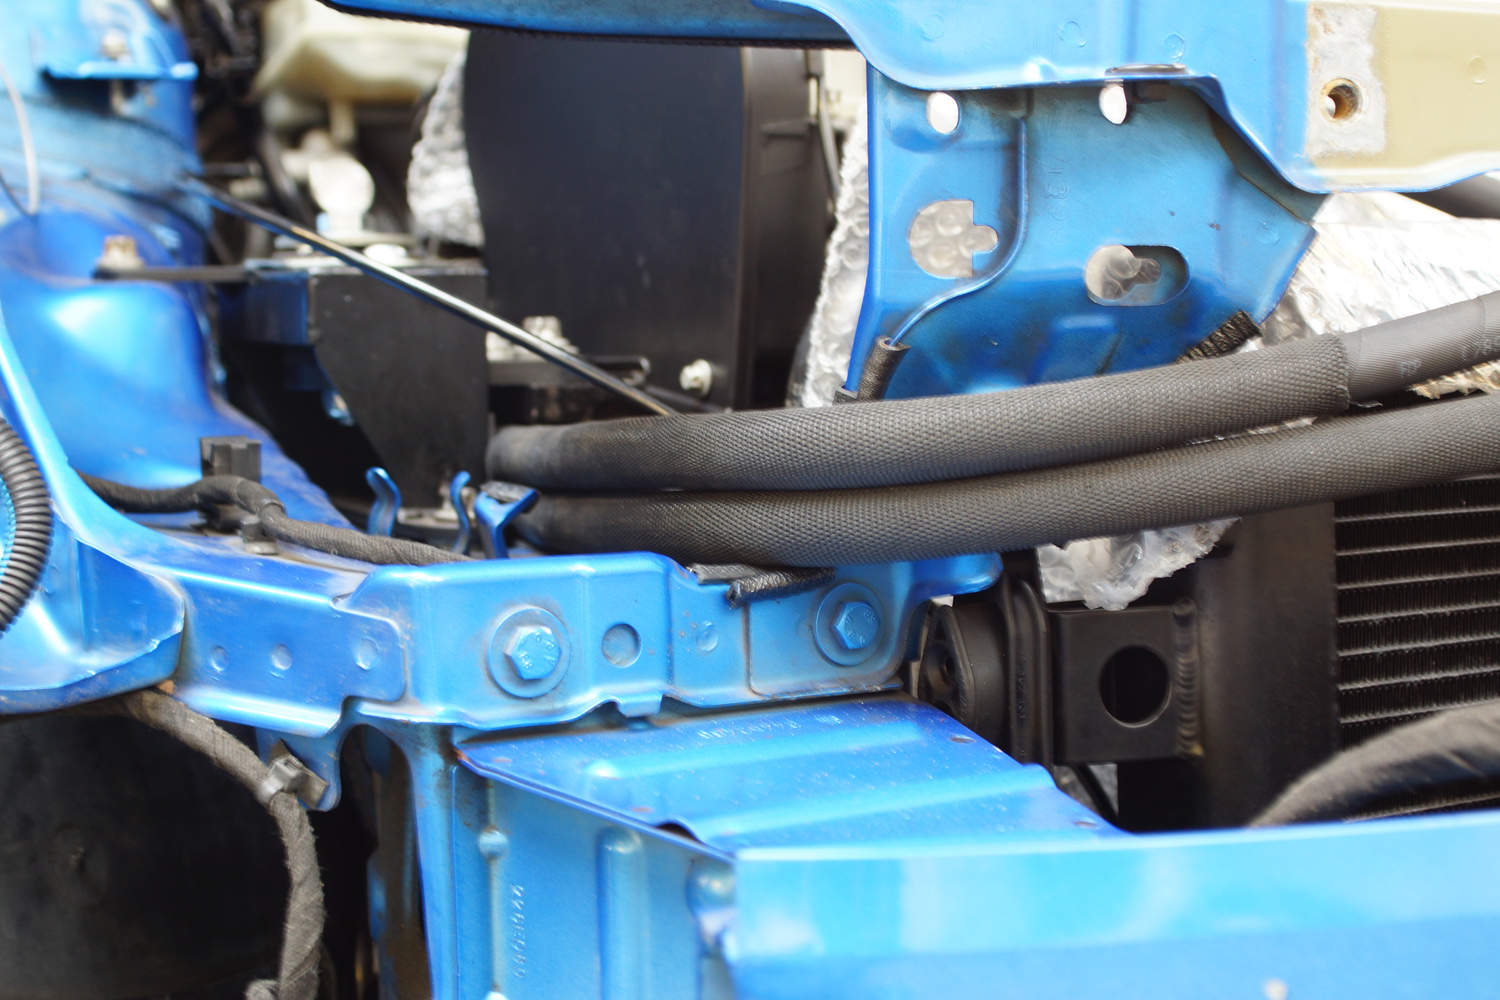
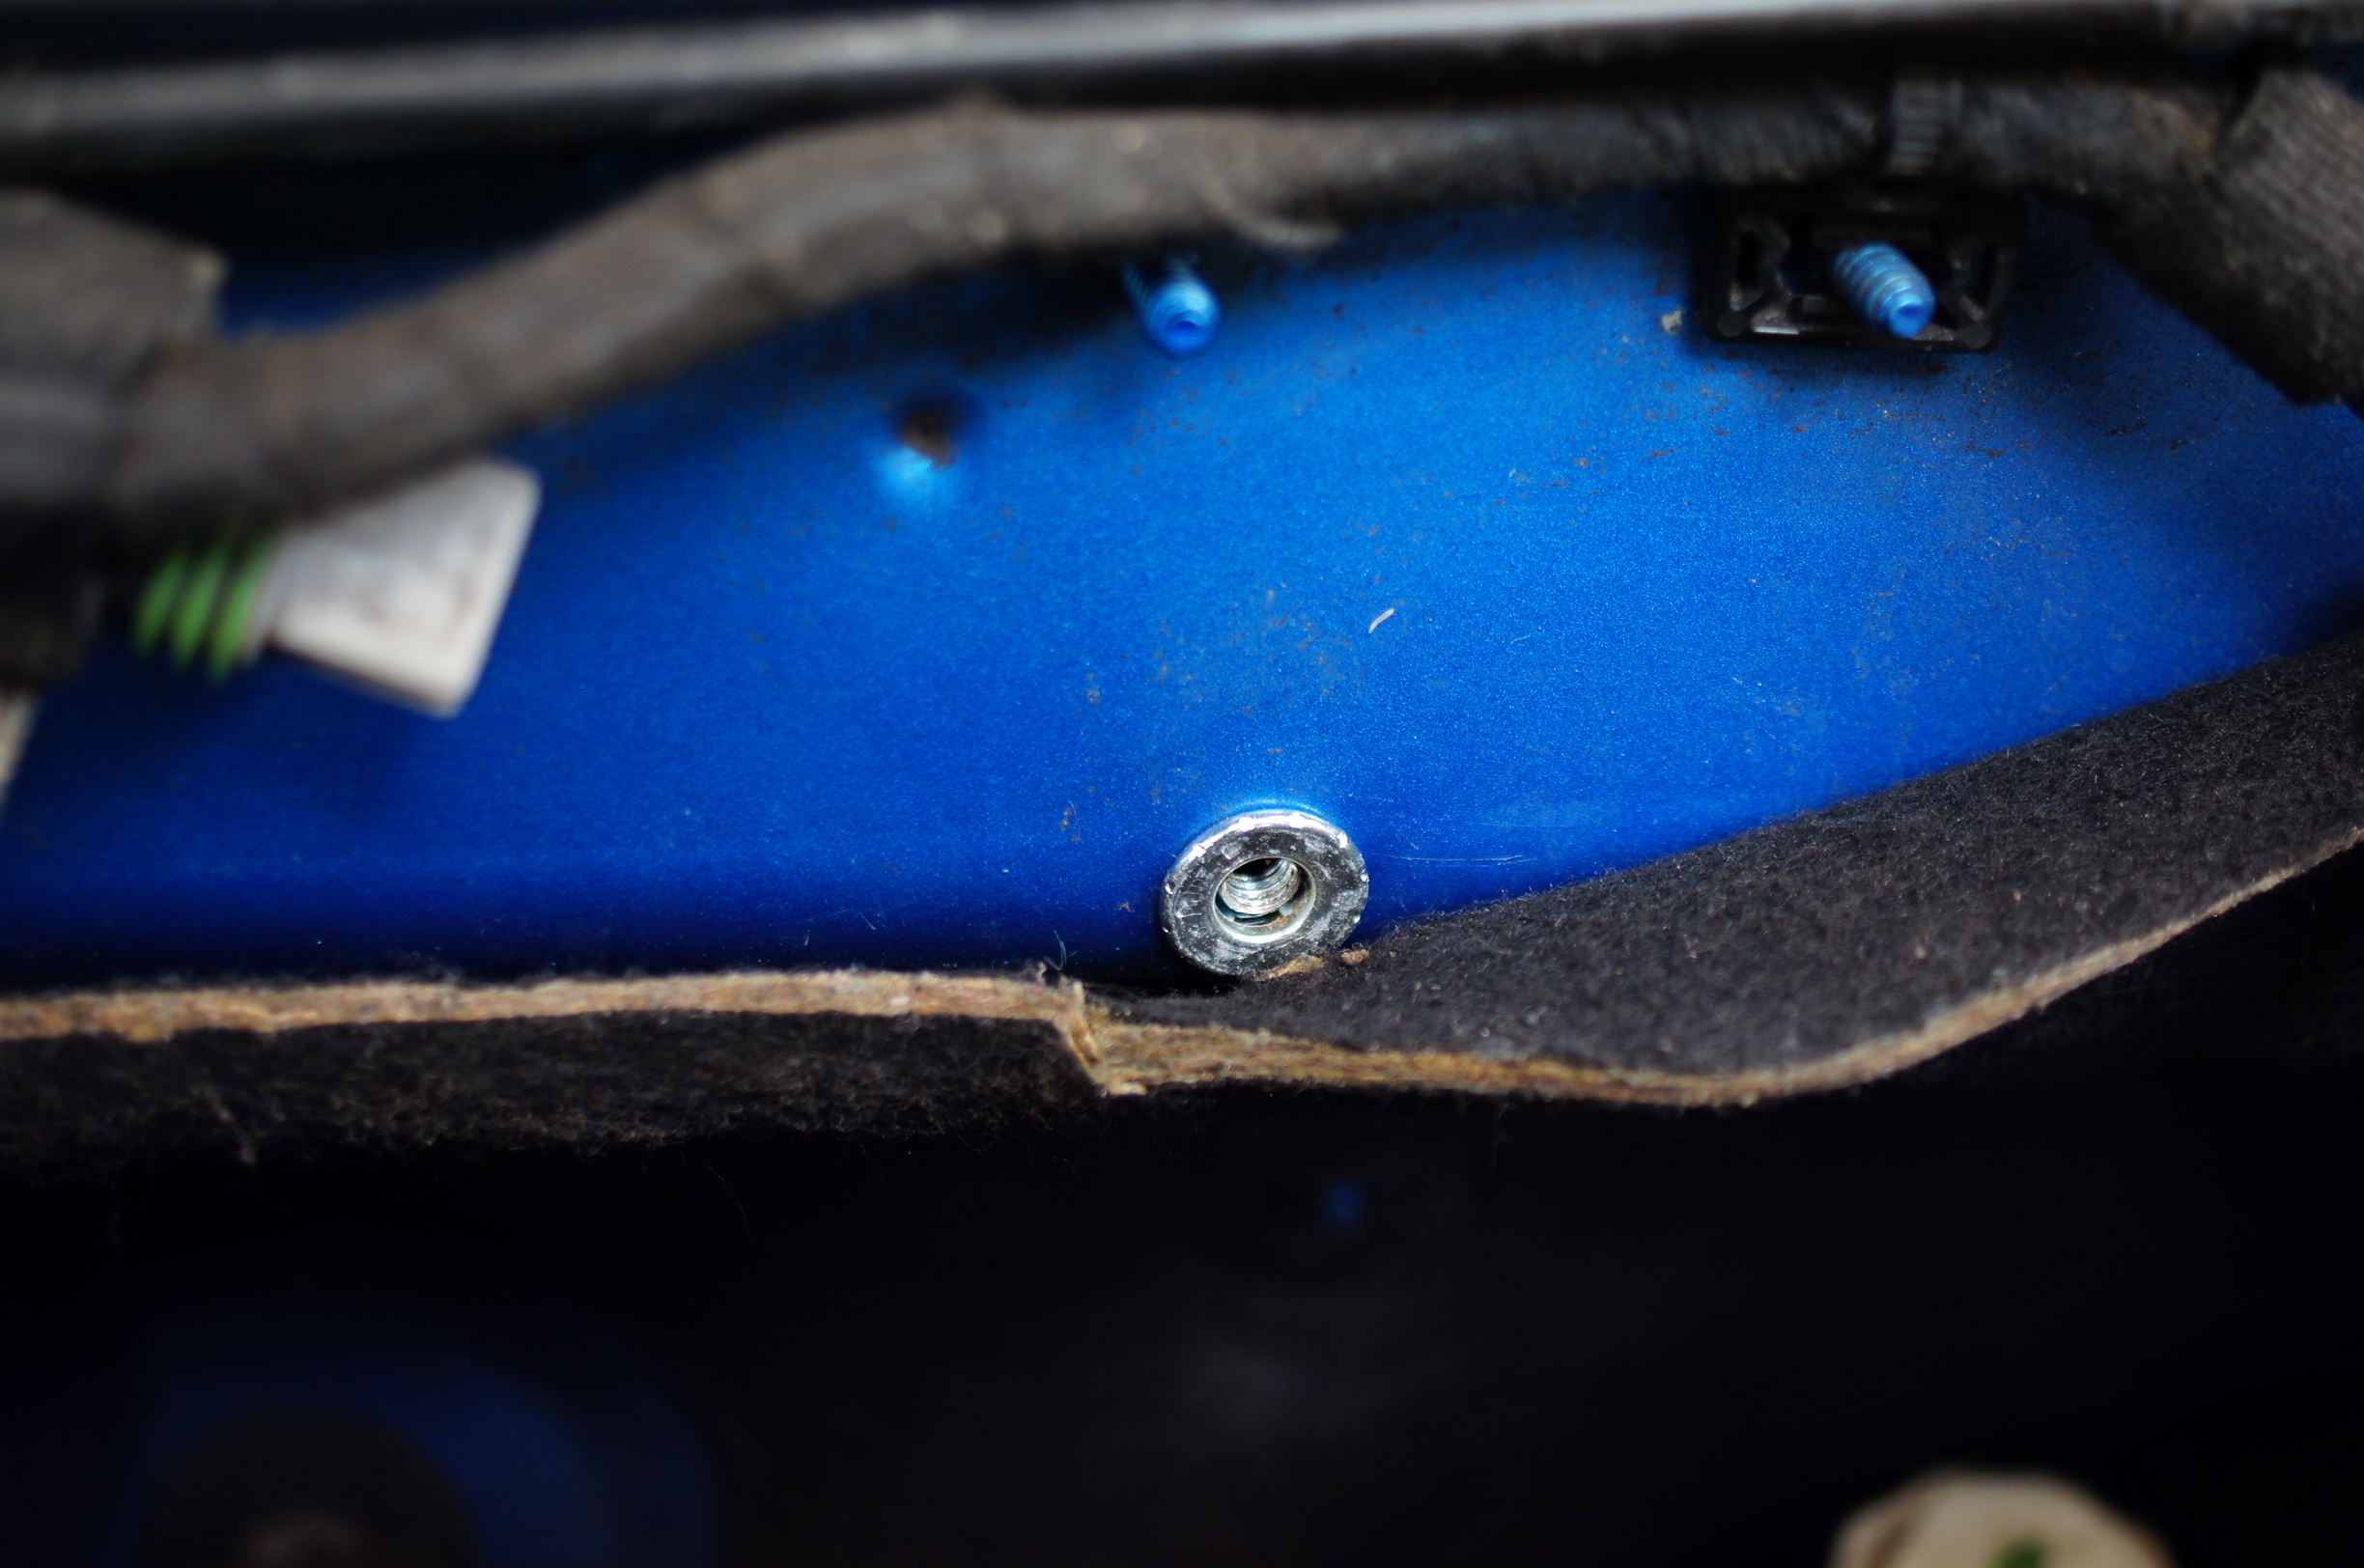
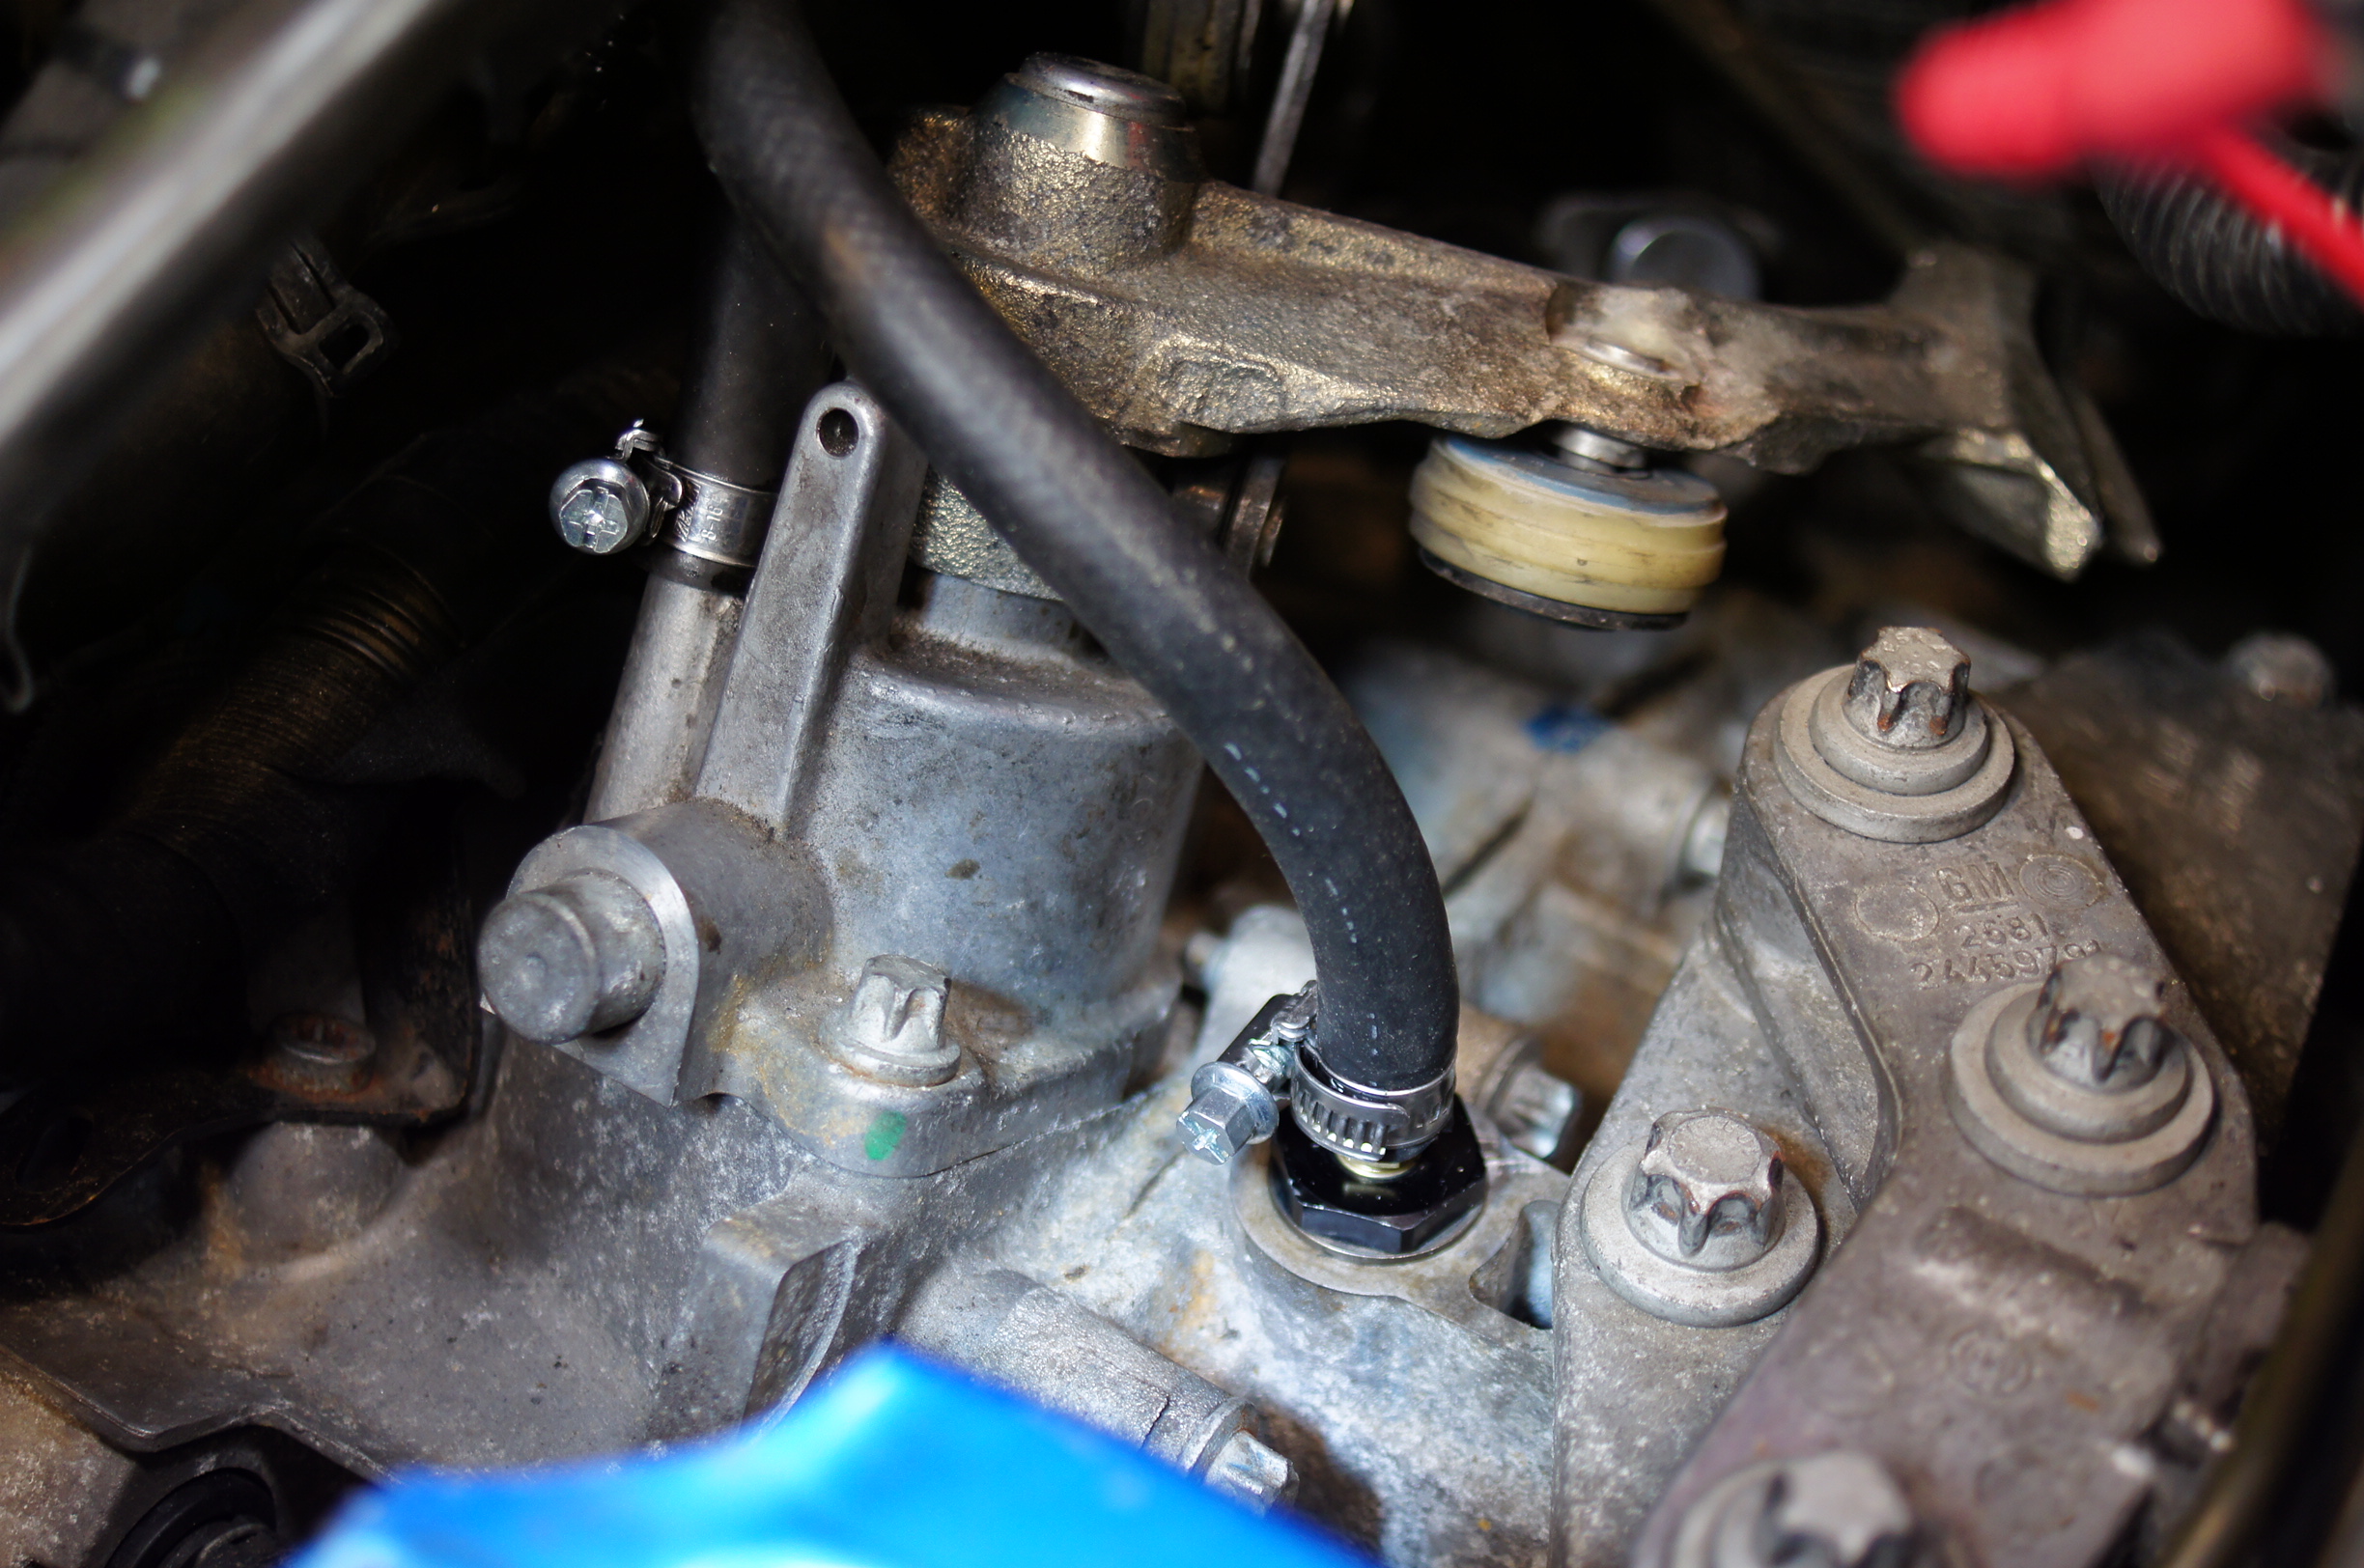
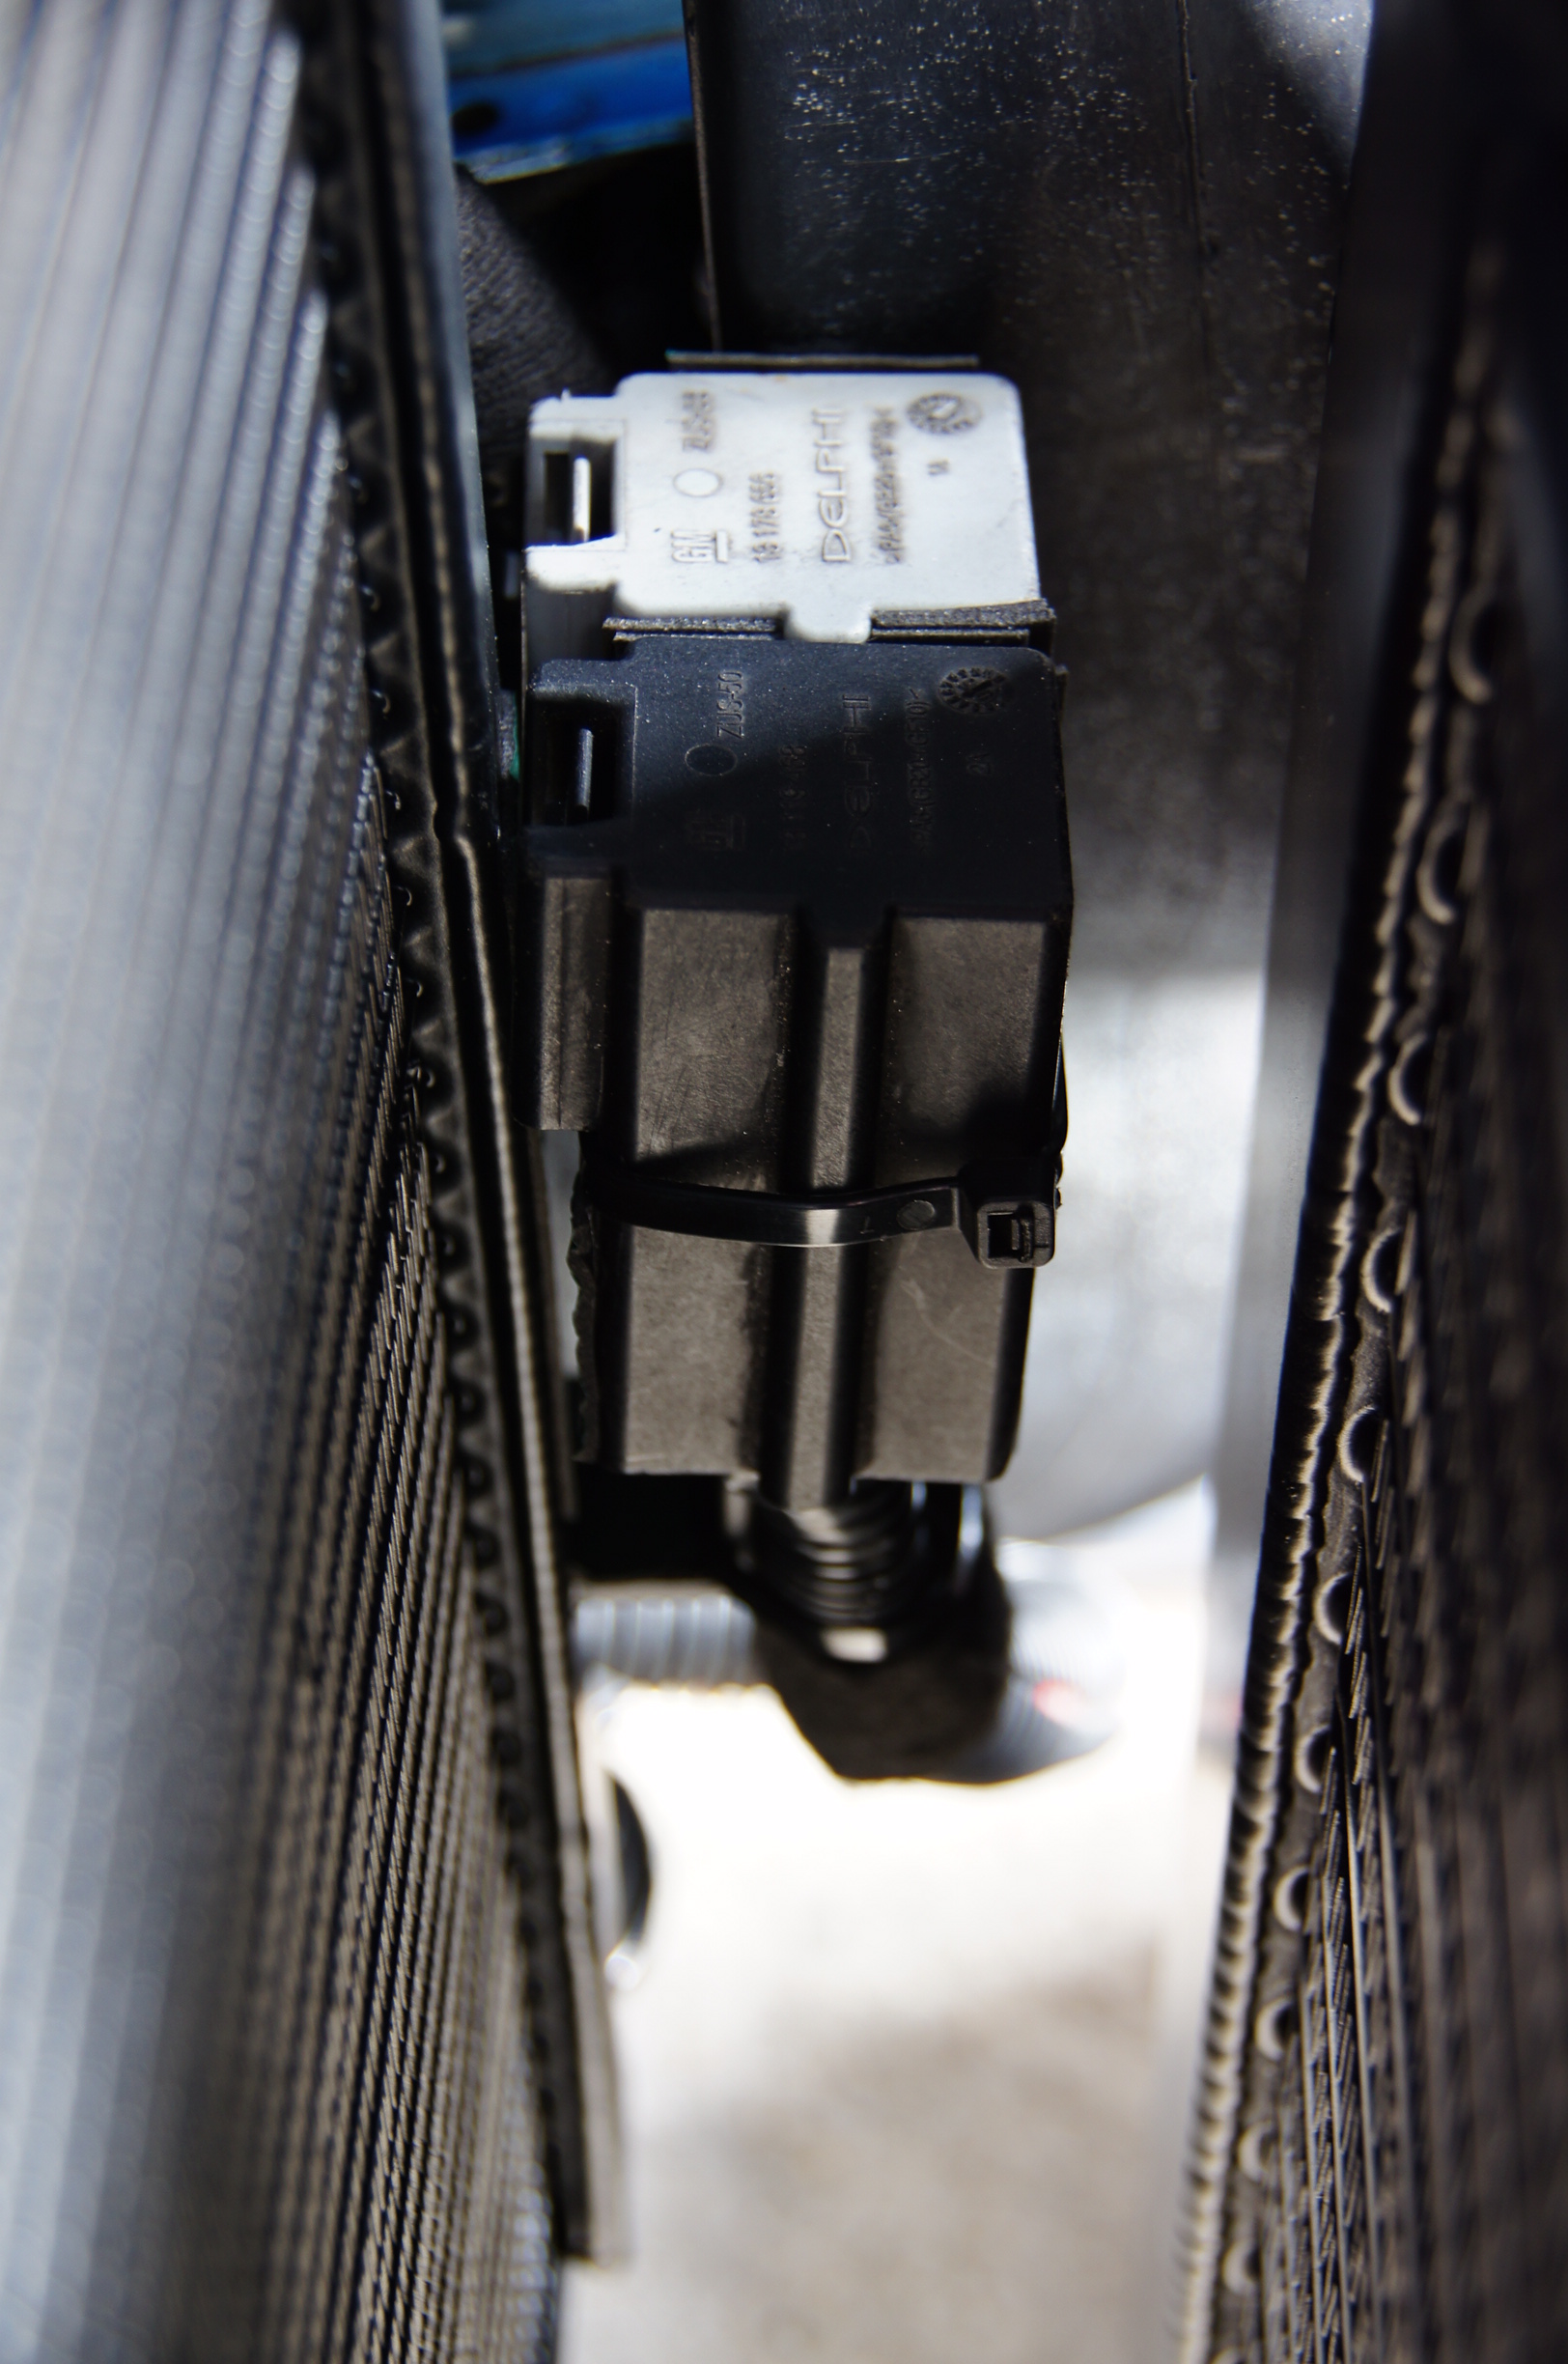
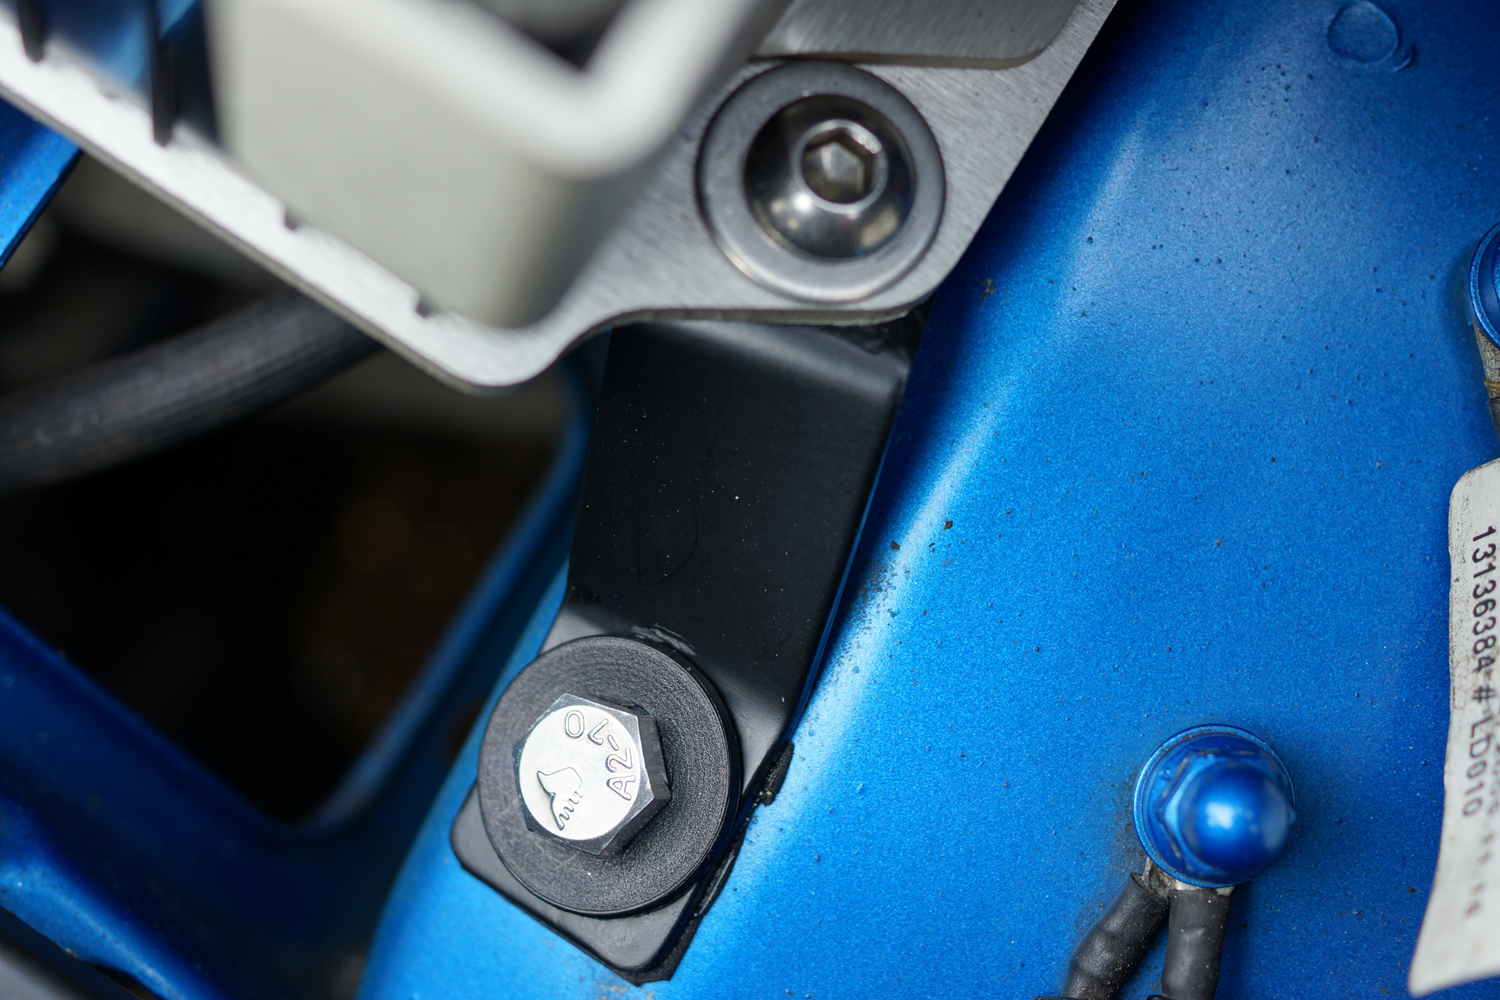
And there is plenty of clearance between the battery clamp securing bracket nut and bolt closest to the chassis leg (which is at the top of the picture) and the clutch feed pipe which runs underneath just in front of the gearbox mount.

Clearance on Clutch Pipe