Recaro Pole Position Seats with Sabelt Harnesses
- Sep 18th. 2012
- By mapw
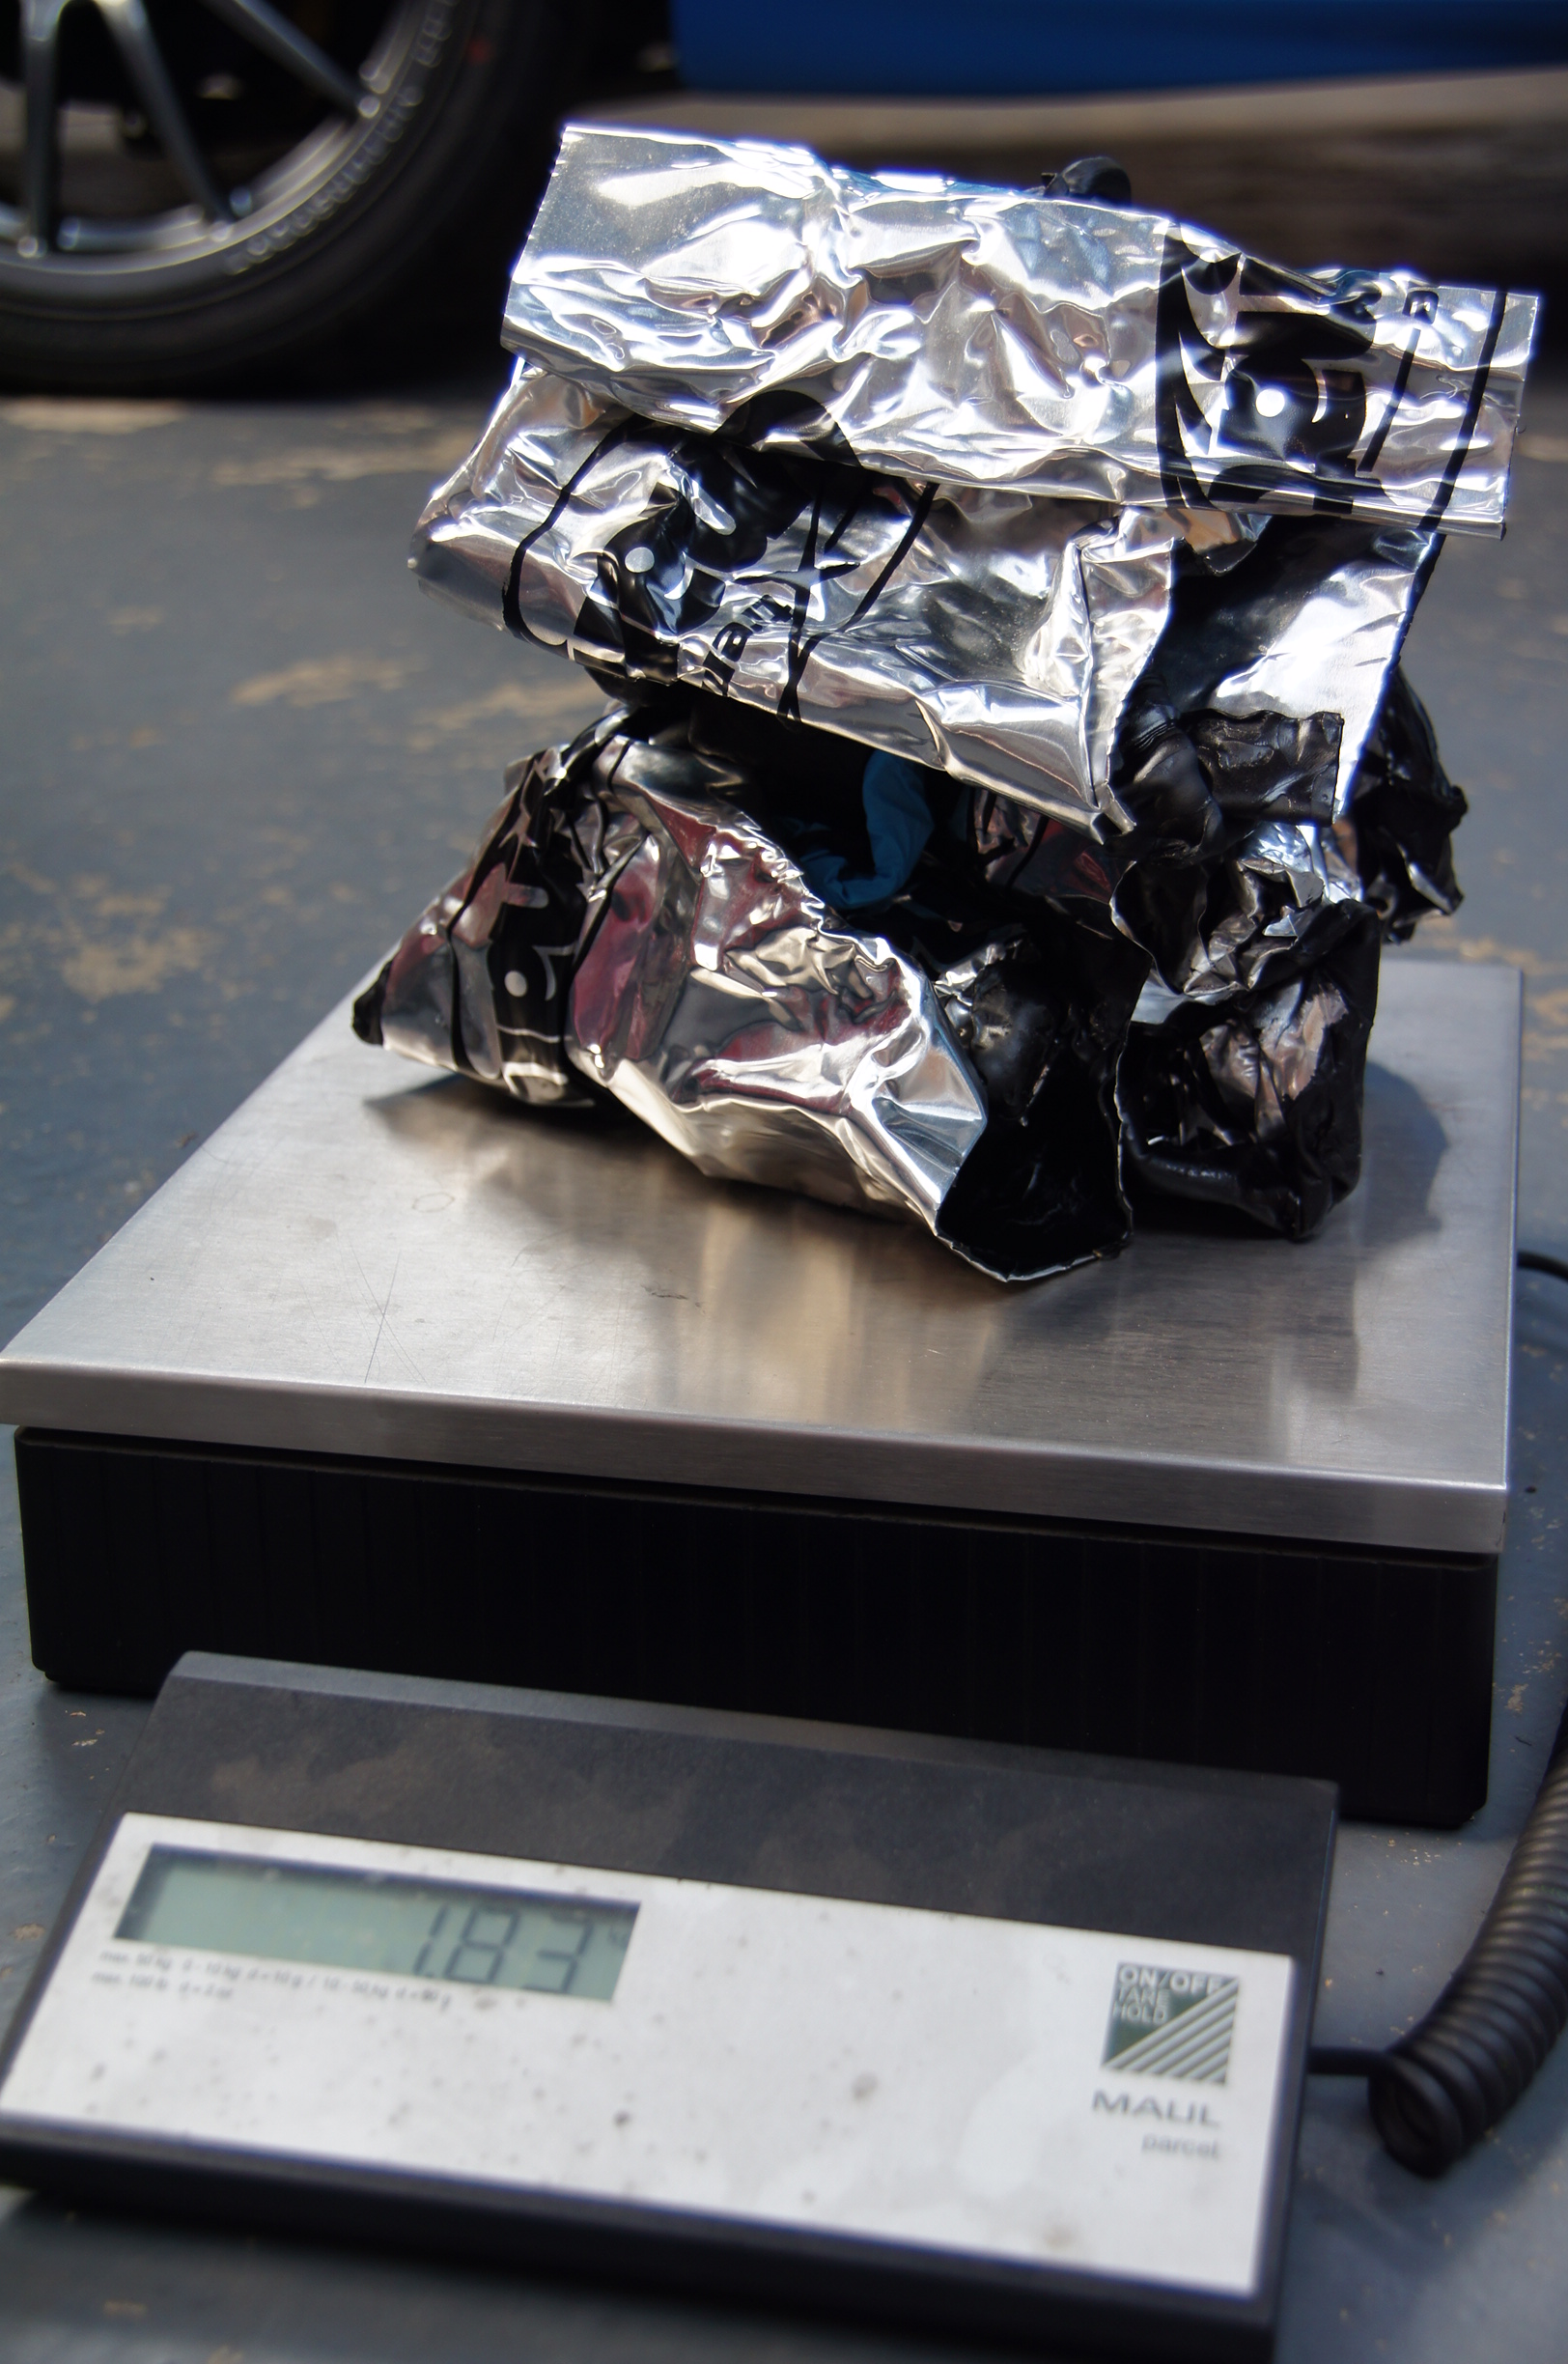
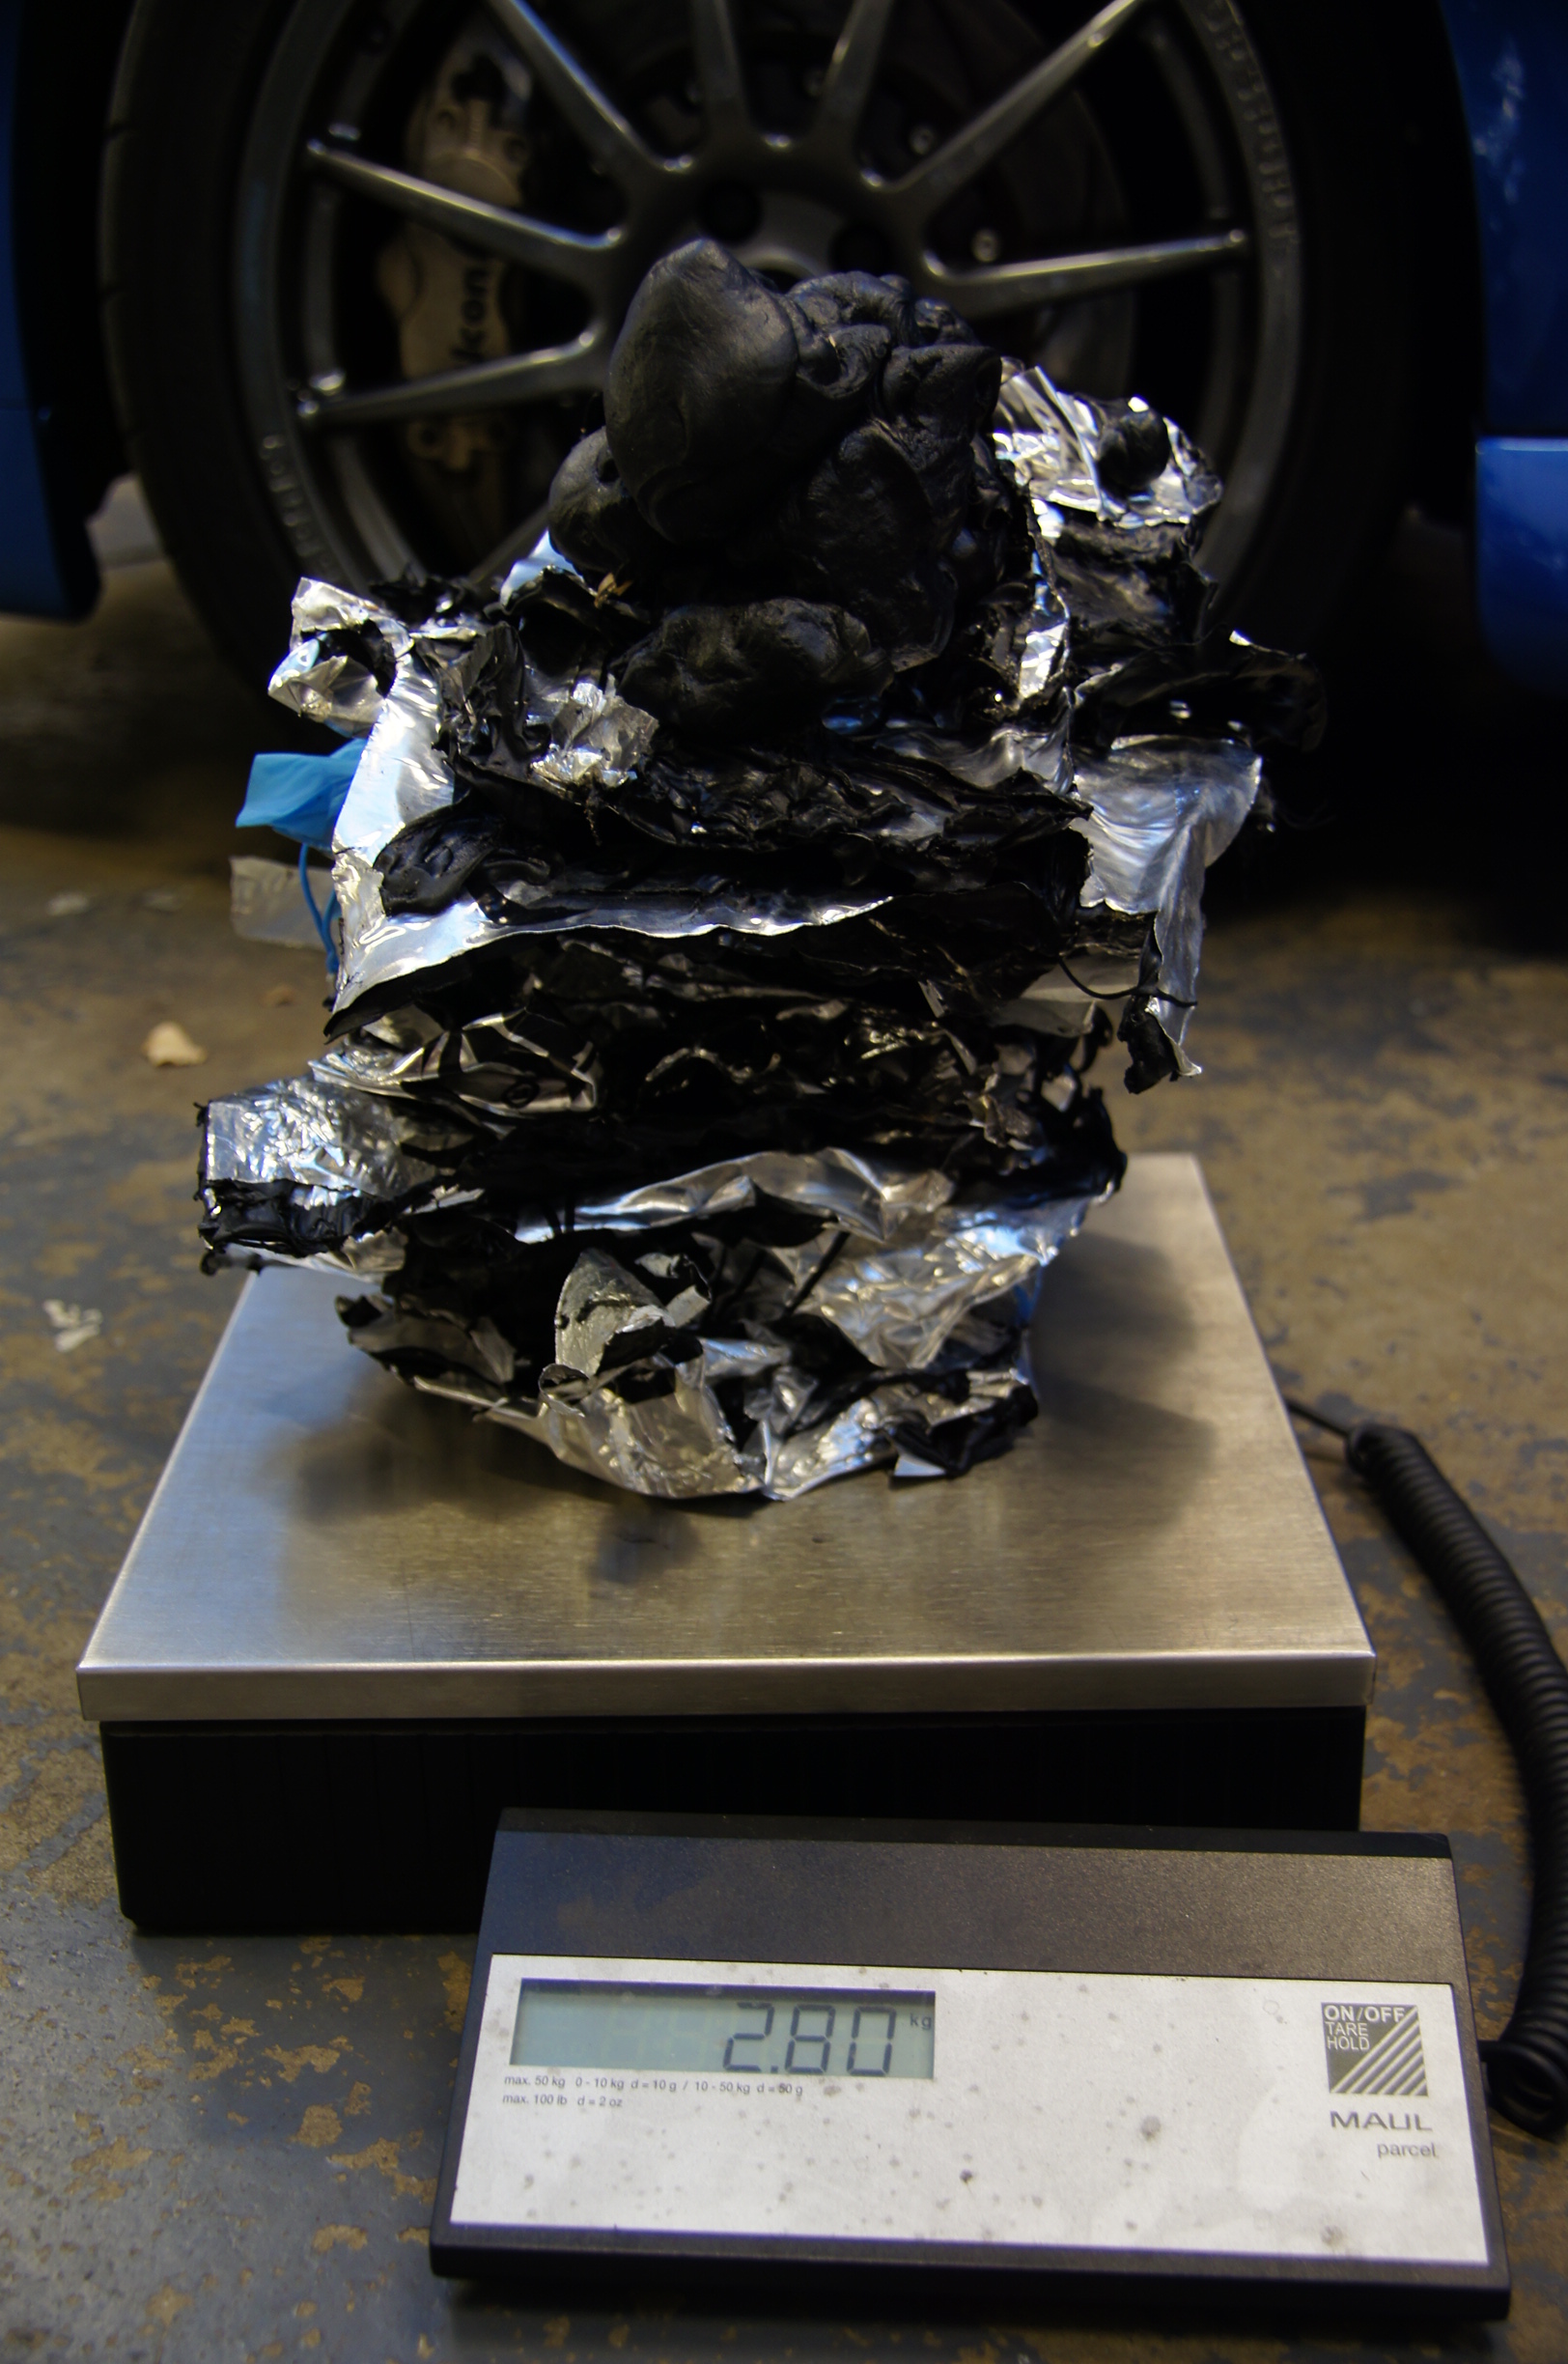
With the front factory Recaro seats being removed as they are not ideal for track day use, I chose Recaro Pole Position seats as a fitting replacement. They are finished in Nardo/Artista Black fabric, and are, in my opinion, one of the best seats on the market. Very comfortable, very supportive on road and track and they look fantastic from every angle. They also offer a huge weight saving, with the factory seats weighing in at nearly 25kgs each, these Recaro Pole Position seats weigh in at around 7kgs. When fitted the Recaro Pole Position seats also sit much lower making for a better driving position.
I have had them supplied with the vehicle specific Recaro subframes (which have also on occasion been fitted os Original Equipment (OE) into certain factory Opel/Vauxhall vehicles), which mount directly into the vehicle’s original floor fixings so they really are a truly OE fit with no cutting, welding or creating your own floor mounts saving time, hassle and making for very simple straightforward fitment. The Recaro subframes also retain the sliding mechanism making access into the car and the seating position easier to set and I have also specified the aluminium side plates for mounting the seats to the subframes. There was a steel side mount option but this is heavier, albeit slightly cheaper option.
To compliment the Recaro seats, I have chosen Red Sabelt 4 Point track day pull down harnesses. They feature a push button buckle, similar to a road seat belt buckle, making them acceptable for road use and an MOT pass and are secured into the car via 4 snap-hook fixings; 1 at each side and 2 onto the harness bar of the roll cage for the shoulder straps.
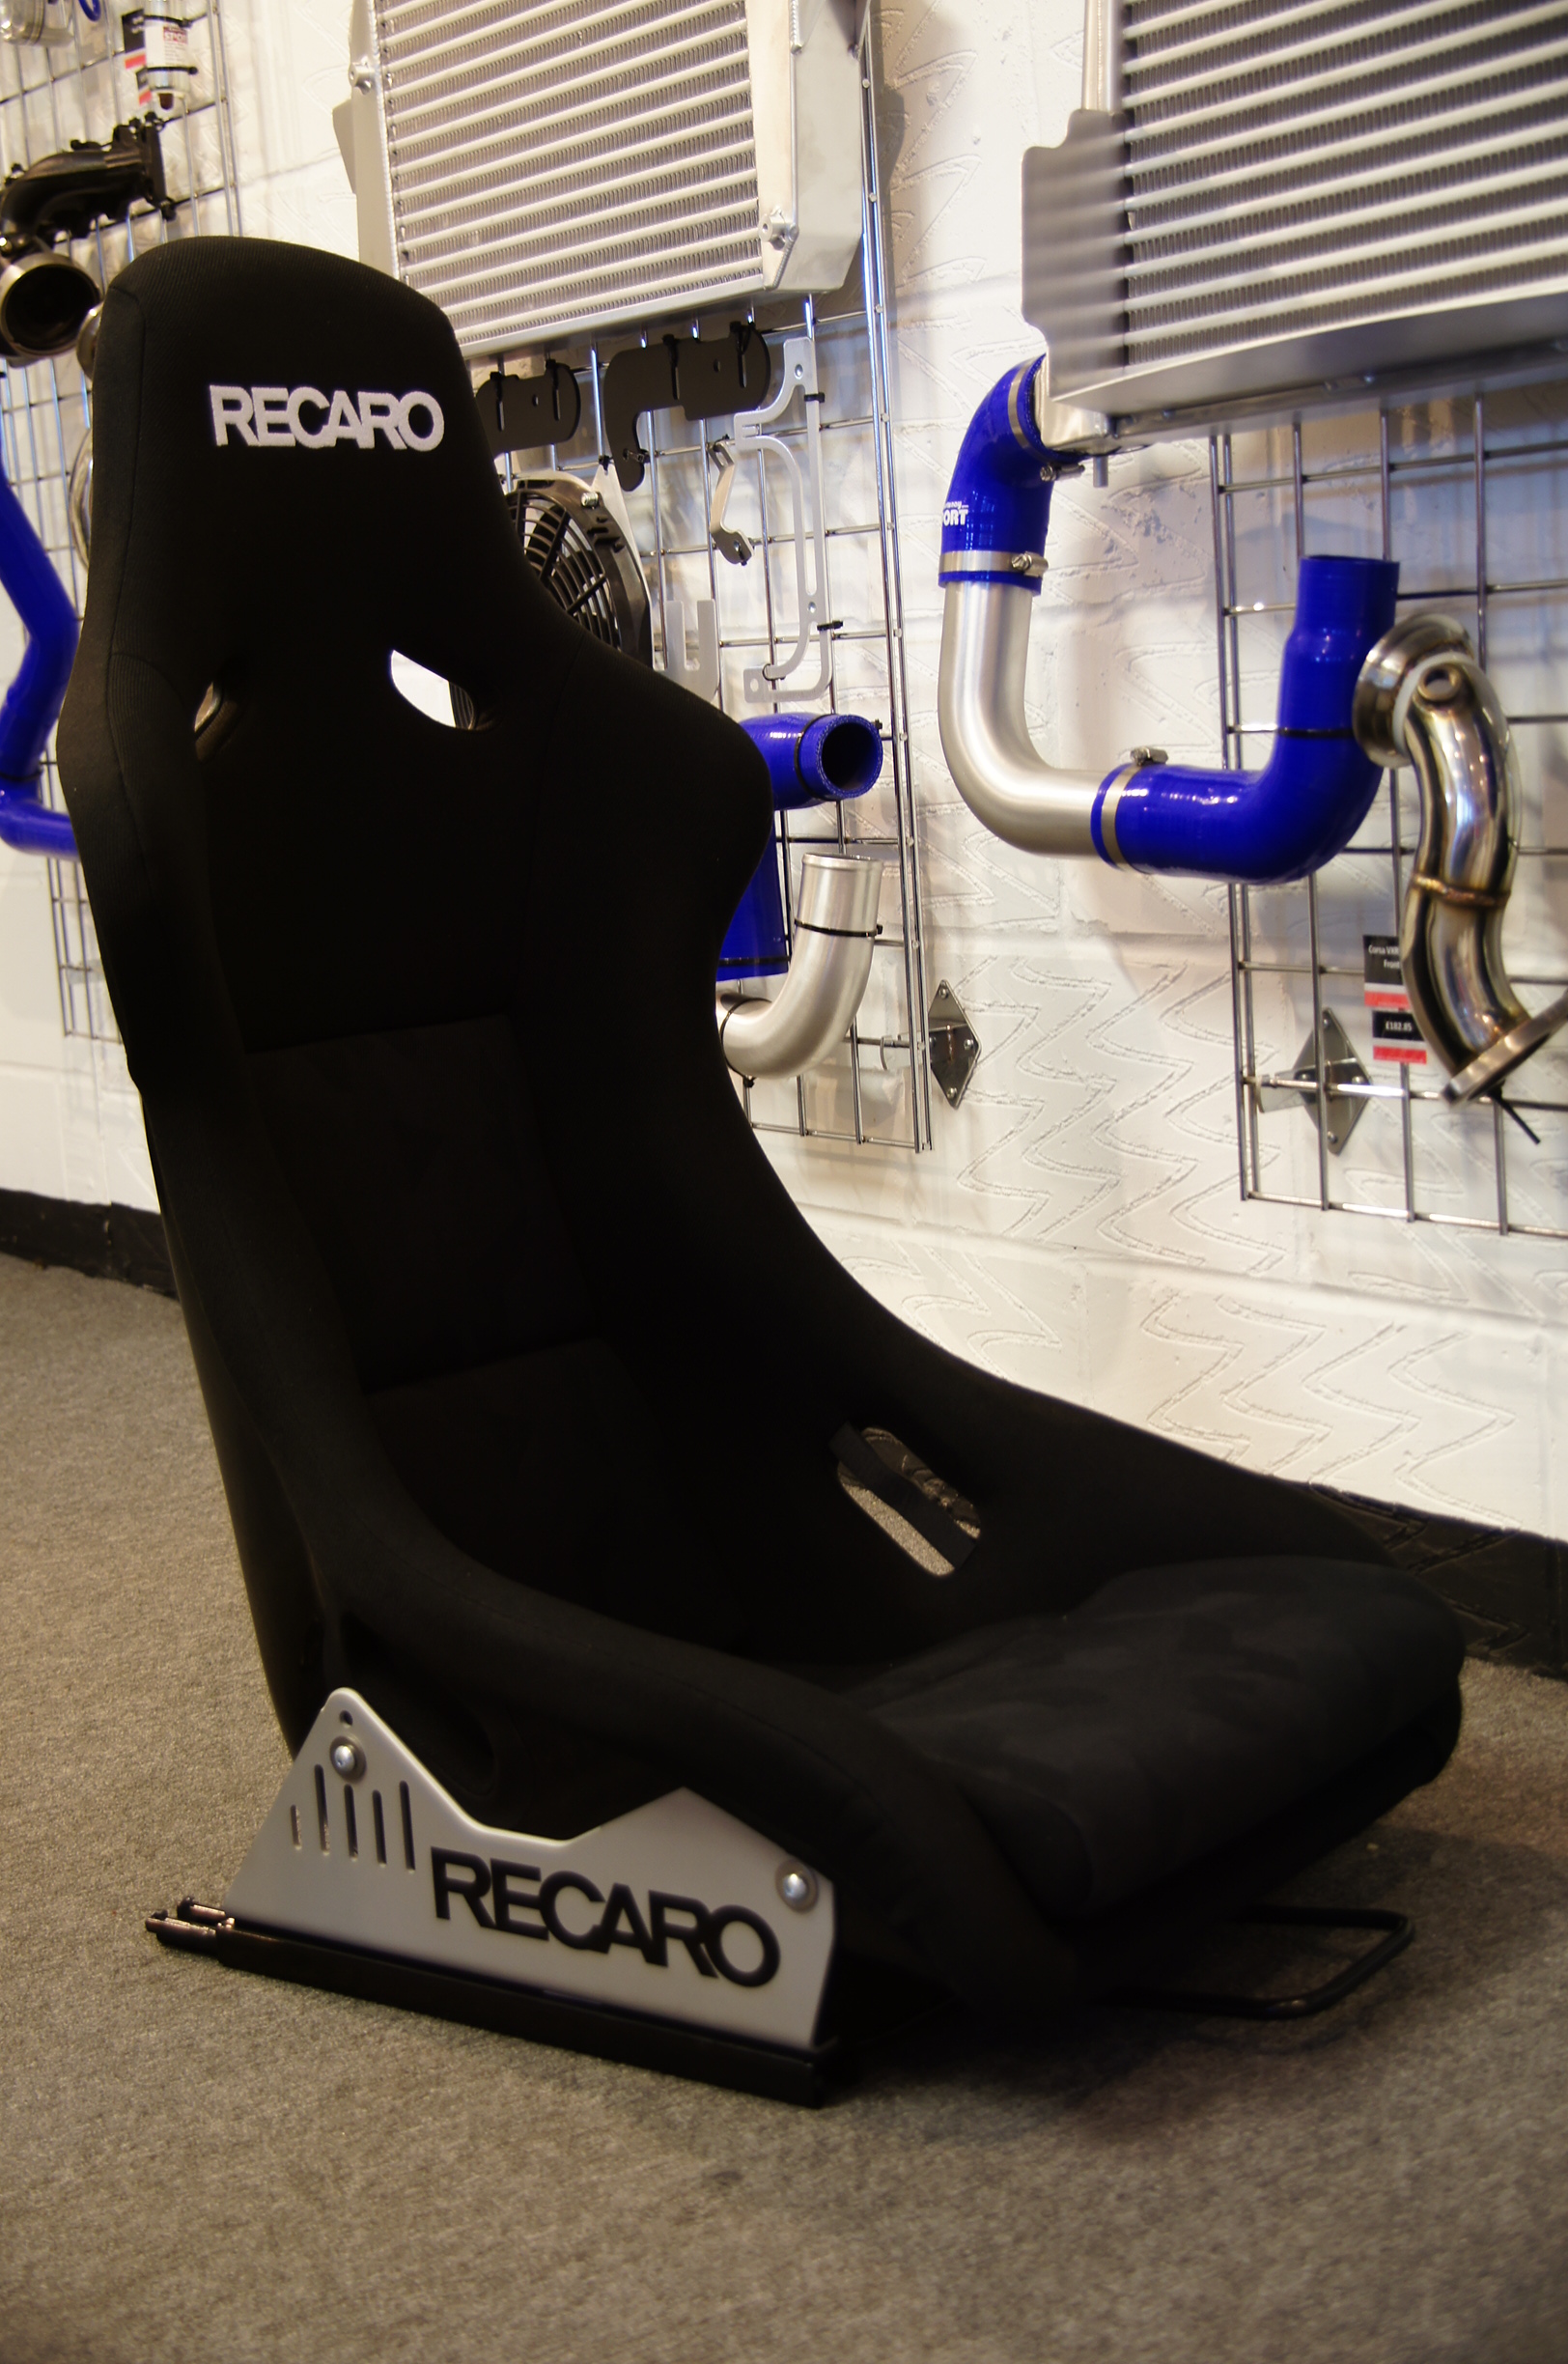
Here is one of the Recaro Pole Position Seats:

Recaro Pole Position Seat
This is one of the supplied subframe kits ready to be built up:
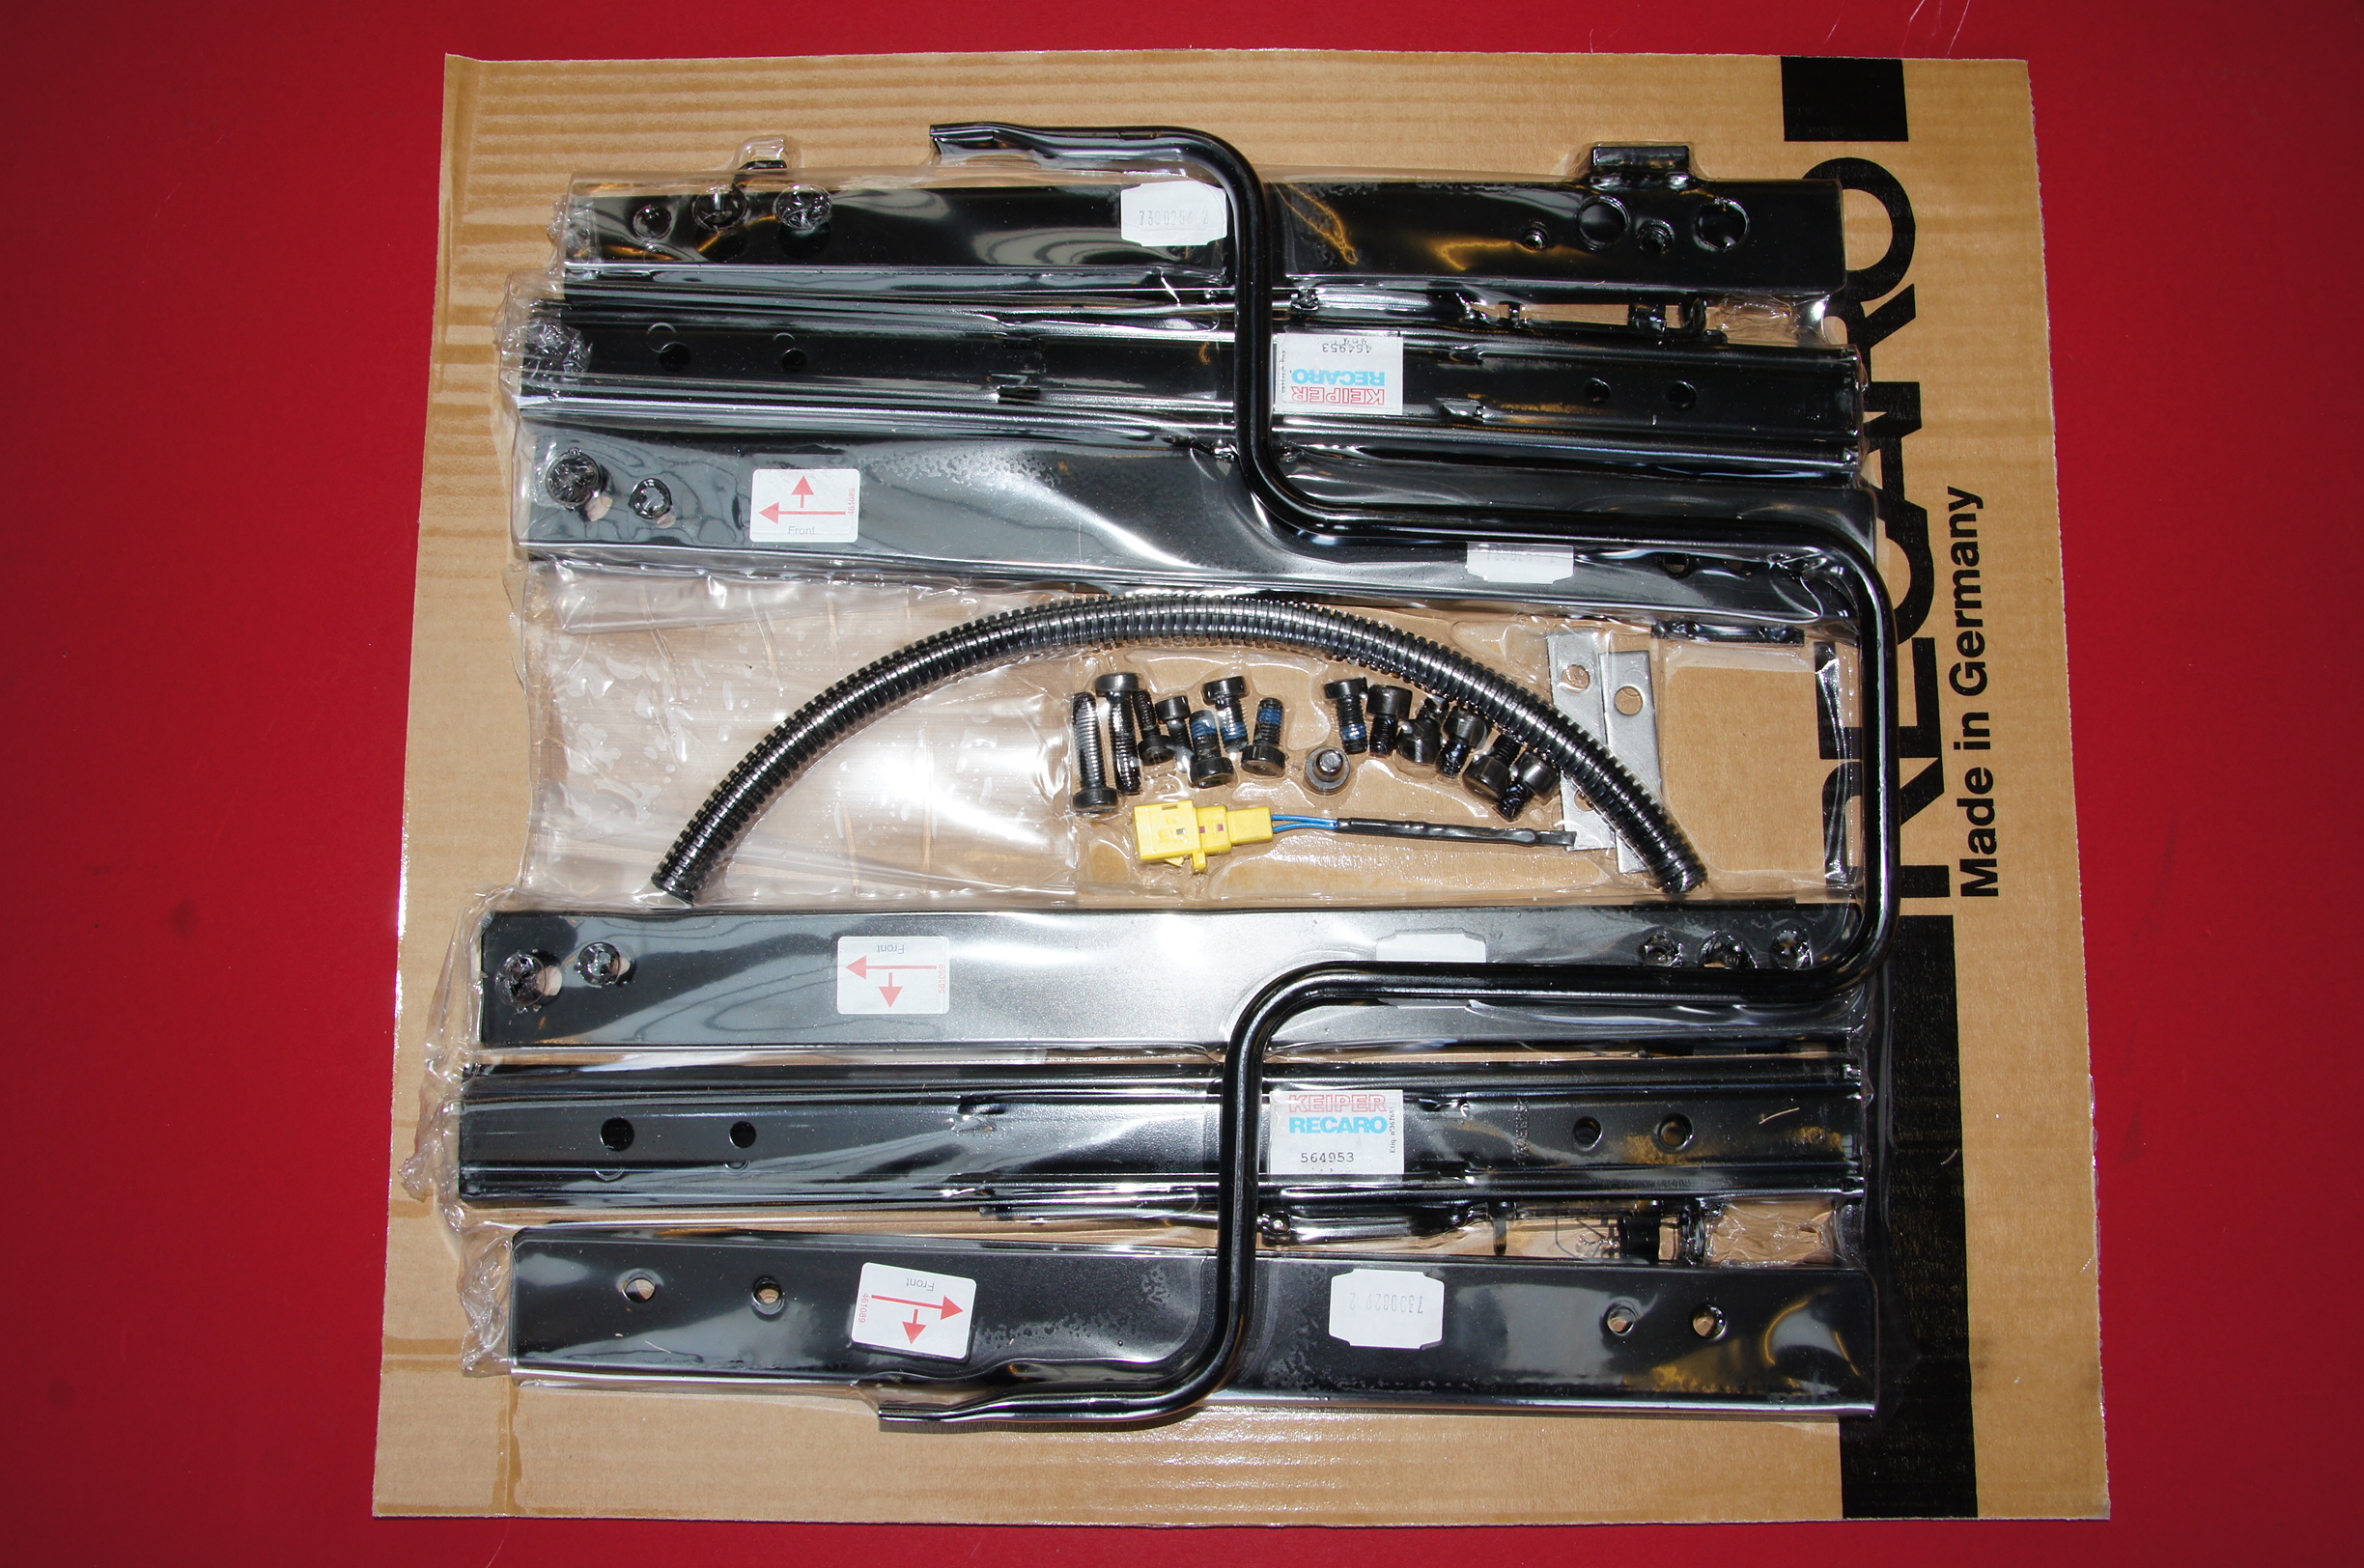
Recaro Seat Subframe
And these are the alloy side mounts:

Recaro Alloy Side Mounts
Seat Built Up onto Subframe with Side Mounts:
Seat Built Up onto Subframe with Side Mounts
Recaro Floor Mounts fitted into the car:

Recaro Floor Mounts Fitted
Recaro Pole Position Seats fitted with Sabelt Harnesses:
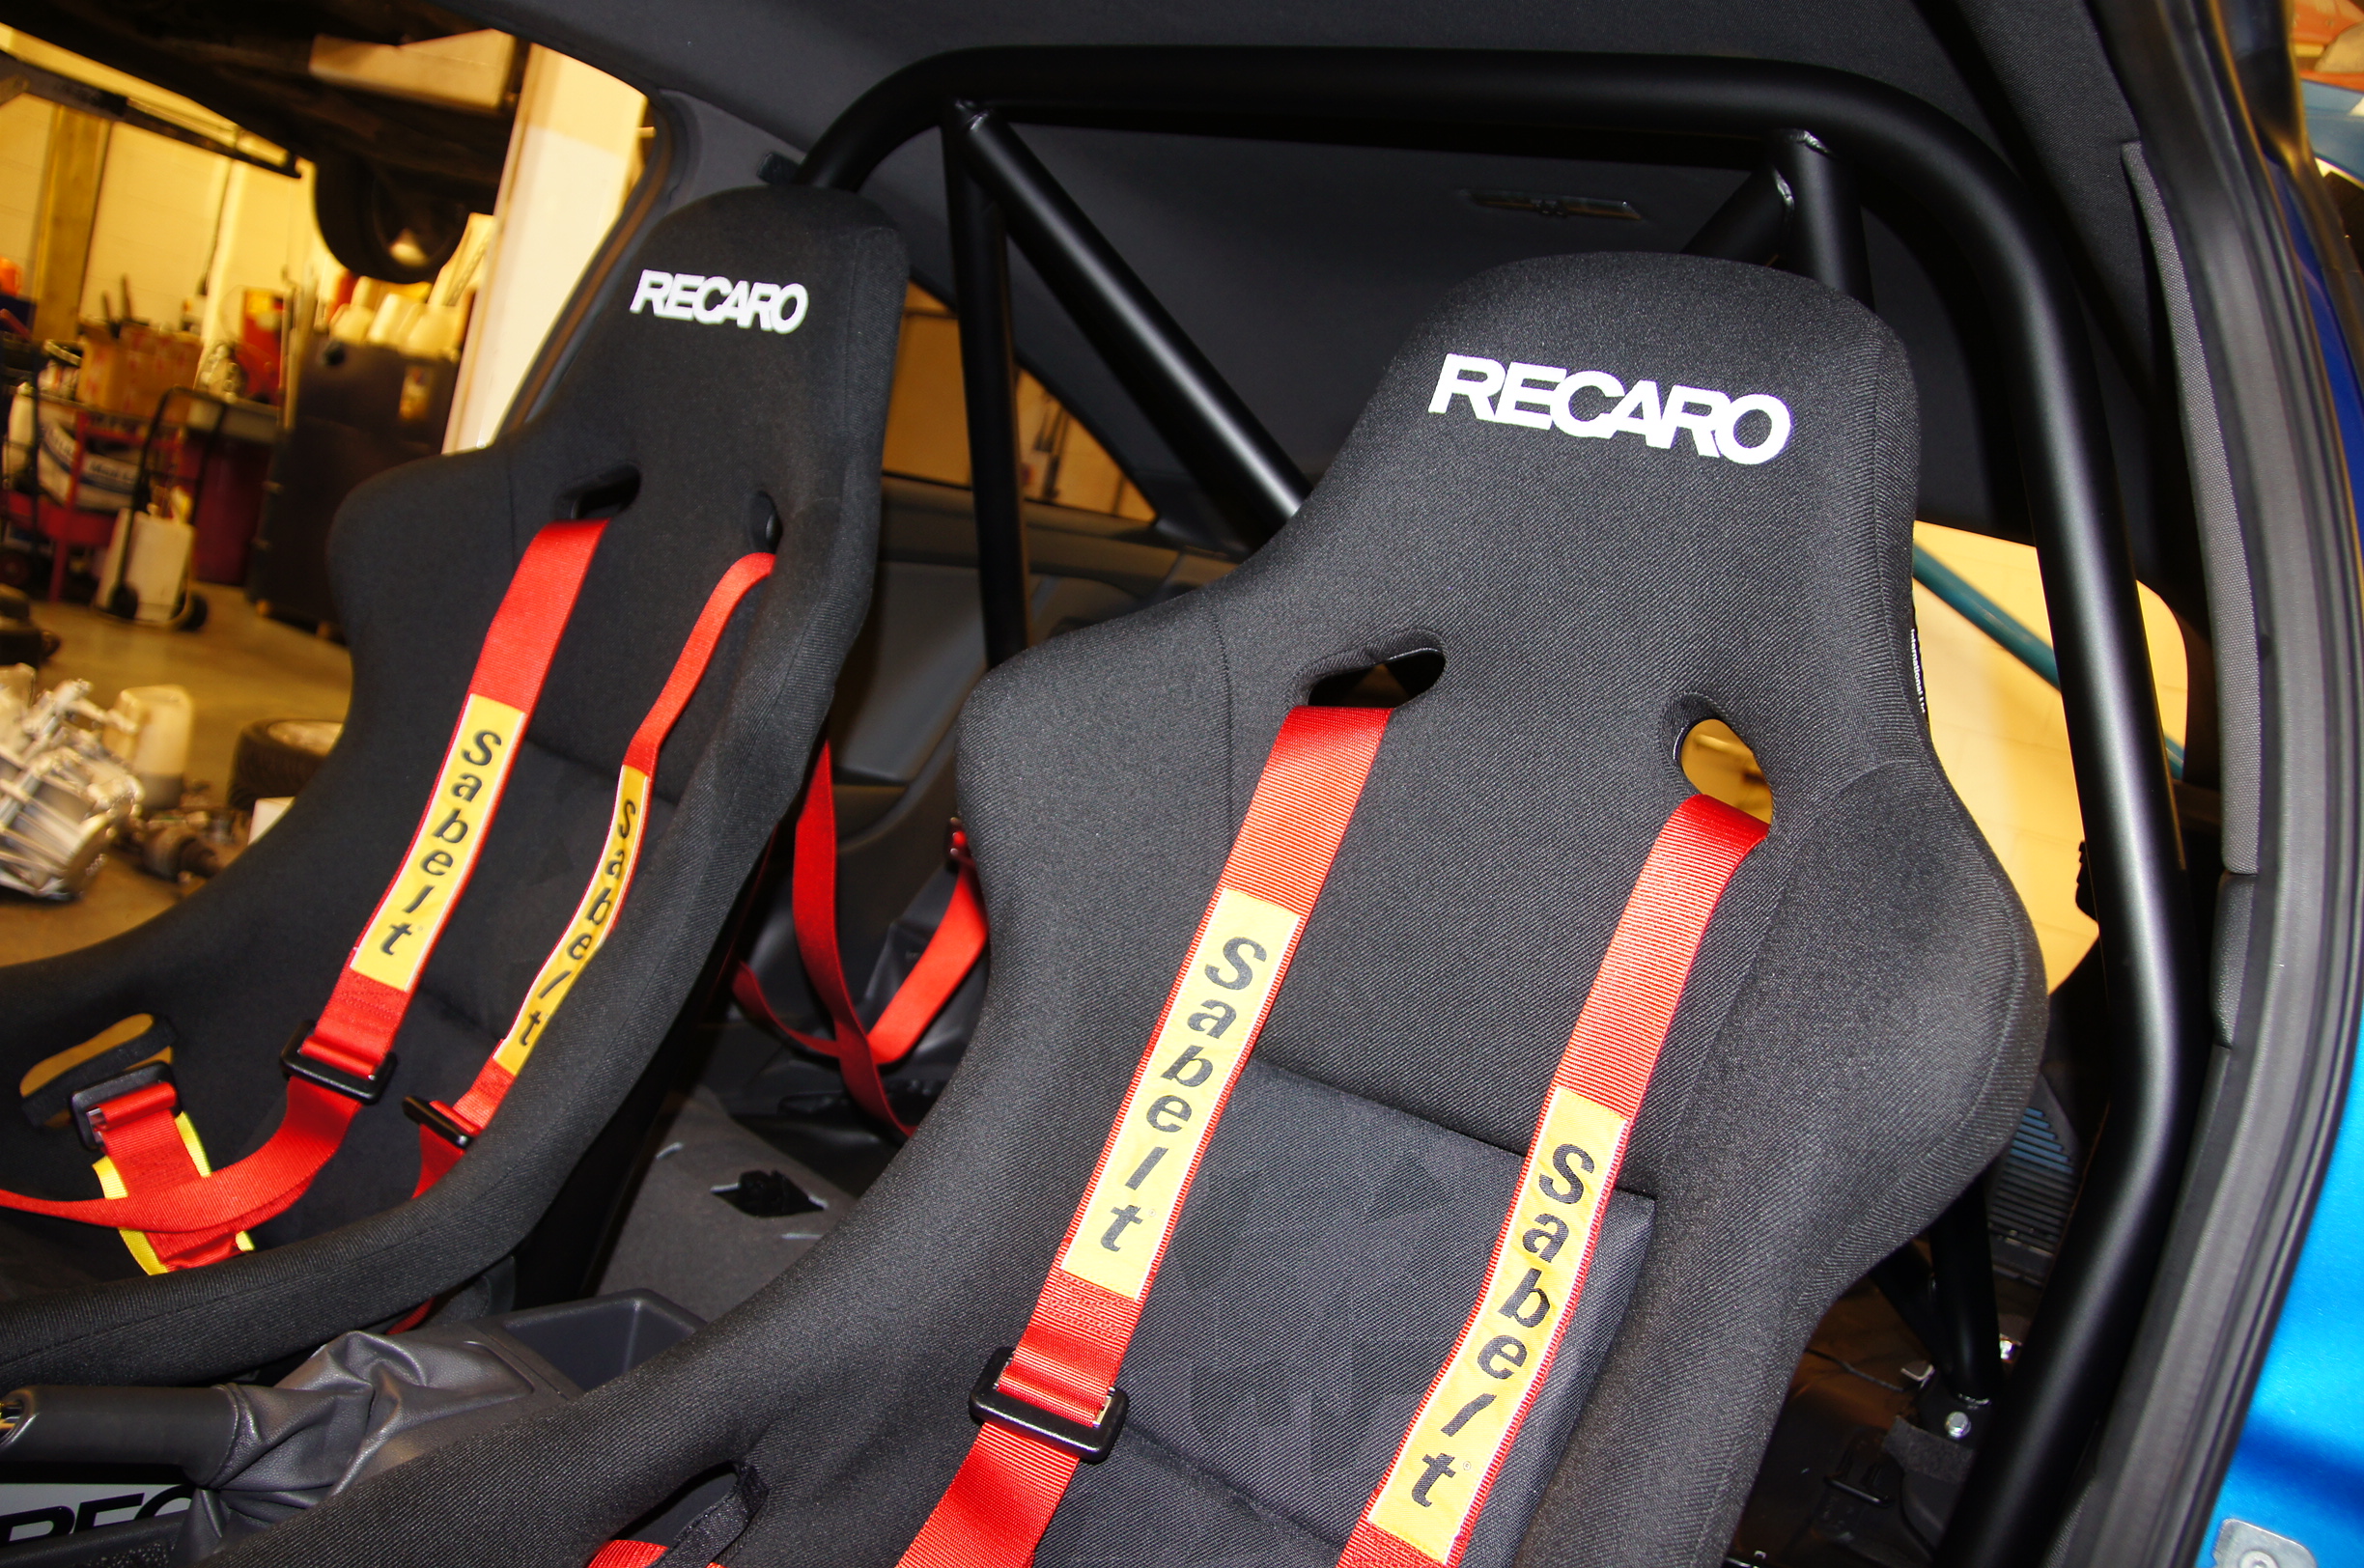
Fitted with Sabelt Harnesses
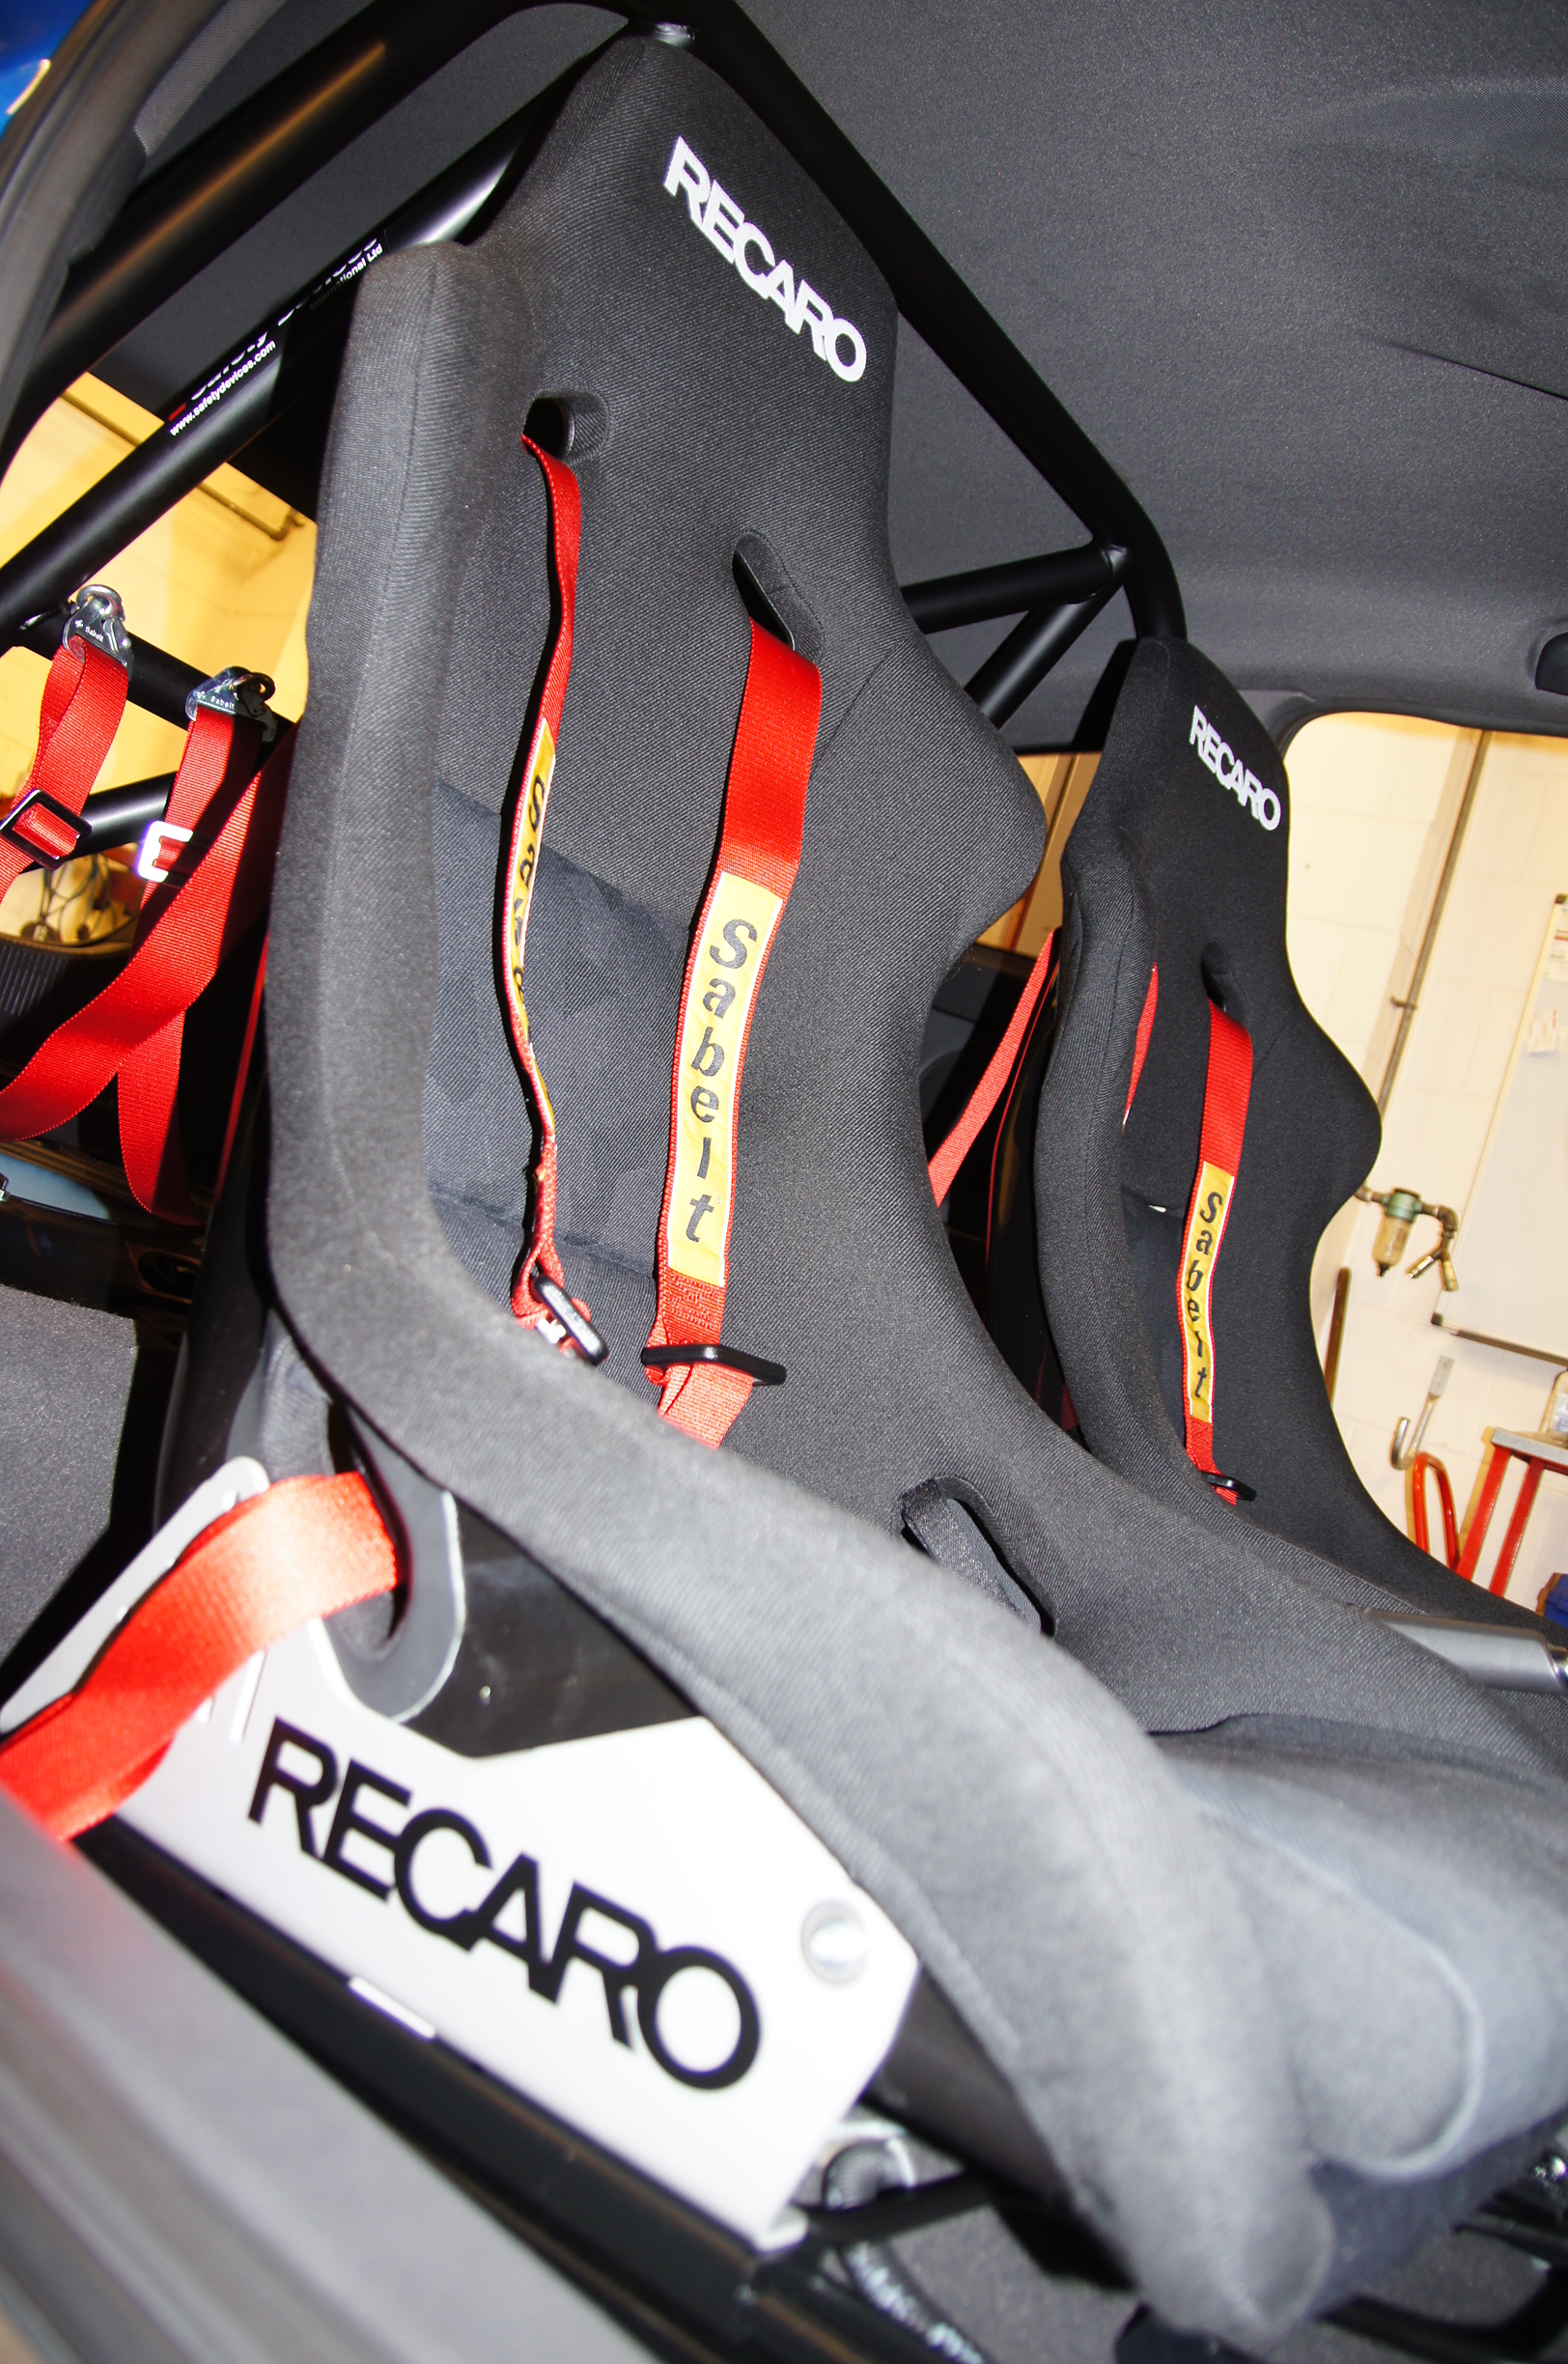
Fitted with Sabelt Harnesses