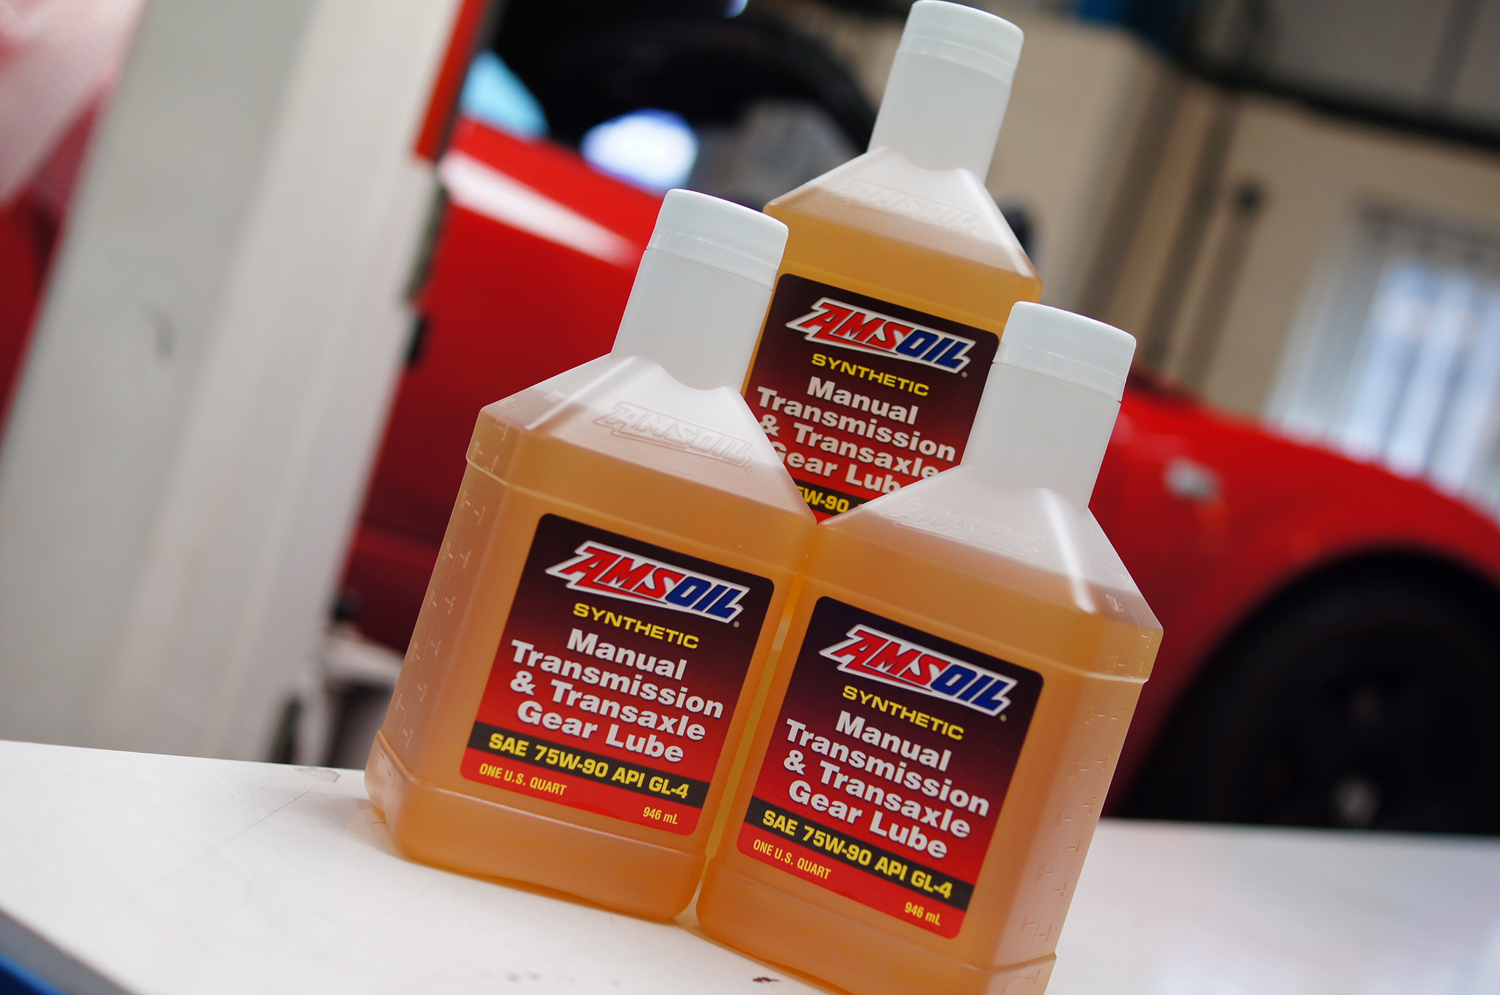
The addition of a gearbox oil cooler is to help keep the gearbox oil temperatures under control when on track. Without a cooler the gearbox oil temperatures can quite quickly rise to 120+ degrees C (if you let them) which can quickly degrade the gearbox oil. Using a very high quality fully synthetic gearbox oil is essential. Because the M32 gearbox does not dissipate heat readily the only way to bring the temperature down is to stop the car and leave it idle for about 20 minutes or so, and the oil temperature drops to mid 70’s and then another 20 minutes on track will bring the temperature back up again and so the cycle continues.
As far as the car is concerned on track this is the one thing that hinders its use, because everything else (water temperature, inlet air temperature, brakes) are absolutely fine.
Getting everything together for the gearbox oil cooler has taken a few months and the whole installation has taken a little longer than expected due to one thing and another (manly the lack of a suitable outlet fitting) but in the end I have got it all sorted.
So again after chatting to Think Automotive, we specced this Mocal Oil Pump with the following spec; Hardened bronze gear pump. Brass body 12 volt motor. Weight 3lbs. Flows up to 150 gallons per hour (UK)/680 litres per hour of oil. Pressure up to 50psi. Max temp 175 degrees C. Current draw 6 to 8amps. Rubber Mounted. Not cheap at £270+VAT but again given the other options probably the best pump for the job.
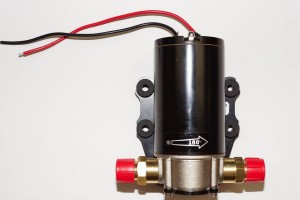
Mocal Oil Pump
An Earl’s Performance in-line oil filter will be added to the gearbox outlet pipework (just in case):
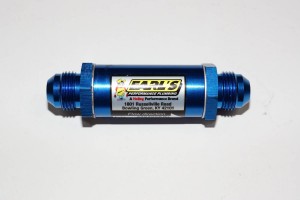
In Line Oil Filter
And a switch and LED for the pump:
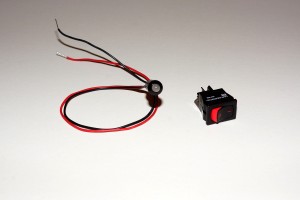
Switch and LED
Which have been fitted into the tray which sites in front of the gear lever, so easily accessible and can be switched on when the oil temperature dictates:
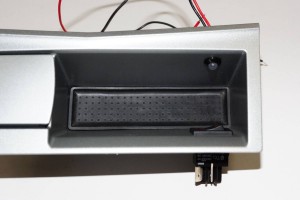
Switch and LED Fitted
I have also added a fused relay for the gearbox oil cooler pump, mounted at the front of the Underhood Electrical Centre (UEC):
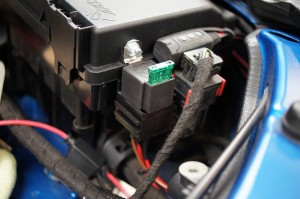
Relay Fitted
Banjos and Banjo Bolts for the oil cooler:

Banjos and Banjo Bolts
This is the factory (OE) engine oil cooler, which has been removed and cleaned out and will now be used as the gearbox oil cooler. The feed and return pipes have been fitted with the new anodised aluminium banjos and bolts and new oil sealing rings:
OE Oil Cooler
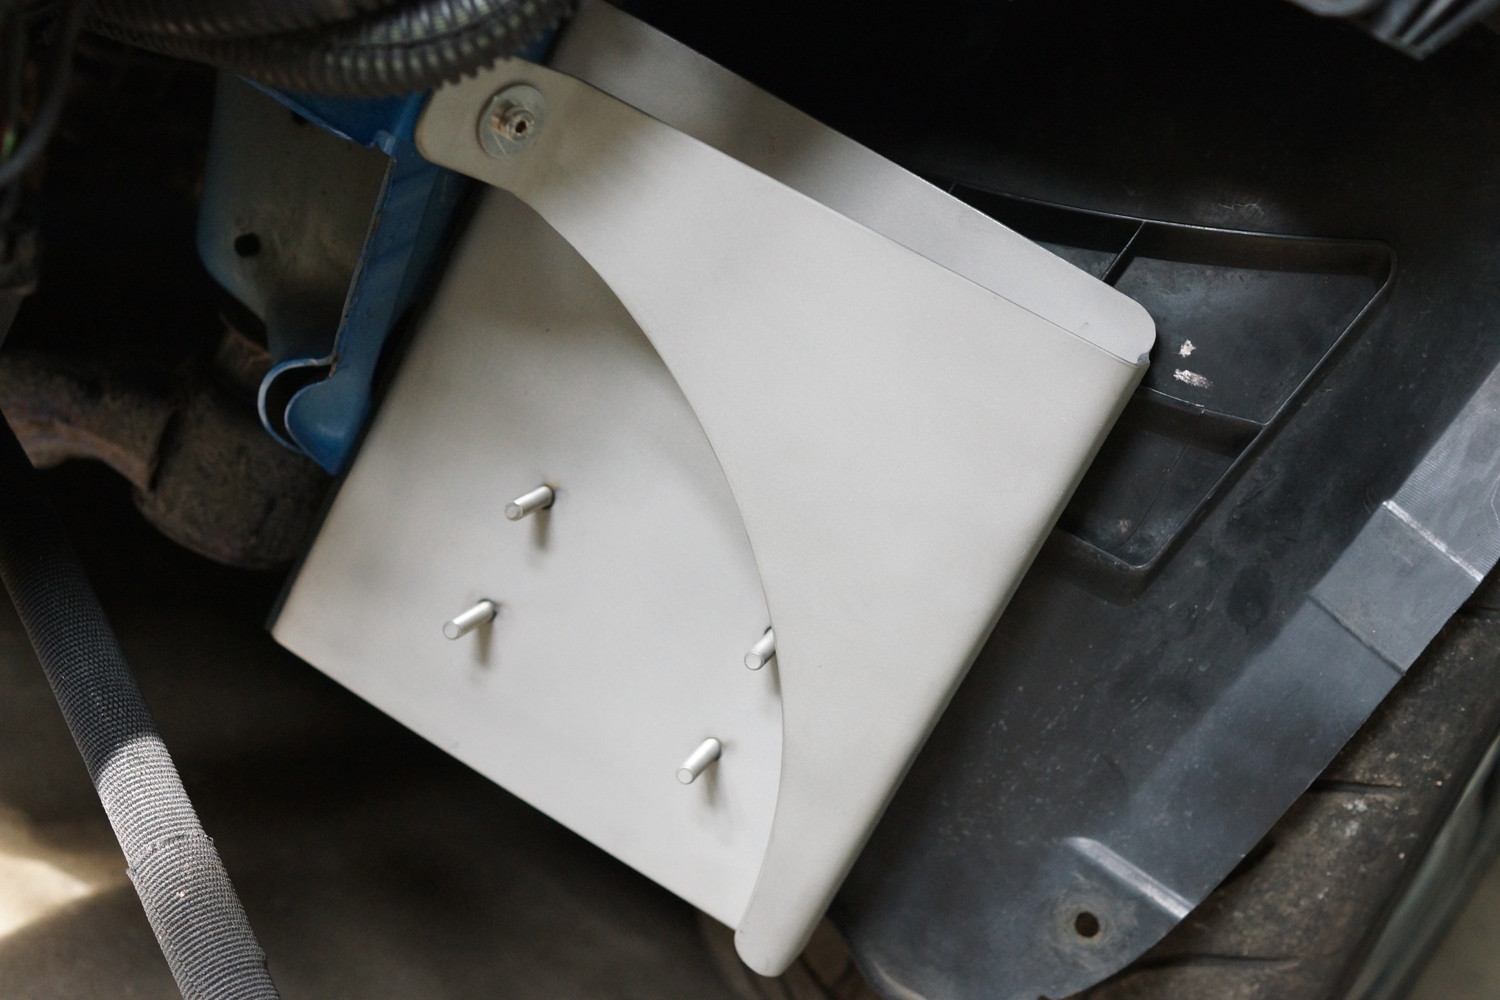
I then needed a bracket to mount the oil cooler to the car which was fabricated for me to a supplied template:
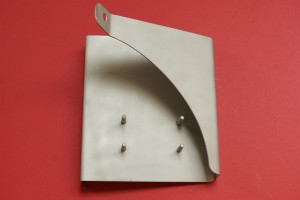
Oil Pump Bracket
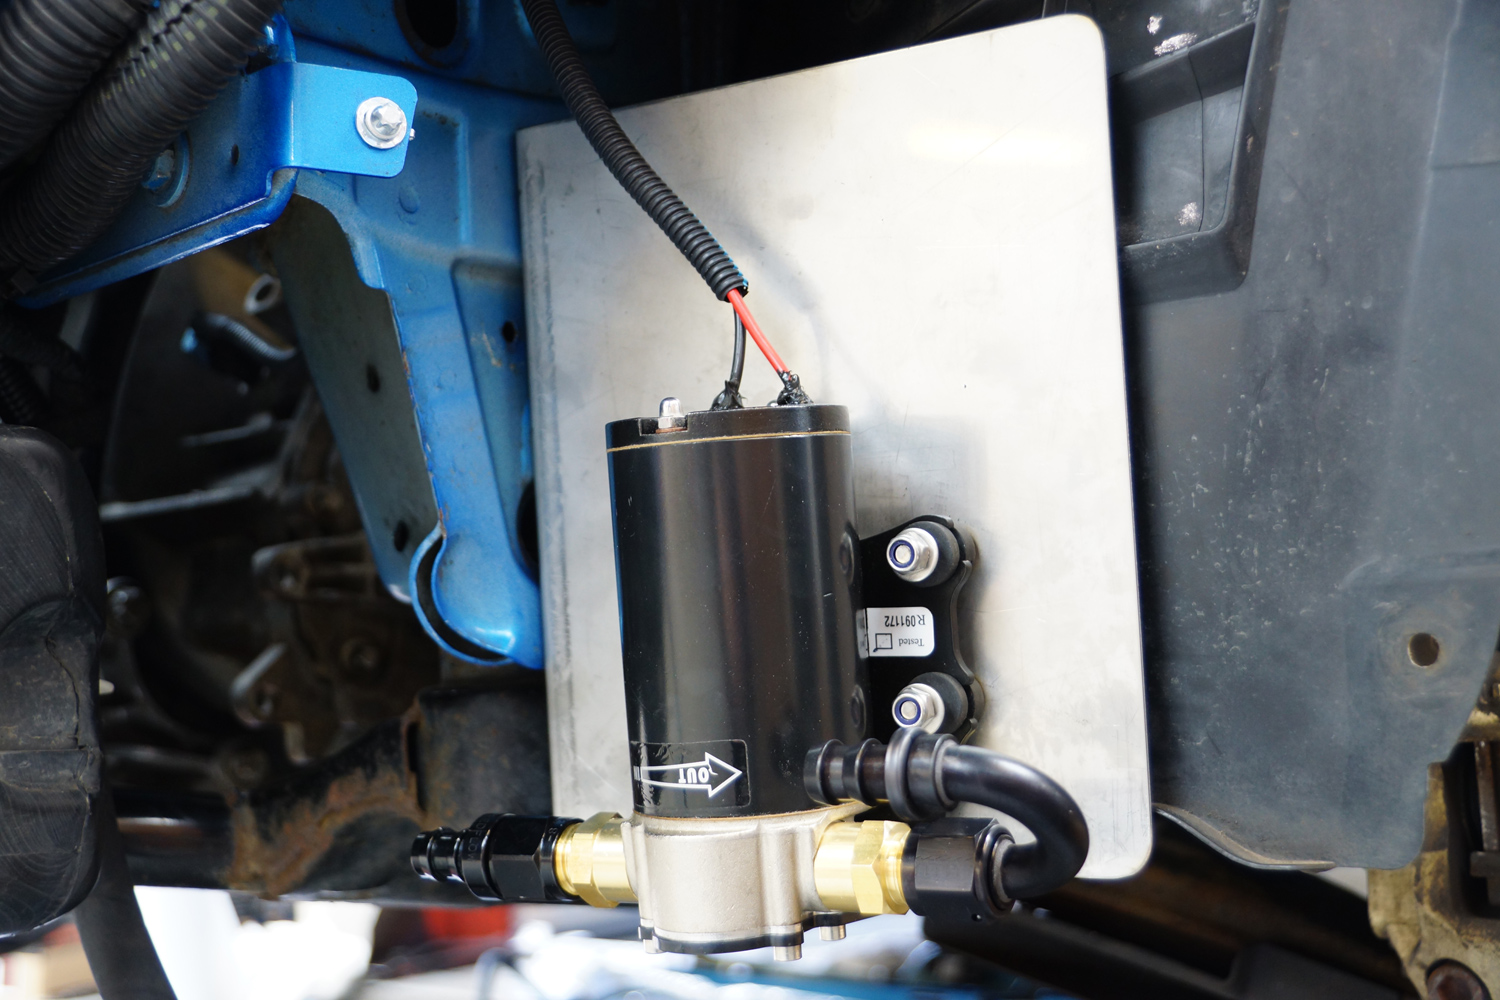
Trial fitting of the gearbox oil cooler pump (prior to the bracket being finished), located behind the L/H wheel arch liner. Mounting to the chassis is via two pre-existing M8 mounting points, ordinarily used on the CDTi models to mount the engine ecu in the same location. (So if you have a 1.9 CDTi model then this will not work.) An additional brace will be fabricated to add further stability to the main bracket.

Oil Pump Mounted
And here is the bracket completed with the additional brace:

Bracket Fitted to Car
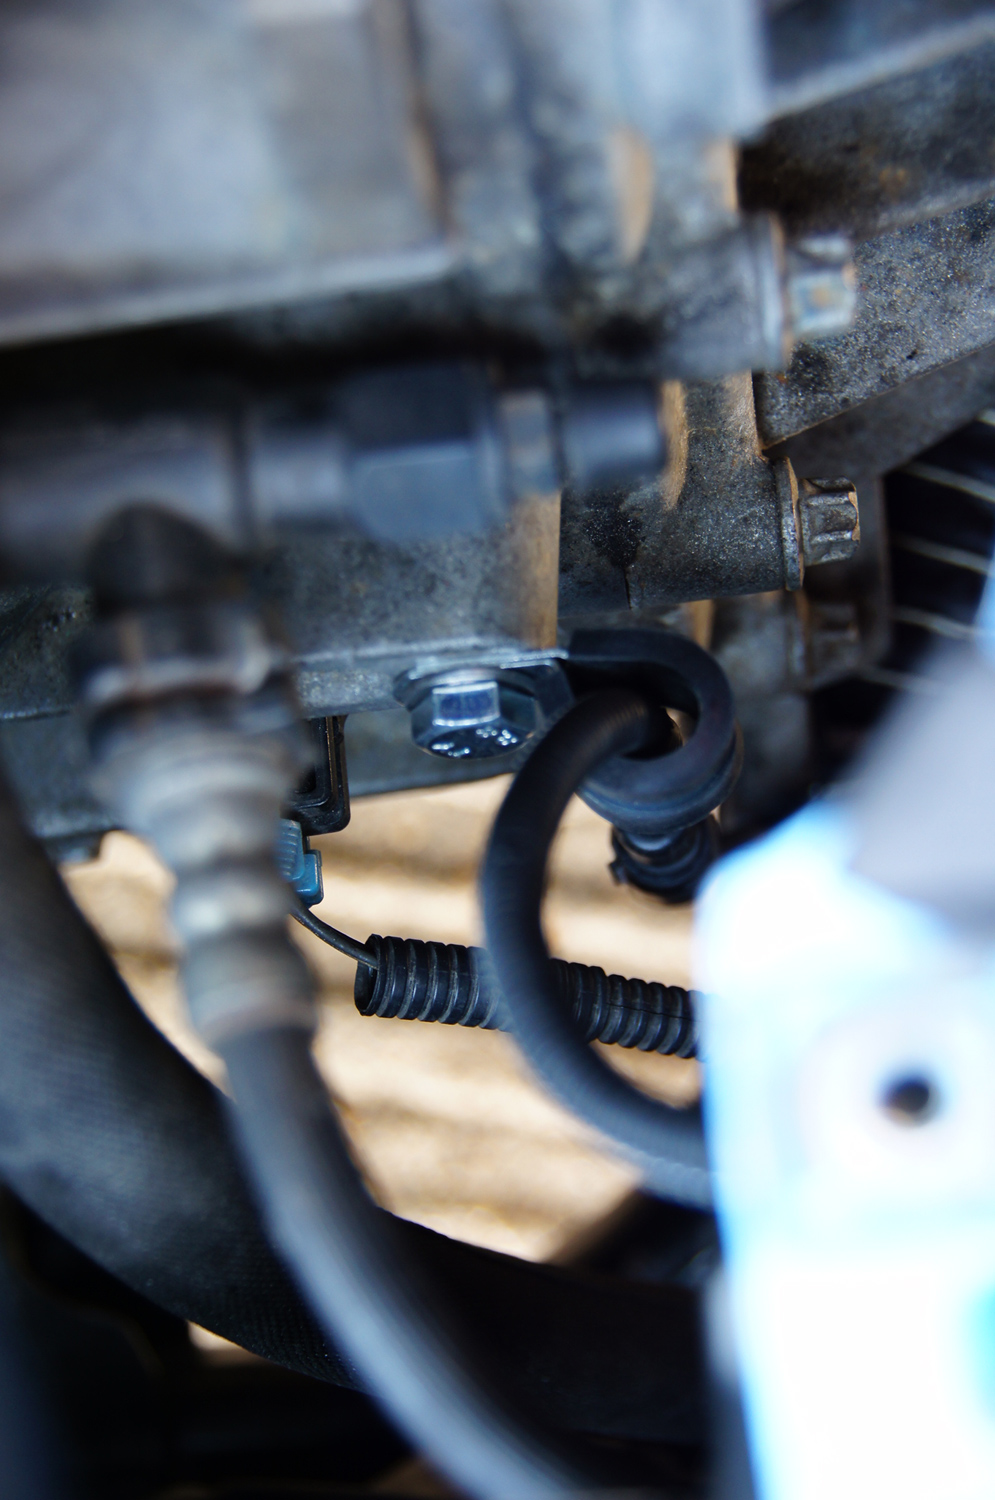
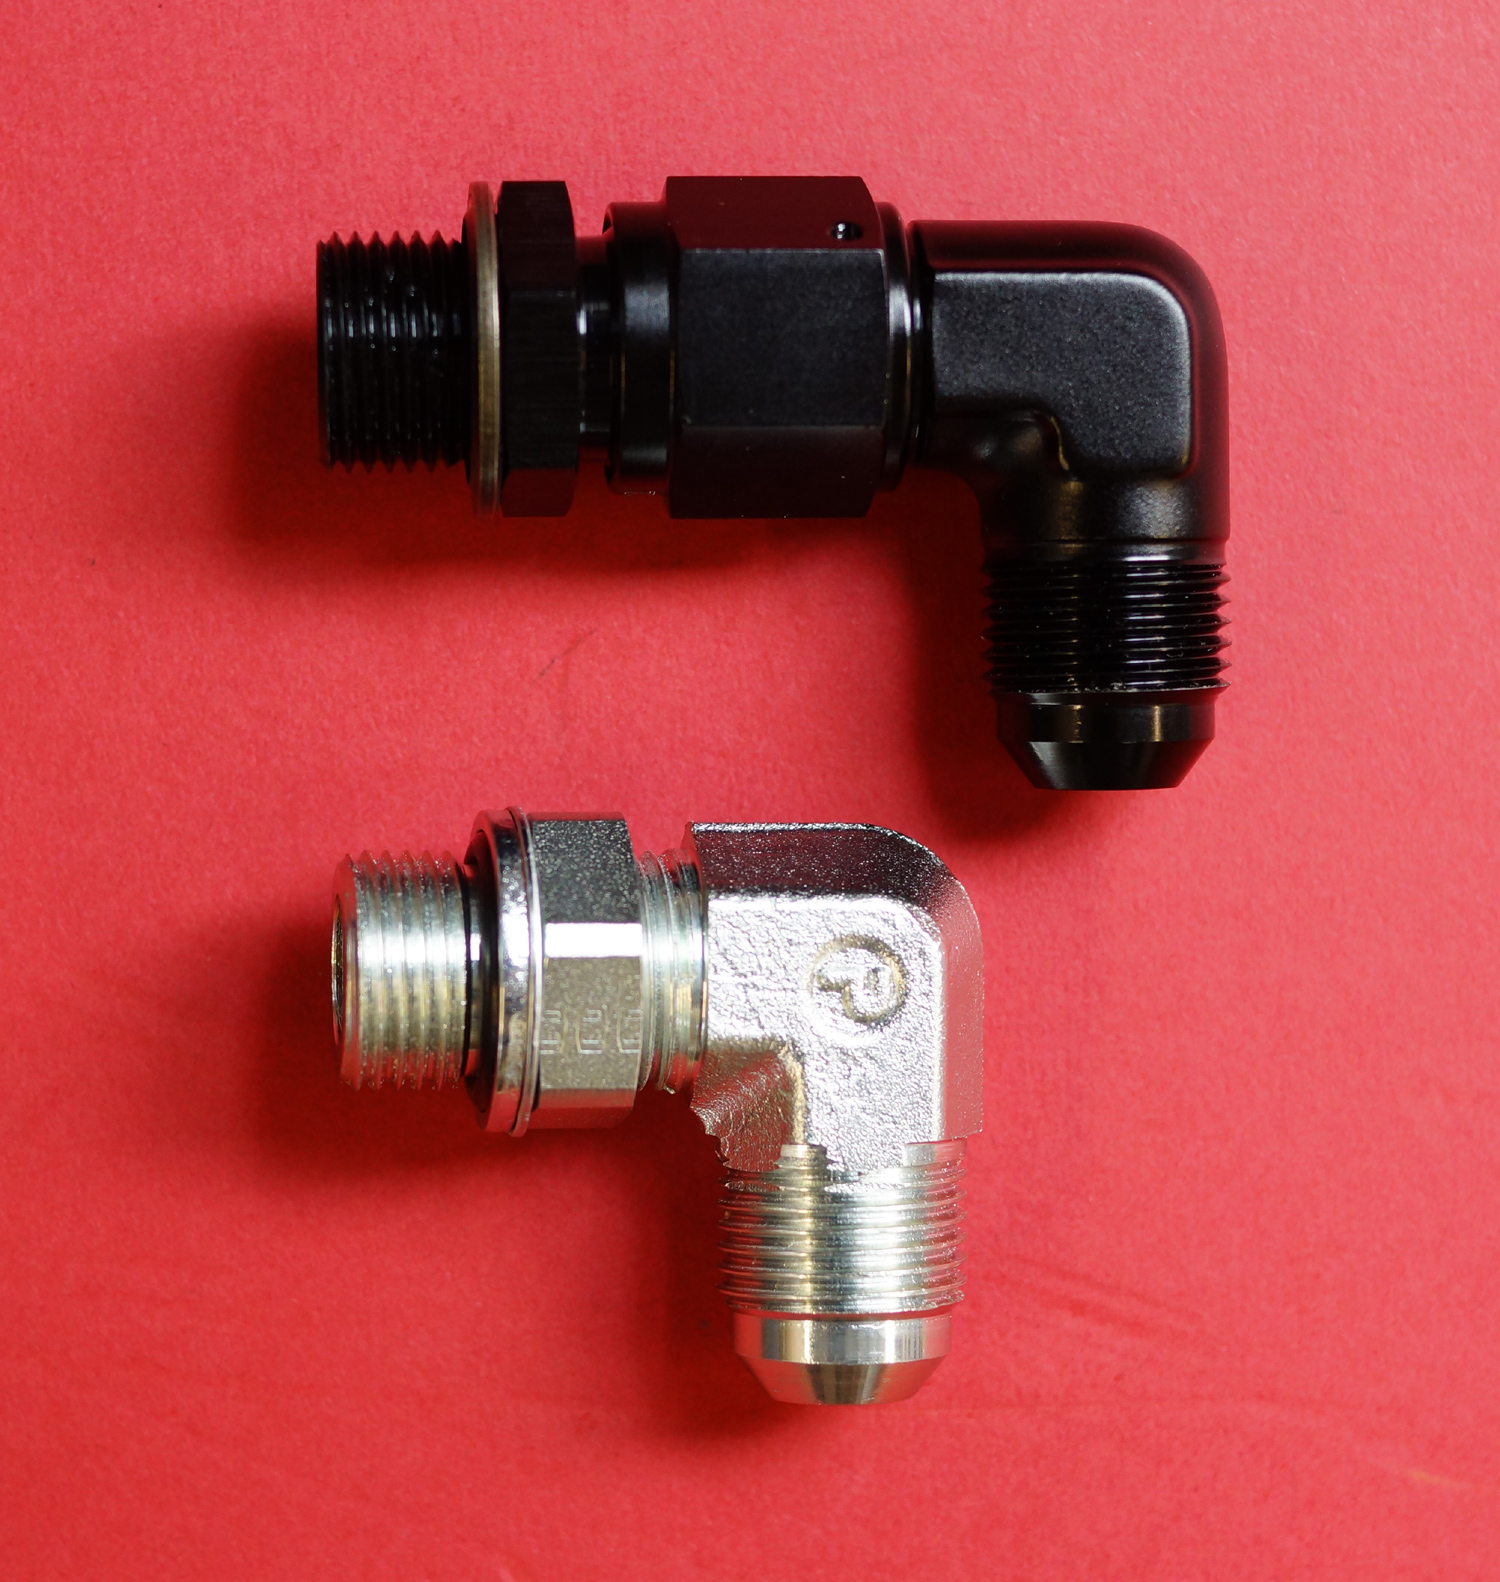
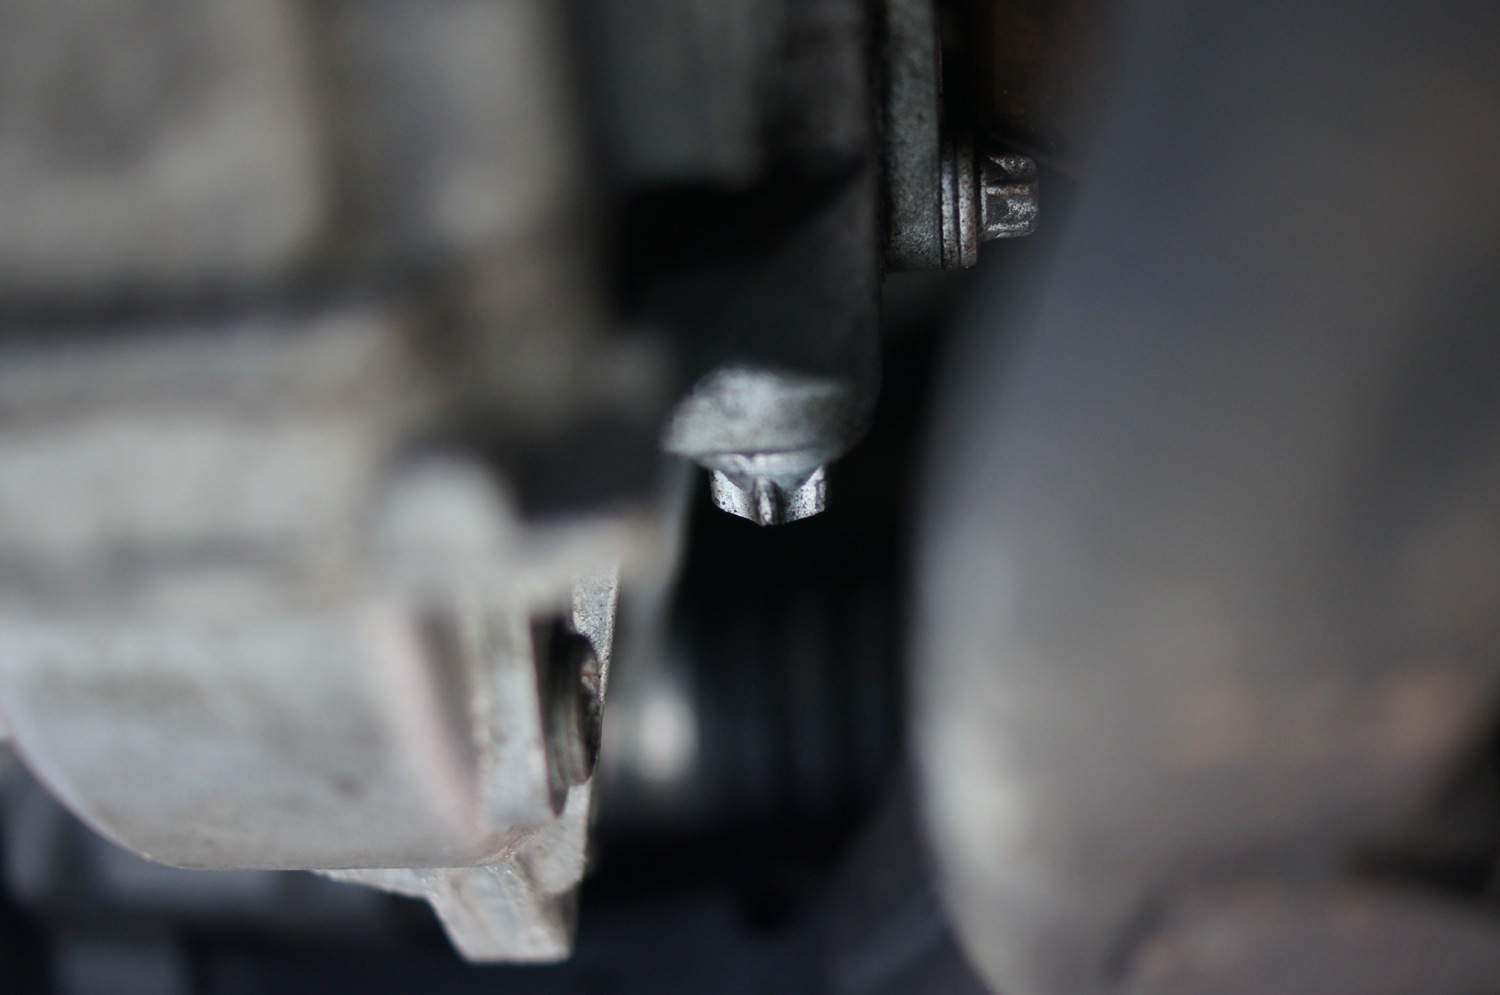
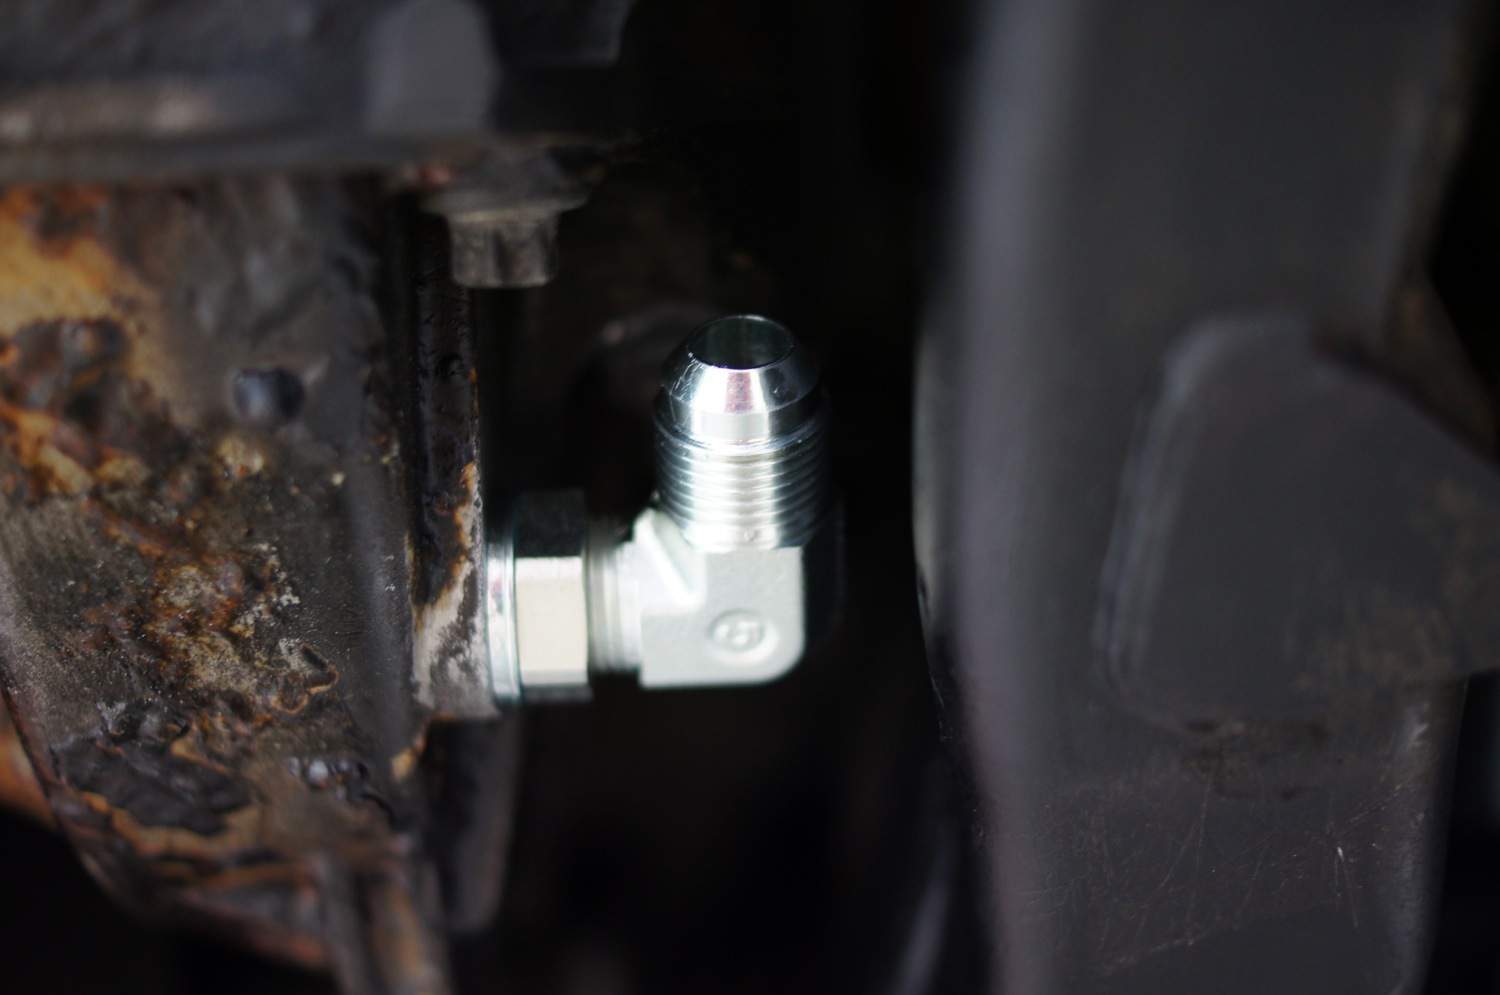
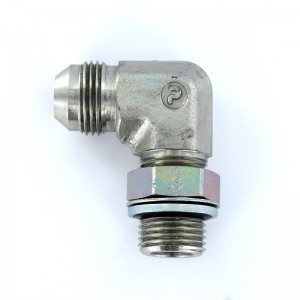
Onto the gearbox fittings. Most of the fittings were easy to track down from Think Automotive. The hardest one was for the outlet from the gearbox to the oil pump.
Gearbox Outlet Fittings for Gearbox Oil Cooler:
Top – M18x1.5 to -8AN straight with -8AN 90 degree Female to Male Adapter (an alternative would be to use a 90 degree elbow) but unfortunately neither arrangement at 60mm across will clear the Astra H subframe assembly.
Bottom – A much more compact 90 degree adapter (which is evident fom the picture) with an M18x1.5 thread for the gearbox outlet to a -8AN Male fitting which will connect up to the rest of the oil cooler pipework. At 40mm across it will just clear the subframe. Comes complete with o ring and metal sealing washer.
Unable to source this fitting (or anything similar) in the UK, it had to be ordered from the USA, but was a bargain at about US$6.

Gearbox Fittings
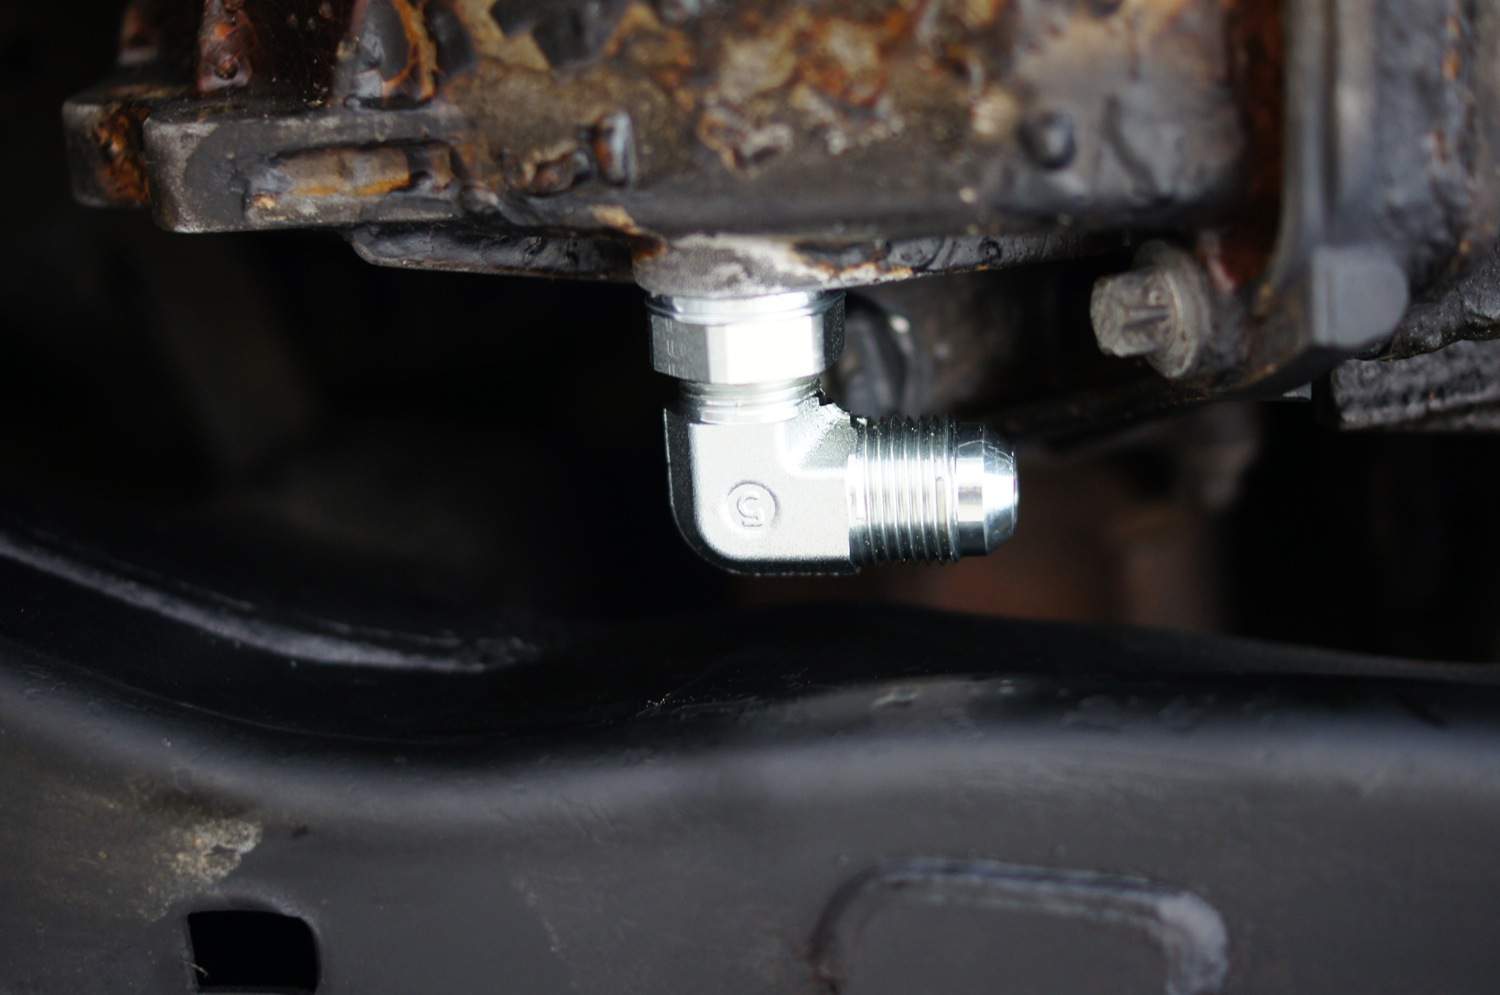
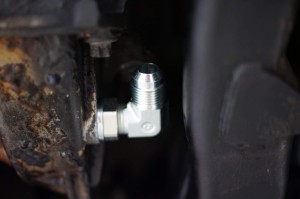
M18 x 1.5 to -8AN 90 Degree Elbow for the gearbox outlet:
M18 x 1.5 to -8AN 90 Degree Elbow
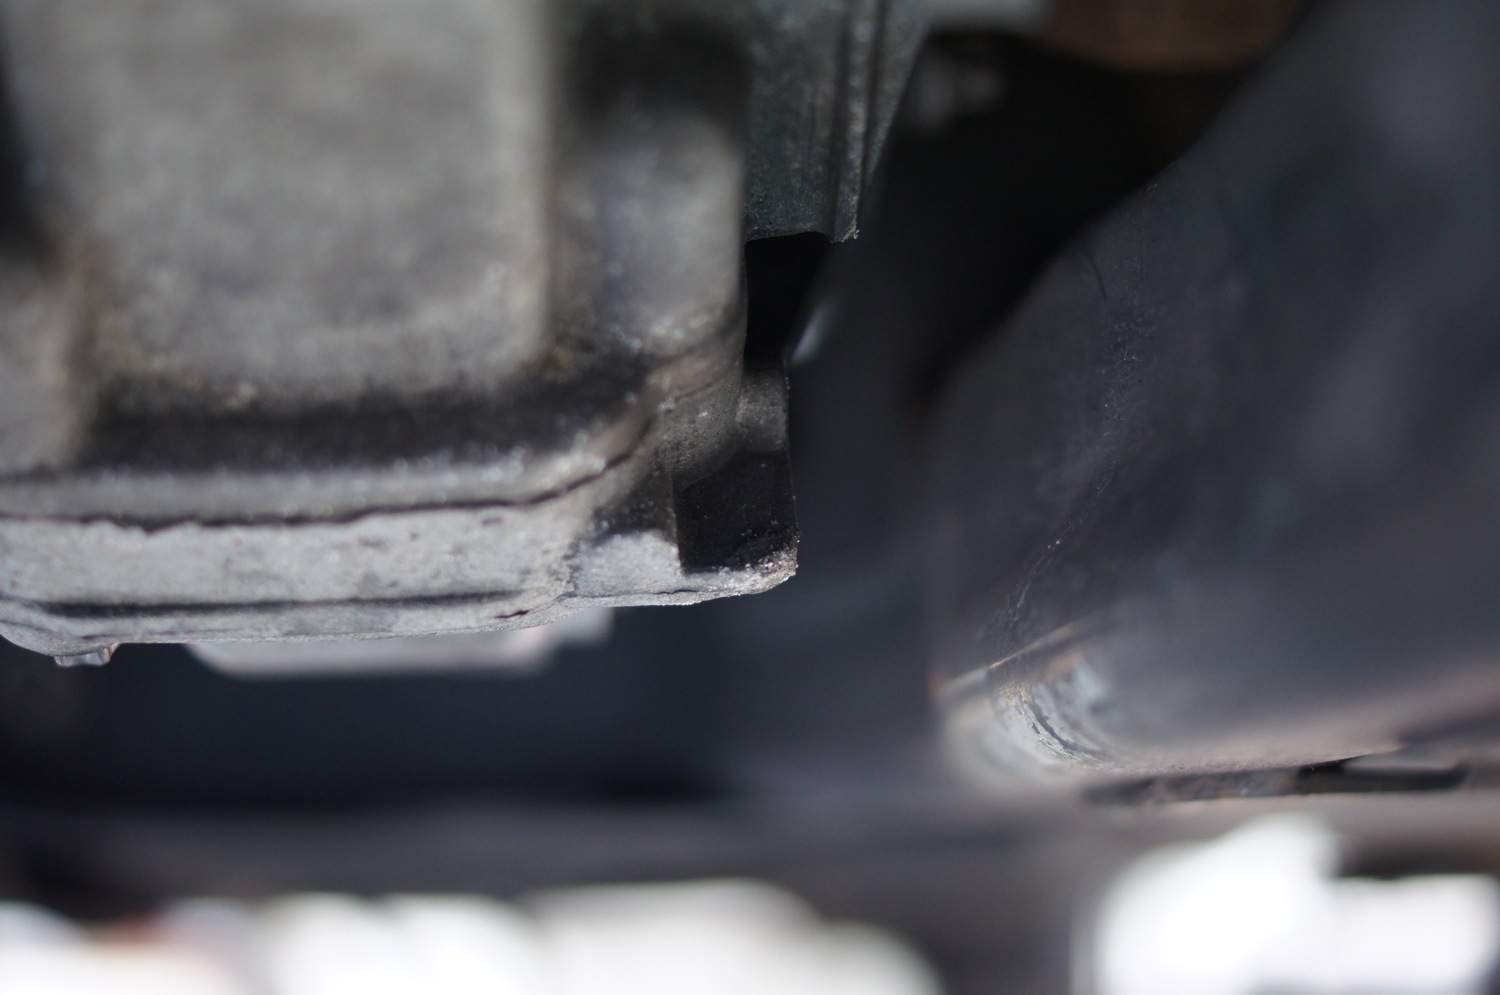
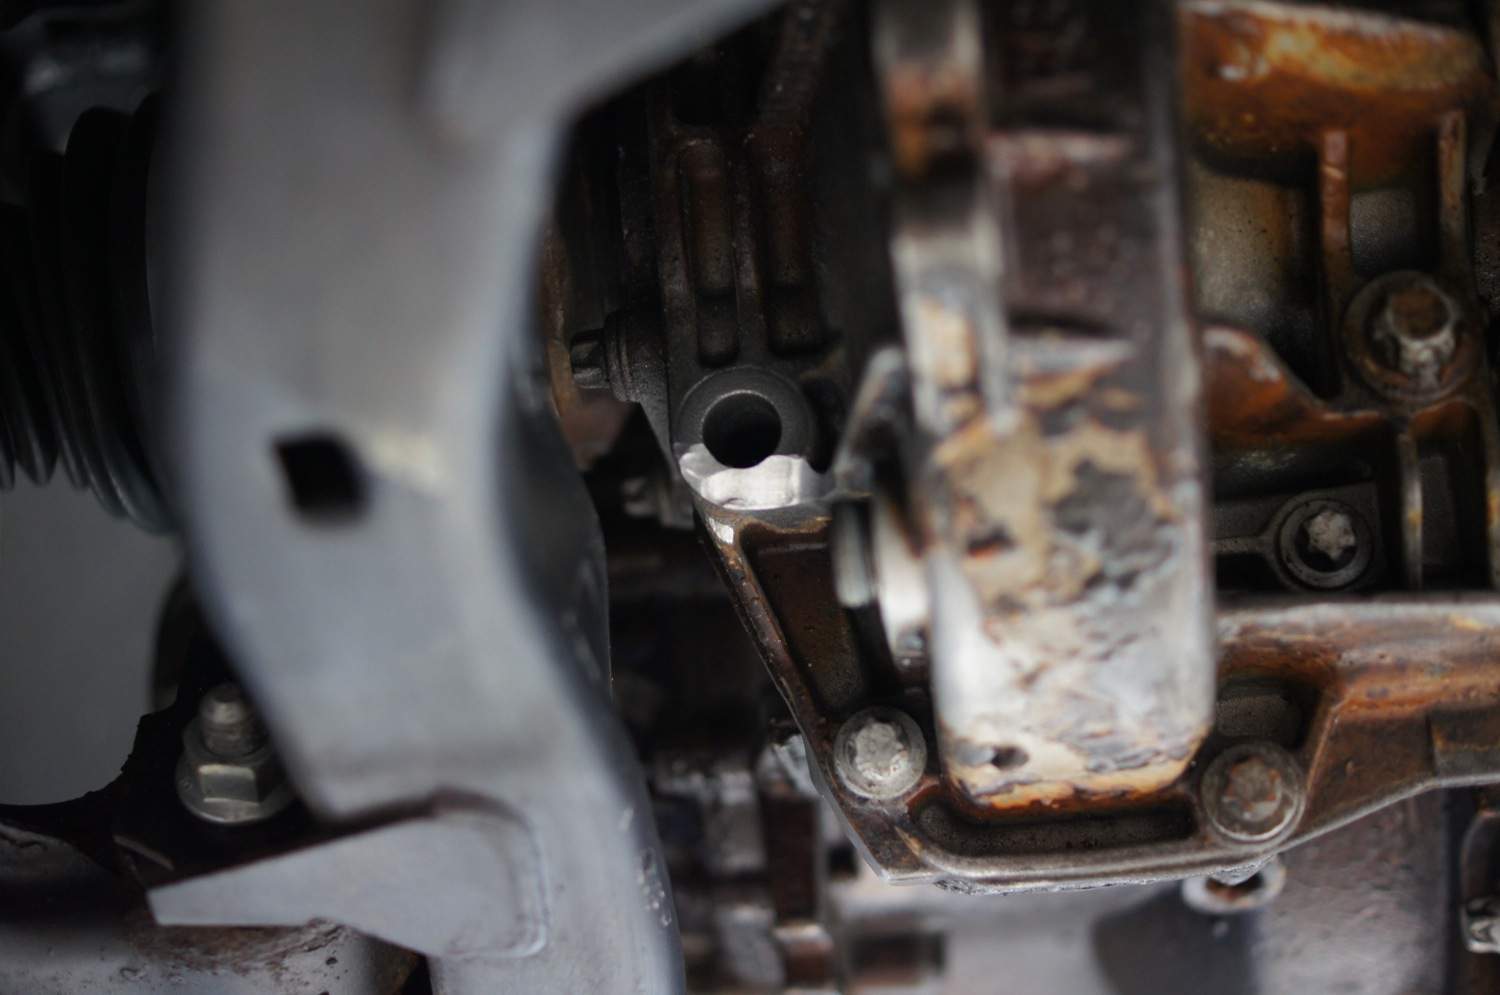
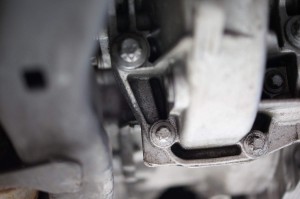
So having sourced a suitable 90 degree fitting, there was still a slight issue with clearance both trying to wind the fitting into the gearbox outlet (it catches on the integral washer on the bolt above it as well as part of the casing) and also on the pipework running from the fitting, where the casing is in the way (bottom right next to the subframe). Front View:
Casing Needs Slight Modification
Offending bolt (top) and casing (bottom left) which requires modifying to clear. Rear View:
Casing Needs Slight Modification
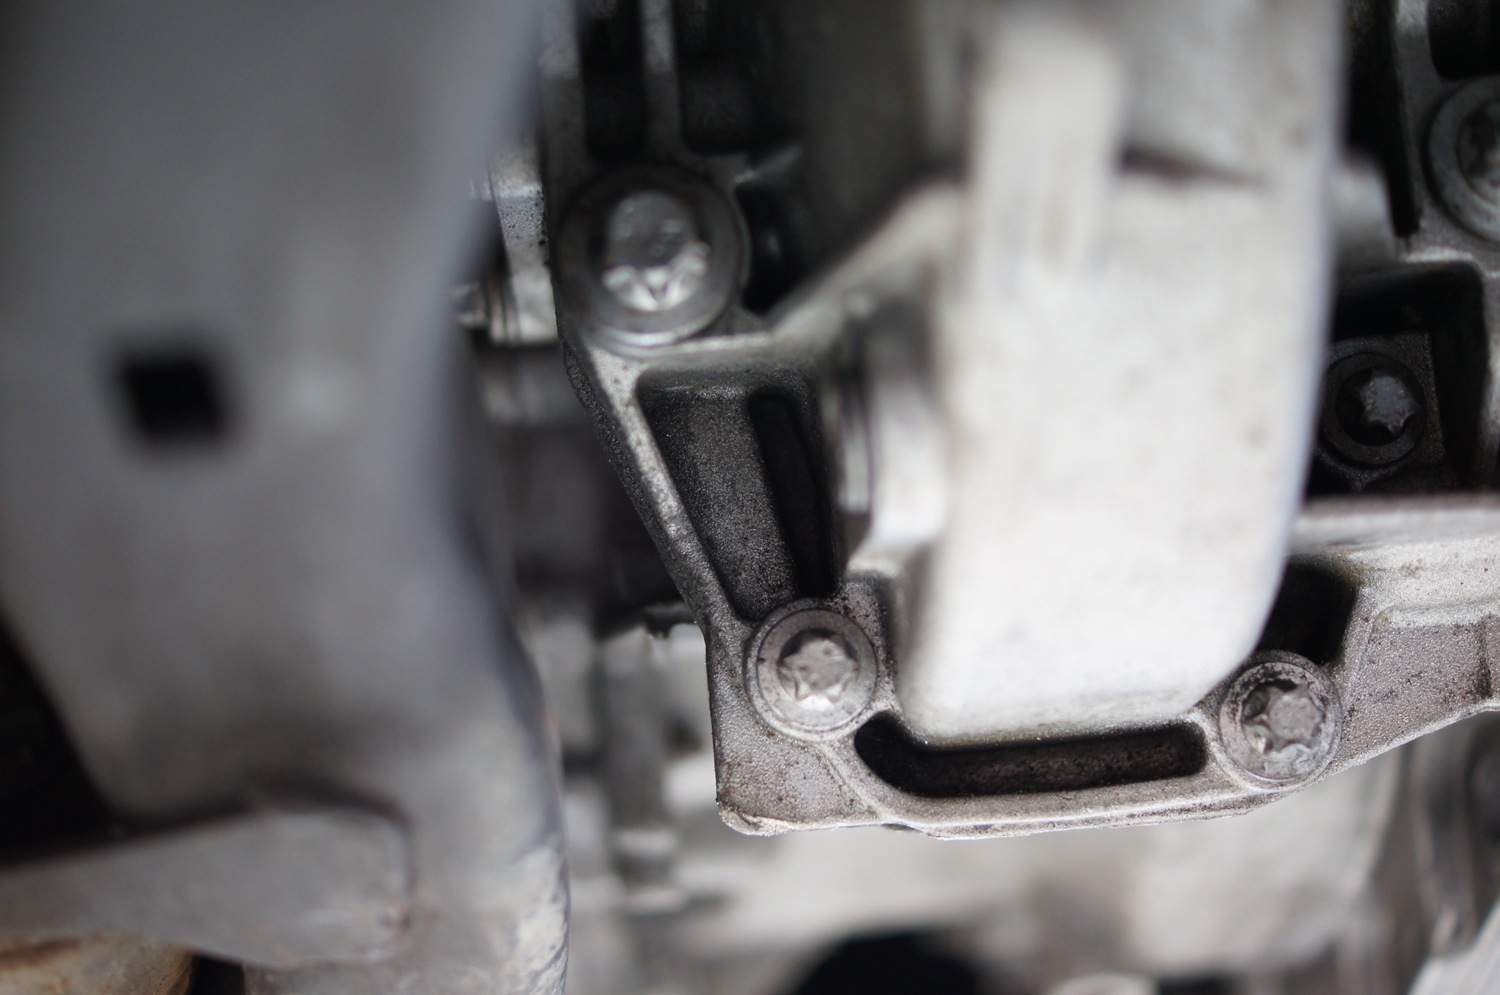
So the excess casting has been removed (bottom right) to give clearance on the oil pipework. Front View:

Casing Modified from Front
Casing Modified
And this is the casing that has been eased. The bolt had to be removed to do this but this was plugged while it was done. Rear View:

Casing Modified from Rear
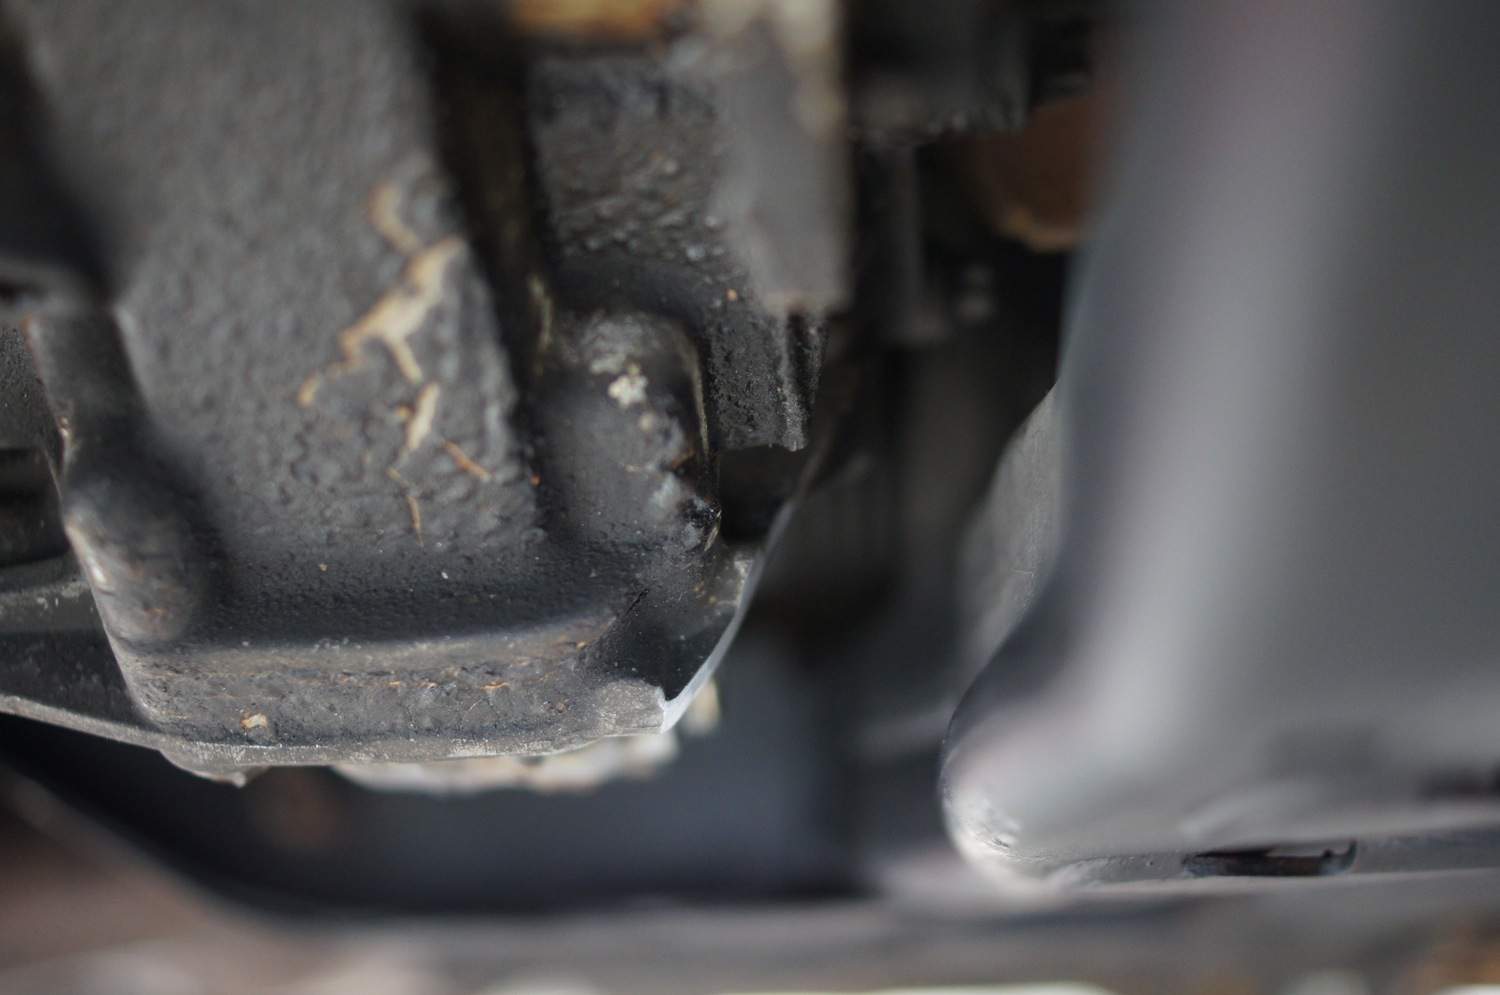
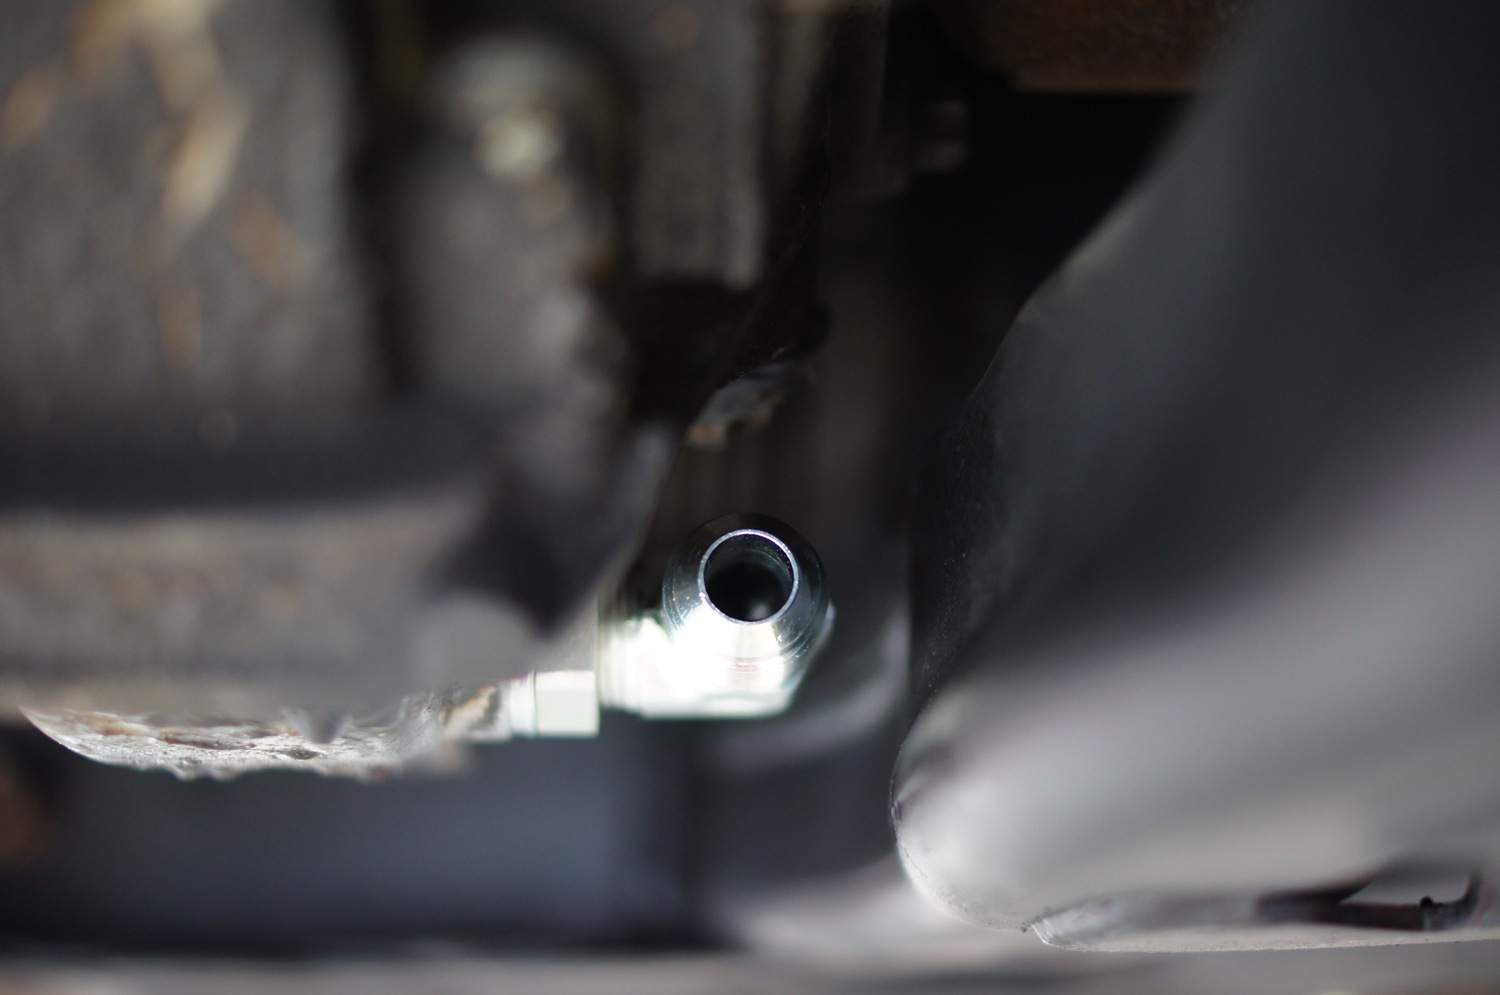
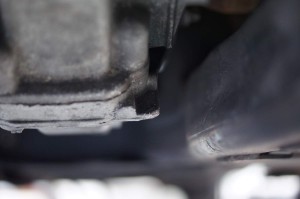
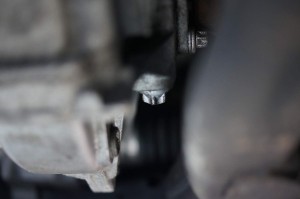
So the outlet fitting now clears and fits into the gearbox, with good clearance on the subframe:
Outlet Fitting
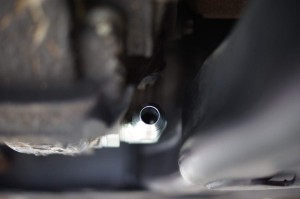
And from underneath:

Outlet Fitting
Outlet Fitting
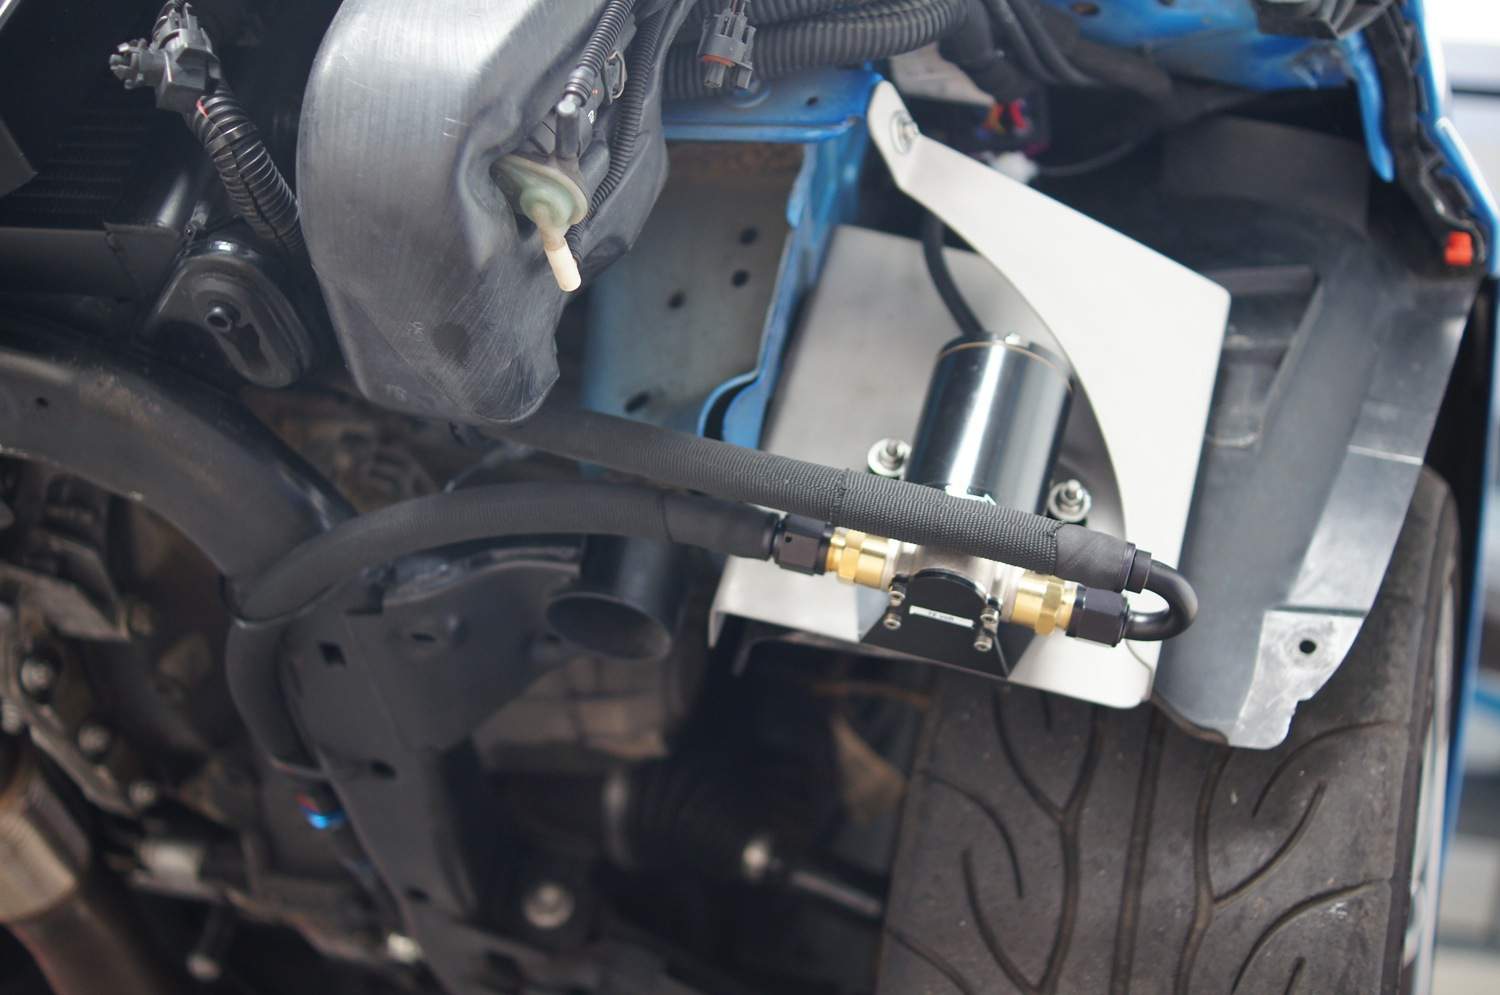
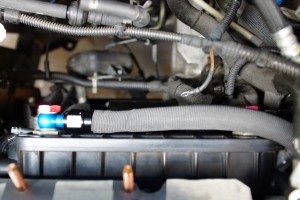
This is the outlet pipework to the oil pump including the in-line oil filter:
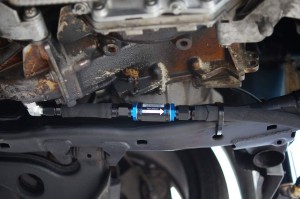
Outlet Pipework with Oil Filter
And finally everything mounted and connected up:
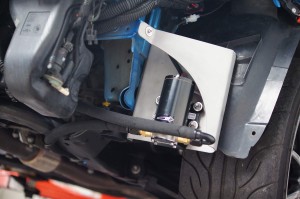
Oil Pump Mounted on Bracket

Oil Pump Mounted on Bracket
As with the engine oil cooler hoses I am using some OE heat shrinkable fabric sleeve which is designed to protect hoses from abrasion. Black Heatshrinkable Fabric Sleeving for additional oil cooler lines, to retain an OE look. Highly flexible heatshrink woven fabric tubing, Polyolefin/Polyester construction for excellent abrasion resistance 125°C operating temperature (excellent abrasion resistance to 135°C), Heat shrinkable to grip substrates tightly without additional fixing, Easy to install, Designed primarily to provide mechanical abrasion protection for components such as rubber hoses, plastic pipes and harness wiring bundles.
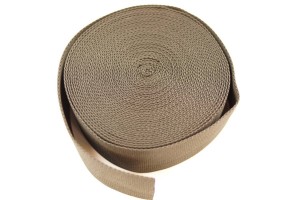
Heatshrinkable Fabric Sleeve
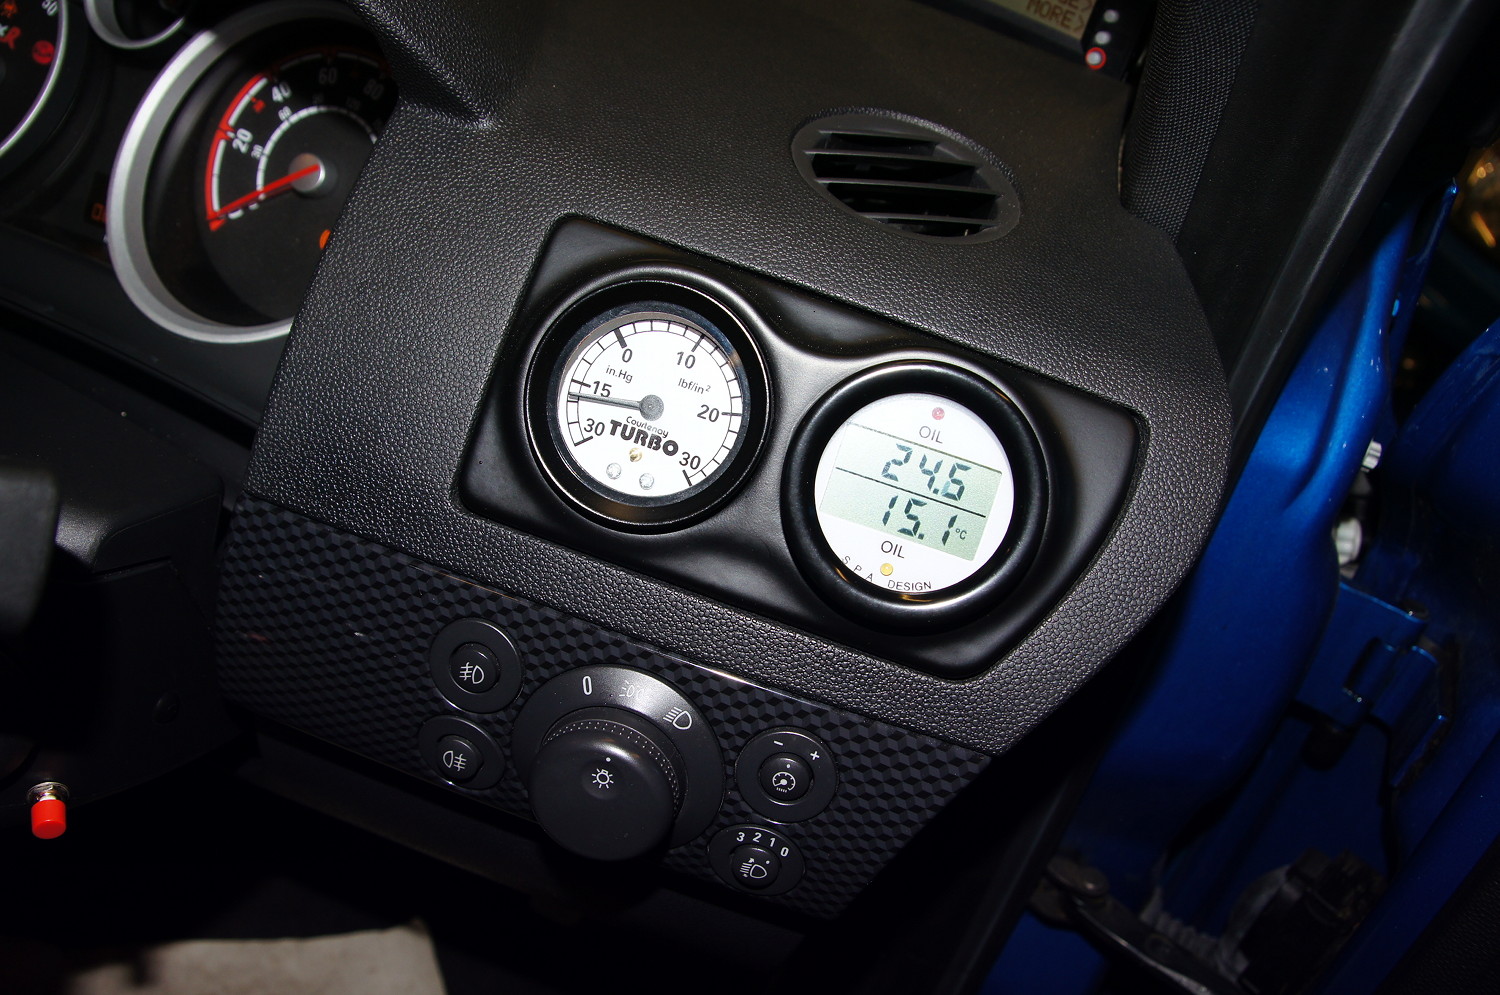
Again as with the engine oil cooler provision has also been made for an oil temperature gauge sender to monitor the gearbox oil temperature, so the pump can be operated as required when the temperature starts to rise past 100 degrees C. I sourced a Speedflow M18x1.5 to ⅛th NPT aluminium adapter from Australia, because I could not find it available for sale in the UK.
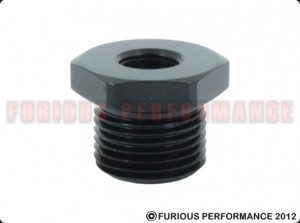
M18x1.5 to ⅛th NPT Adapter
And this fitting has been installed into the level check plug at the front of the gearbox. More about this in the Oil Temperature Gauge post.
Like this:
Like Loading...