Carbon Fibre Detailing
- Oct 16th. 2012
- By mapw
To make the car stand out a little from most other Astra VXRs I have decided to finish off the exterior with some carbon fibre components; a V Grille, Front Lower Spoiler and Rear Diffuser.
Carbon Fibre V Grille:
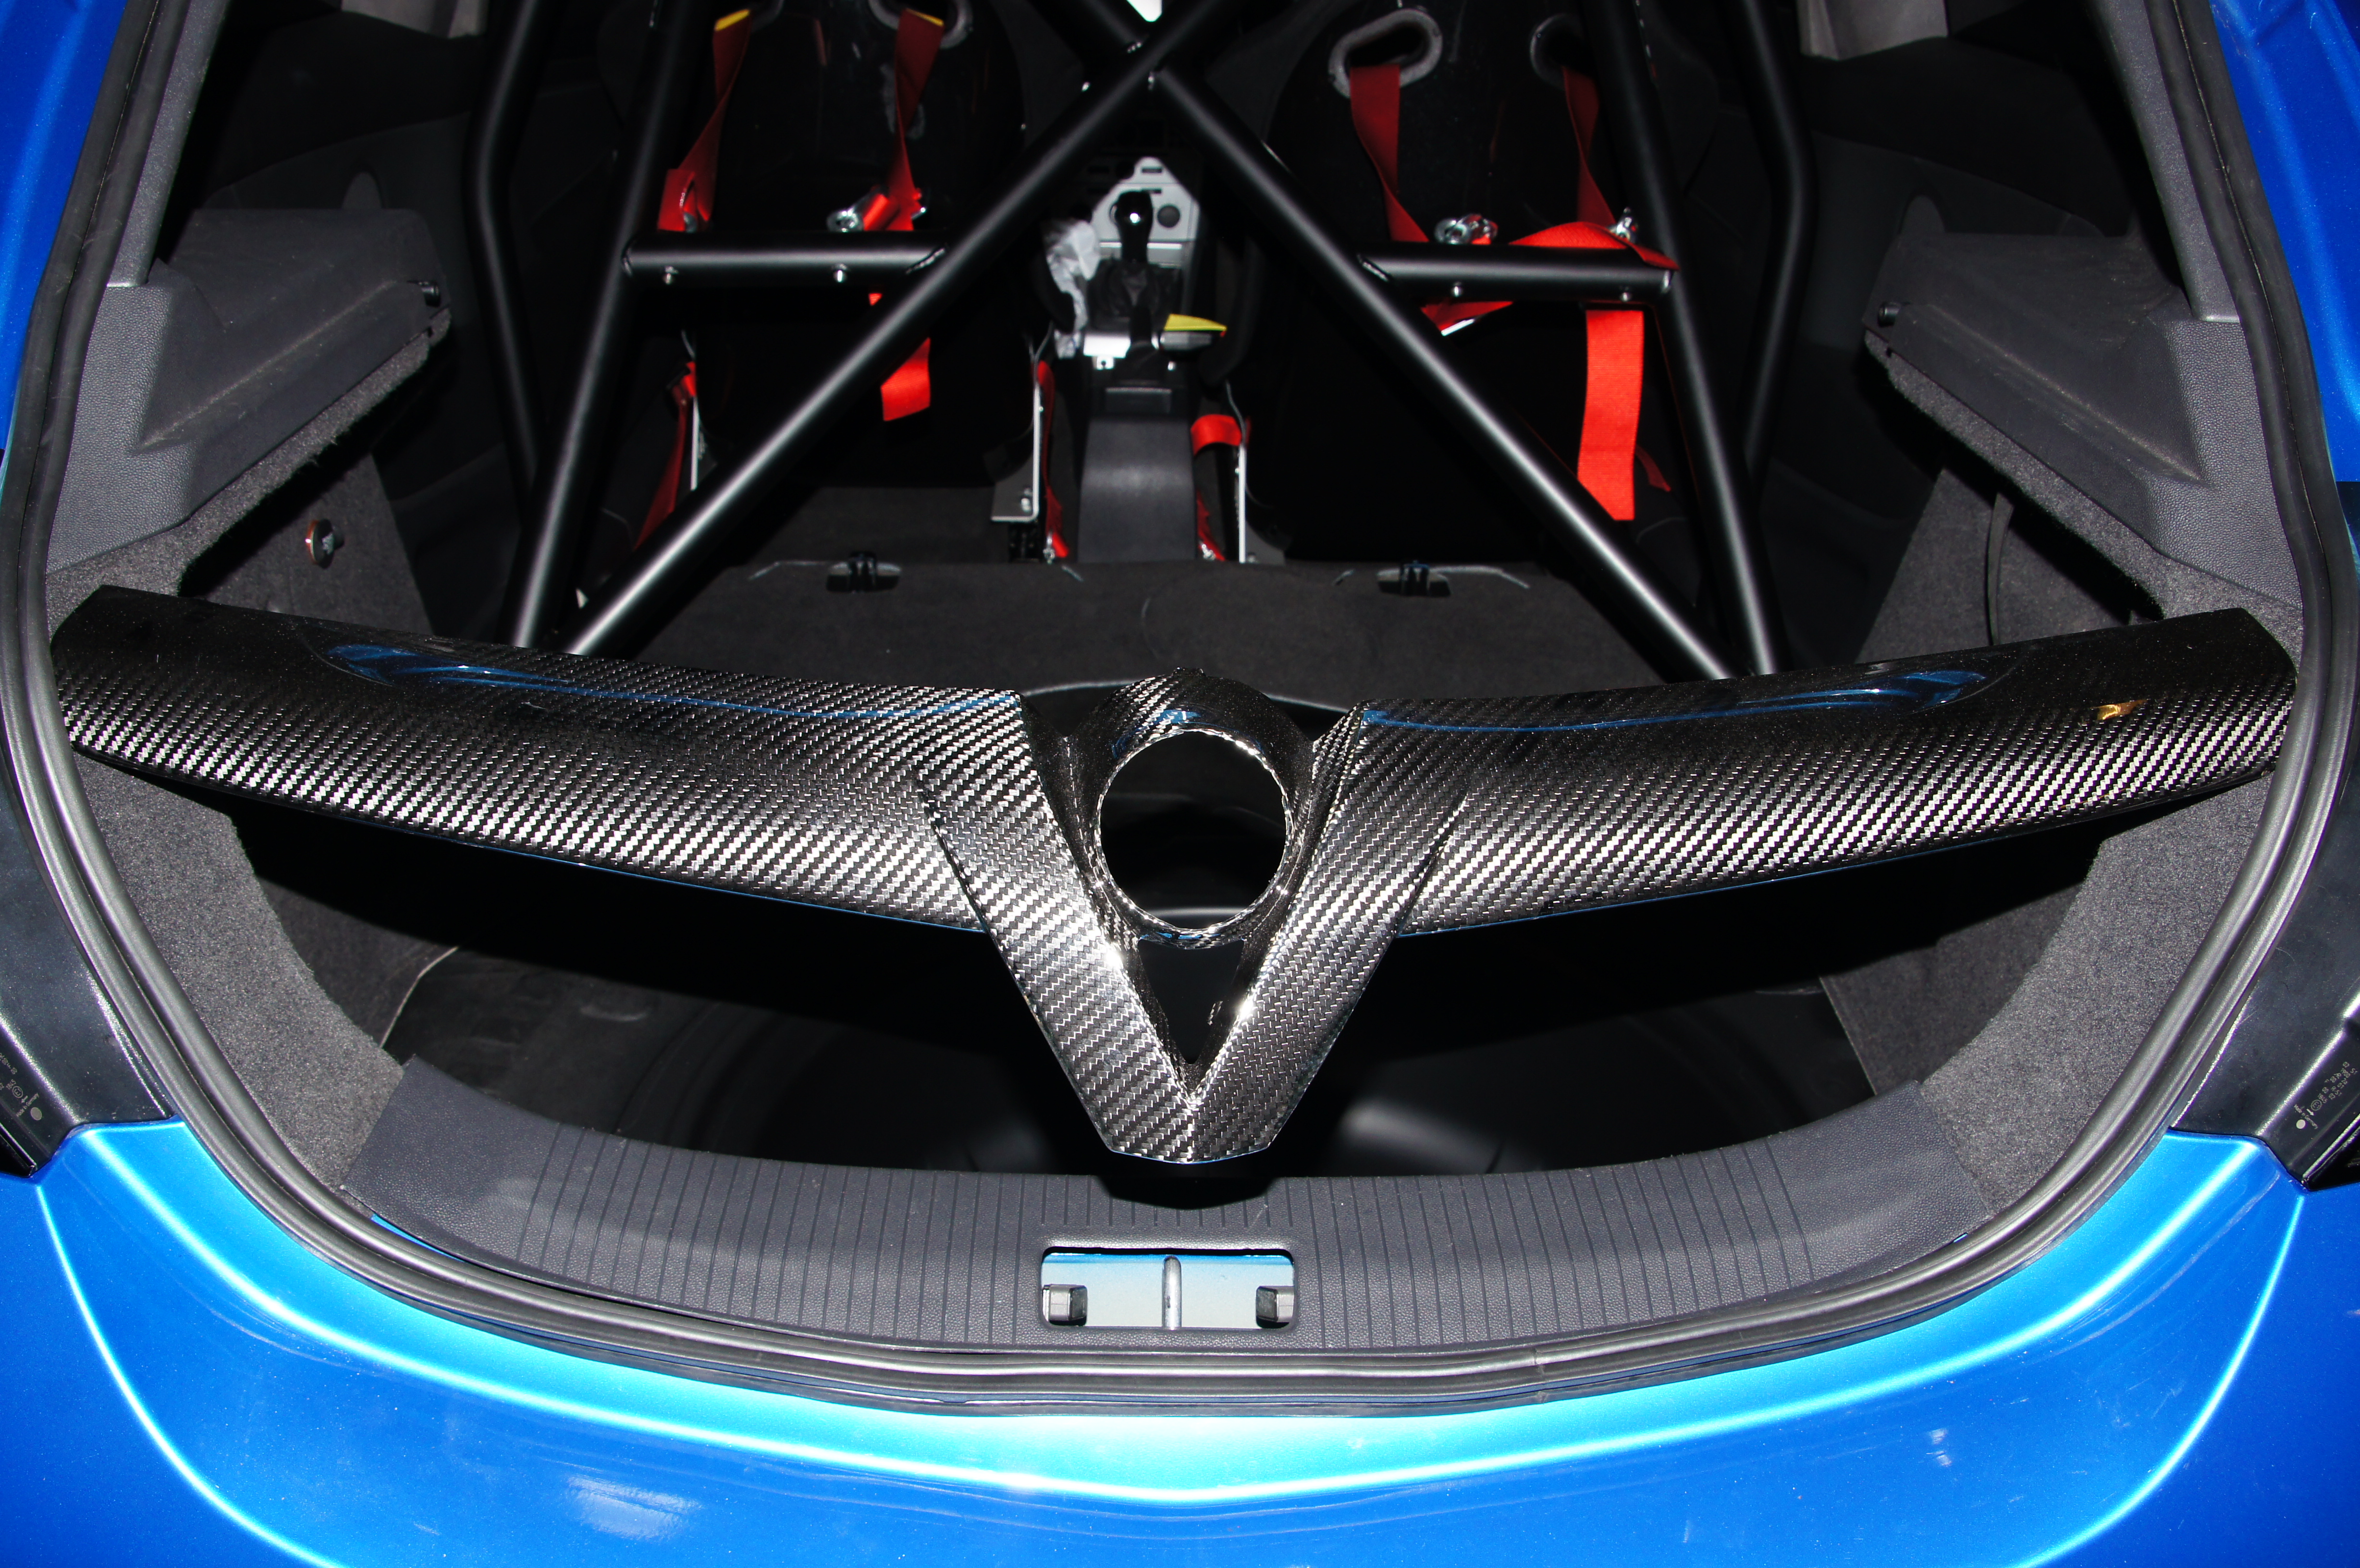
Carbon Fibre V Grille
Front Lower Spoiler:

Carbon Fibre Front Lower Spoiler
Carbon Fibre Rear Diffuser:
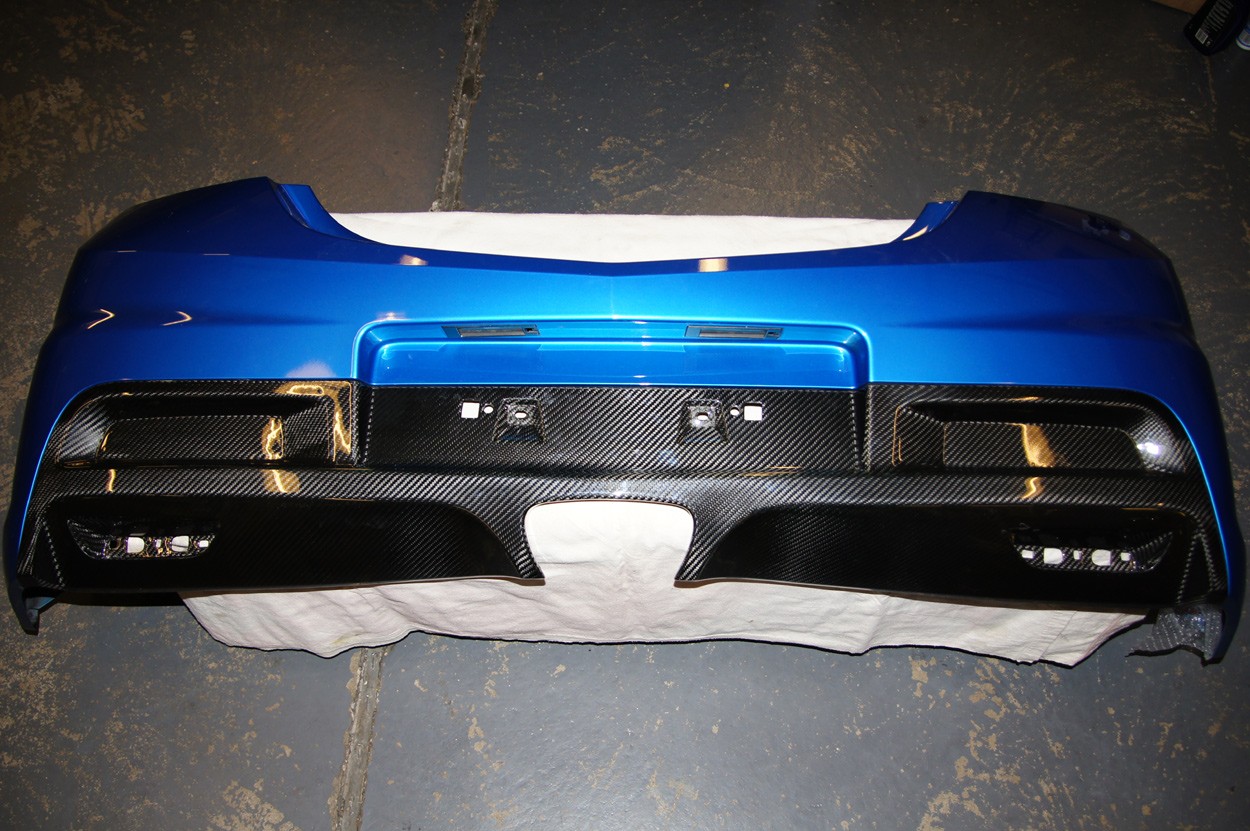
Carbon Fibre Rear Diffuser
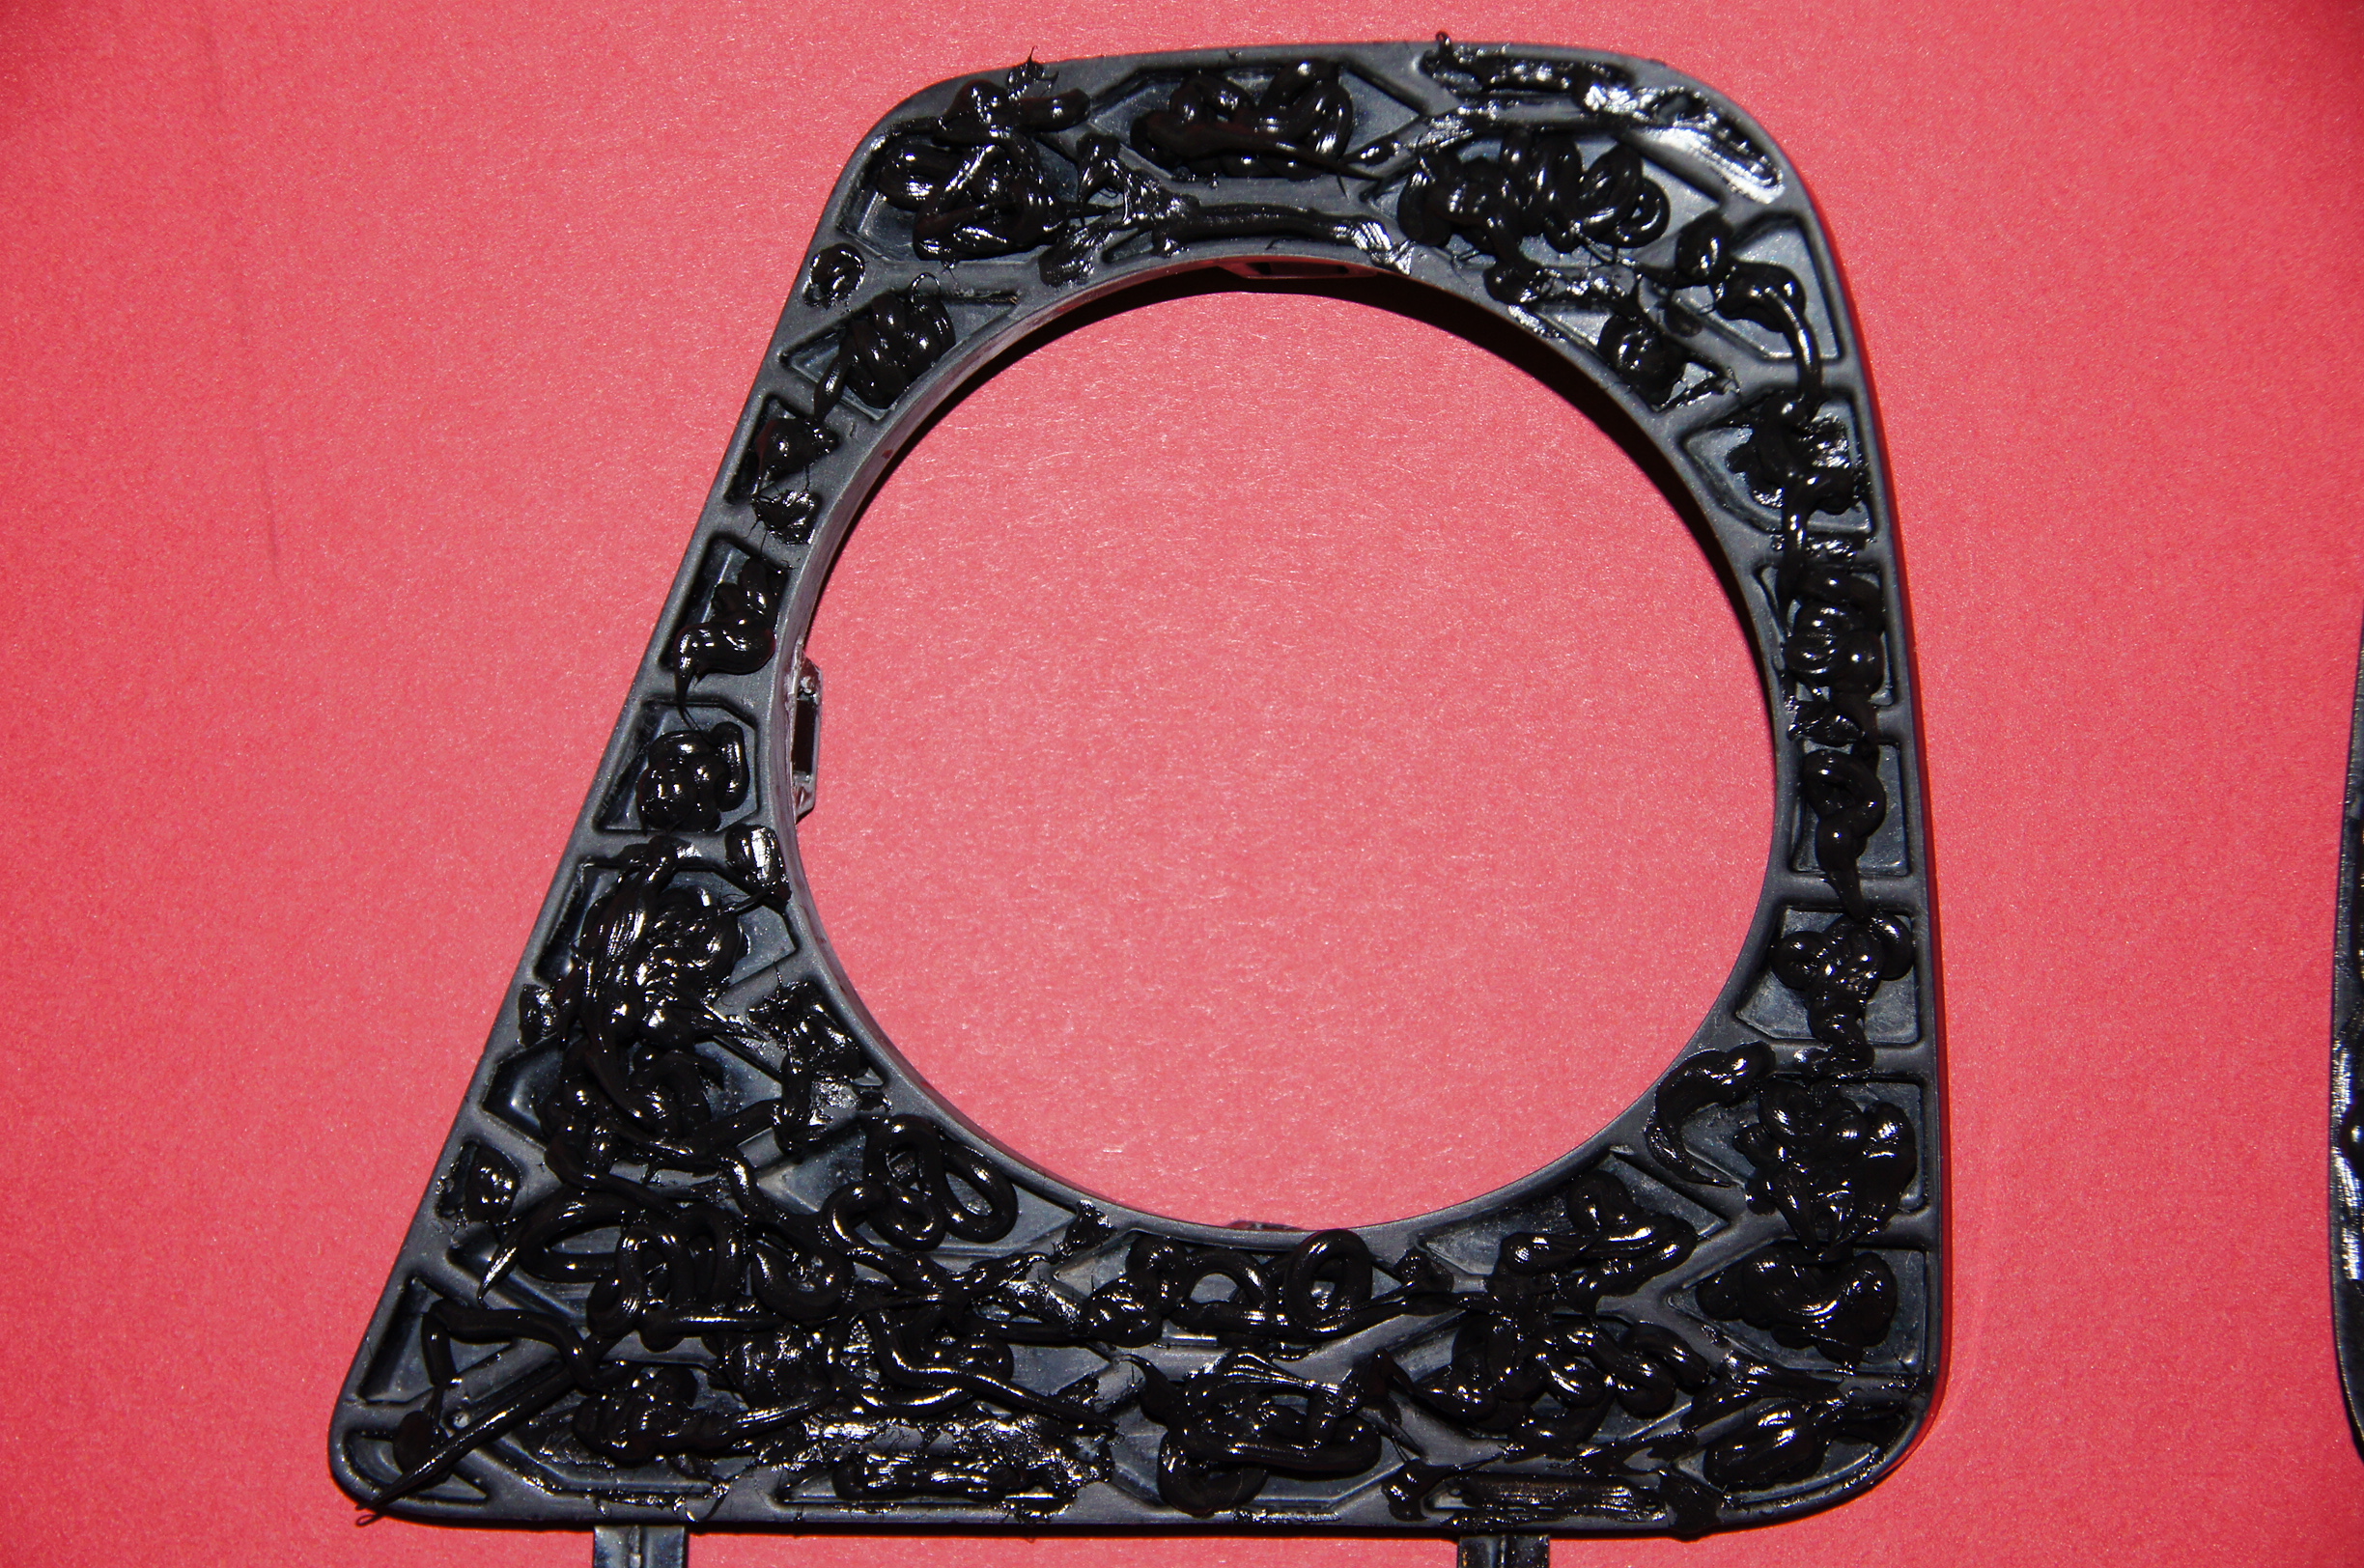
OE foglight surrounds, prepared for the carbon fibre covers:

Foglight Surrounds
OE surrounds with Sikaflex bonding agent:
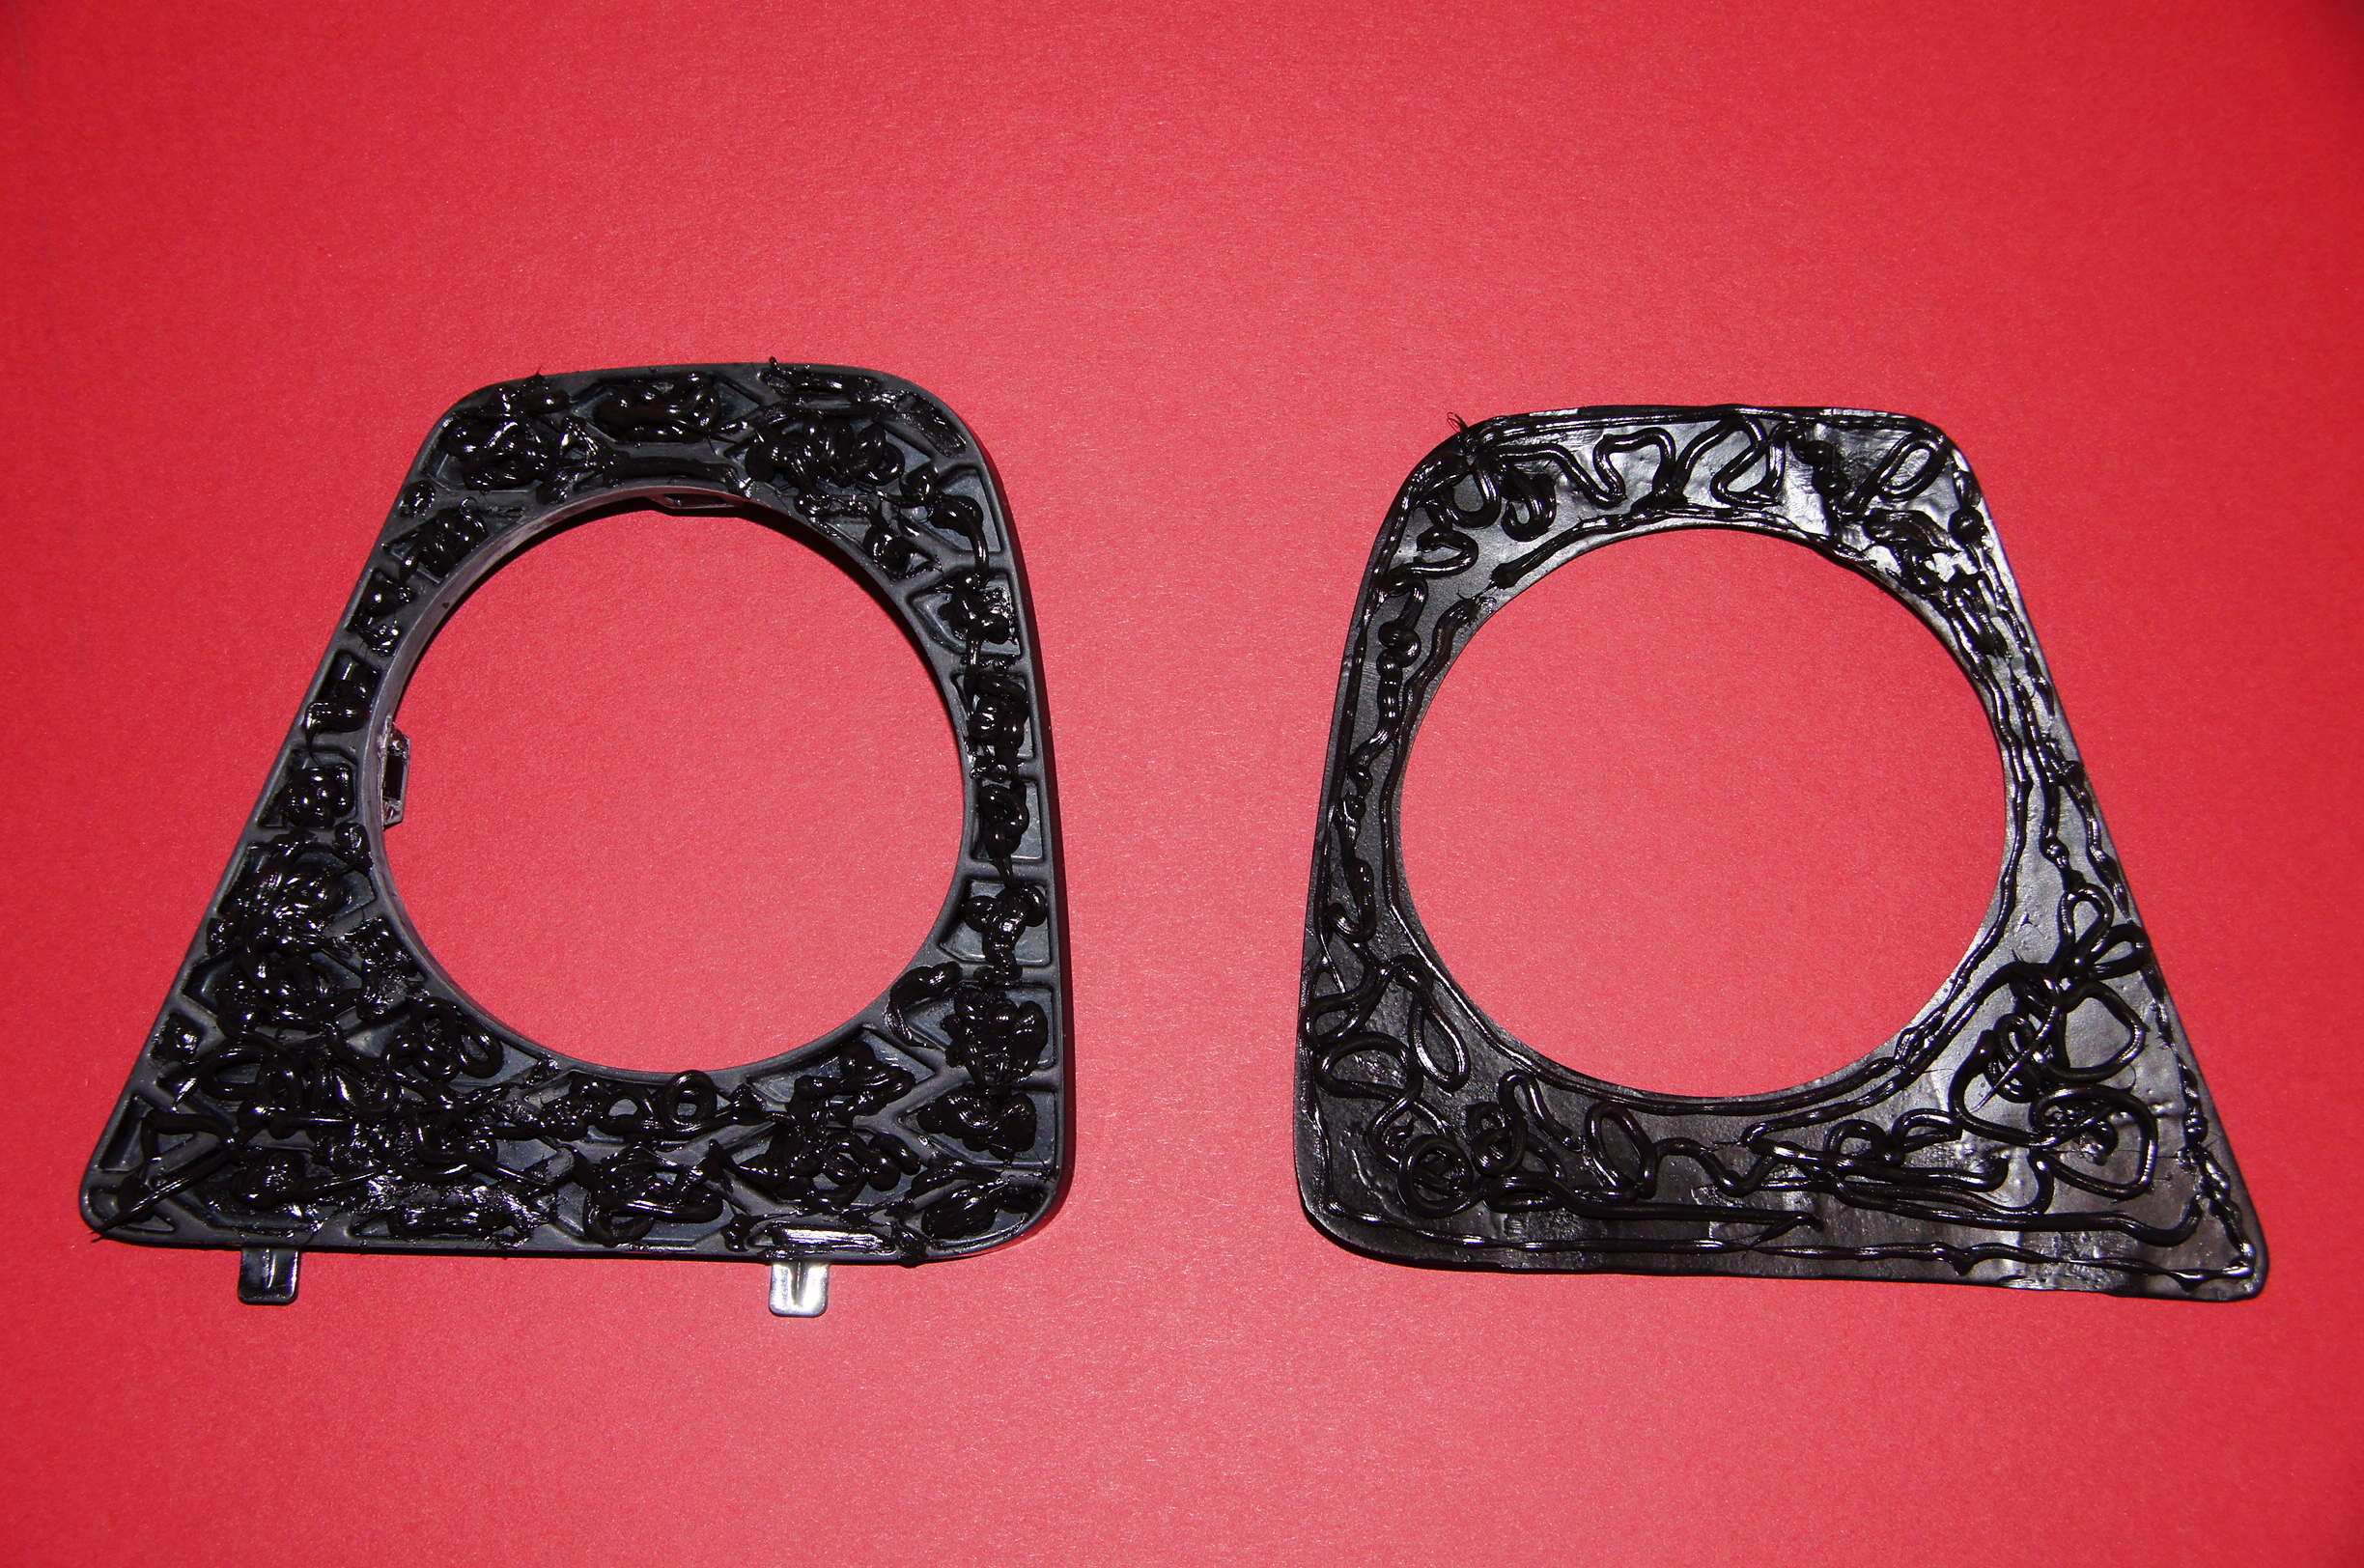
Front Foglight Surrounds with Sikaflex
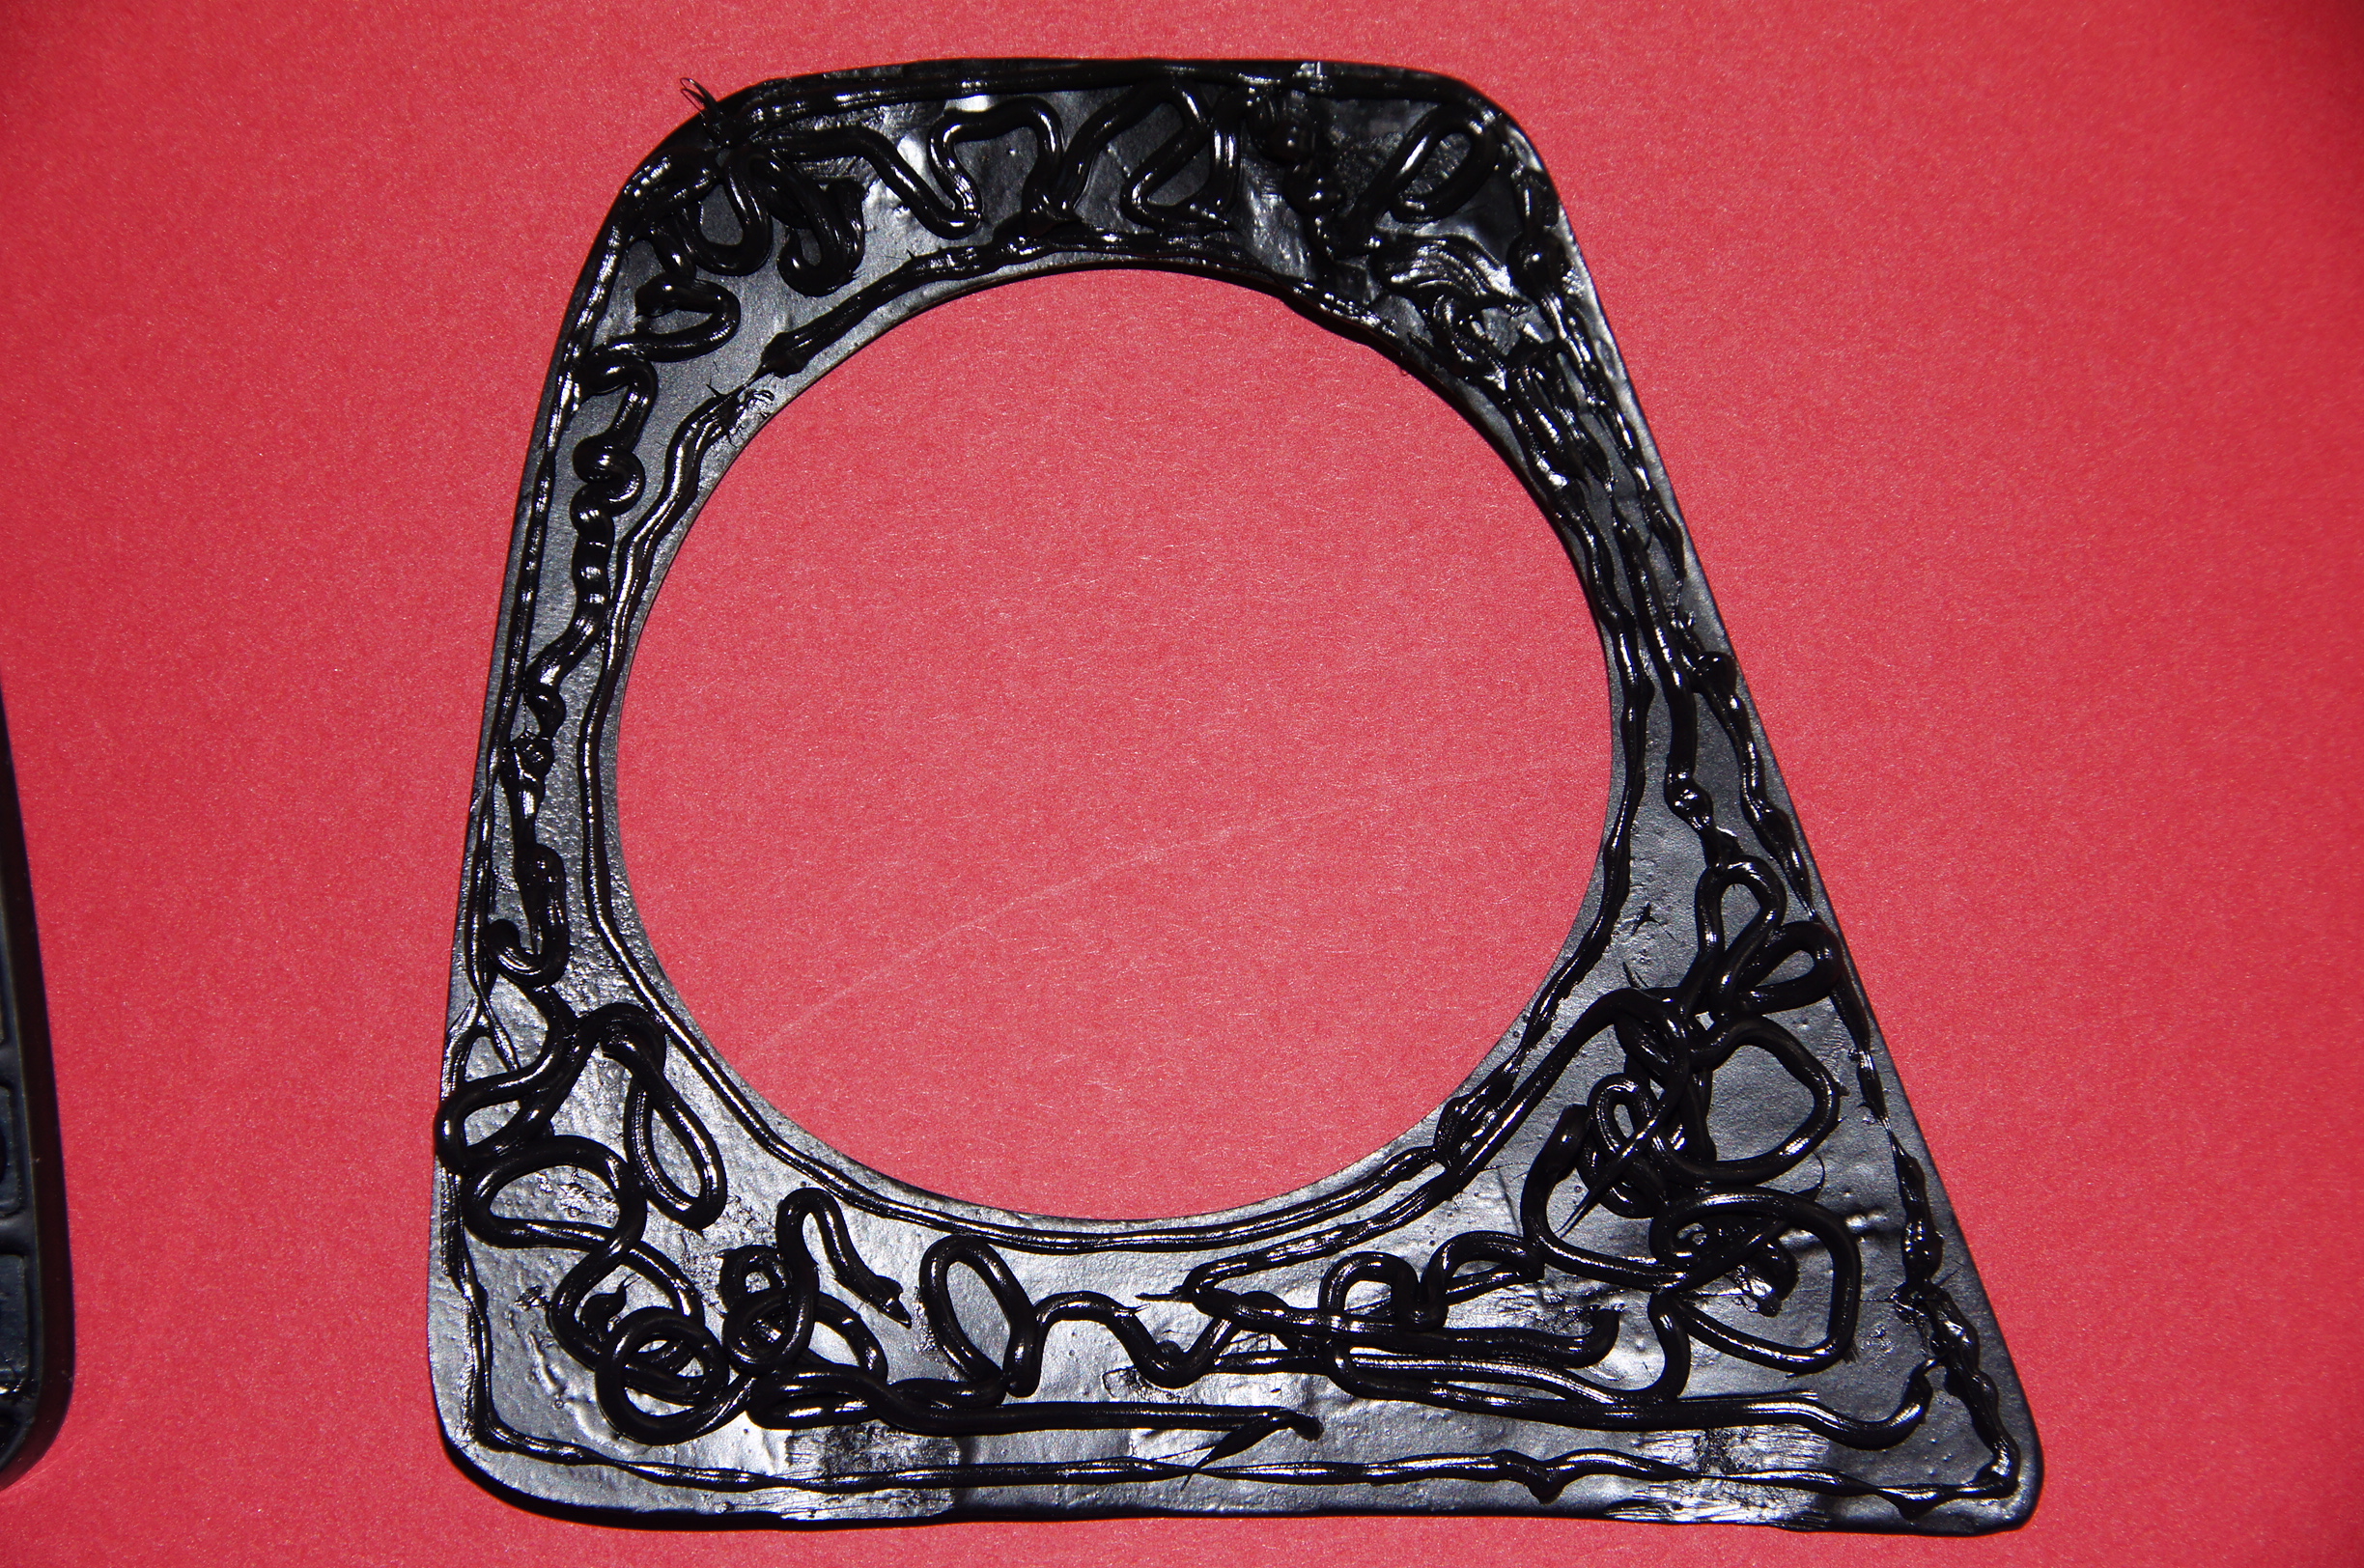
Foglight Surround Prepped
Foglight Surround Prepped
The carbon fibre covers have been fitted to the OE surrounds and all the edges have been stuck down with masking tape to ensure all the edges are stuck down properly as the bonder ‘goes off’:
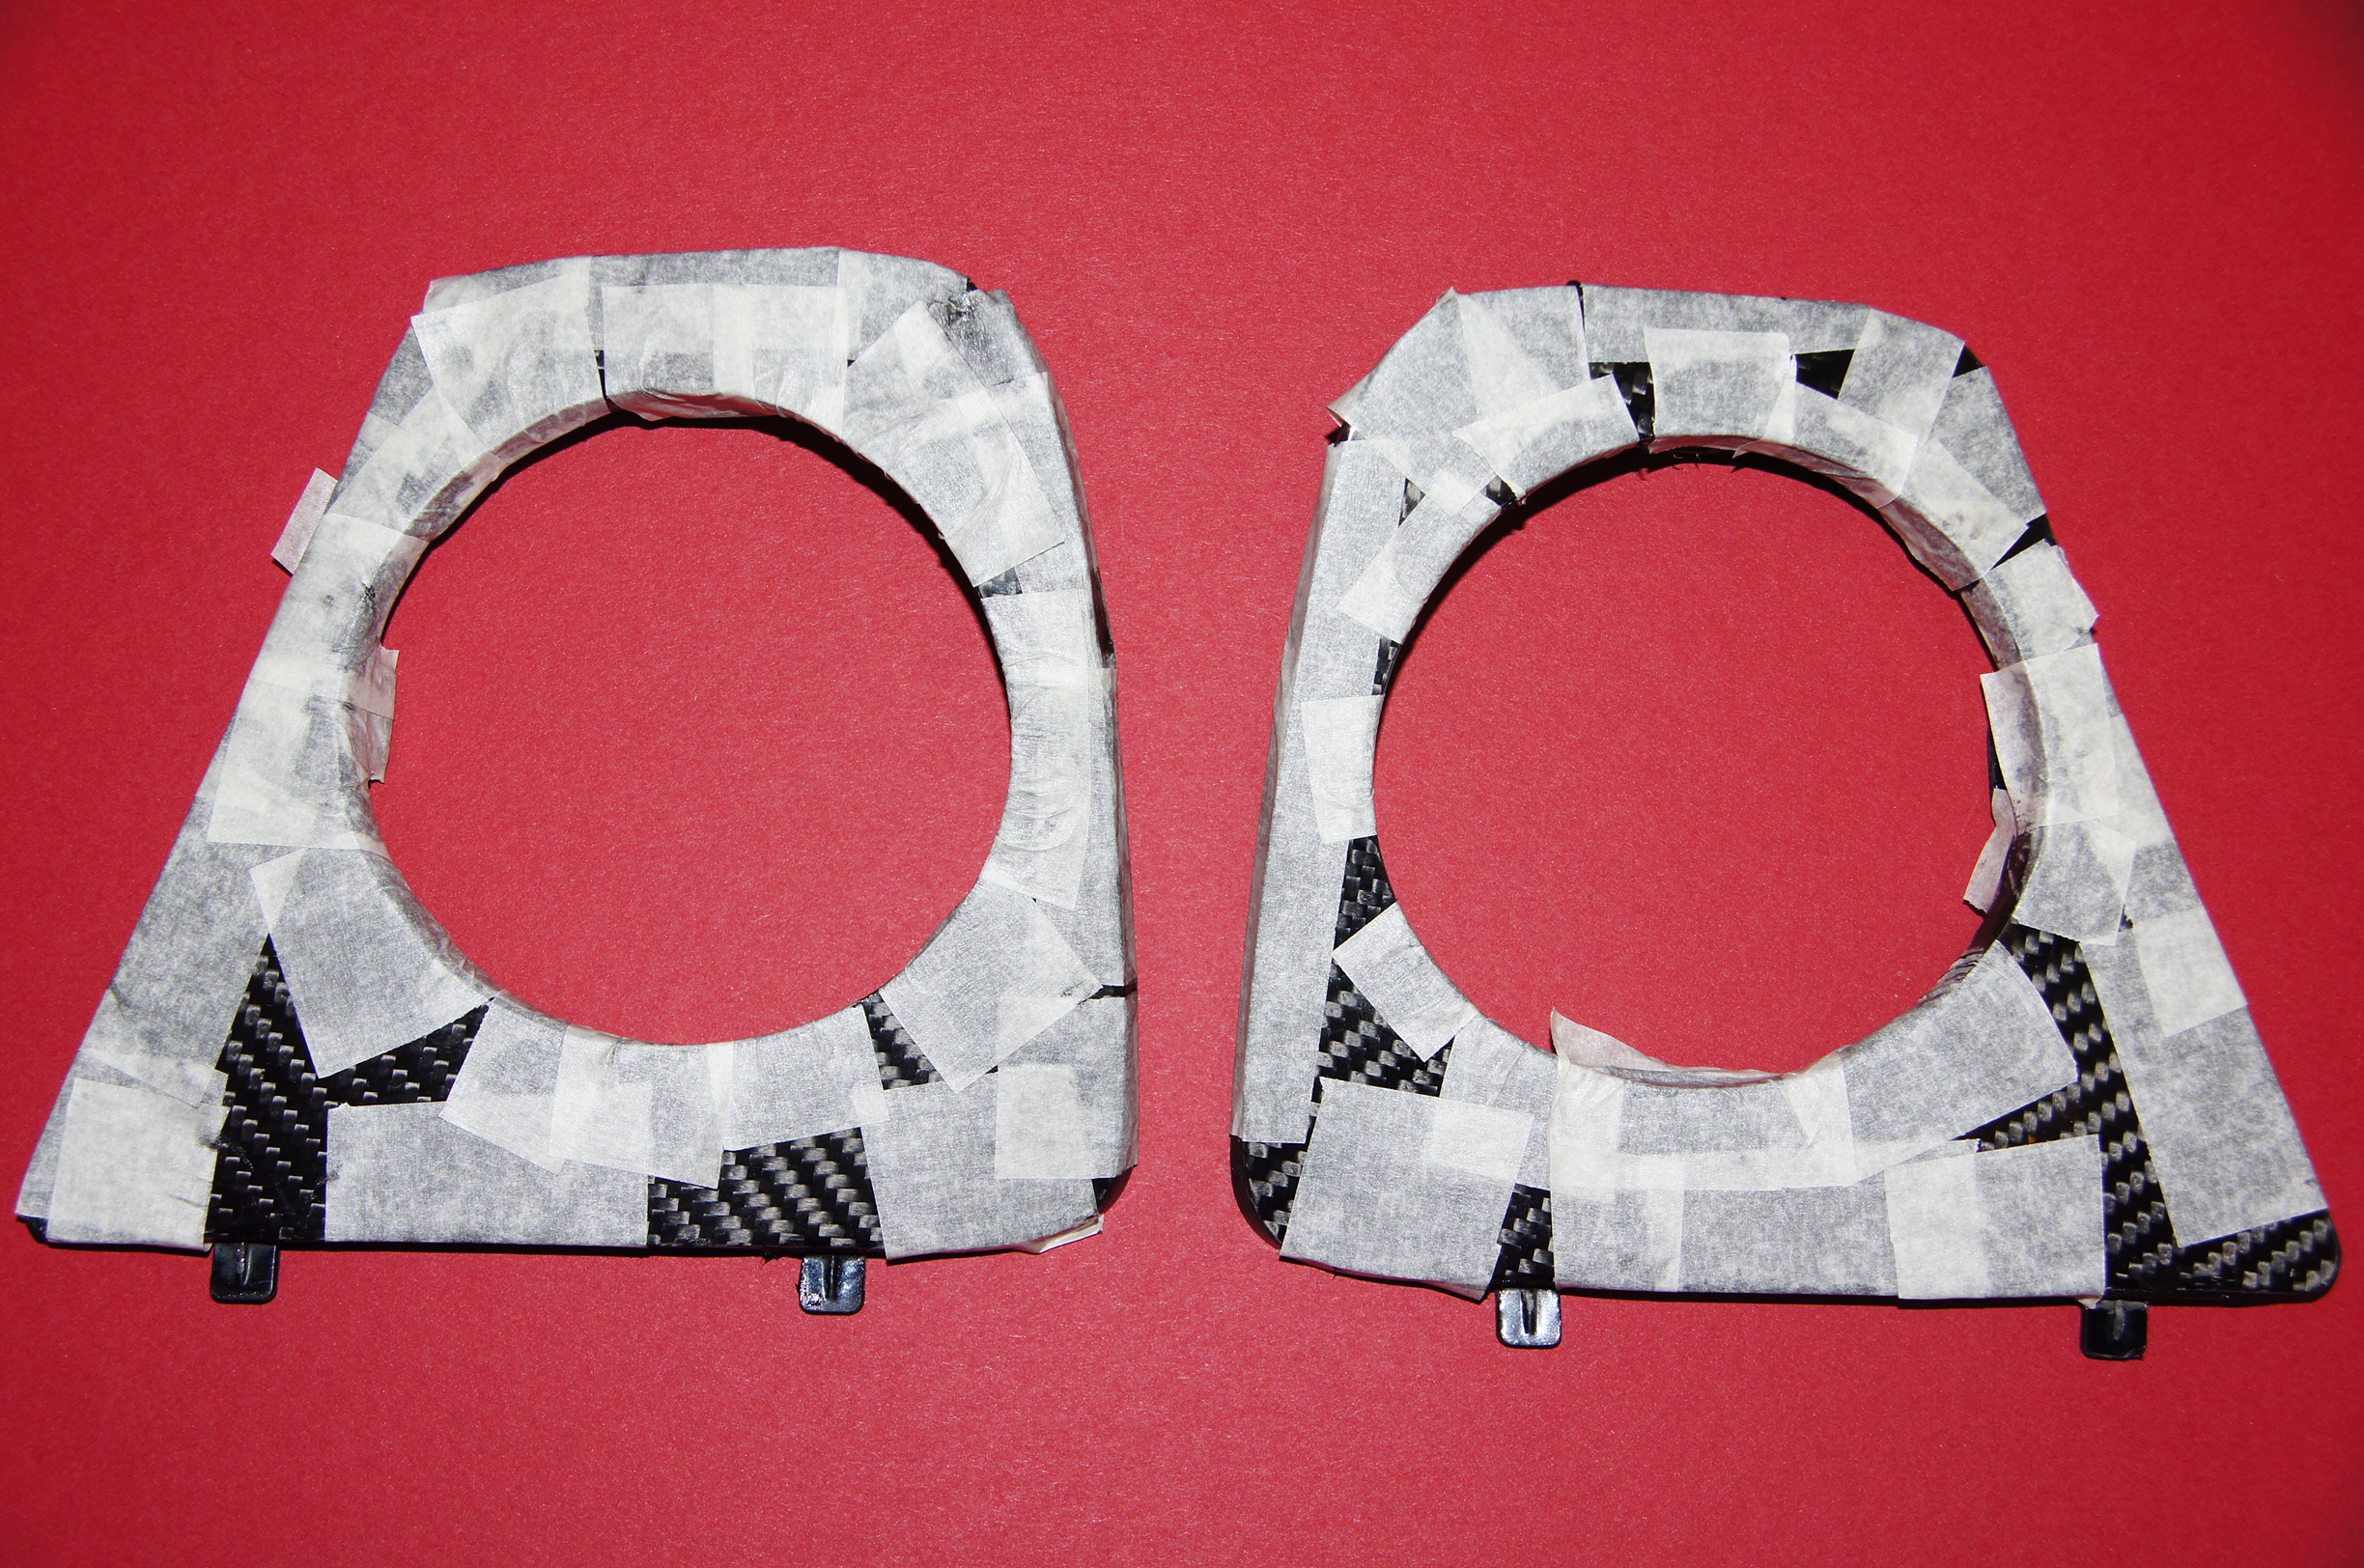
Carbon Fibre Covers During Fitting
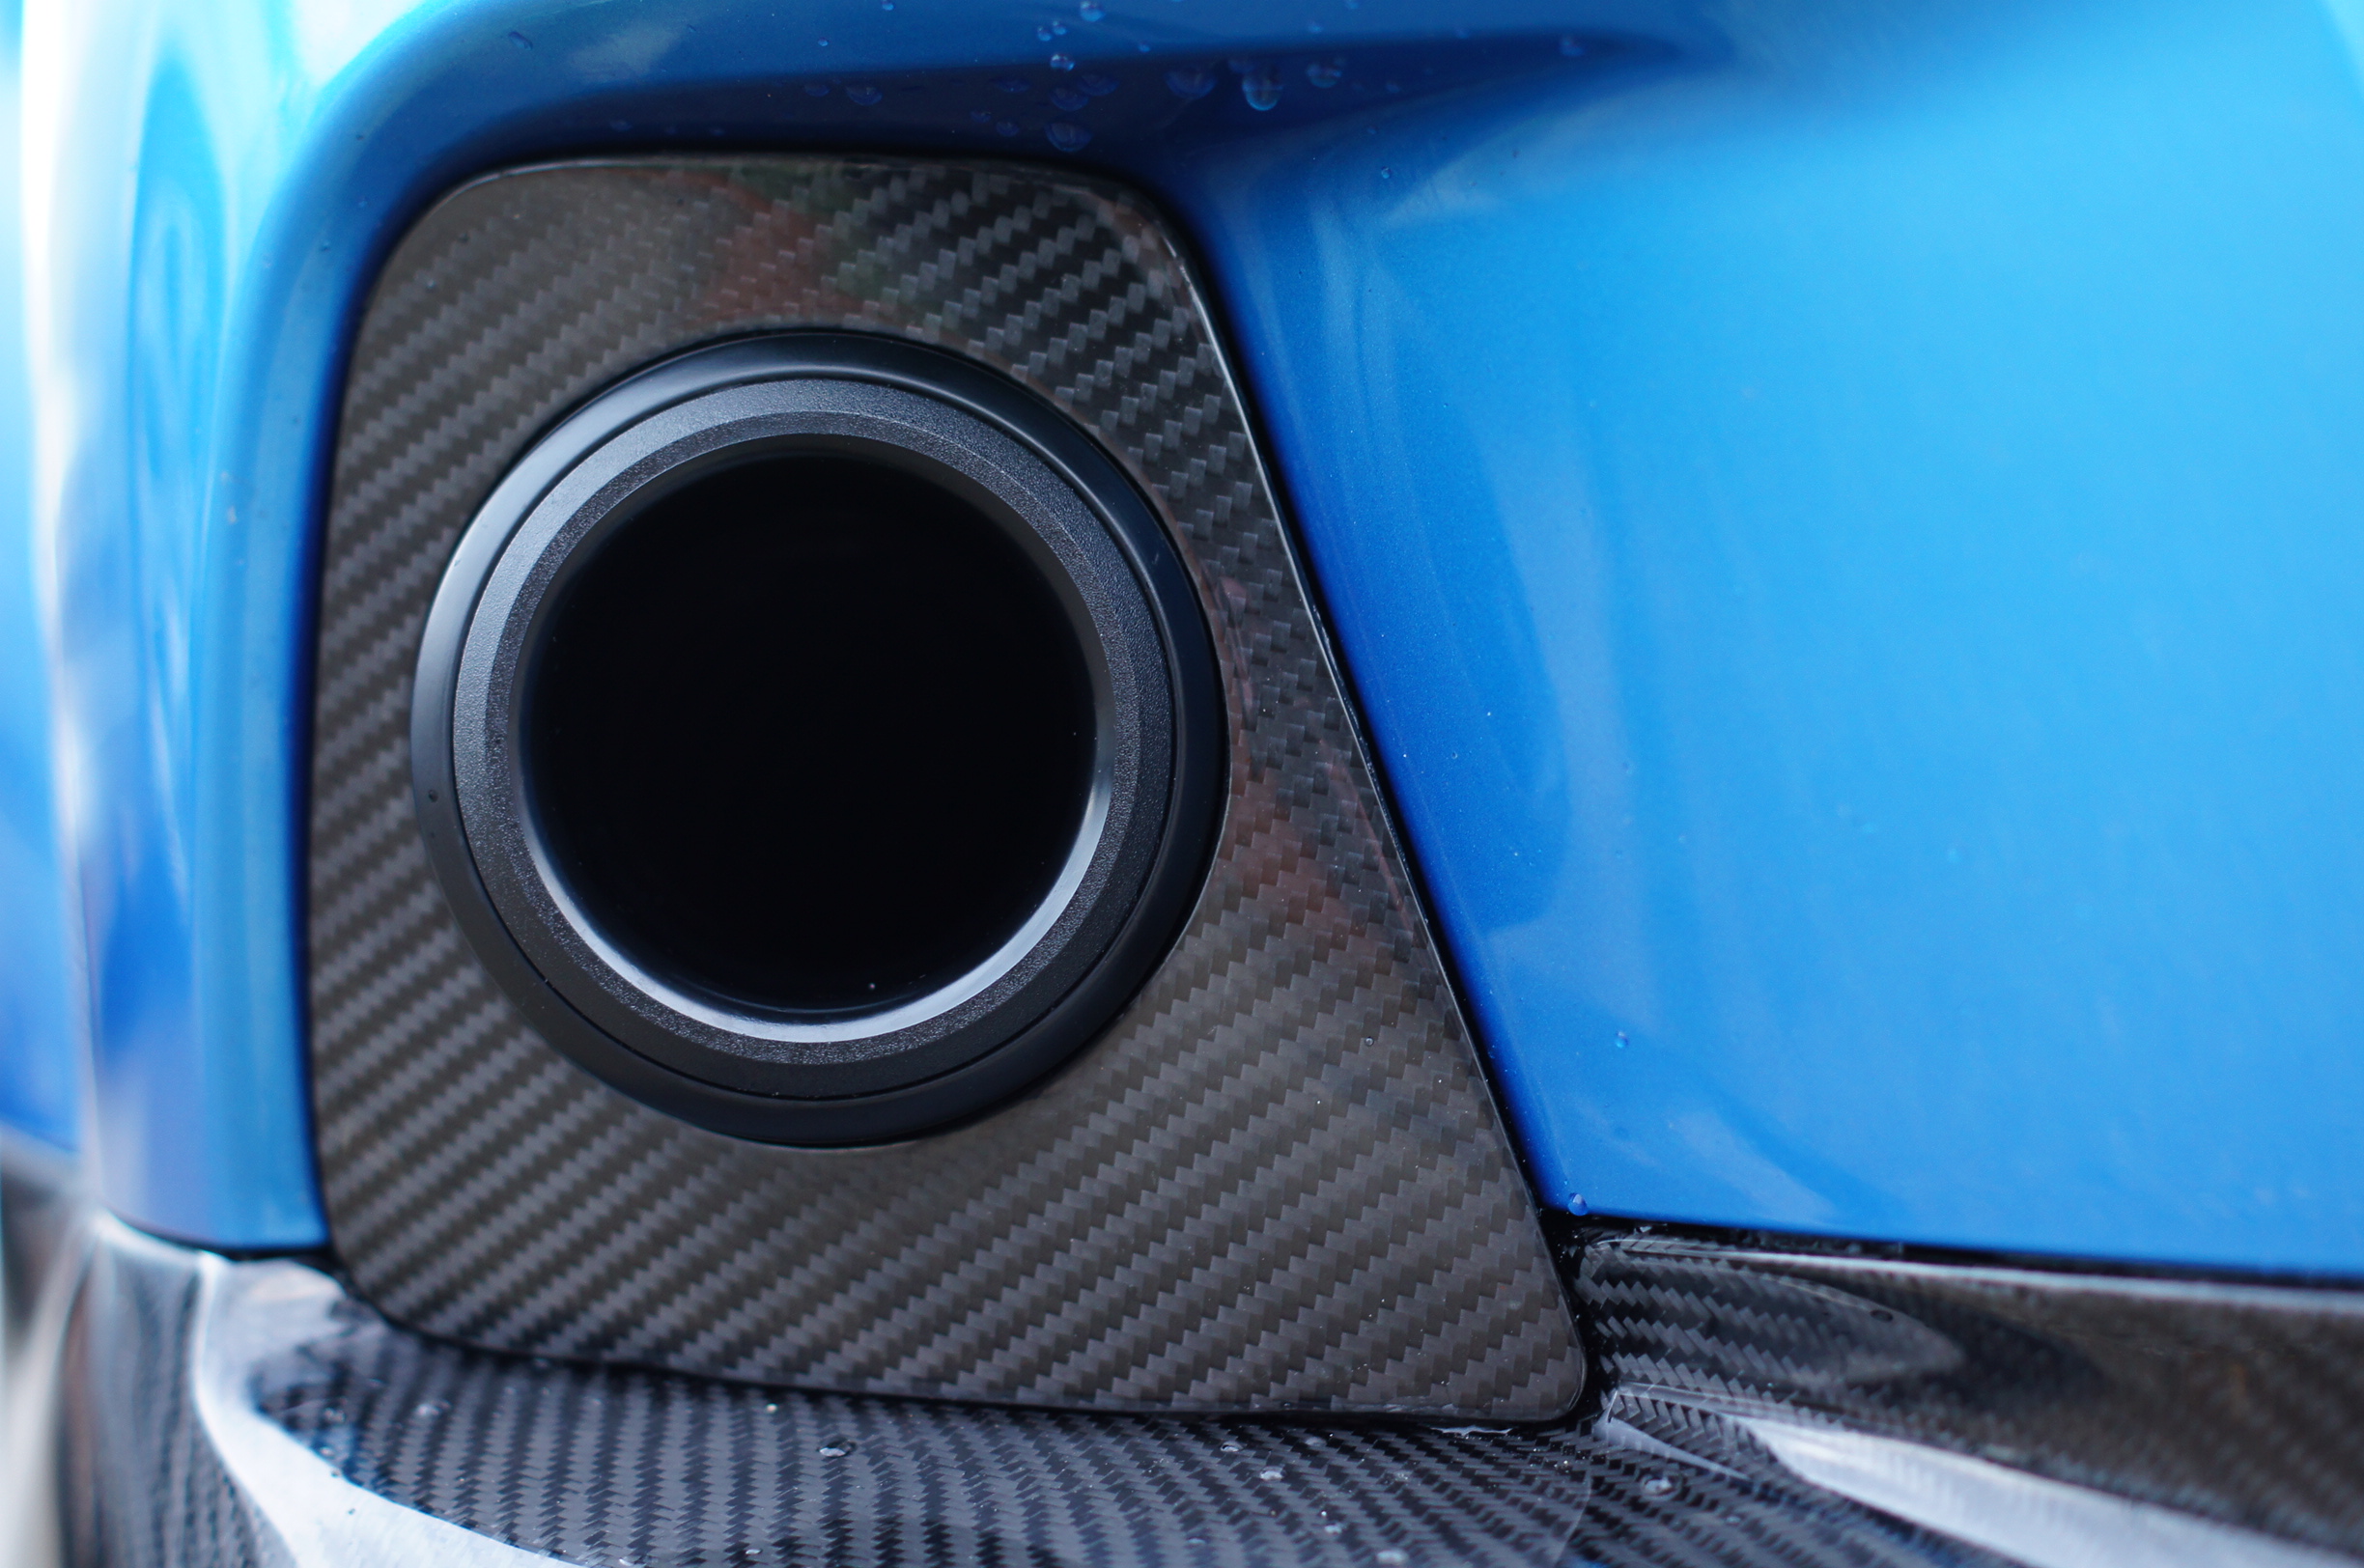
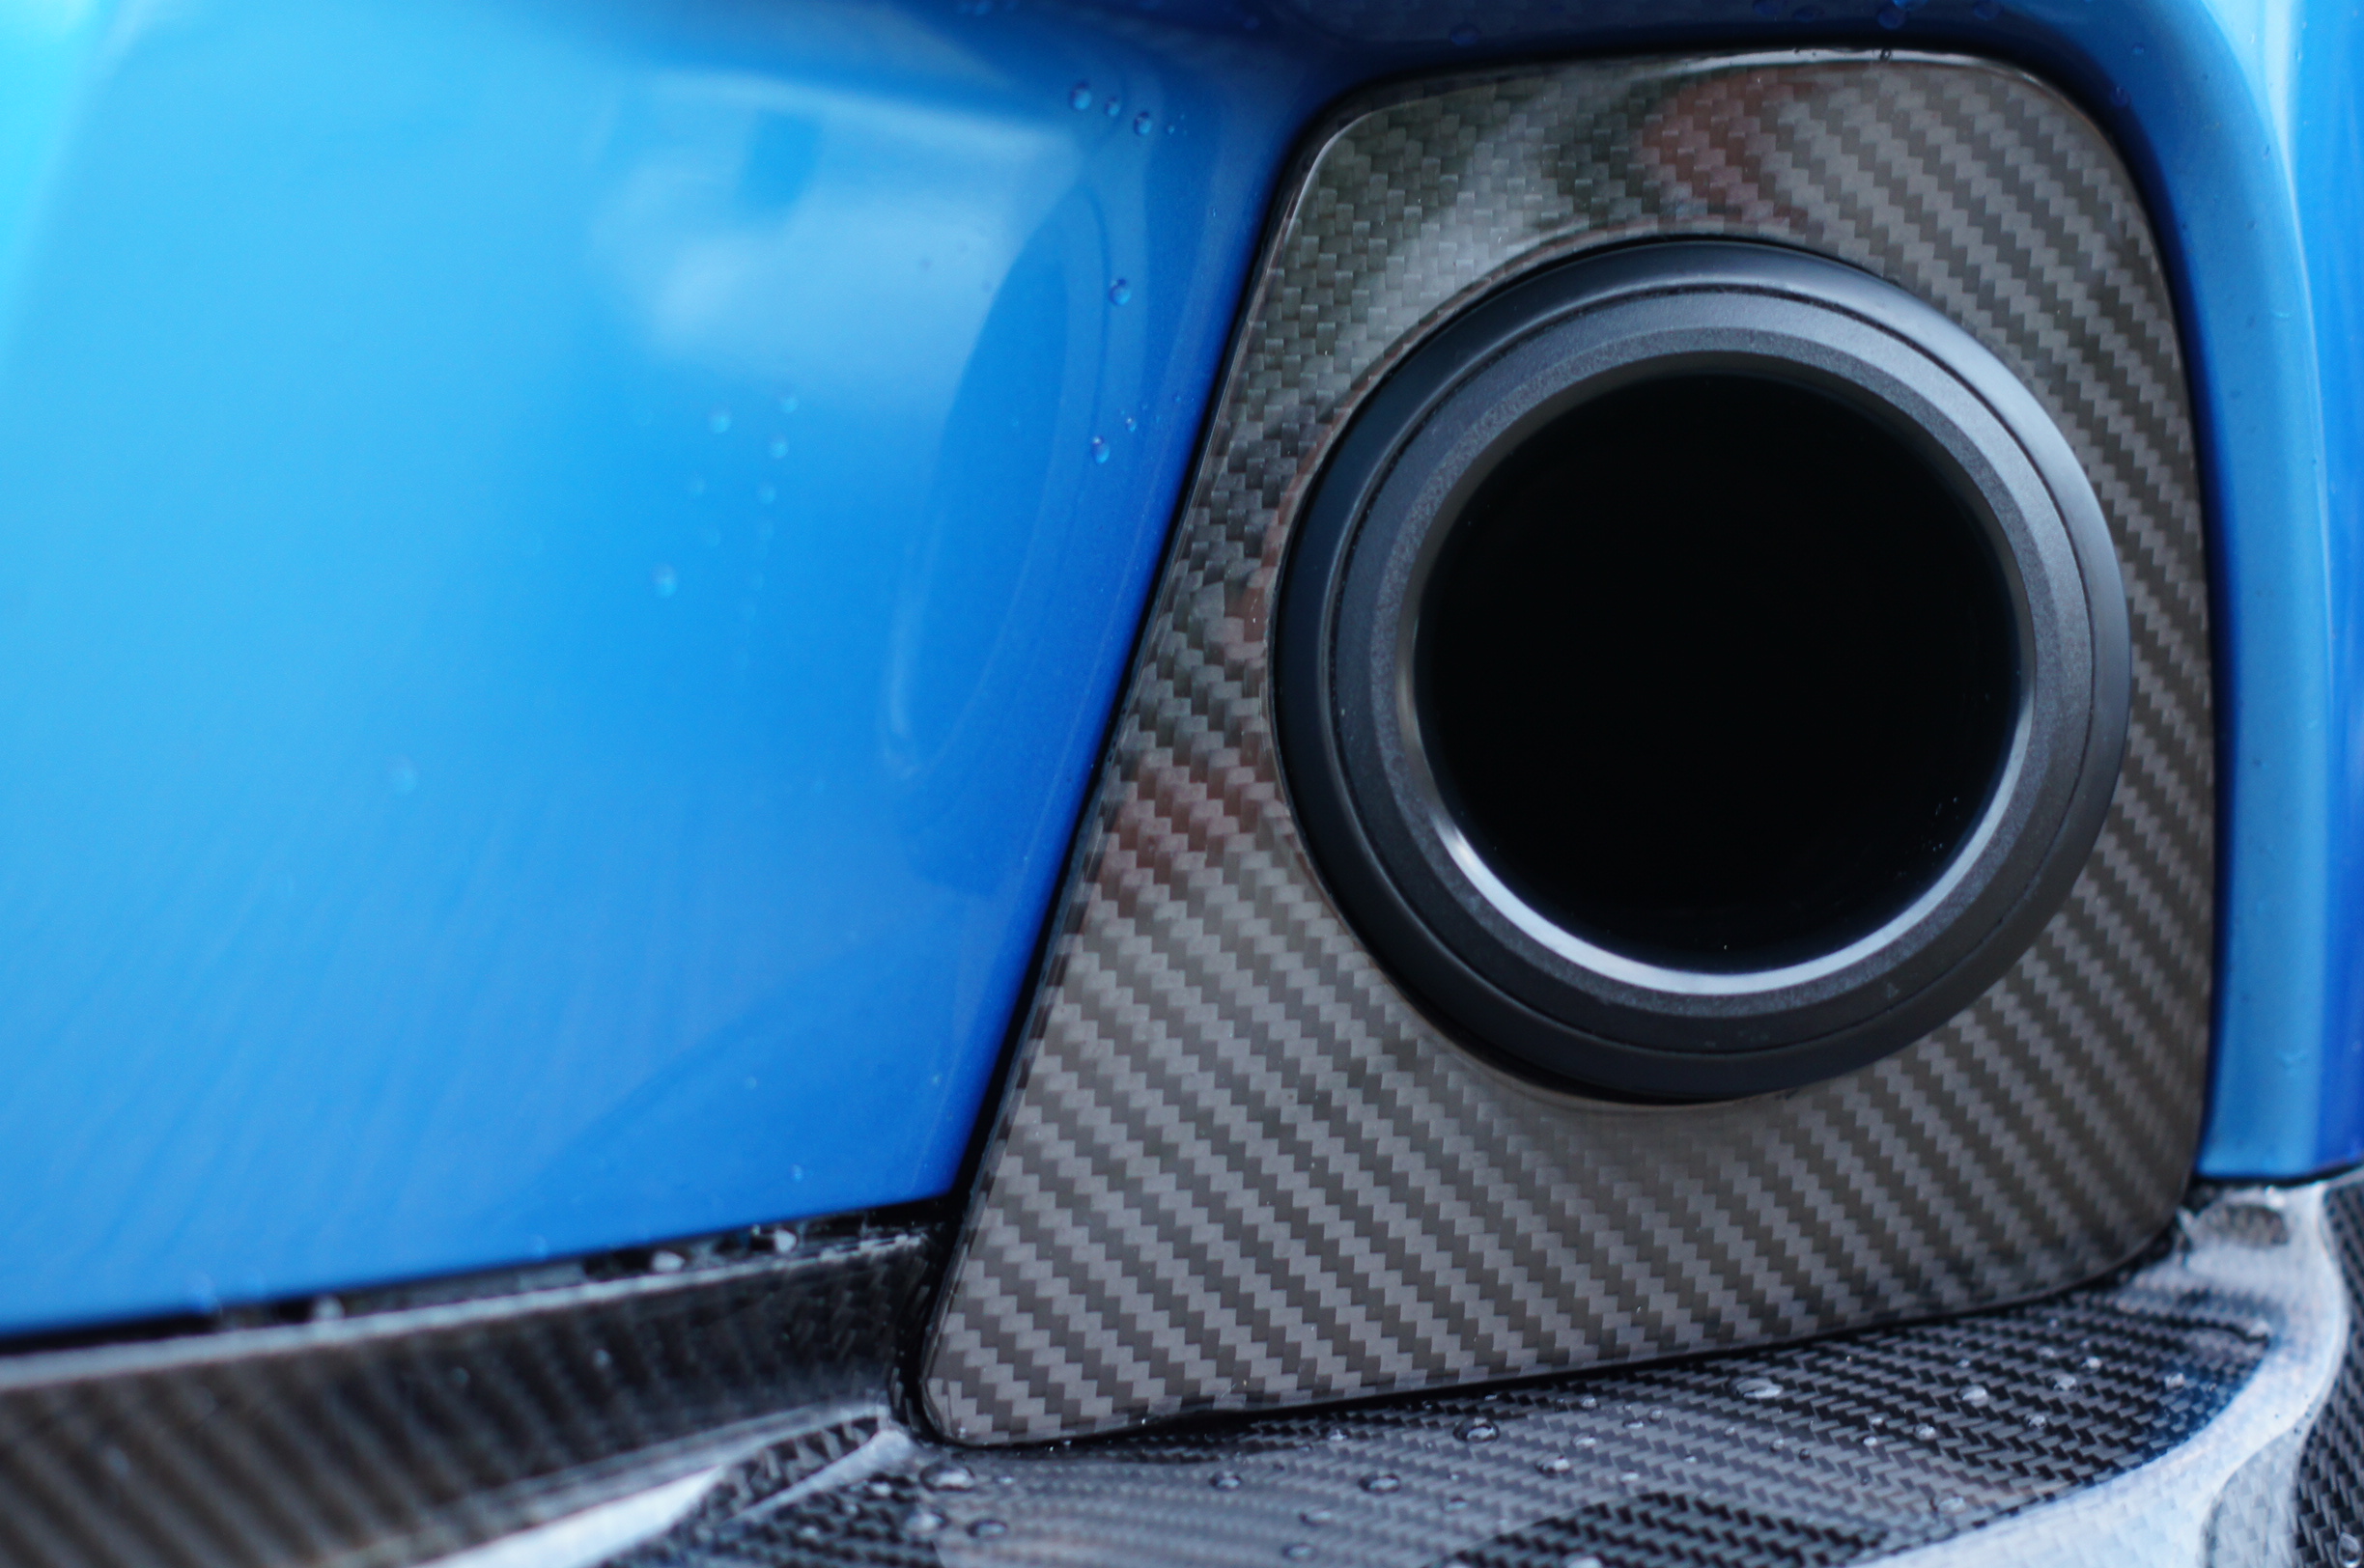
And the finished surrounds:

Carbon Fibre Surrounds Fitted
Carbon Fibre surrounds fitted into the front bumper with the extra large foglight delete brake cooling ducts:
Carbon Fibre Surrounds Fitted to the Front Bumper
Carbon Fibre Surrounds Fitted to the Front Bumper
Front end with carbon fibre detailing:
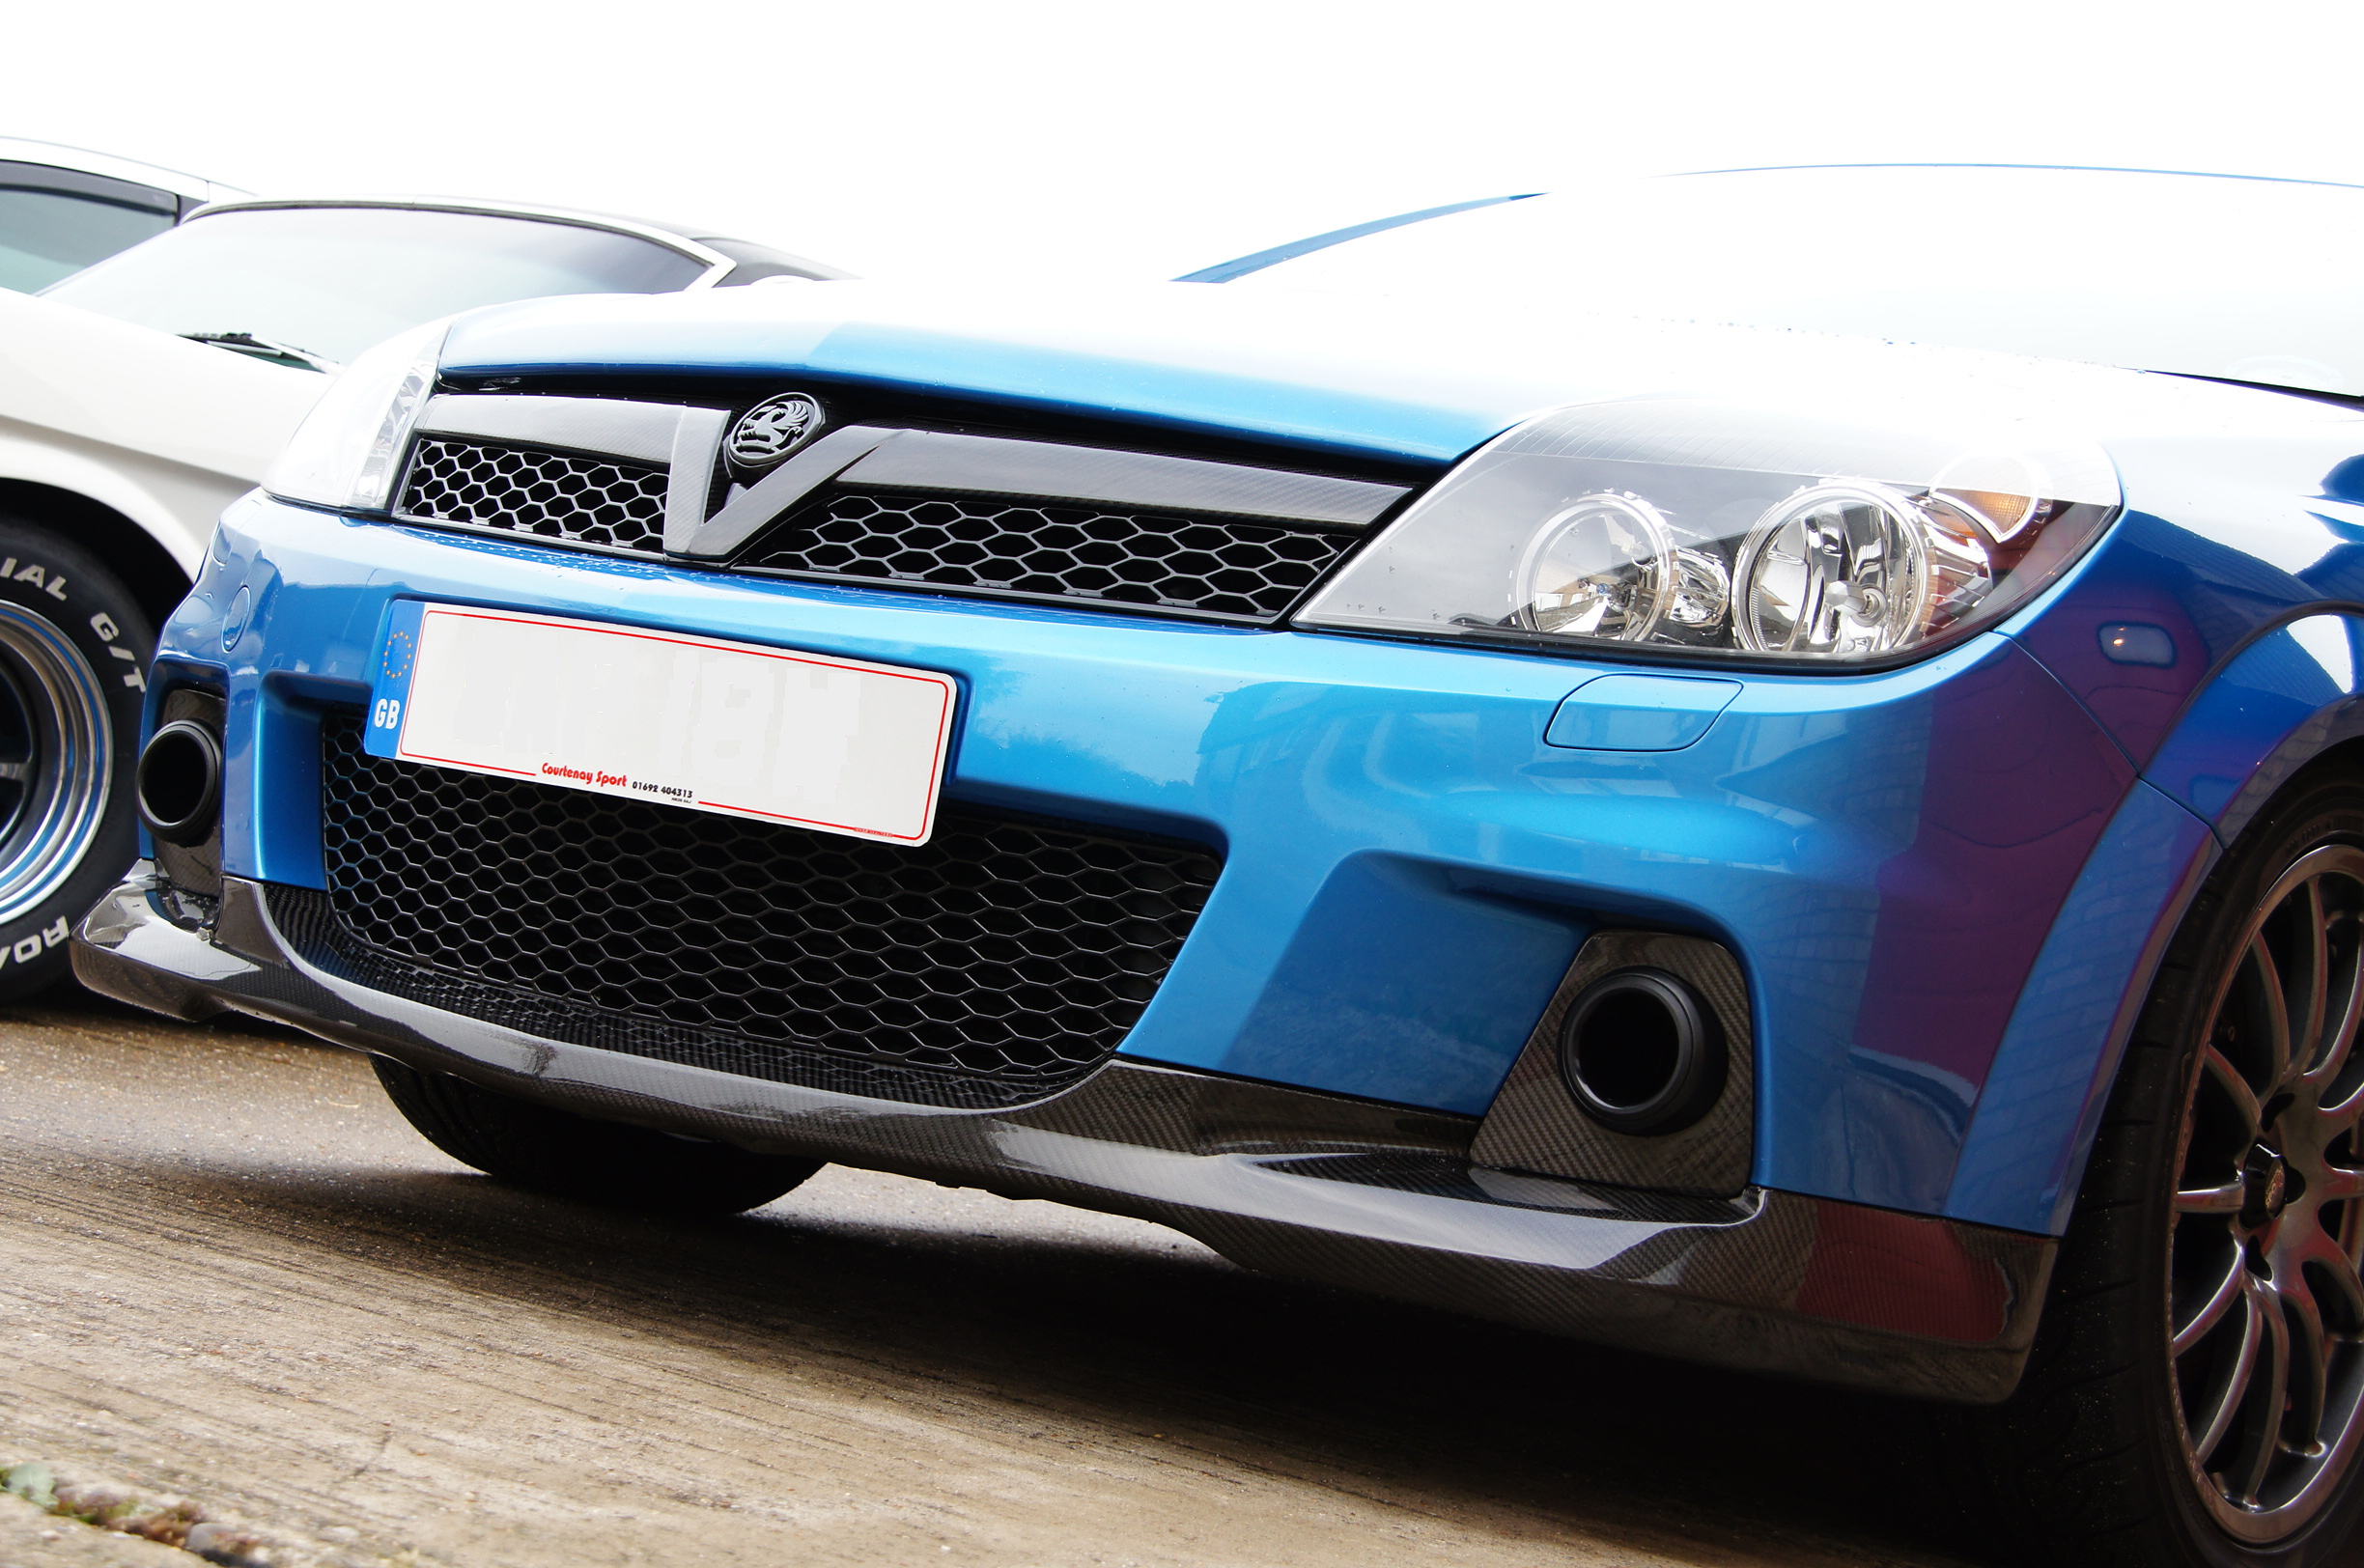
Carbon Fibre Front Splitter and V Grille
Front View:
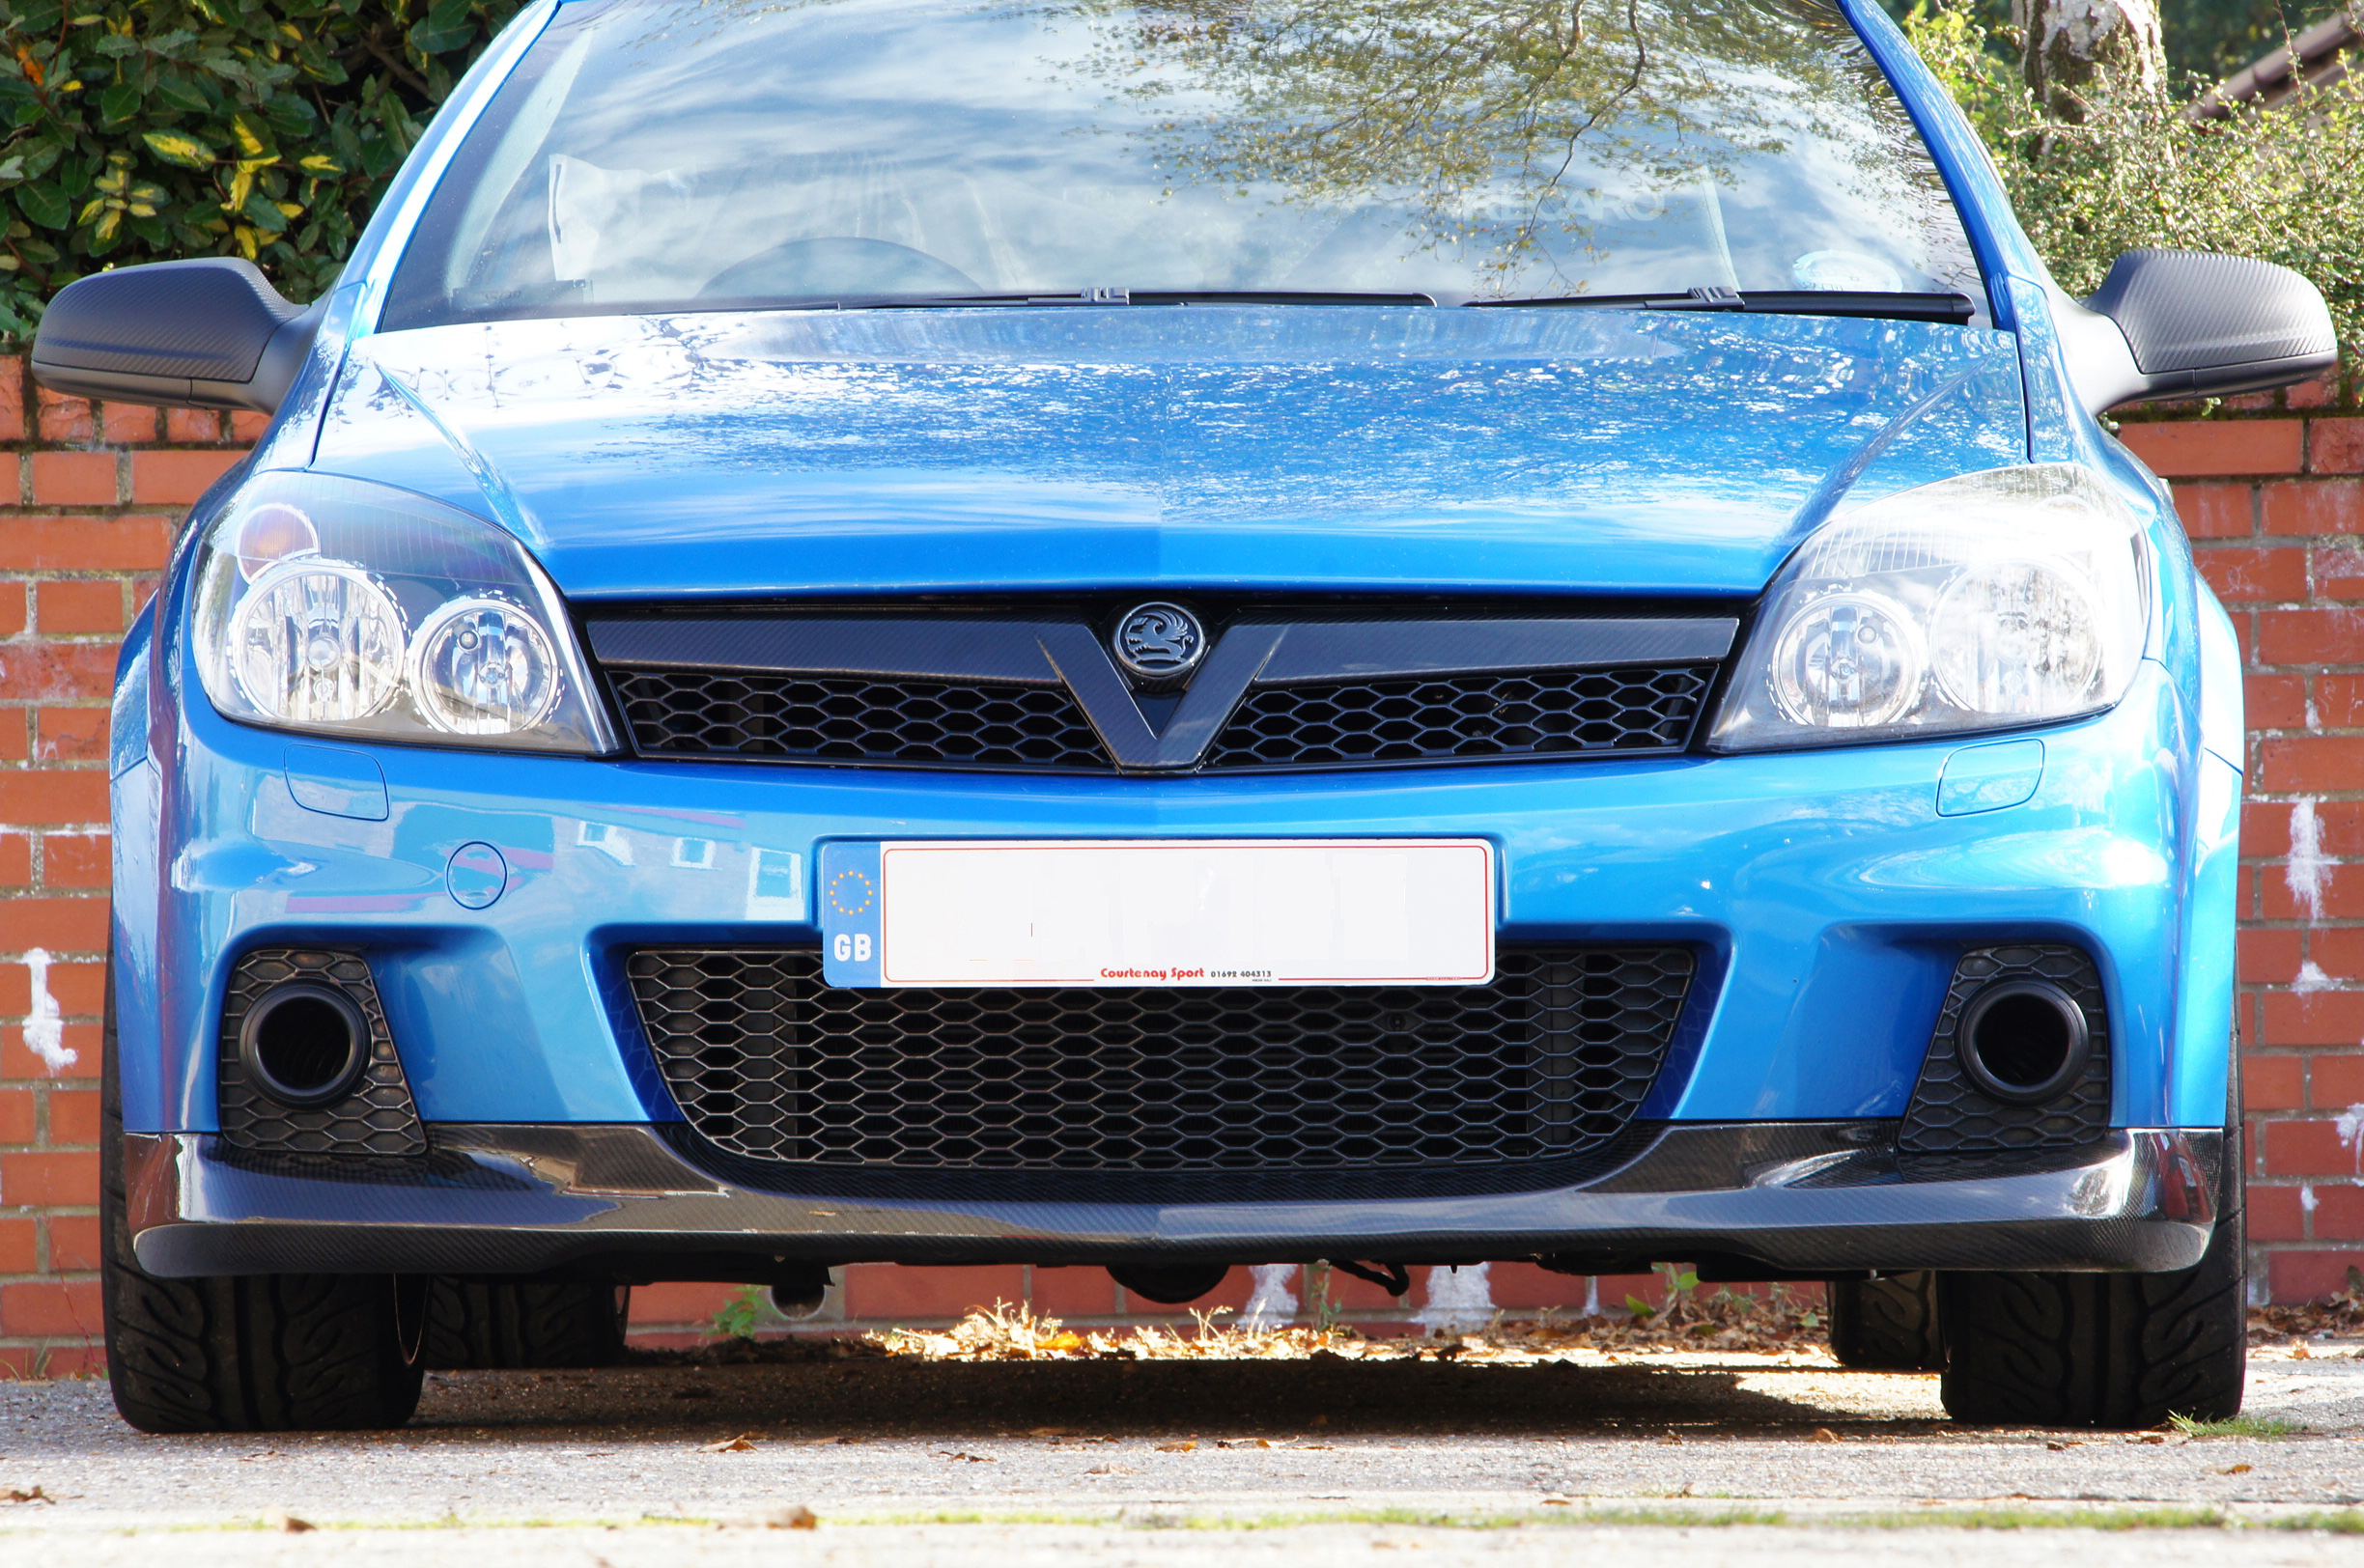
Front End V Grille and Splitter Fitted
Rear View:
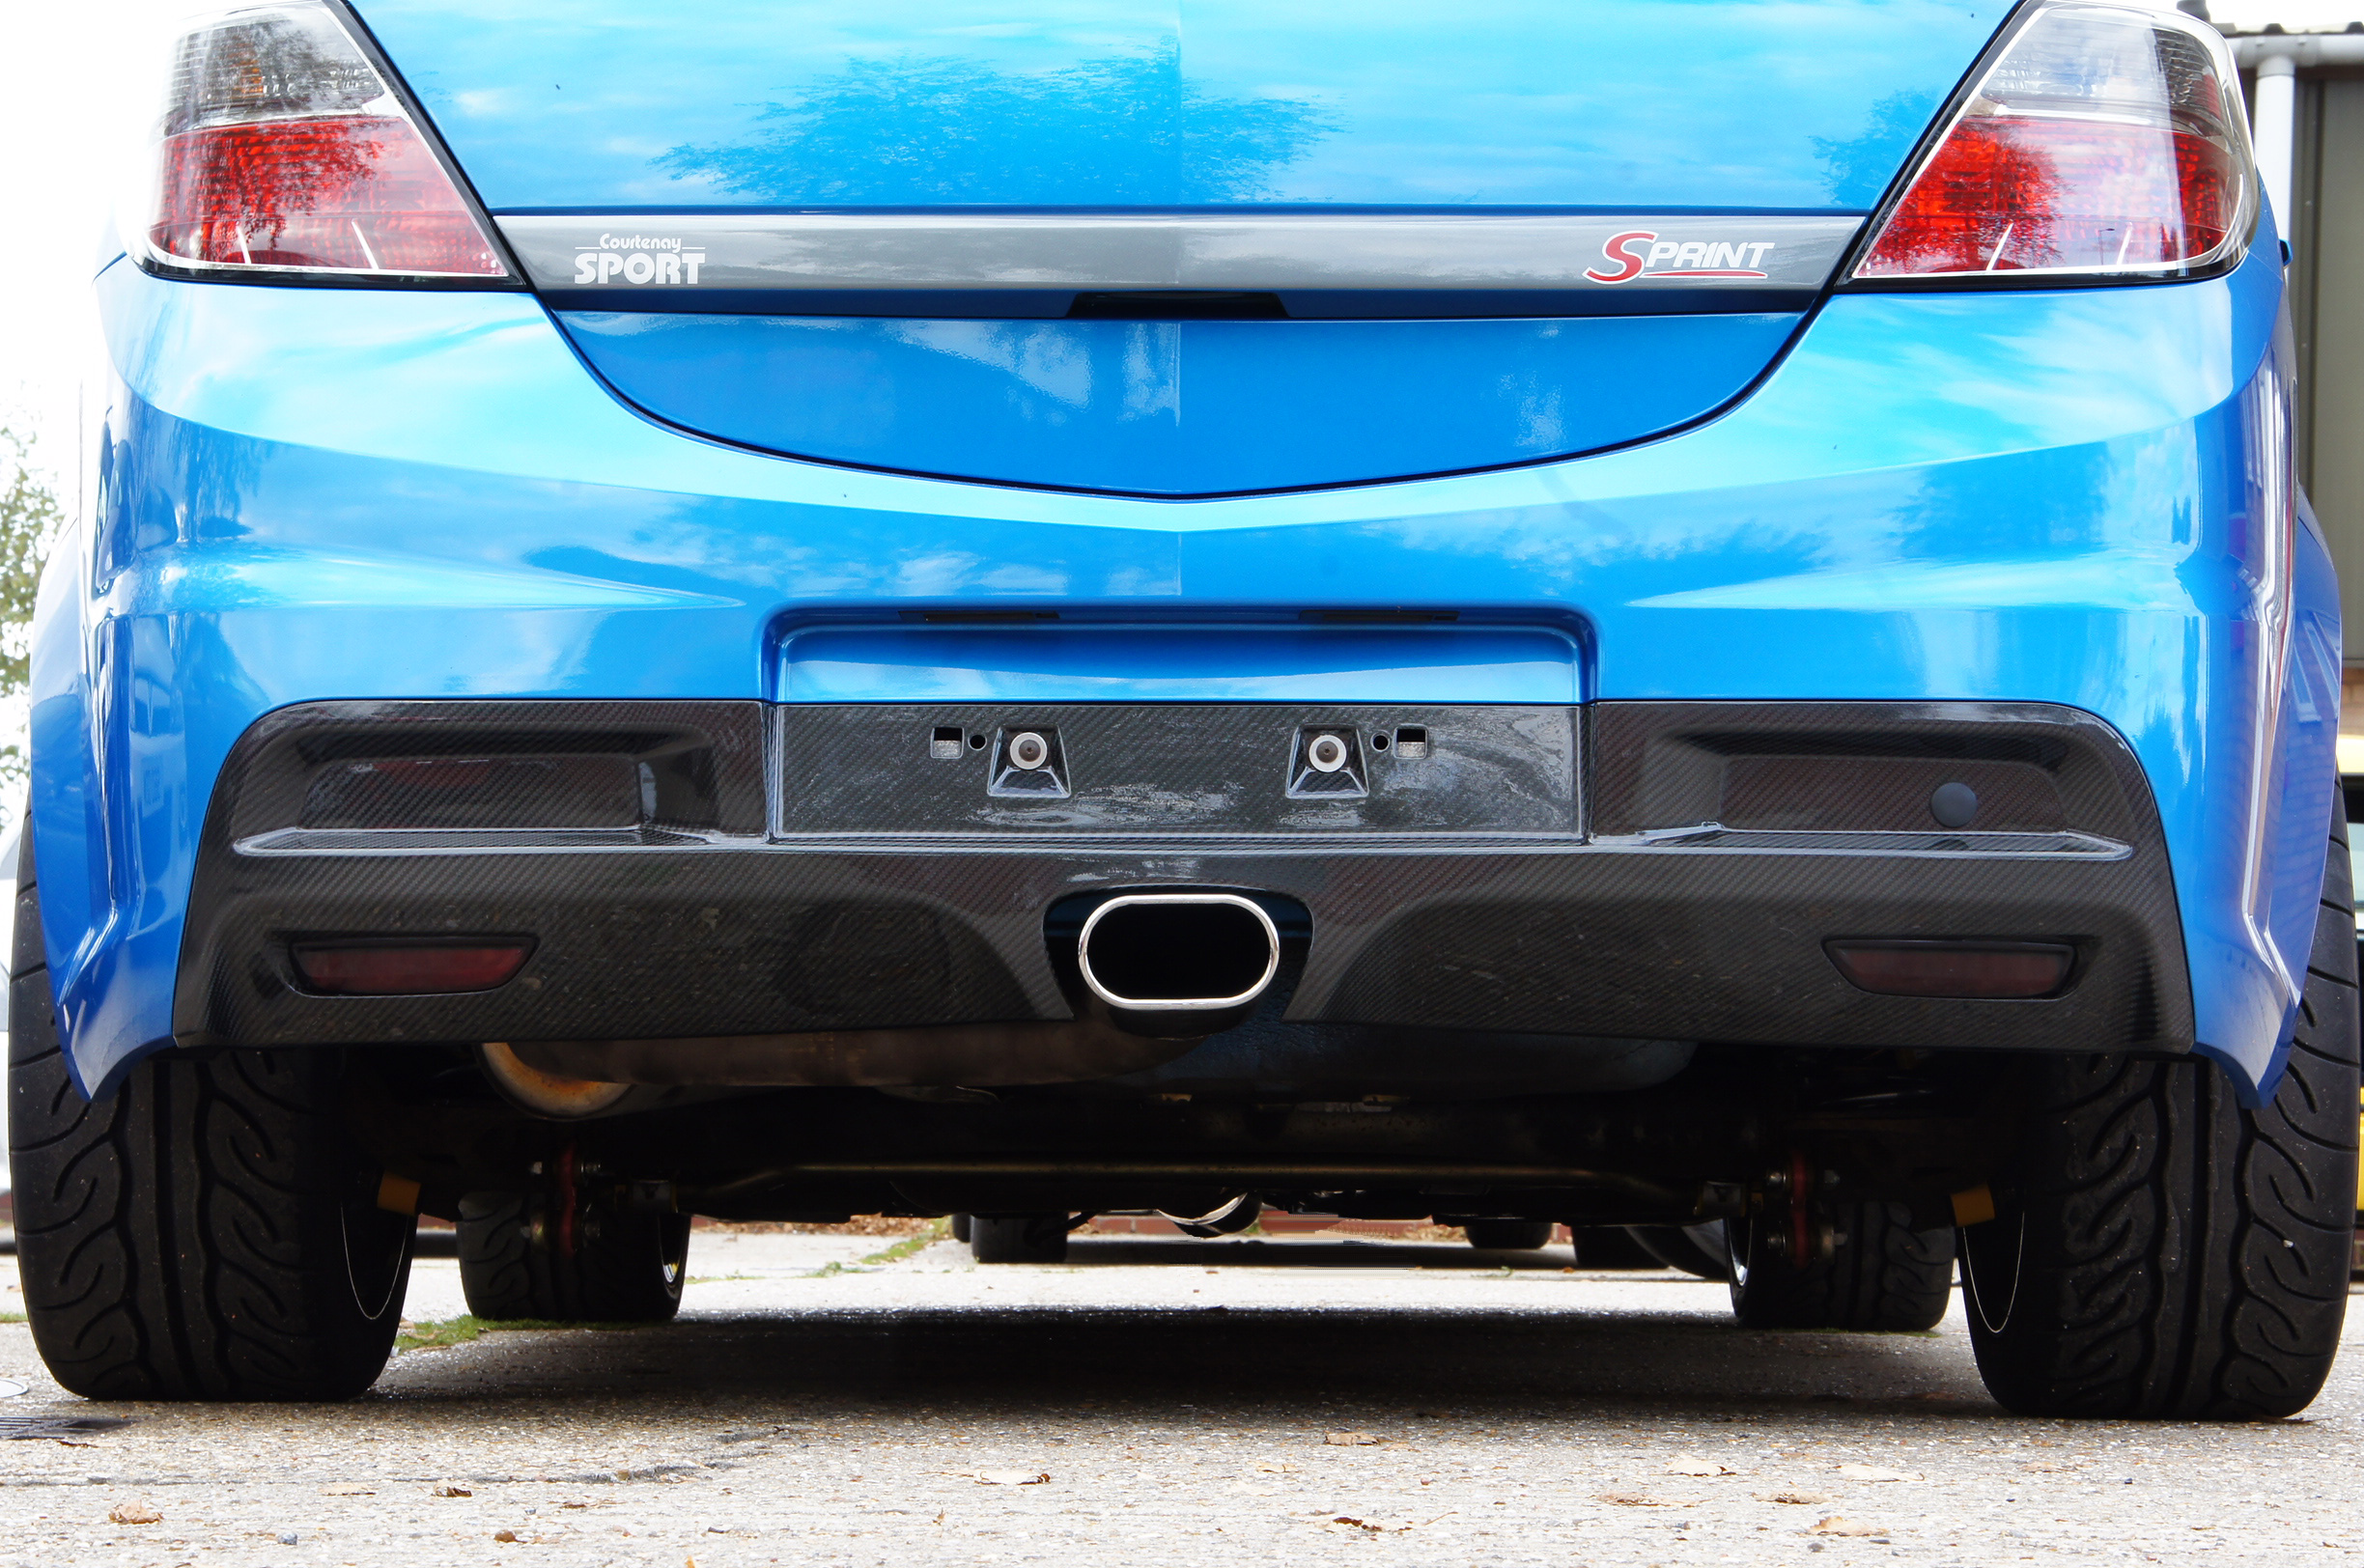
Carbon Fibre Rear Diffuser
Just needs a Carbon Fibre Boot Strip to finish it off.