Over the winter I have decided to do something about the gearbox oil temperatures, which when on track can get seriously hot, one of the downsides of the M32 is its inability to dissipate heat effectively. So installing a gearbox oil cooler was the logical upgrade.
So why am I installing an engine oil cooler if the engine already has one? The simple answer is because the engine oil cooler is a small water cooled laminova core, mounted to the rear of the block just under the inlet manifold and cooled by the engine coolant. Whilst this is good enough at keep oil temperatures in check for fast road and track use at 280 or so bhp, potentially it will start to struggle more as more and more power is added, so worth looking at upgrading as well.
By installing a gearbox oil cooler I will need to add an additional external cooler. The thought process is to use the original laminova core (originally the engine oil cooler) to act as a gearbox oil cooler because the gearbox only has 3 litres of oil, so if I am adding an extra oil cooler I though I would make it for the engine and use a bigger external oil cooler because I am getting to the limits of the factory oil cooler’s capabilities. By doing this I am still only adding one external cooler (for the engine) and re-using the exiting engine oil cooler for the gearbox oil rather than having to add two (one for the engine AND one for the gearbox.)
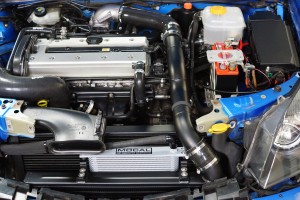
So after a conversation with Think Automotive here is the chosen Mocal Oil Cooler, more than adequate for a 2.0 Turbo engine:
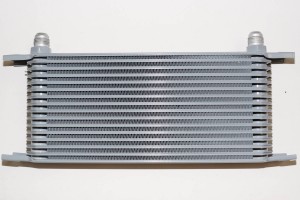
Mocal Engine Oil Cooler
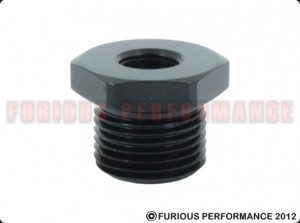
And a selection of black anodised aluminium oil cooler fittings:
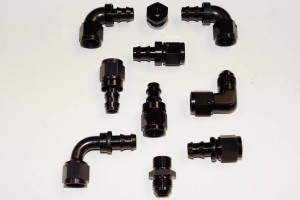
Oil Cooler Fittings
also supplied by Think Automotive, who really know their stuff when it comes to this sort of thing.
I chose aluminium anodised over steel because I didn’t want any surface degradation and they look much better finished in black, albeit they are a more expensive fitting.
I also needed a selection of banjos and banjo bolts:
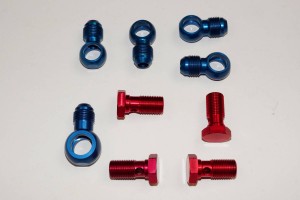
Banjos and Banjo Bolts
These are again aluminium anodised and somewhat expensive, however well worth the money (I couldn’t get them in black as they were out of stock and when I ordered them the lead time was too long). Supply came from Earl’s Performance in the UK, again very helpful. I chose these banjo fittings so that everything will screw together neatly. I did not want banjos with tails that have to be secured on with hose clips (however this type of banjo fitting is much cheaper in comparison!).
Finding somewhere to mount an additional oil cooler is great fun on an Astra where space is somewhat limited, but with the aircon condenser gone (it used to sit between the intercooler and water radiator) there is some available space. I mocked up the mounting brackets and then sent the Interooler to the guys at Pro Alloy Motorsport and asked them to fabricate some mounting brackets for the oil cooler, which would use Mocal rubber bobbins, and to also weld on a couple of additional bosses on top of the intercooler to securely locate the oil cooler.
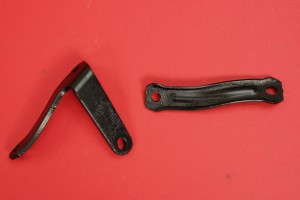
And Pro Alloy produced four alloy mounting brackets:
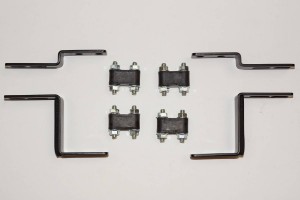
Mounting Brackets and Bobbins
And a pair of bosses welded onto the top of the intercooler:

Bosses added to Intercooler
Top work as always from the guys at Pro Alloy Motorsport 🙂
Next was to start to make up the oil hoses and fittings. I am using Aeroquip push on or socketless hose, which has a temperature operating range of -40 to +150 degrees C. Fitting is very simple and pretty straightforward. Construction is AQP elastomer inner tube & outer covering with textile braid reinforcement finished in black.
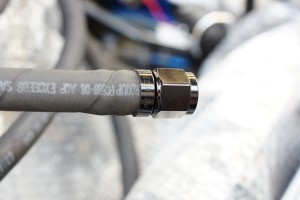
Oil Hose Fitting
For the oil hoses I managed to track down some OE heat shrinkable fabric sleeve which is designed to protect from abrasion. Black Heatshrinkable Fabric Sleeving for additional oil cooler lines, to retain an OE look. Highly flexible heatshrink woven fabric tubing, Polyolefin/Polyester construction for excellent abrasion resistance 125°C operating temperature (excellent abrasion resistance to 135°C), Heat shrinkable to grip substrates tightly without additional fixing, Easy to install, Designed primarily to provide mechanical abrasion protection for components such as rubber hoses, plastic pipes and harness wiring bundles.
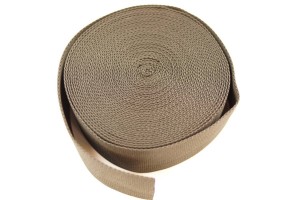
Heatshrinkable Fabric Sleeve
The easiest route for the engine oil cooler pipework is from the original take off plate above the oil filter and along the inner wing and past the headlight. This meant that the edge of the headlight housing had to be trimmed to give some additional clearance:
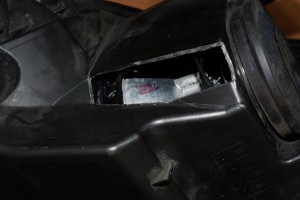
Headlight Assembly Modified for Clearance
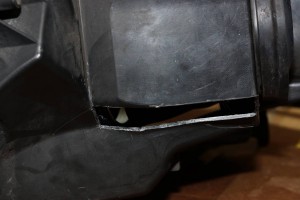
Headlight Assembly Modified for Clearance
And then a suitable cover piece was cut from polycarb and painted black, then bonded onto the headlamp housing using RTV to give a water tight seal.
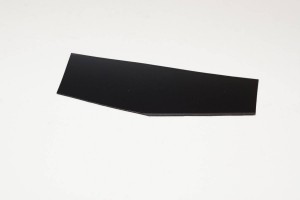
Cover Piece
The oil cooler pipework routed alongside the headlamp unit to the new oil cooler:
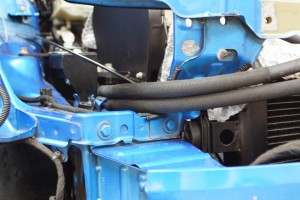
Oil Cooler Hose Routed Past Headlight
Oil Cooler take off plate which is thermostatically controlled to regulate oil flow to the cooler, with banjos and banjo bolts fitted with new oil seals:
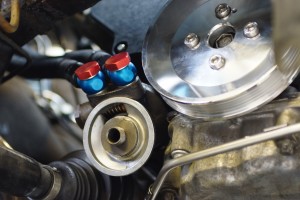
Oil Cooler Take Off Banjos
And here is the oil cooler fitted to the top of the intercooler, just waiting for its pipework. The top 7 rows of the new oil cooler will get direct air through the upper grille:
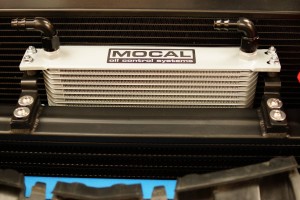
Oil Cooler Mounted to Intercooler
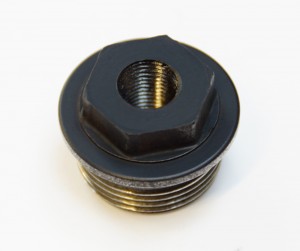
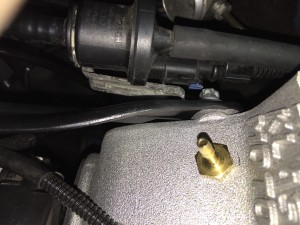
Provision has also been made for an oil temperature gauge sender, which has been installed into the spare fitting at the back of the oil pump. I had the plug drilled and tapped to take a ⅛th NPT oil temperature fitting:

Engine Oil Temperature Fitting
More about this in the Oil Temperature Gauge post.
Like this:
Like Loading...
