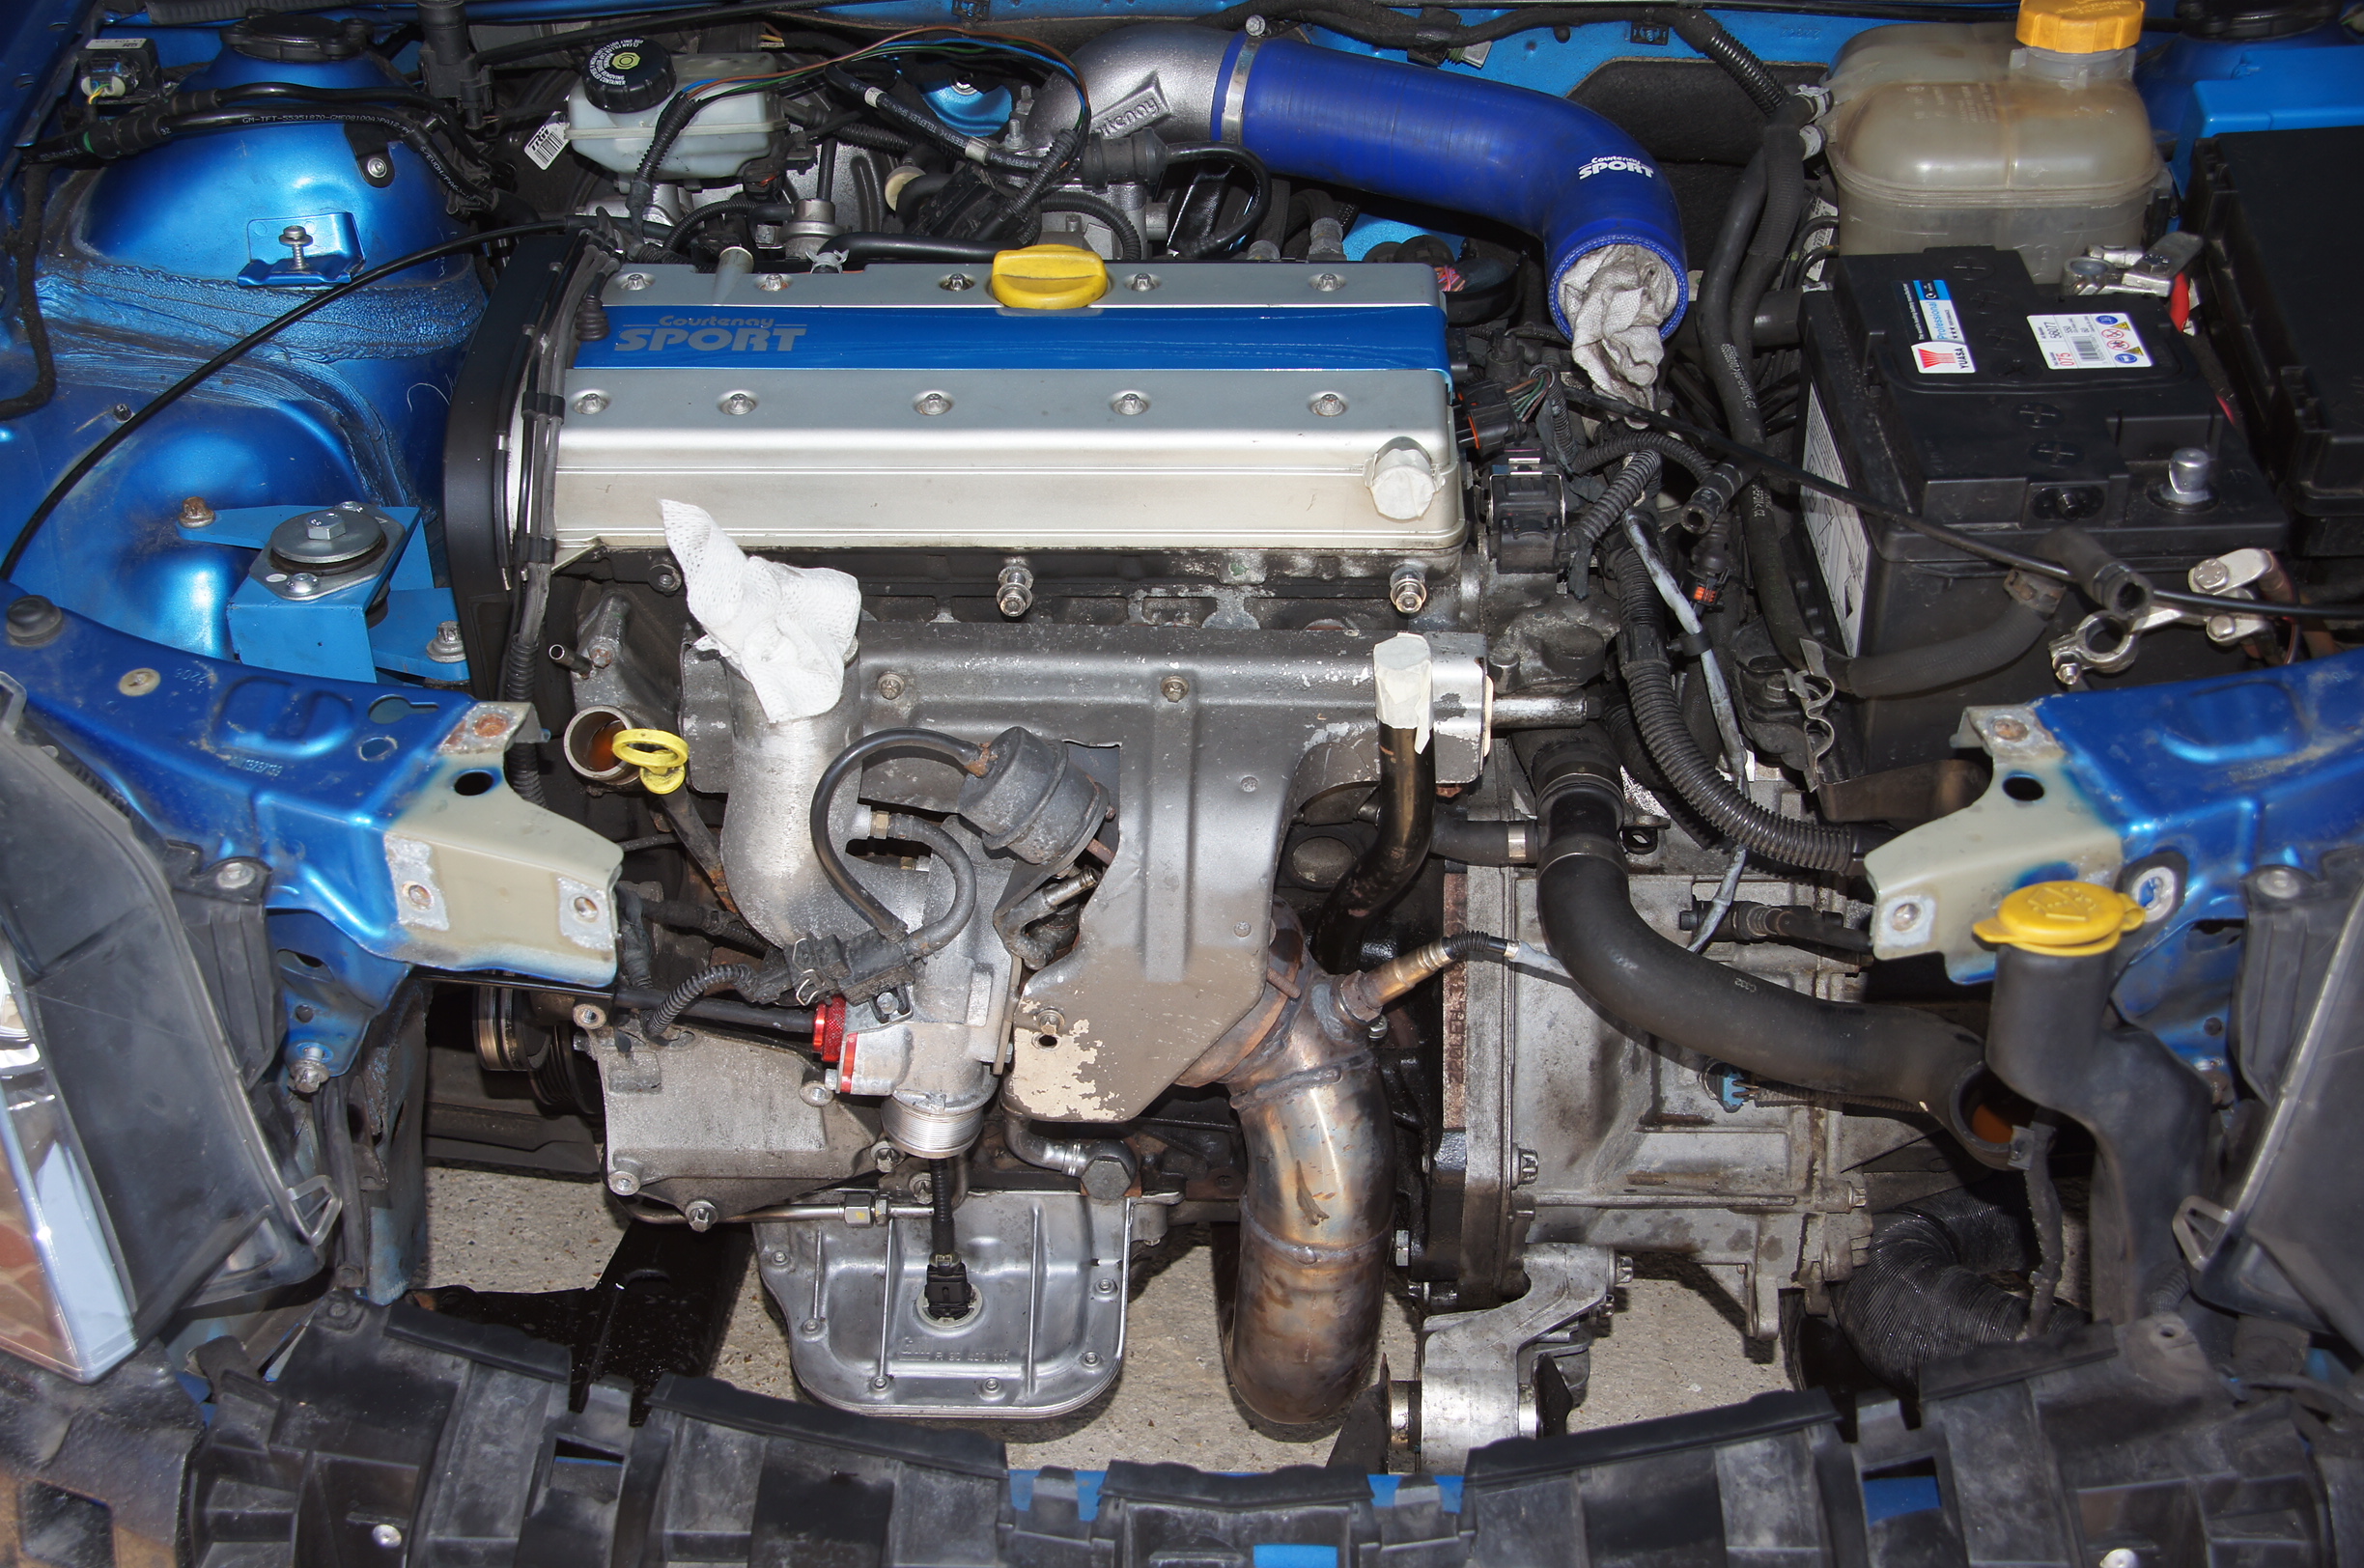
The car was already fitted with the Vibra Techics Uprated Engine Mounts, which are much stiffer than the factory engine mounts meaning much less engine movement – ideal for track day and fast road use.
This is the set that Vibra Technics produce; Front, Rear and Right Hand Side Mounts:
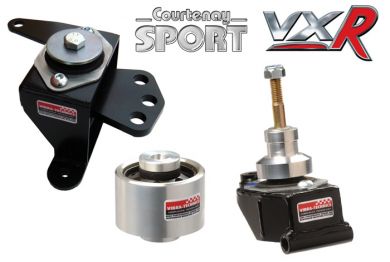
Vibra Technics Engine Mount Set
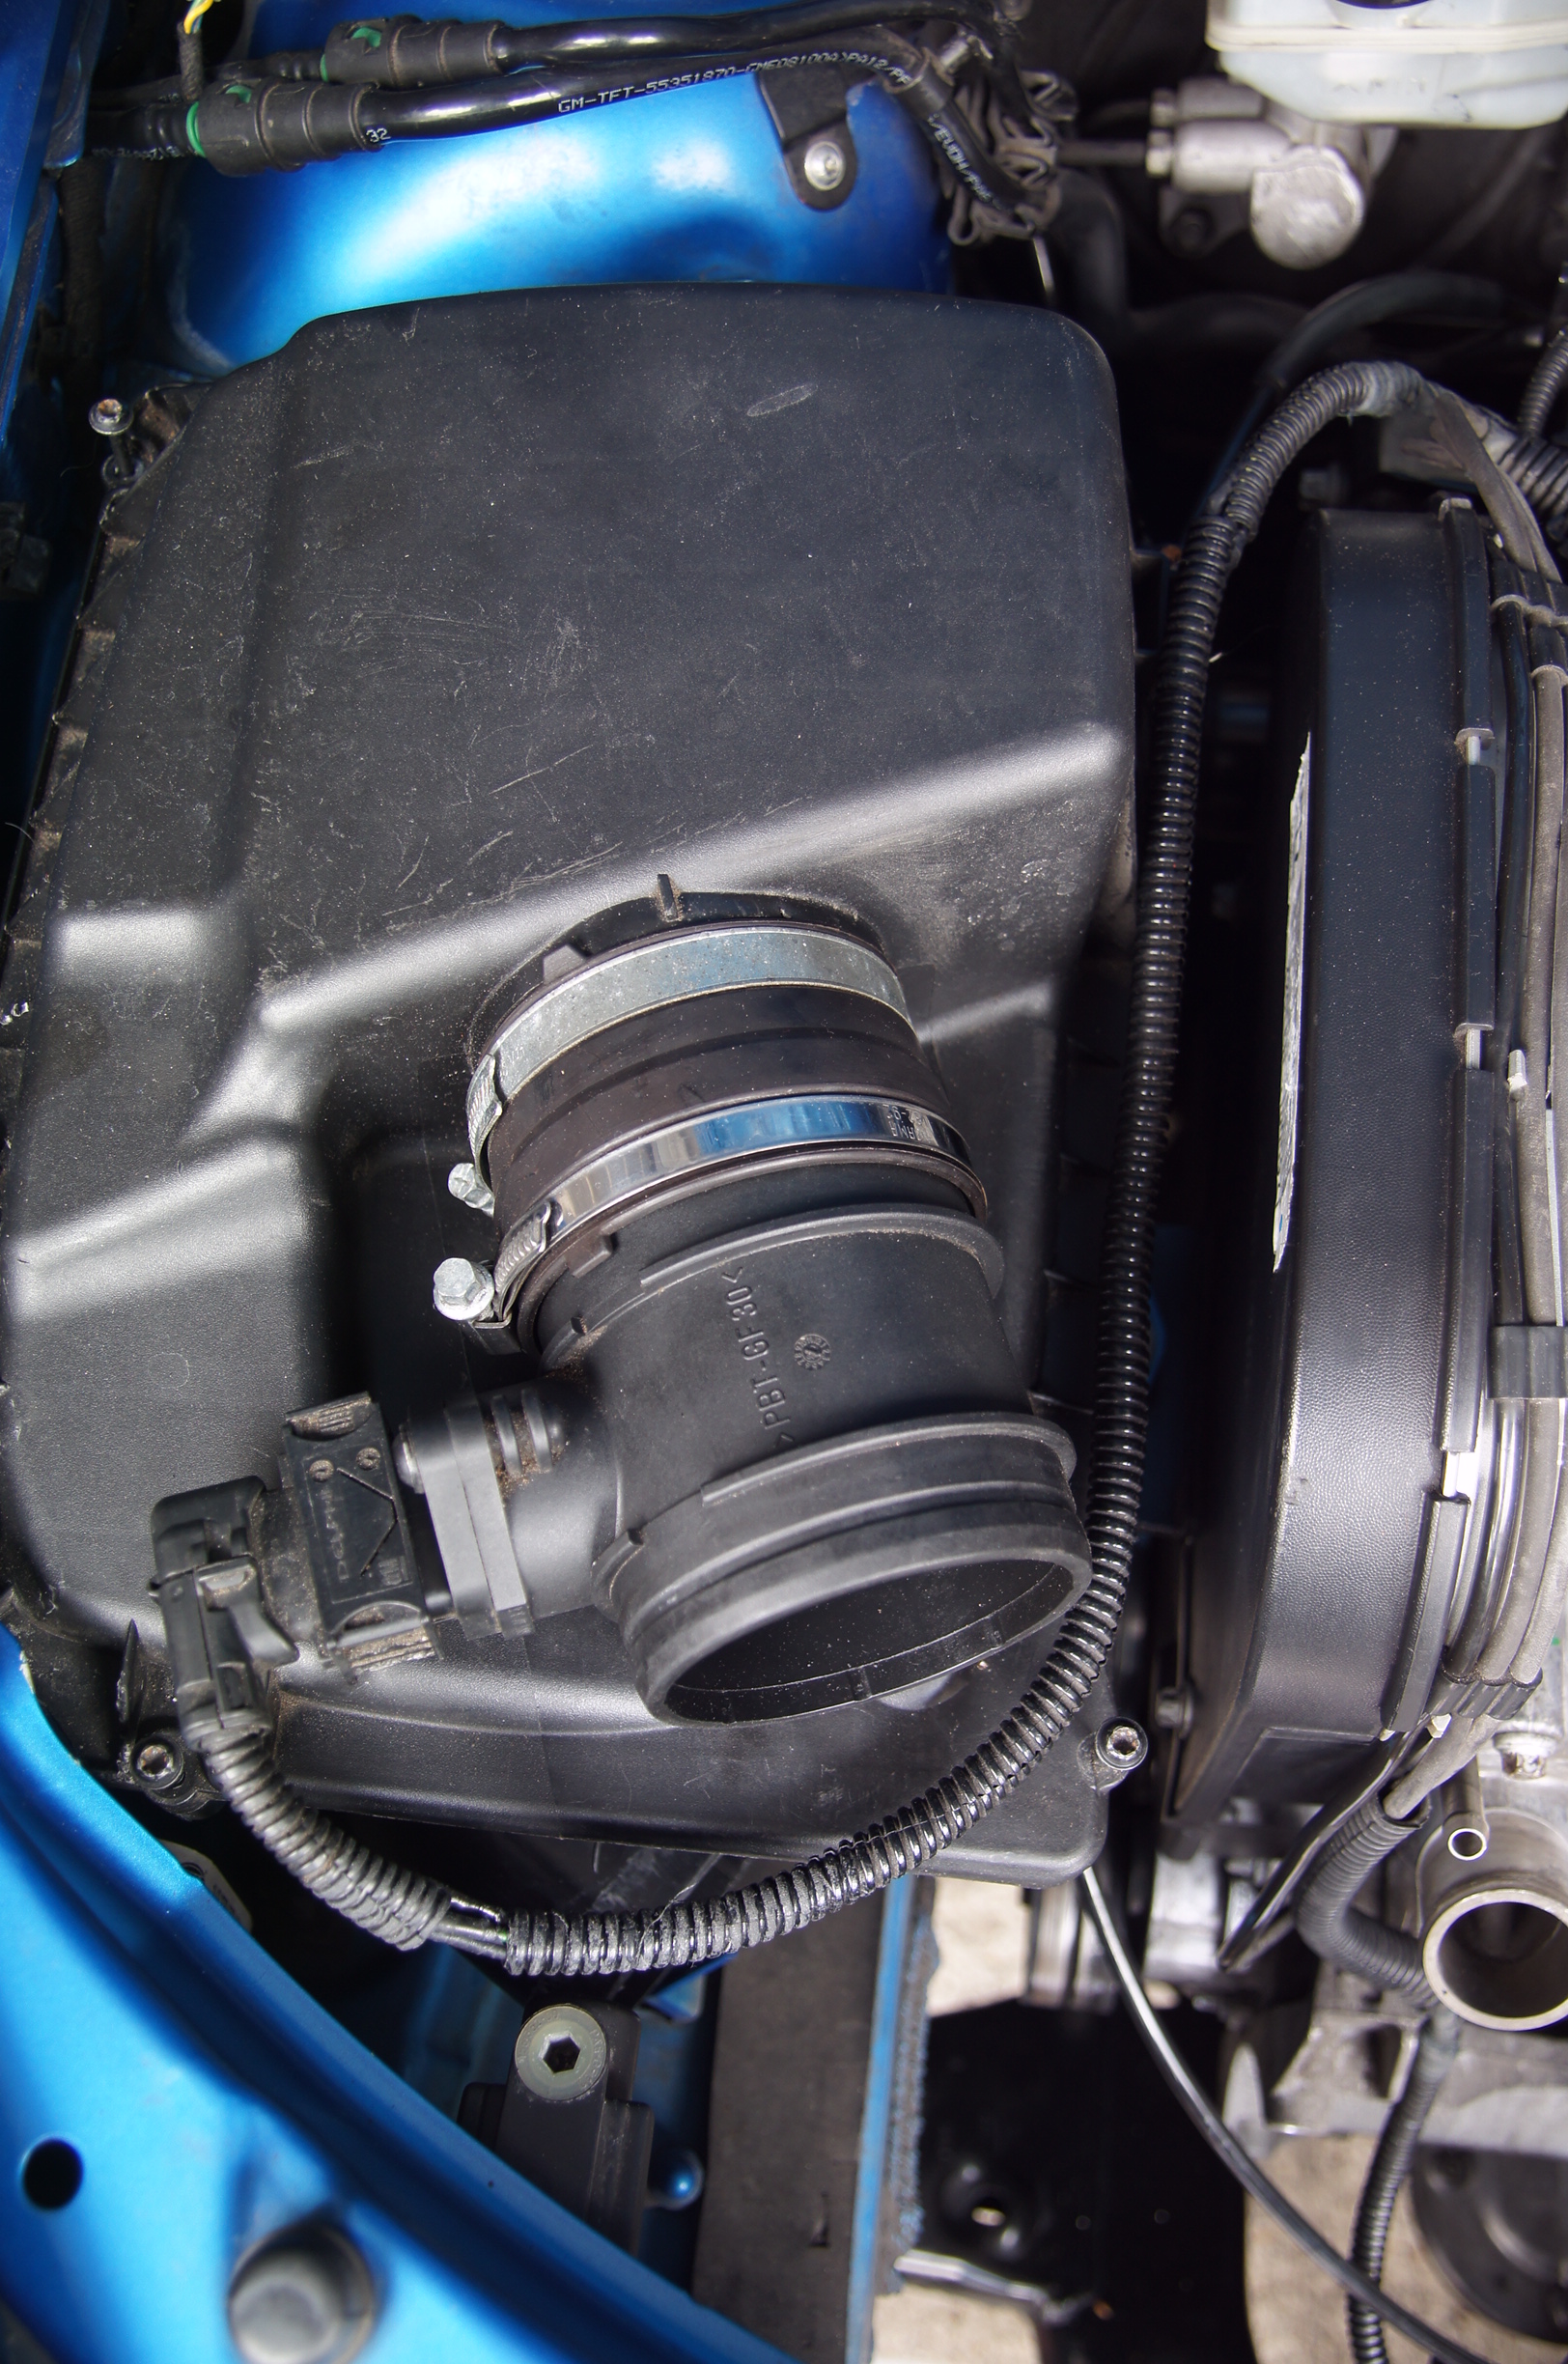
This is the right hand mounted, which is located under the airbox:
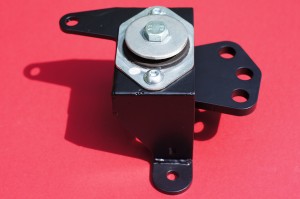
Vibra Technics Right Hand Side Engine Mount
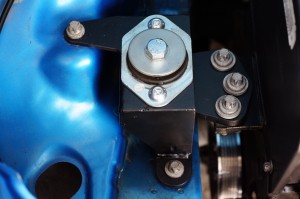
Vibra Technics Right Hand Side Engine Mount Fitted
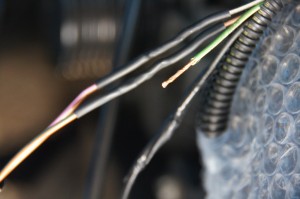
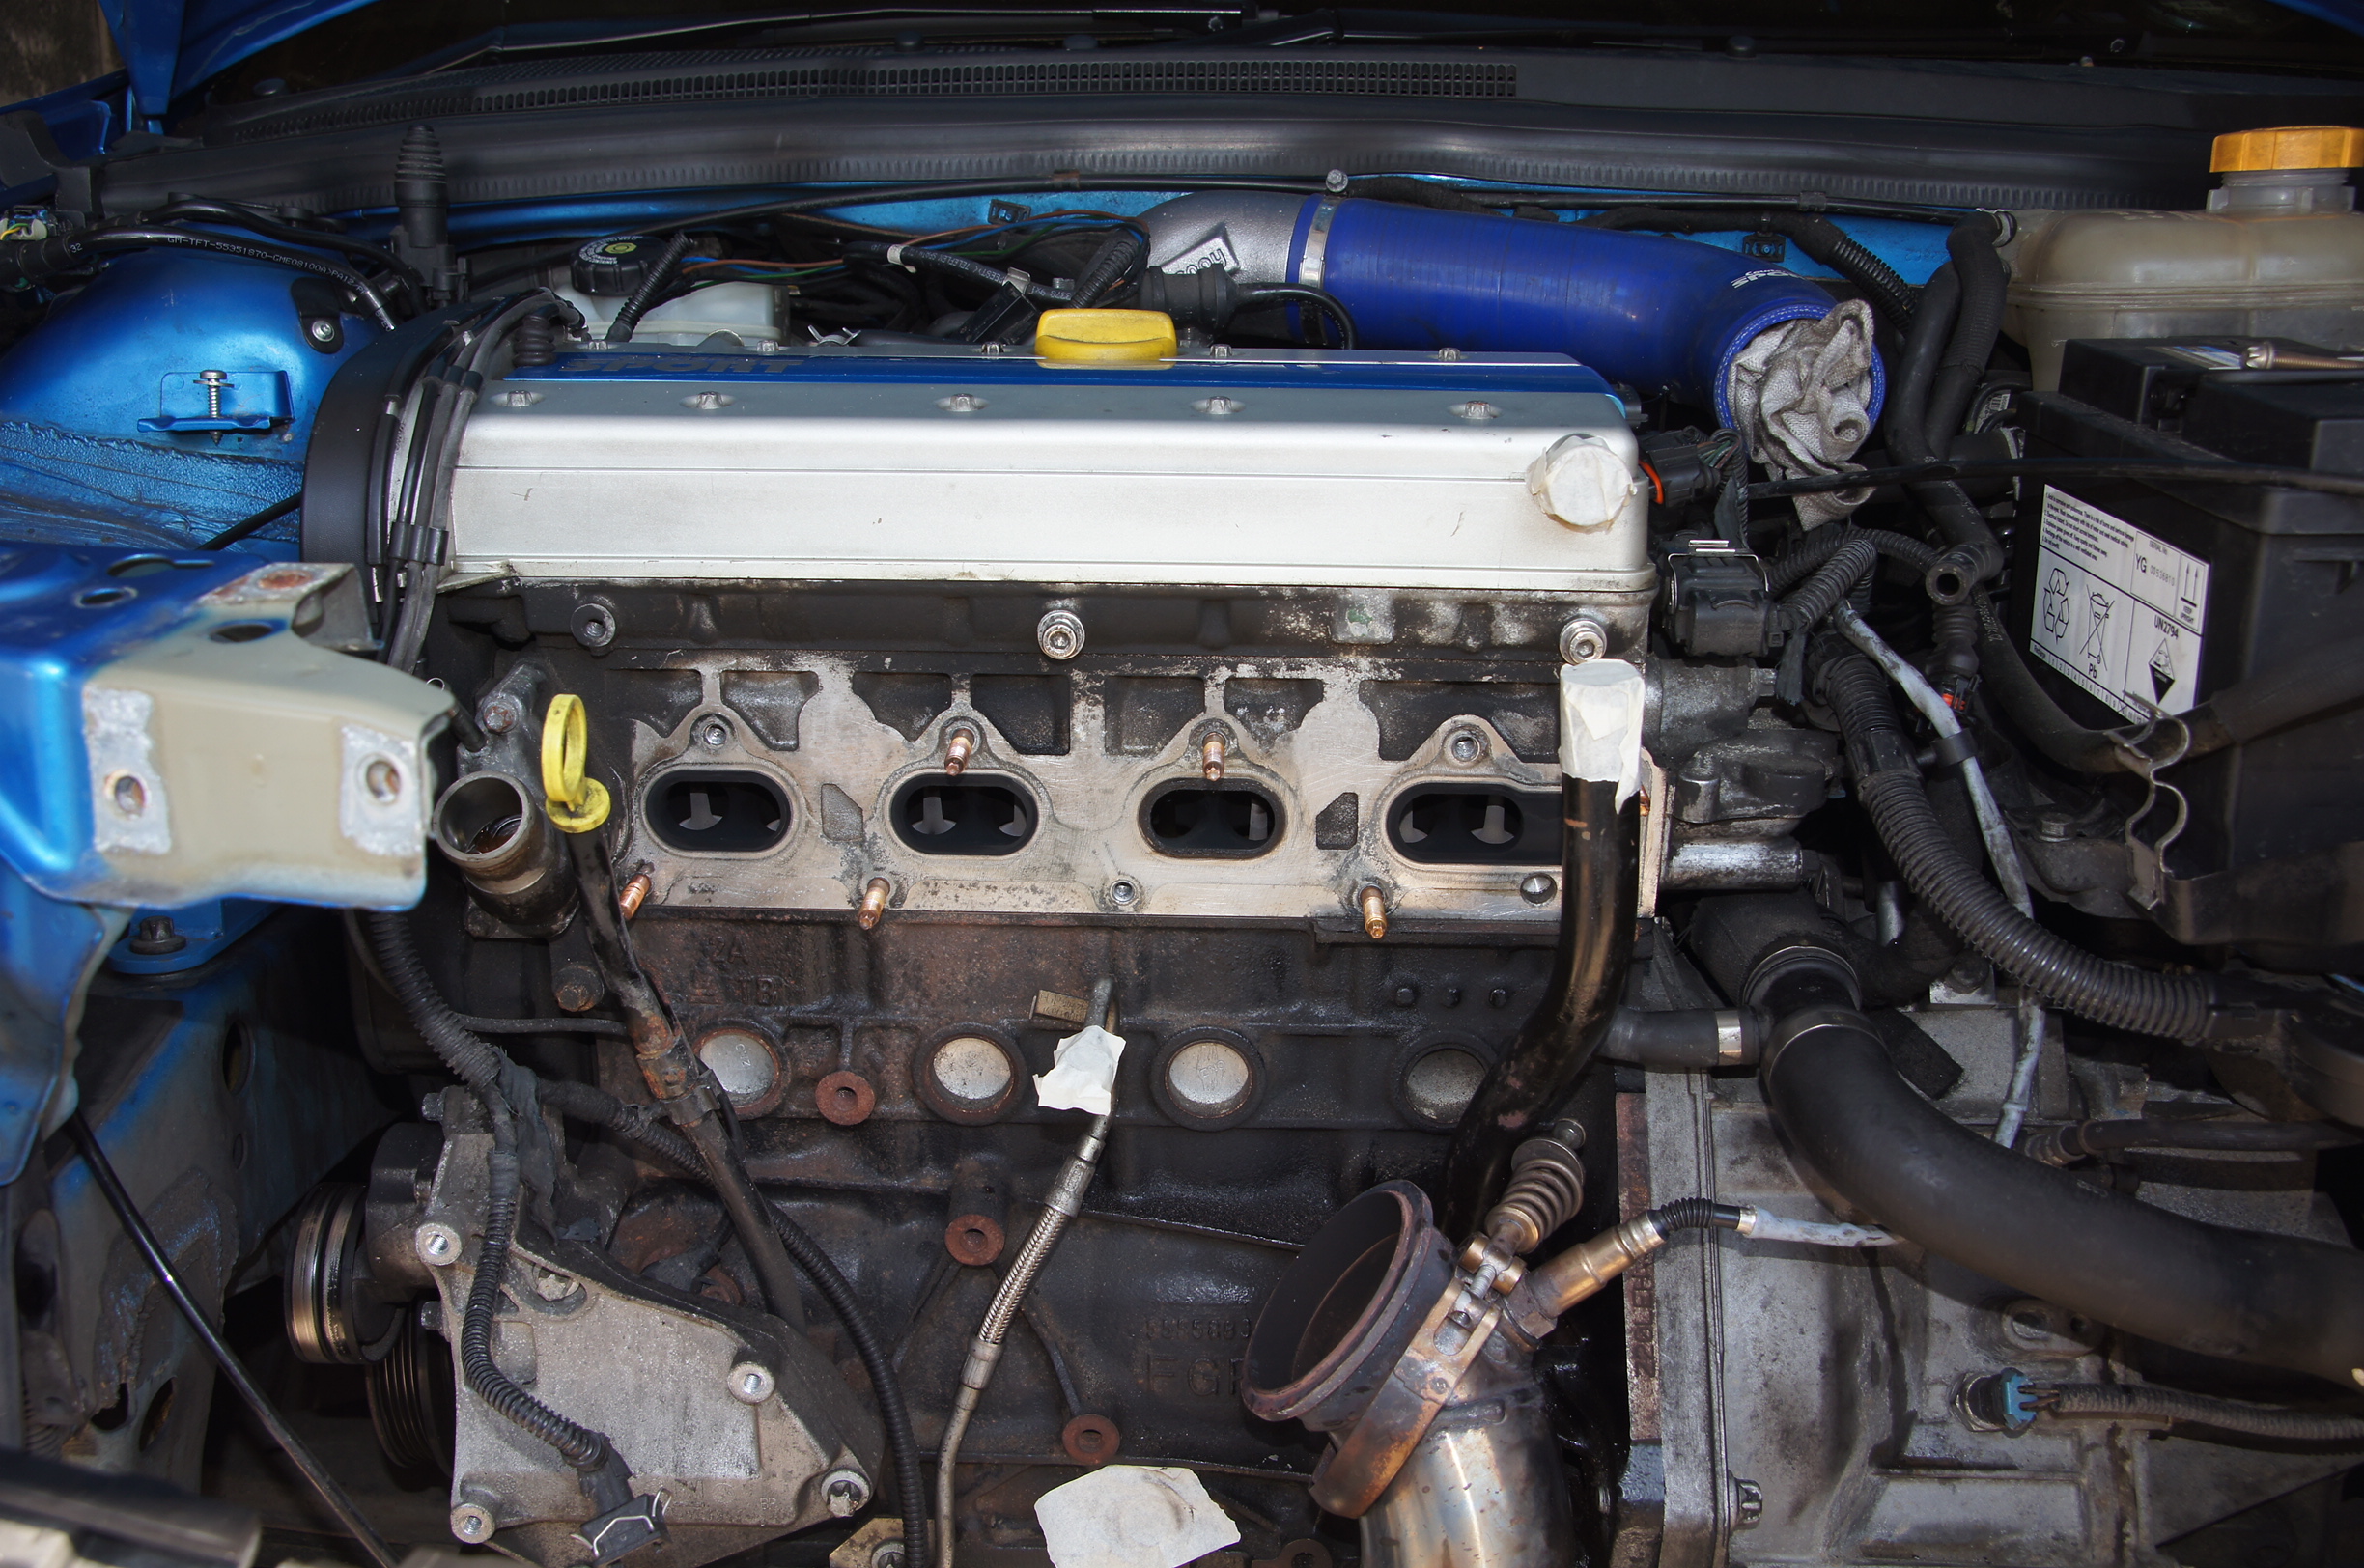
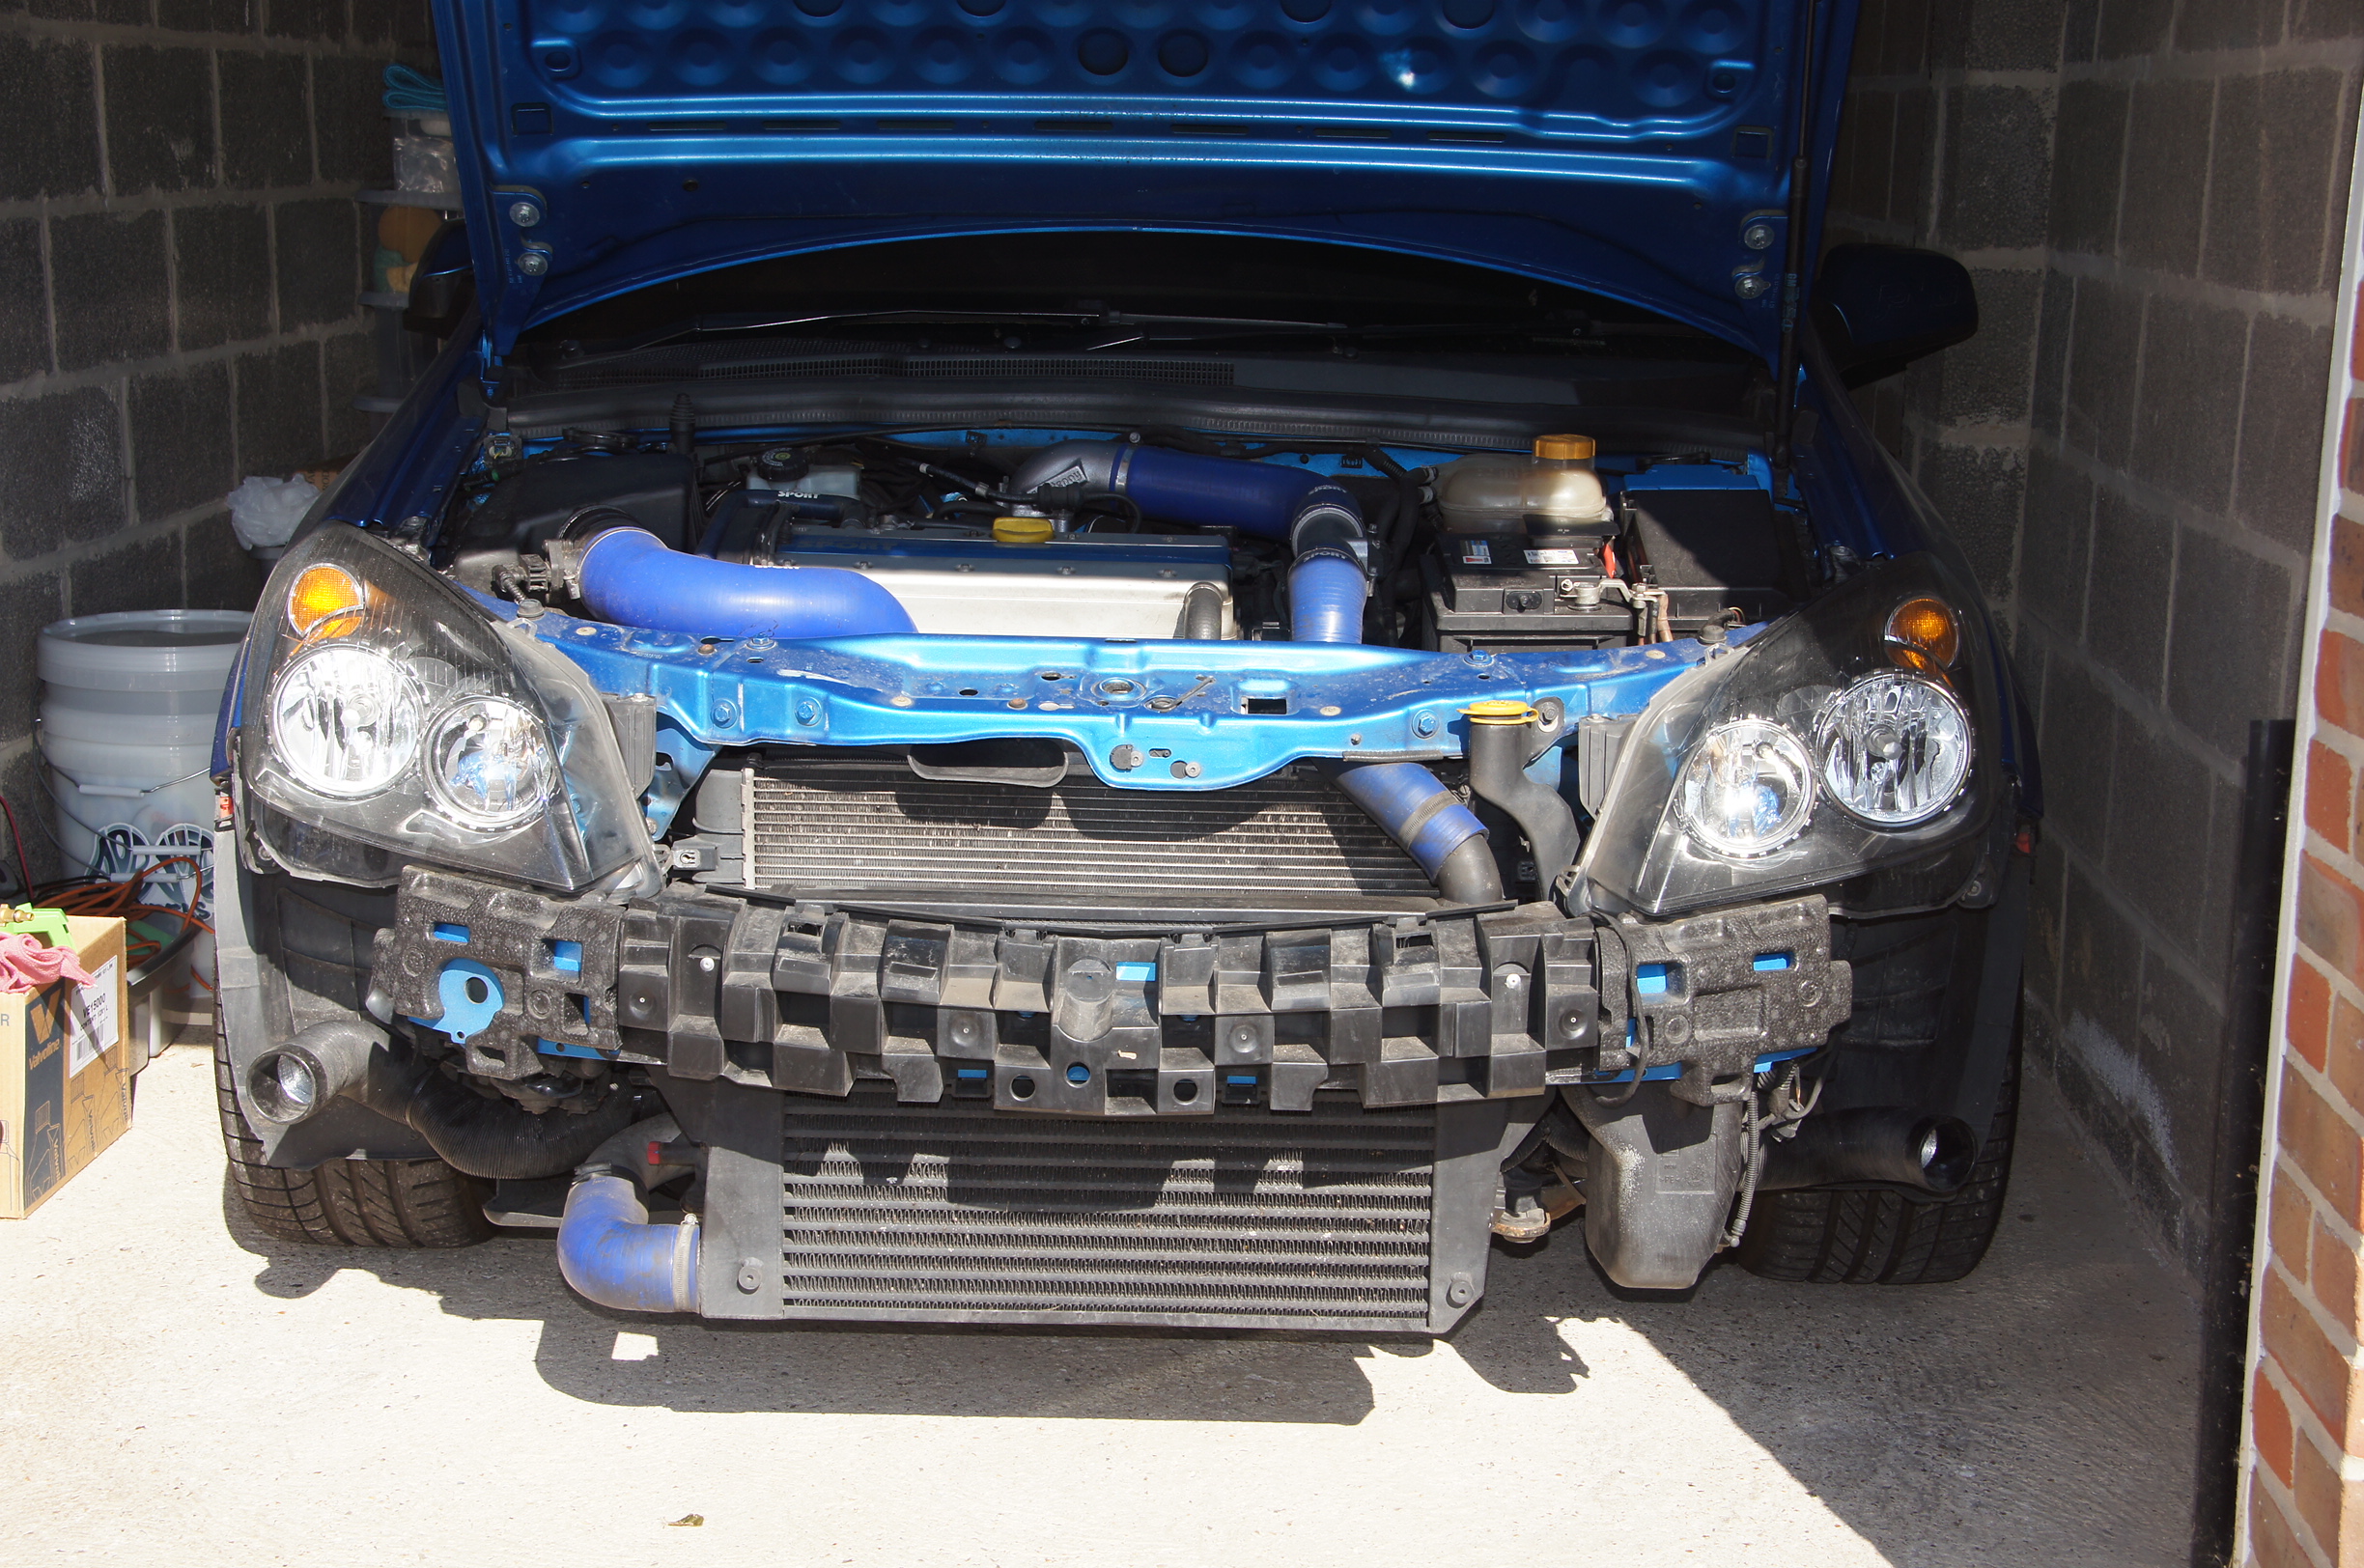
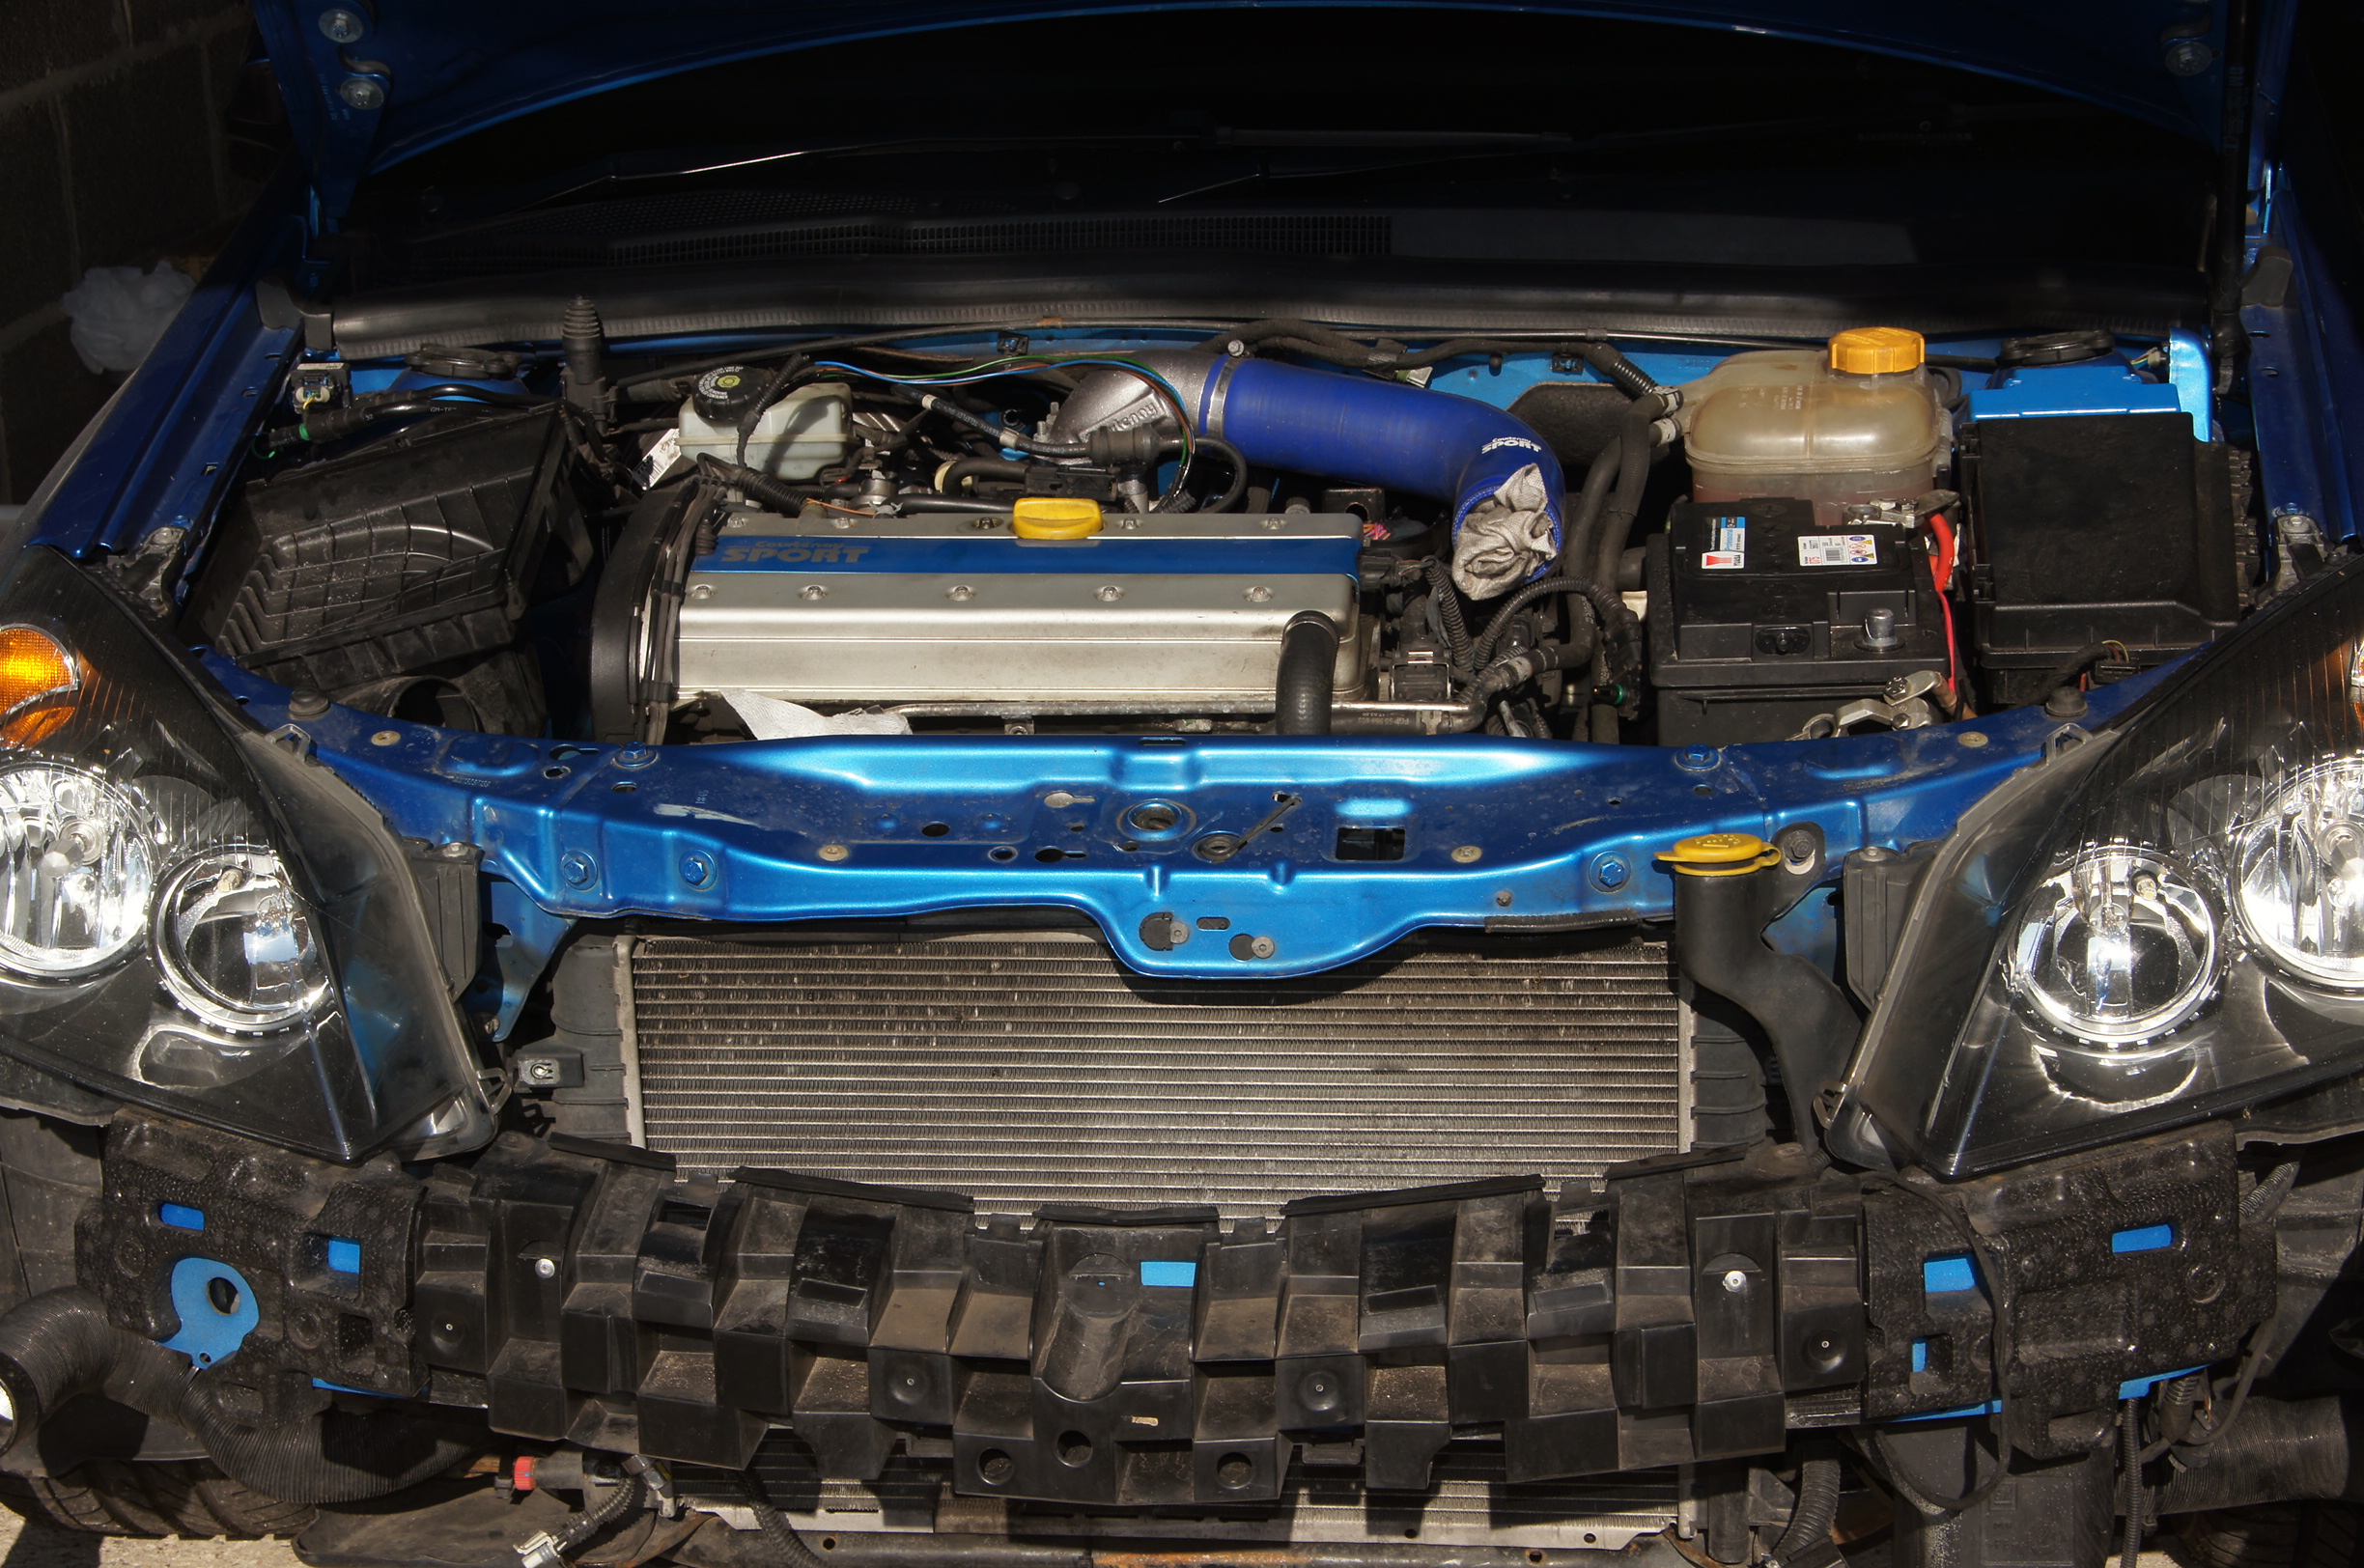
To fit the gearbox mount insert, the battery, battery tray and header tank have been removed……
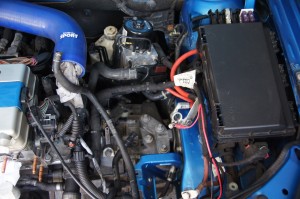
Access to Left Hand Engine/Gearbox Mount
This gives access to the Left Hand Engine/Gearbox Mount which will be filled to strengthen it and reduce its movement. It also gives a chance to clean round under the battery tray. The Header Tank which is looking old is also going to be replaced.

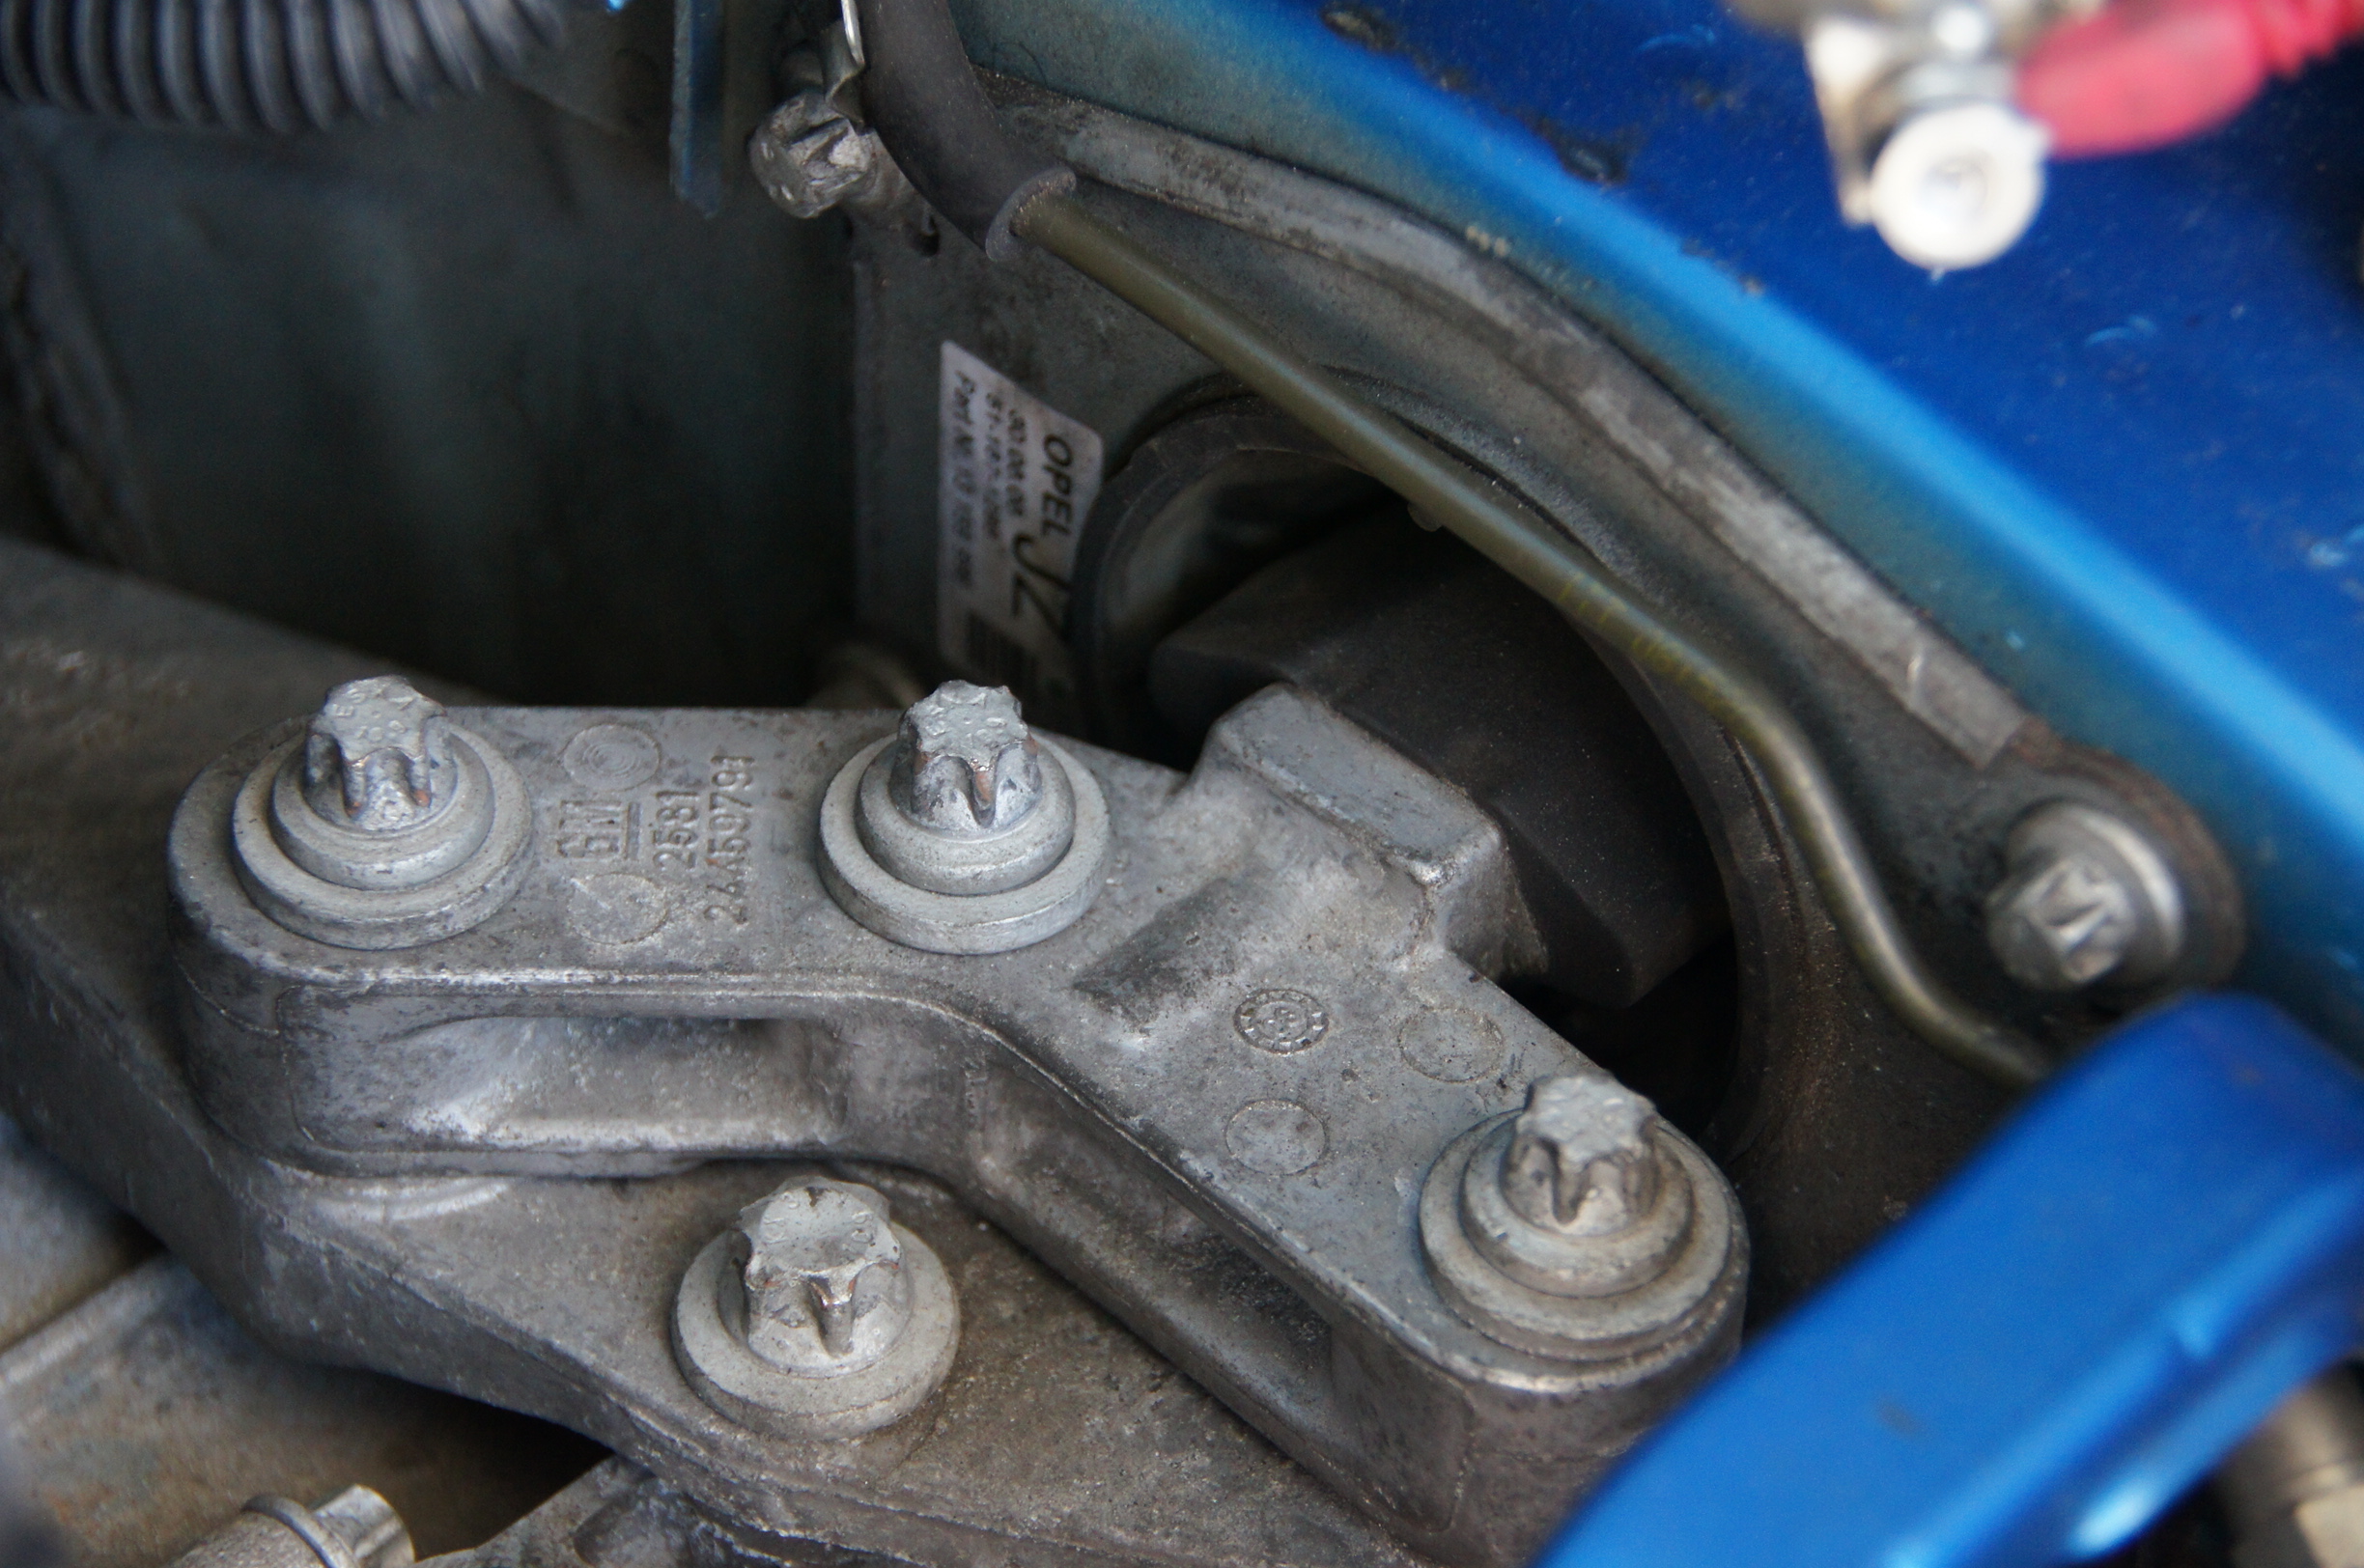
Gearbox Mount
Left Hand Engine/Gearbox Mount.
To remove the engine mount: First support the block/gearbox underneath using a trolley jack and piece of wood. Remove the 2 plastic clips at the front of the left hand wheel arch liner (you do not need to remove the liner). Reach up behind the liner and undo the retaining nut (13mm). Undo and remove the 3 torx head bolts on the top mount (E14). Undo a remove the 4 torx head bolts (E12) that hold the mount into the chassis rail. You’ll need a combination of ratchet, socket and spanner. The rear lower bolt may not come all the way out yet. Undo the nut and bolt that hold the front engine mount into the engine subframe and remove it. If it doesn’t clear the exhaust downpipe then you’ll need to undo the front pipe clamp to get some movement. Carefully lower the block and gearbox on the trolley jack. You should now be able to undo the last torx bolt fully and then remove the mount from the chassis rail. Then remove the engine mount by carefully tipping the top forward to clear the chassis rail and the bracket on the top of the gearbox. Refitting (as Haynes would say) is the reverse procedure to removal. Ensure all bolts are tightened up correctly.

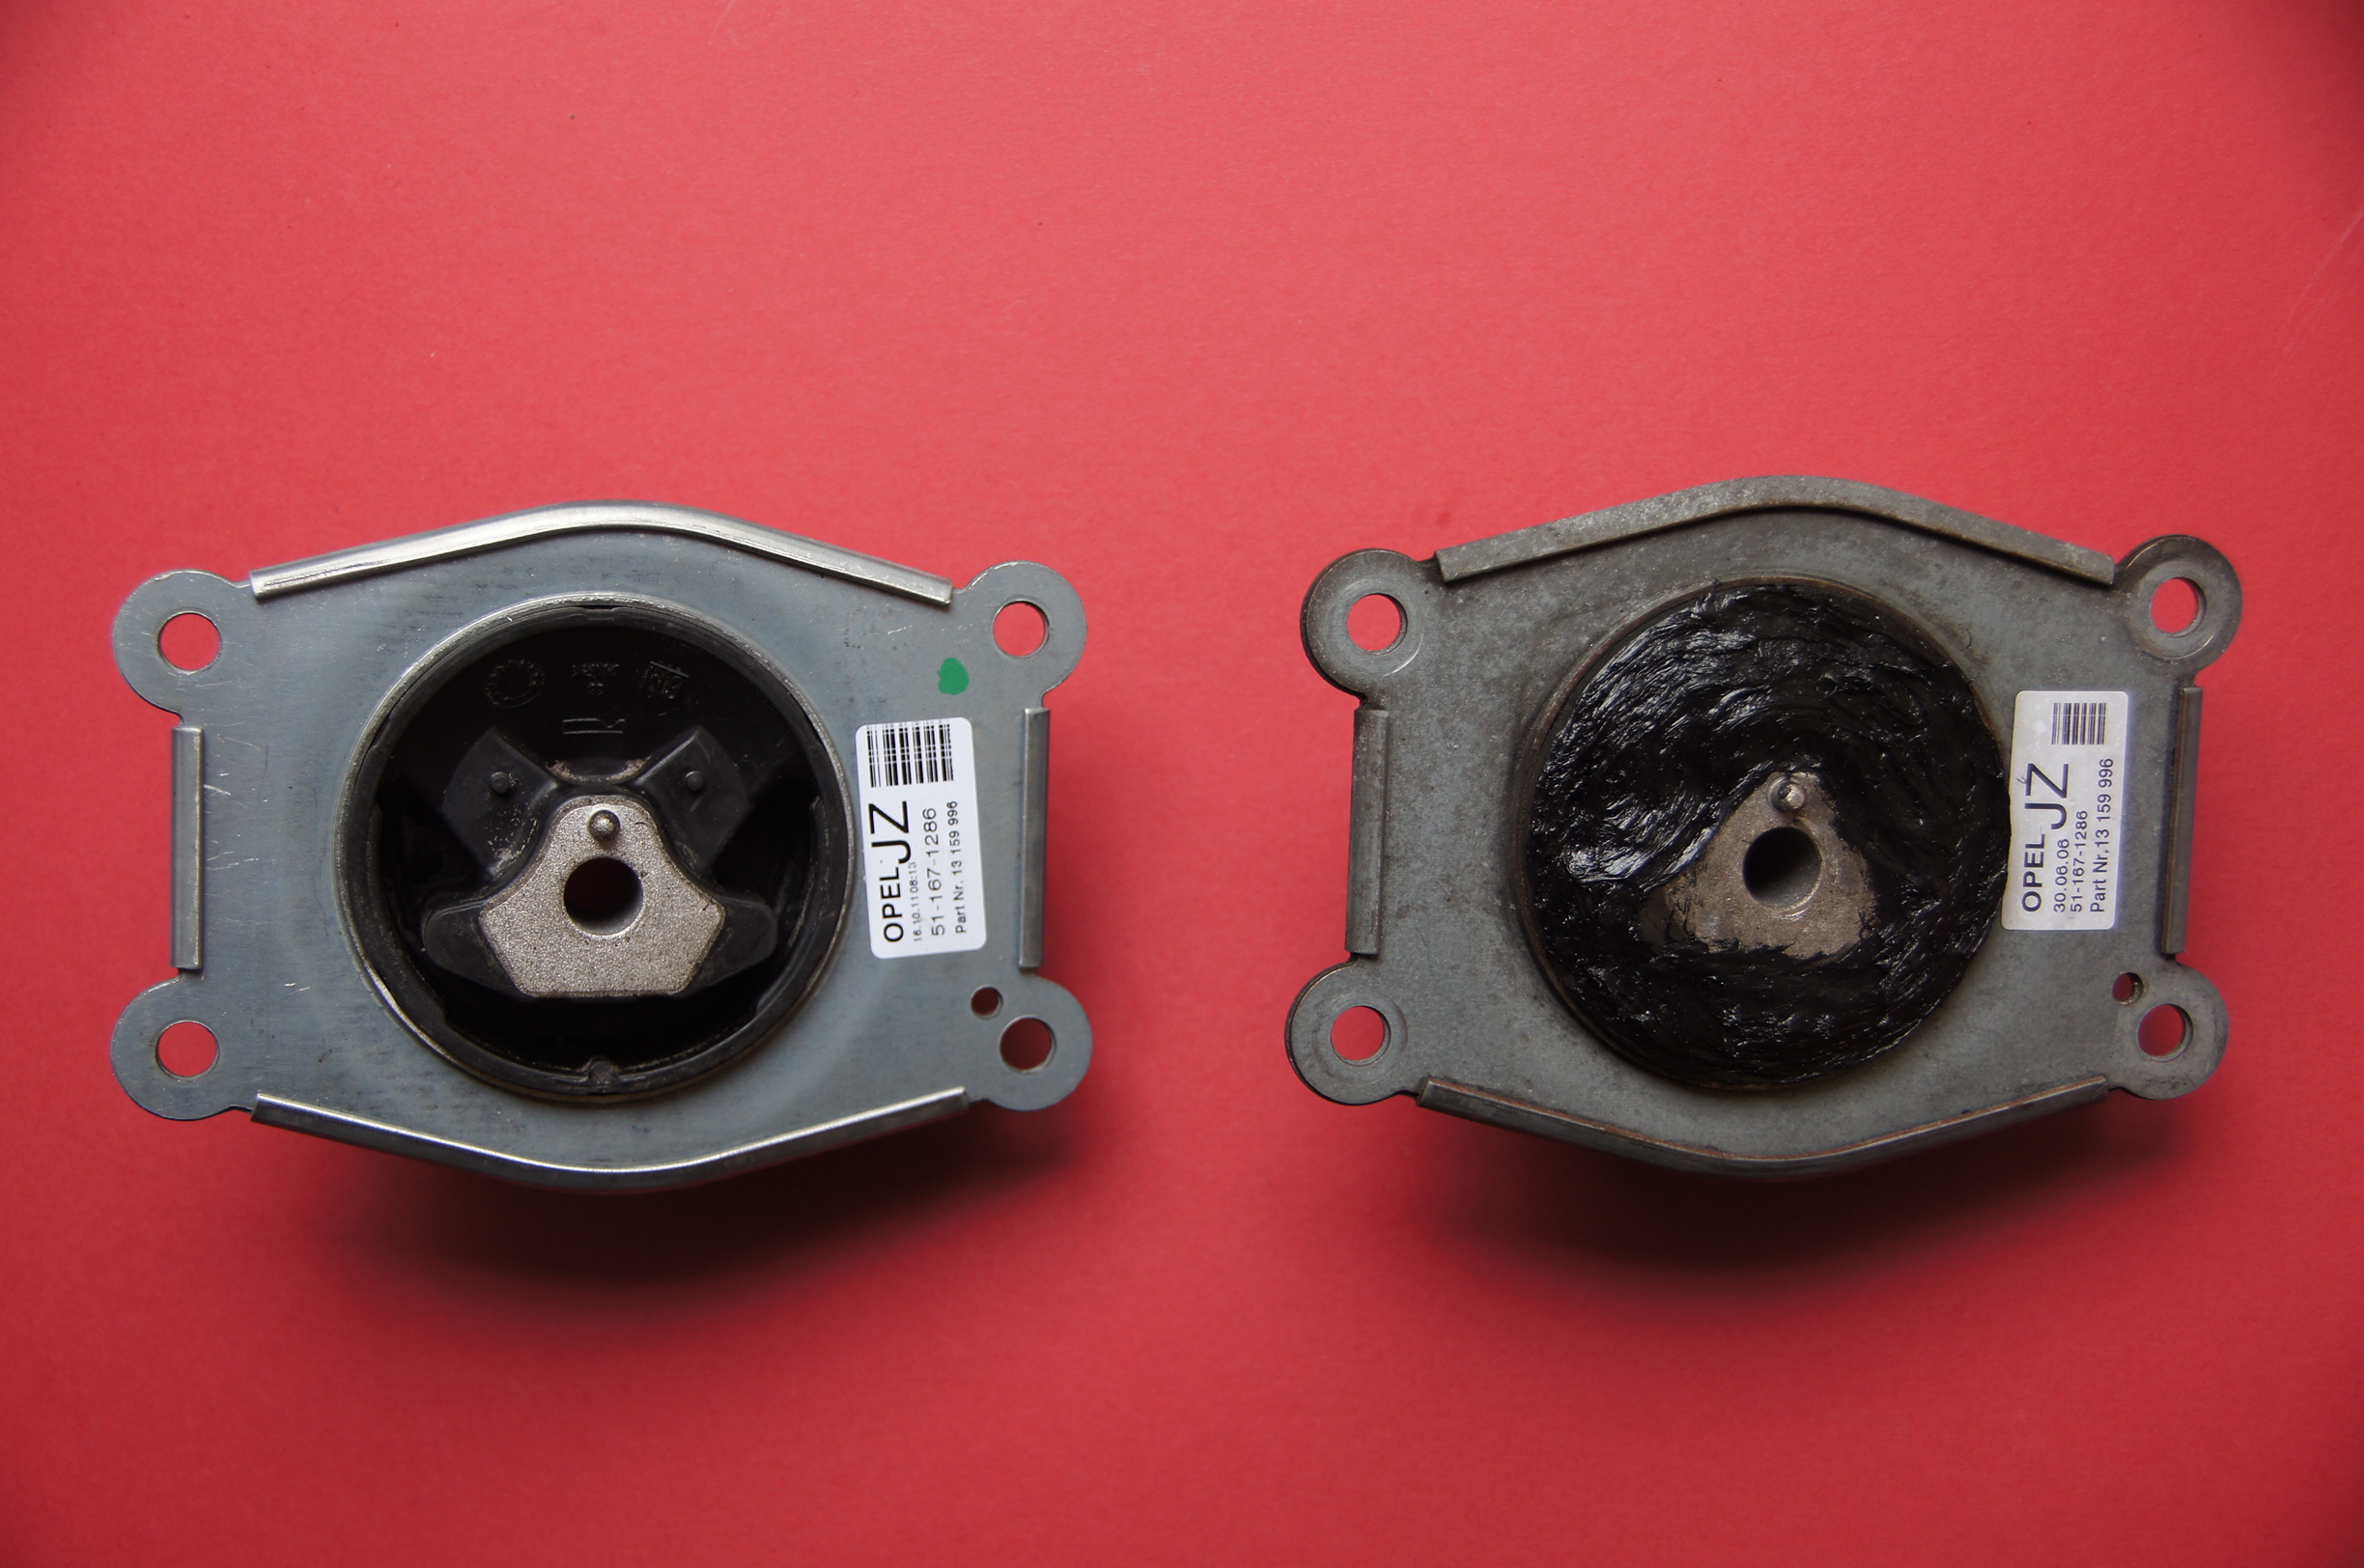
Gearbox Mounts
Like this:
Like Loading...