Front Wheel Bearings/Hubs
- Nov 13th. 2014
- Posted in General . Maintenance
- ABS Sensor . Astra H VXR . Front Hub . Front Wheel Bearing
- By mapw
- Write comment
Over the past few track days it was becoming more and more evident that there was some front wheel bearing noise; a slight hum/rumbling noise had turned into a more noticeable and off-putting rumbling. Initially it was only noticeable under hard cornering on track when the bearings were loaded up, but more recently it had become very apparent on the road as well, so it needed addressing. They had covered neartly 90,000 miles over the last 8 years, and whilst they are not prone to failure I suspect the last few years of hard use and heat on track will not have helped the cause.
On Astra H, the wheel bearing is an integral part with the ABS sensor, and so comes as a complete hub assembly which makes them somewhat costly. Astra H VXR shares the same hub assembly as Astra H 1.9 CDTi 150PS models, part number 93186389, which is designed to take the heavier duty driveshaft/cv compared to the other models in the range. I sourced a pair of Genuine GM Vauxhall Opel Bearings for £144 each, less than local motor factors selling good quality aftermarket bearings, and a big saving over the recommended Vauxhall dealer price of over £350 each.
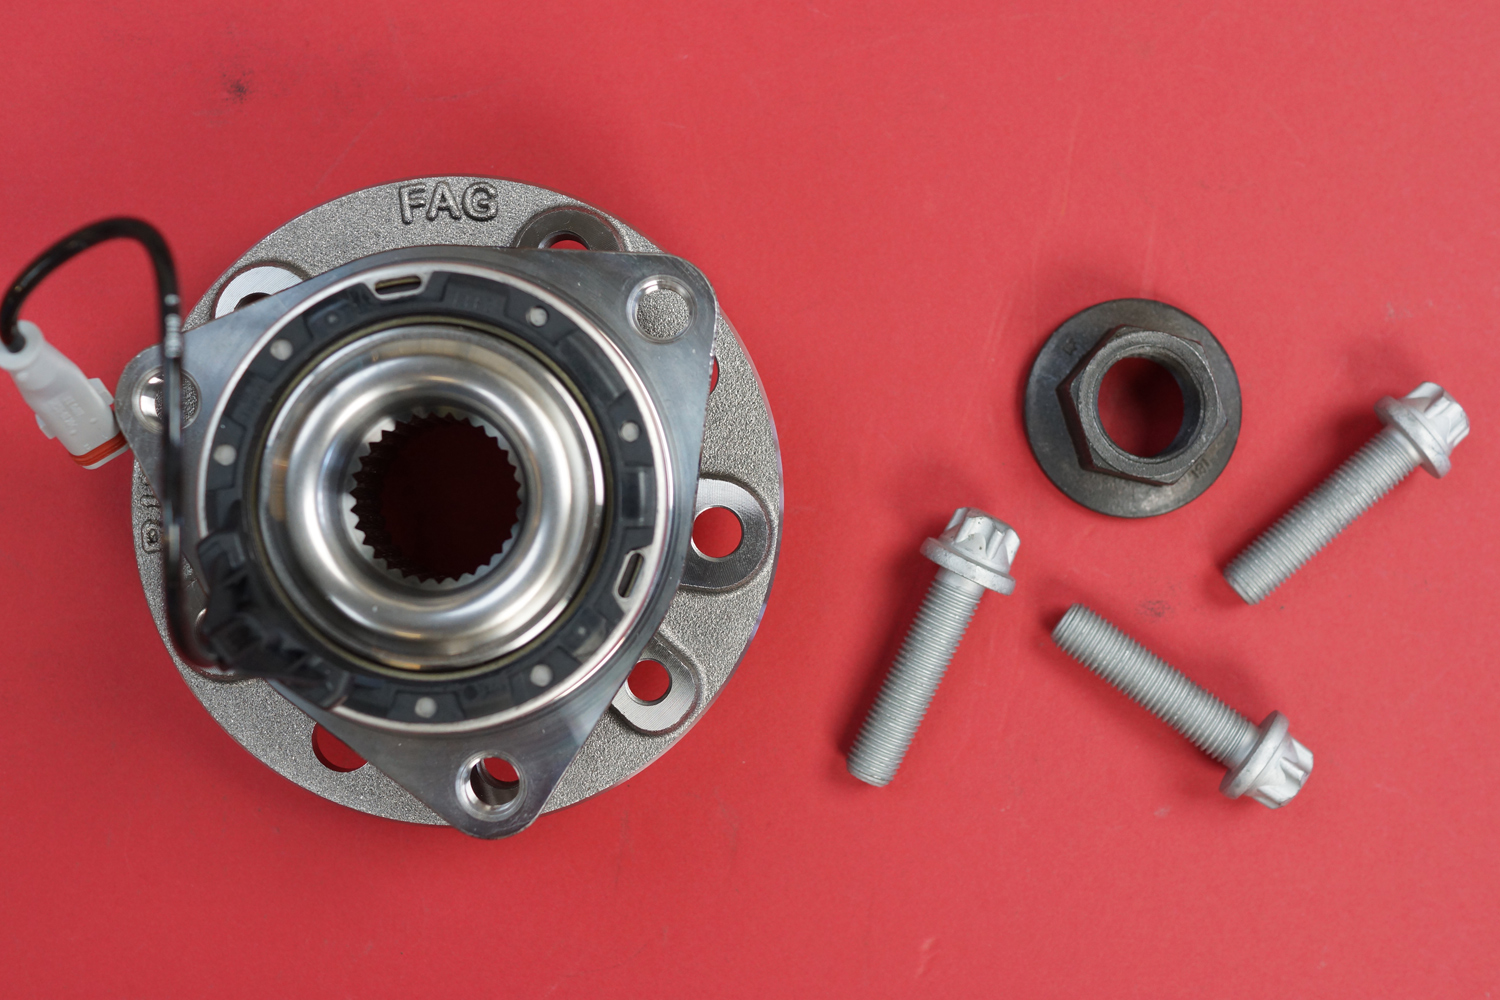
Hub Assembly – Wheel Bearing and ABS Sensor
I can understand why people use non genuine cheap parts off ebay etc, due to the high cost of the genuine parts, but having researched these options myself I was unable to get a straight answer as to the manufacturers of these parts. I was searching for a well known reputable name such as FAG (who provide genine OE bearings and manufacture these bearings for Vauxhall/Opel) or SKF, but the cheap options were not manufactured by a recognised name. Due to the use the car is put through I was not prepared to risk the ‘ebay bargain hubs’ which you see at around £45-£80 each, hence the choice of genuine parts but at a lower cost than good quality hubs from local motor factors.
So it was time to carry out the work.
The car went on the ramp, but was kept on the ground initially so the front driveshaft to hub retaining nuts could be undone.
A recent investment in a Milwaukee M18 Cordless Impact Wrench came into its own for this job and with 950Nm of tightening torque and 1491Nm of nut busting torque, it proved more than capable in undoing everything asked of it. Wheel Bolts, the front driveshaft to hub retaing nuts (previously torqued to 250Nm) and the M12 Hub to Steering Knuckle torx bolts.
First the driveshaft to hub nut was undone using the impact wrench and a 32mm deep impact socket. This was done through the front wheel (because I have no wheel centres) with the handbrake on and the car in gear. If you cannot do it this way, then ensure you lock the hub when you undo the driveshaft nut.
The car was then lifted off the ground and the front wheel removed. The front brake caliper was removed and suspended from the suspension strut out of the way using a cable tie (unclip the brake line if required so as not to kink it) and the brake disc removed. Disconnect the ABS plug.
With the driveshaft nut already undone, it was fully removed and the bottom ball joint nut/bolt was undone and removed (18mm deep impact socket and 18mm spanner) and the wishbone was knocked clear of the knuckle. This then allowed the driveshaft to be pushed back out and clear of the front hub.
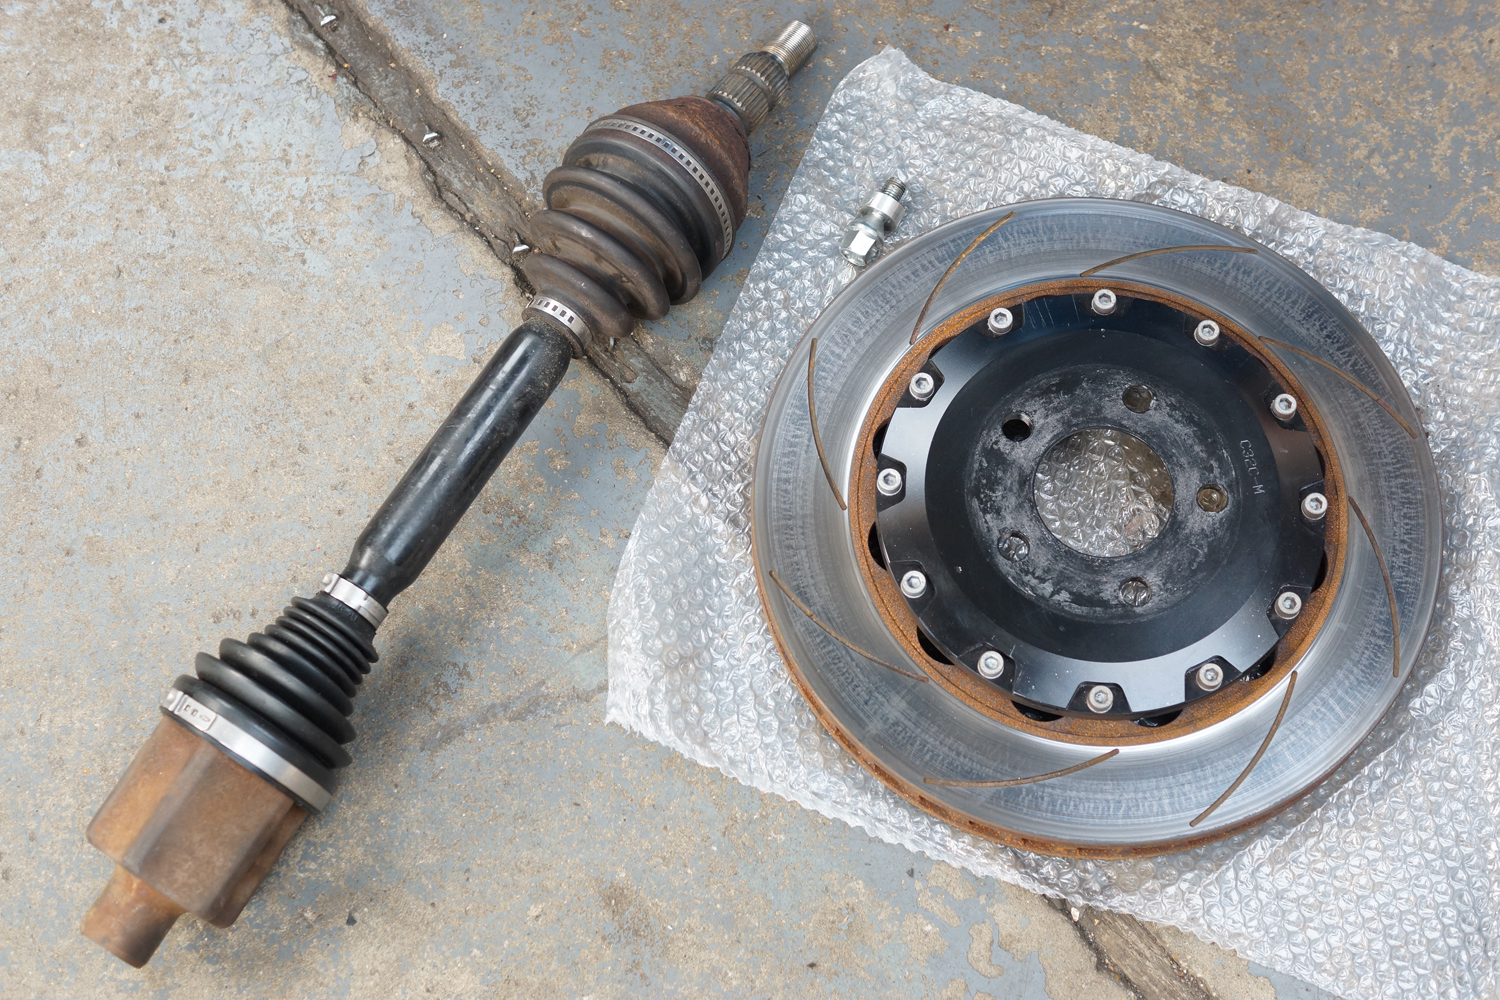
Right Hand Brake Disc and Driveshaft Removed
The 3 hub retaining bolts (M12x50) were undone (E18 Impact Torx bit and impact extension bar) from behind the steering knuckle and then the job of removing the old rusted in hub fron the knuckle could begin. A large hammer, bar and cold chisel were in order to knock the old hub out. Take your time, work around the hub from all sides and with a little patience and occasional brute force the old hub assembly will come free.
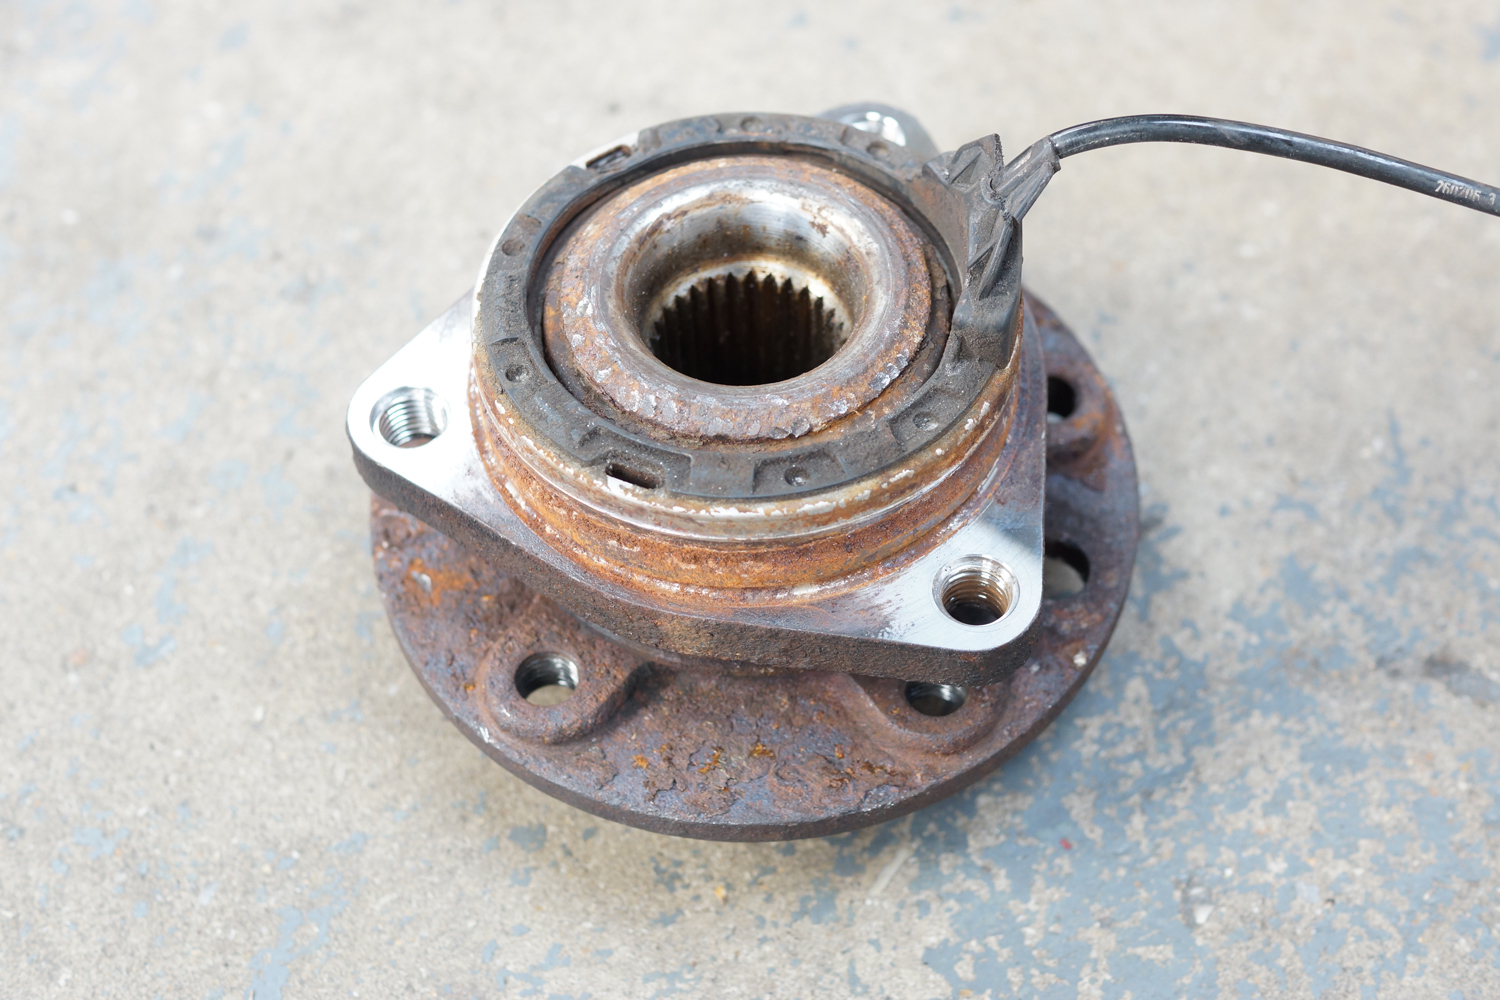
Old Hub
Once removed the knuckle was cleaned up with a wire brush and 80 grit emery cloth prior to the new hub being fitted. The new hub assembly was fitted with Wurth AL1100 Anti Seize compound around the mating faces of the knuckle and the backplates and around the driveshaft to hub splines which should ease the job of removing the hubs the next time round, or for doing CV boots or joints, which hopefully will not be anytime soon!
This shows the left hand steering knuckle cleaned up prior to fitting the new hub assembly:
Left Hand Steering Kunckle Cleaned Up
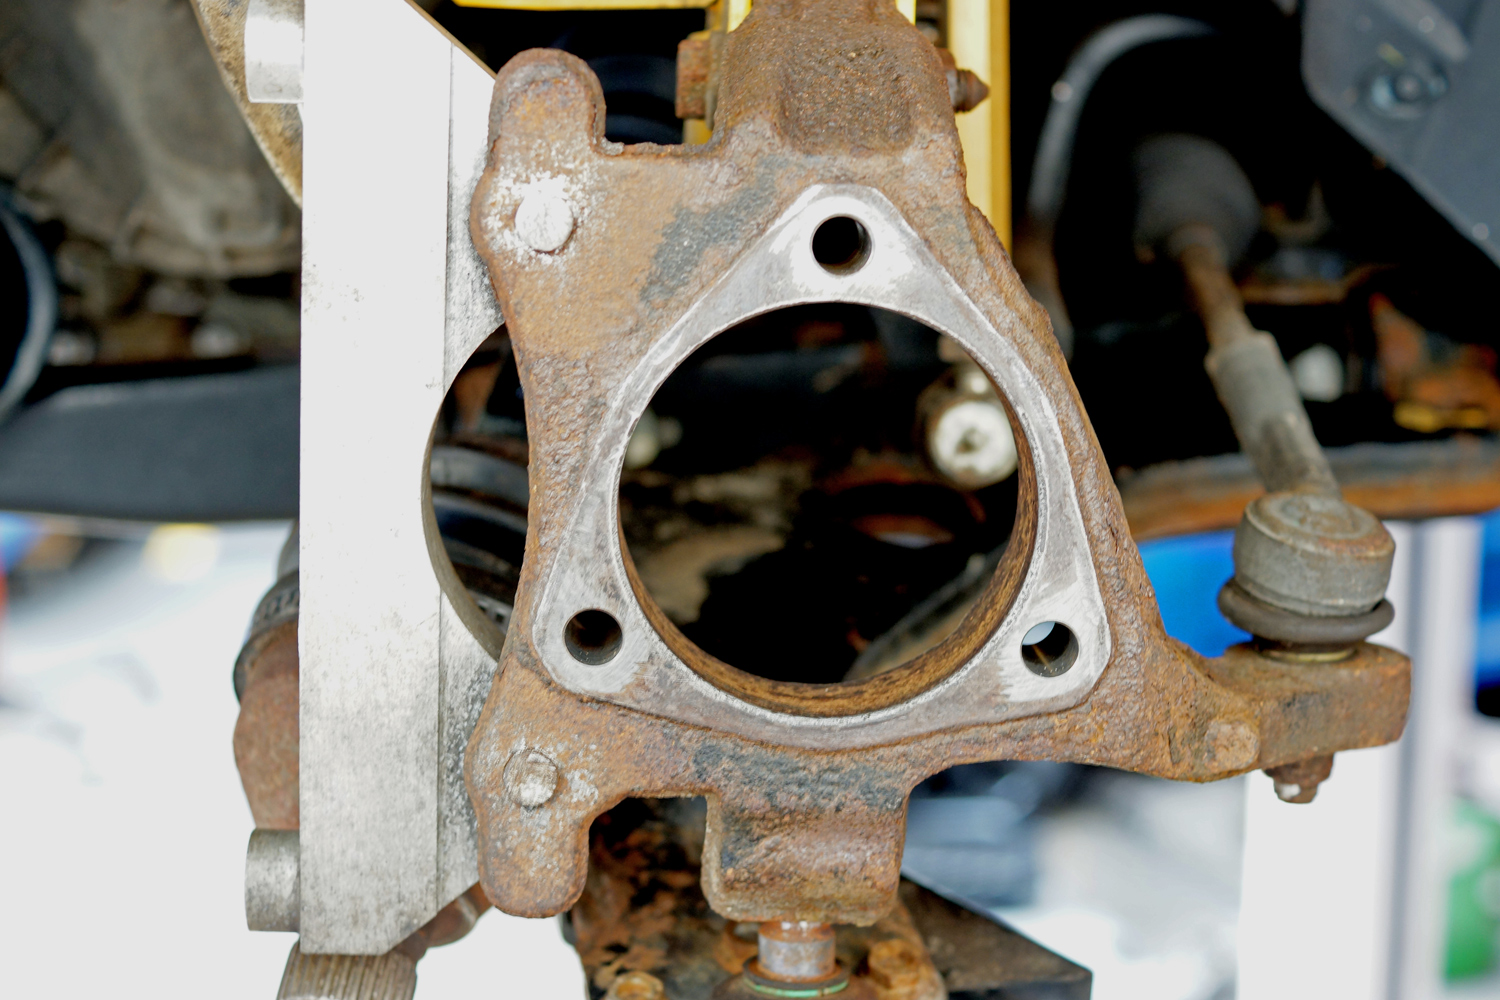
This shows the right hand steering knuckle prepared ready for the hub assembly to be bolted in place:
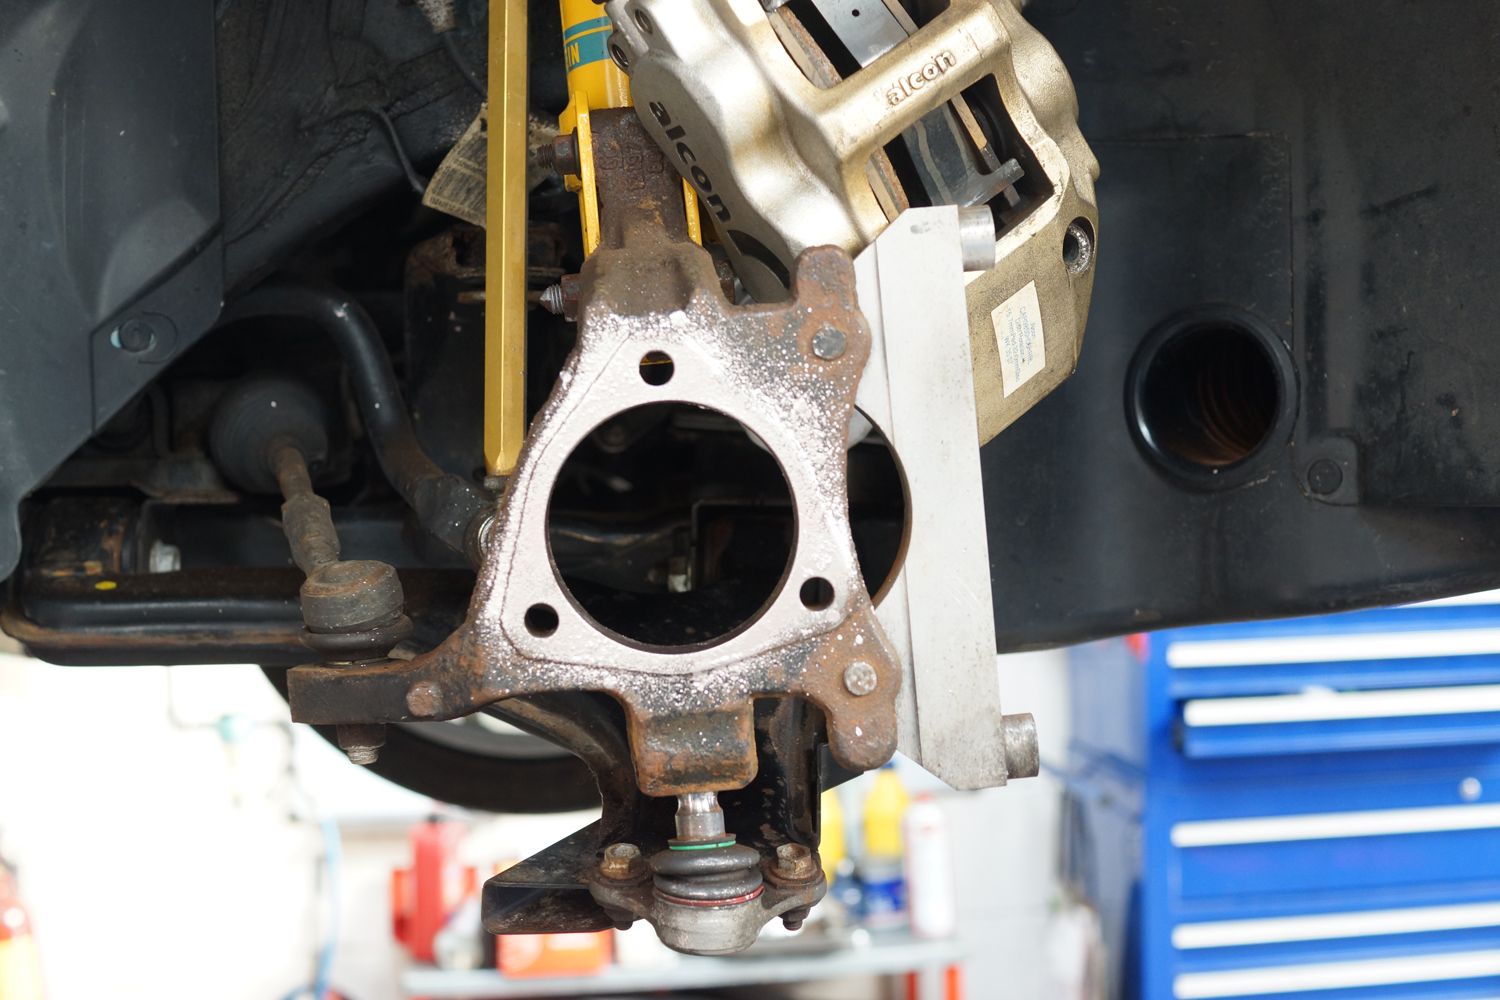
Steering Knuckle – Old Hub Removed
The new hub was bolted in to the steering knuckle using the new bolts supplied with the hub (carefully feed the ABS wire through the knuckle and note the position is facing forwards), do not forget the backplate between the hub and knuckle, and the hub retaining boltswere torqued to 90Nm followed by 30 degrees, followed by a further 15 degrees (a long breaker bar simplifies this task). The driveshaft was then put back into the hub for the time being with the new hub nut loosly fitted and the wishbone/bottom ball joint was fitted back into the knickle and the bolt refitted and tightened.
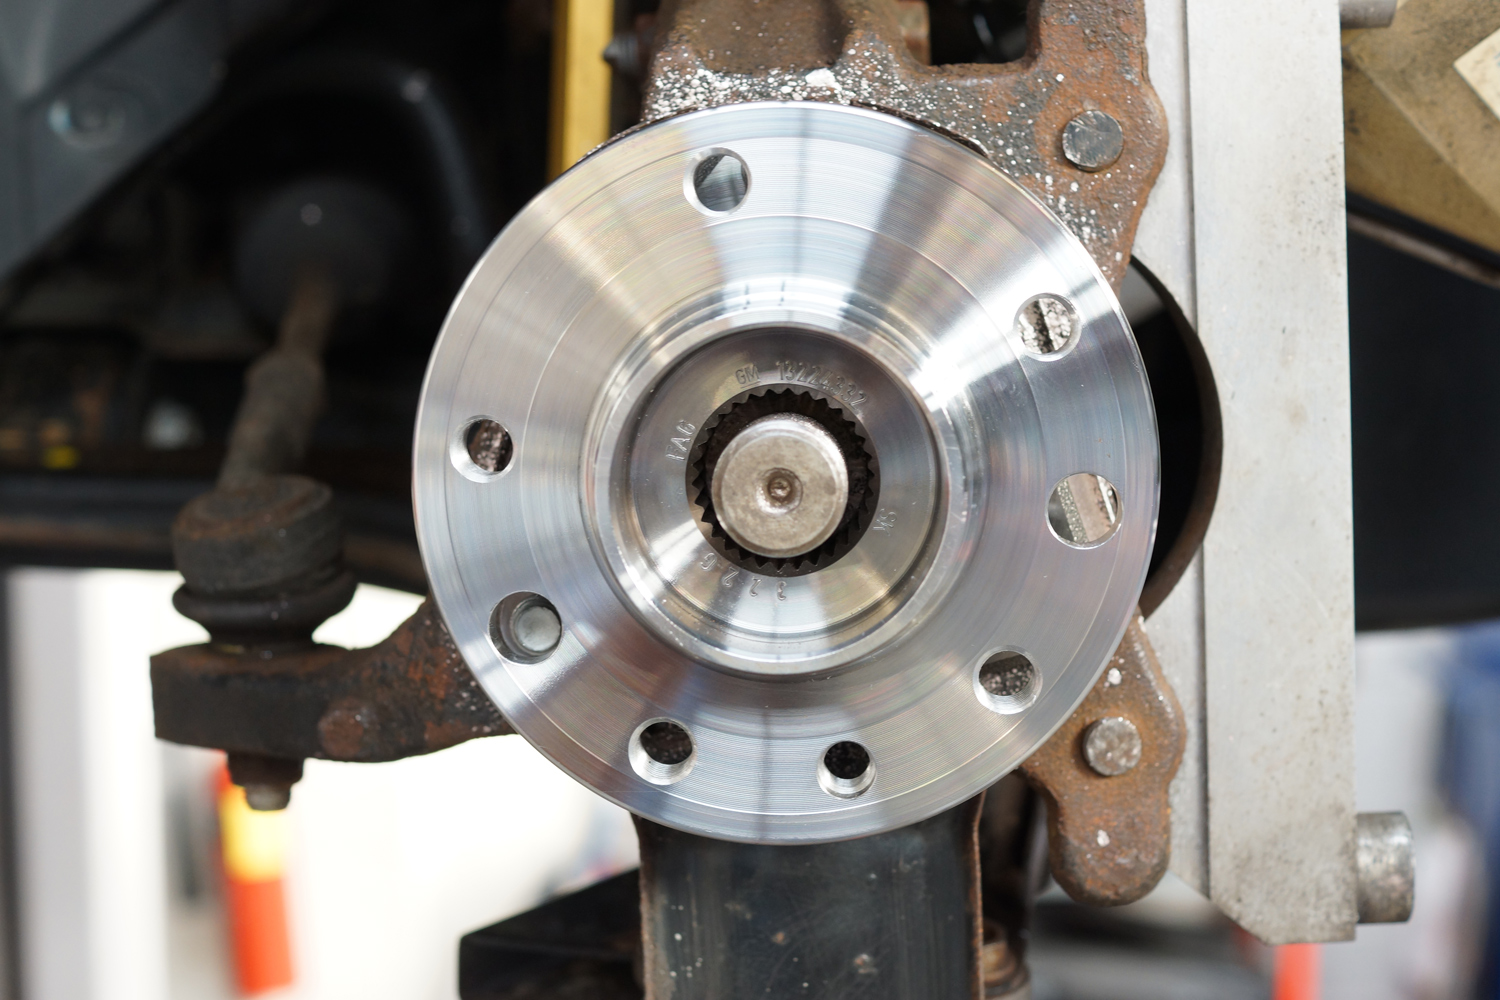
New Hub Installed into Steering Knuckle
The front brake disc (with some AL1100 oon the mating faces) and then the front caliper were refitted, followed by the front wheel.
That was one side done, now to do the same to the other side.
Once finished and with the wheels on the ground the wheel nuts were torqued to 110Nm and then the driveshaft to hub nut was tightened and correctly torqued. Again this was done through the wheels with no wheel centres, handbrake on and the car in gear. The correct tightening procedure for the driveshaft hub nut is as follows: torque to 150Nm, back off 45 degrees and then torque to 250Nm.
Job Done.
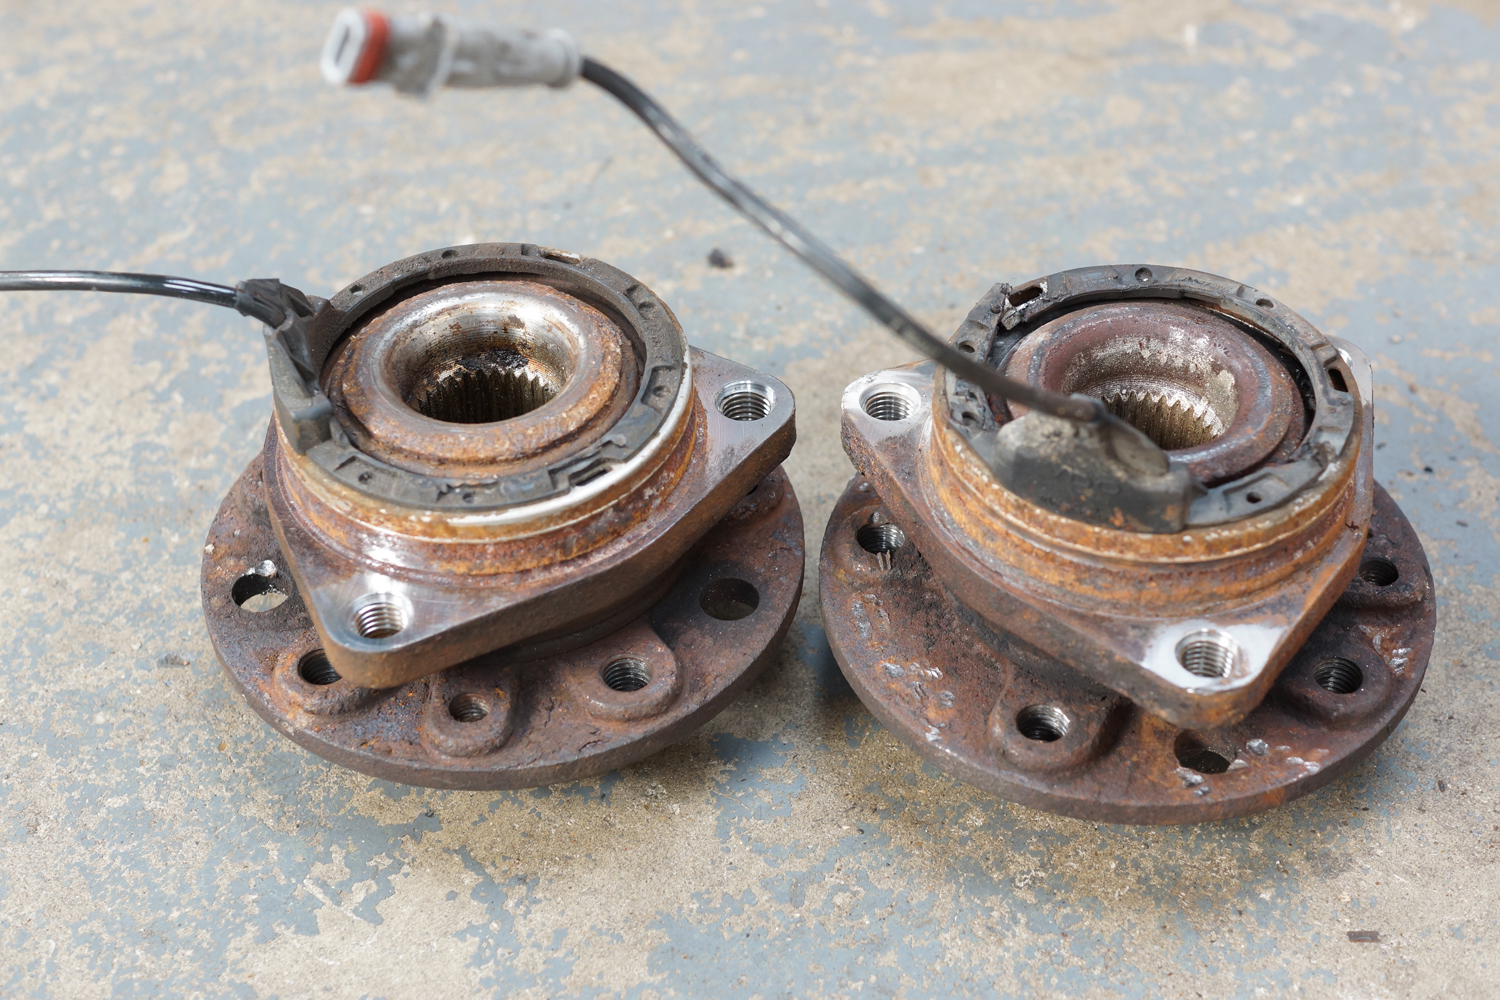
Both Old Hubs Removed