Archive for the ‘ Maintenance ’ Category

Power Steering Fluid

When the replacement engine bed was fitted and the power steering rack was swapped over from the original engine bed to the new engine bed, I decided to replace the power steering fluid as well. The ZF steering rack takes a special hydraulic fluid which is Pentosin CHF202. This is OE to many manufacturers including GM/Opel/Vauxhall, BMW, Audi, Porsche, VW, Volvo and Ford.

Pentosin CHF 202

Pentosin CHF 202

Cleaning…..

I had to remove the rear light clusters recently, not for the first time however, but that gave me another opportunity to make sure even the unseen areas are kept clean and tidy. A quick wipe clean, touch in the areas where the lights had rubbed through the paint and a coat of sealant for good measure. Some might say this is a little excessive, but you would be surprised how much dirt and grime can gather behind the rear light clusters.

Left Rear Light Housing

Left Rear Light Housing

Right Rear Light Housing

Right Rear Light Housing

Astra H Electrical Gremlins.

Towards the end of last year, occasionally at start up the dials would drop out and then do their ‘VXR’ reset sweep and various dash lights would come on. Then once it had ‘reset’ itself everything was fine. Also from time to time the car would not turnover, not recognising the key, and so would not start. It didn’t cause any issues but was something that would need further investigation at some point.

That point has arrived with the instrument panel now resembling Blackpool Illuminations almost all of the time…..

Various dash lights illuminating either at random or all at once, rev counter dropping out and then carrying out the ‘VXR’ reset sweep and returning to normal opration, fuel gauge dropping to empty, headlights coming on with the headlight switch in the ‘off’ position, headlights coming on as expected when switch on but then failing to go off when the switch was turned off, rear lights coming on at random, indicators sometimes refusing to work……. Additionally sometimes the car would fail to start and the management light would flash, indicating an immobiliser problem which is part of the CIM module.

A quick check on Tech 2 listed many communication errors between all of the modules on the car (see post below for DTC’s) – CIM (Column Integrated Module), REC (Rear Electrical Centre), UEC (Underhood Electrical Centre), ABS/ESP (Anti-Lock Brake and Electronic Stability Module), and ISP (Instruments) which meant tracing the problem would be down to systematically checking the common error codes on TIS and working through and checking each module to eliminate them one by one.

Where to start?

Initial thoughts…. It was the CIM playing up, not uncommon on Astra H. While swapping one isn’t that difficult to do, it is quite involved so due to all the trouble codes it was worth checking the other modules first.

UEC: Water Ingress in the UEC can cause issues, but after unplugging and checking this was all ok, so the contacts were given a clean and grease to prevent any future problems.

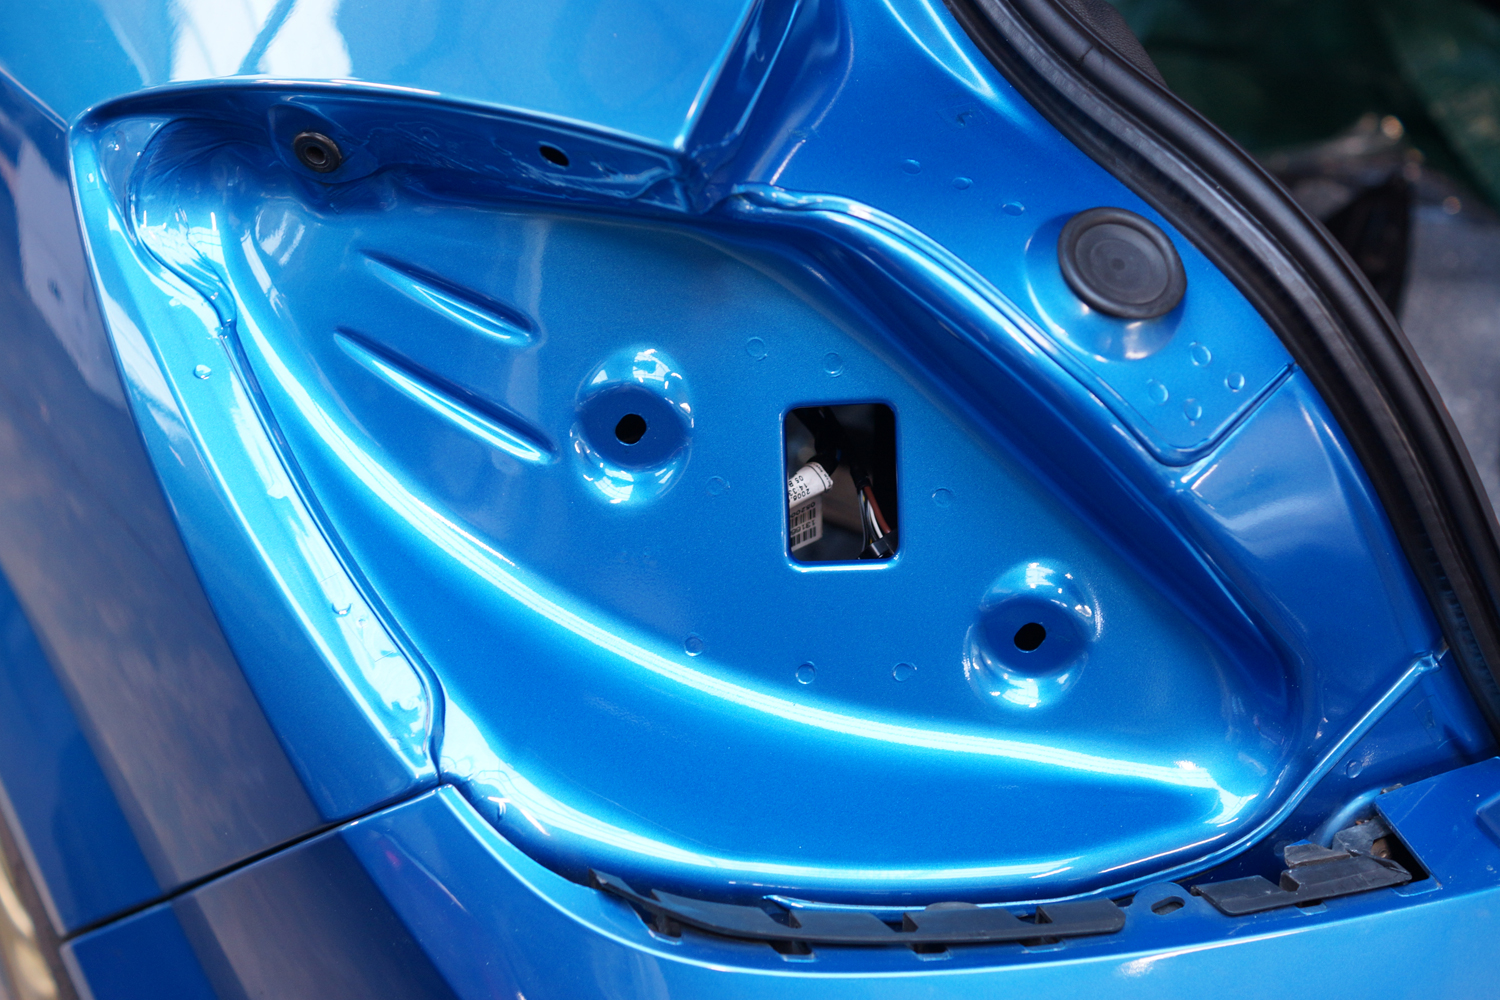
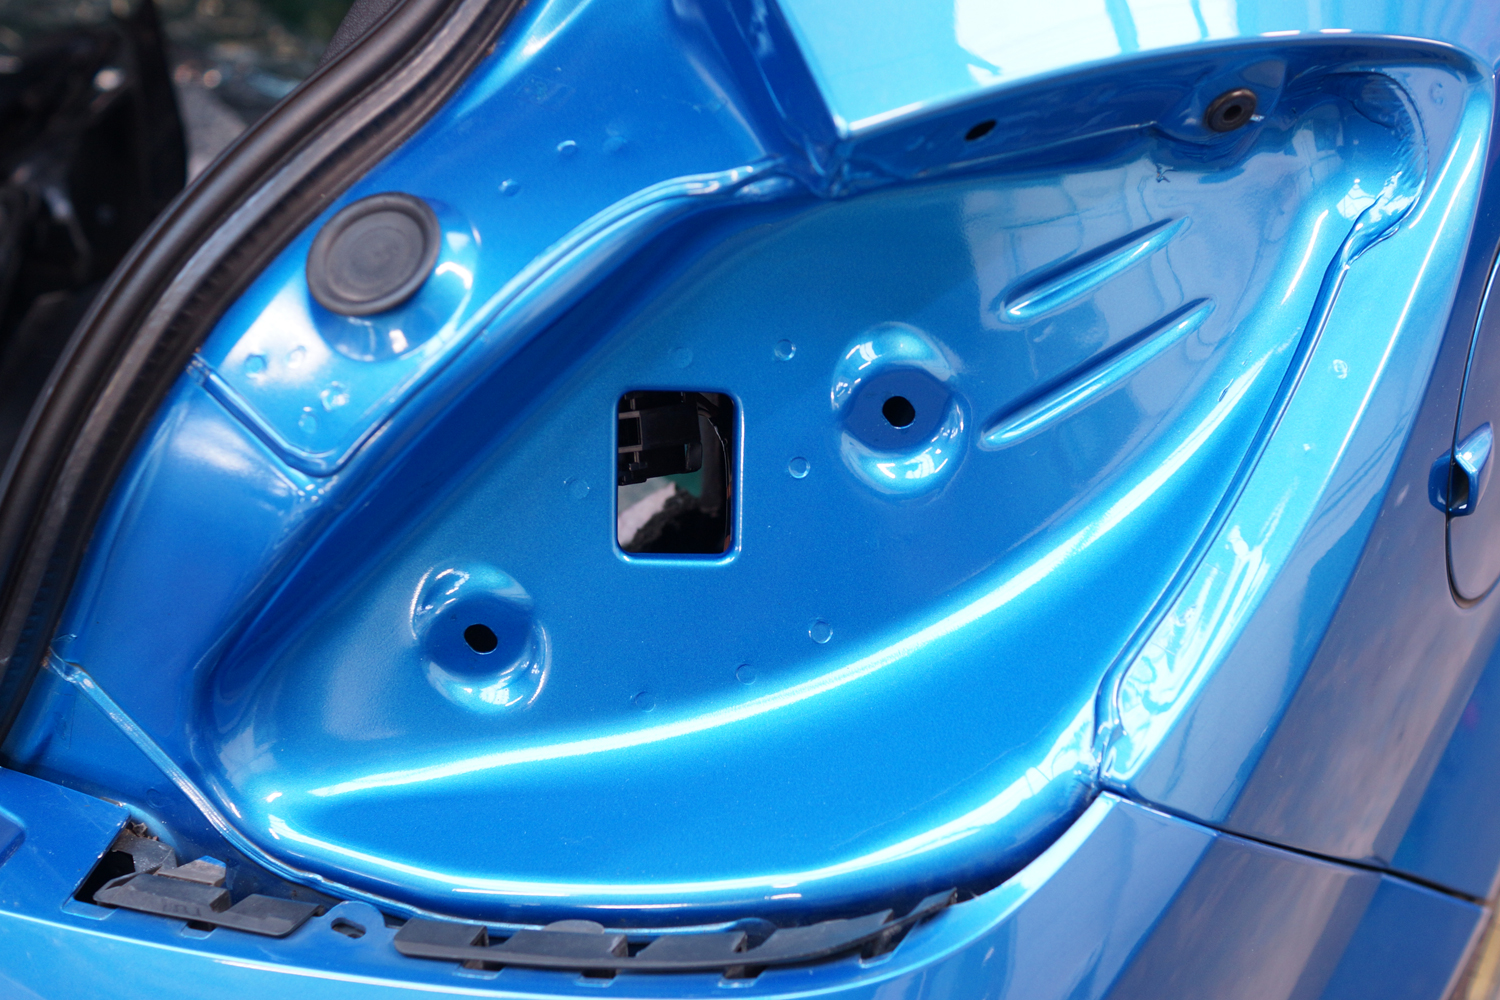
REC: There were few DTC’s relating to lack of communication between the REC and UEC, REC and CIM and REC and ABS/ESP. The REC is easy to change as there are only 6 electrical plugs to remove and a single bolt holding it into the car. I had a spare REC to hand so it was worth trying it to eliminate it. The original REC was reset on Tech 2, battery disconnected and then removed and the replacement REC fitted. The replacement REC I had was from a later 2008 car but compatible as it was in the same ident range. The new REC was programmed on Tech 2, VIN entered and coded and all worked fine, however after some testing the same DTCs were present suggesting that the problem lay elsewhere.

CIM: As stated earlier the CIM units are known to cause issues, so having looked at the UEC and REC the next option was to try a replacement CIM module. The occasional loss of communication between key and CIM suggesting an immobiliser issue pointed strongly towards the CIM unit as well. Slightly more involved to replace unlike the REC and UEC as the airbag and steering wheel have to be removed to access the CIM and it needs resetting prior to removal and reprogramming again (using Tech2 or similar), but I had a spare second hand CIM to try so it was swapped onto the car, and after reprogramming all the troublesome DTCs had gone and the instruments appeared to be functioning normally.

A brand new CIM unit has been ordered (thankfully they are not too expensive at trade price!) and will be swapped over before the first track day.

Electrical Issues – DTCs

With the instruments doing really weird things (see post above) these were the trouble codes read by Tech2:

Stored in DIS – Info Display:
U2141 Can Bus No Communication with REC
U2140 Can Bus No Communication with UEC
U2100 No Communication with Can Bus Low Speed

Stored in REC – Rear Electrical Center:
U2140 Can Bus No Communication with UEC
U2116 Can Bus No Communication with IPC
U2113 Can Bus No Communication with SDM
U2100 No Communication with Can Bus Low Speed
B3089 Pane Breakage Sensor Rear Window Heater Circuit Open or High Voltage
B1375 Switched System Voltage (Ignition On) Not Plausible With CAN Signal
B0655 Brake Light Switch Circuit Incorrect Signal
B3916 Alarm Siren Battery Voltage Low

Stored in UEC – Underhood Electrical Center:
U2141 Can Bus No Communication with REC
U2139 Can Bus No Communication with CIM
U2116 Can Bus No Communication with IPC
U2100 No Communication with Can Bus Low Speed
B1375 Switched System Voltage (Ignition On) Not Plausible With CAN Signal

Stored in IPC – Instrument Panel:
U2139 Can Bus No Communication with CIM
U2140 Can Bus No Communication with UEC
U2141 Can Bus No Communication with REC
U2100 No Communication with Can Bus Low Speed
P0460 Fuel Level Sensor Circuit Range/Performance
P0115 Engine Coolant Temperature Signal Range/Performance
P0654 Engine Speed Signal Range/Performance
P0500 Vehicle Speed Signal Range/Performance
P0550 Mileage Circuit Range Performance

Stored in CIM – Column Integrated Module:
U2141 Can Bus No Communication with REC
U2140 Can Bus No Communication with UEC
U2116 Can Bus No Communication with IPC
U2100 No Communication with Can Bus Low Speed
B3977 Wrong Environment Identifier Received UEC
B3929 Wrong Environment Identifier Received REC
B3925 Wrong Environment Identifier Received IPC

Stored in Engine ECU:
P1616 CIM Wrong Environment Identifier
P1614 Wrong Transponder Key
P0136 No Plausibility between O2 Sensor Bank 1 Sensor 1 and O2 Sensor Bank 1 Sensor 2

Stored in CDC (Computer Damping Control) which has been disabled:
C0000 Damper Mode Switch Info Via CAN BUS Incorrect Signal

Front Wheel Bearings/Hubs

Over the past few track days it was becoming more and more evident that there was some front wheel bearing noise; a slight hum/rumbling noise had turned into a more noticeable and off-putting rumbling. Initially it was only noticeable under hard cornering on track when the bearings were loaded up, but more recently it had become very apparent on the road as well, so it needed addressing. They had covered neartly 90,000 miles over the last 8 years, and whilst they are not prone to failure I suspect the last few years of hard use and heat on track will not have helped the cause.

On Astra H, the wheel bearing is an integral part with the ABS sensor, and so comes as a complete hub assembly which makes them somewhat costly. Astra H VXR shares the same hub assembly as Astra H 1.9 CDTi 150PS models, part number 93186389, which is designed to take the heavier duty driveshaft/cv compared to the other models in the range. I sourced a pair of Genuine GM Vauxhall Opel Bearings for £144 each, less than local motor factors selling good quality aftermarket bearings, and a big saving over the recommended Vauxhall dealer price of over £350 each.

Hub Assembly - Wheel Bearing and ABS Sensor

Hub Assembly – Wheel Bearing and ABS Sensor

I can understand why people use non genuine cheap parts off ebay etc, due to the high cost of the genuine parts, but having researched these options myself I was unable to get a straight answer as to the manufacturers of these parts. I was searching for a well known reputable name such as FAG (who provide genine OE bearings and manufacture these bearings for Vauxhall/Opel) or SKF, but the cheap options were not manufactured by a recognised name. Due to the use the car is put through I was not prepared to risk the ‘ebay bargain hubs’ which you see at around £45-£80 each, hence the choice of genuine parts but at a lower cost than good quality hubs from local motor factors.

So it was time to carry out the work. Read more

Cambelt Timing Marks

Just a few pictures to show correct timing for the Z20LEH engine (also applies to the Z20LET, Z20LEL and Z20LER engines). Read more

New Brake Pads

After a little over 2,000 miles the first set of RS29’s are now somewhat past their best and with a track evening coming up a new set are in order. Upon visual inspection there appeared to be just about enough ‘meat’ left on them for an evening track session, but upon closer inspection it was much more obvious that they were in need of replacement.

So a new set of RS29s for the Alcon 4 pot calipers, ready to go in. The top and bottom edges were chamfered prior to fitting as they were being used with the existing discs which are still in very good condition:

Pagid RS29 Brake Pads

Pagid RS29 Brake Pads

Replacing these ones which have certainly been put to work!

A well used set of RS29s

A well used set of RS29s

Much better now, good for another track season. They just need bedding in now, following the suggested Pagid bedding-in procedure:

Pads Fitted

Pads Fitted

And when the pads were fitted Cera Tec was used where required in place of the usually chosen copperslip, mainly due to its high heat resistance. Cera Tec is a metal-free high temperature resistant (up to 1000° C) anti-squeal lubricant for braking systems. Easier to apply and much less messy than the alternatives!

Advantages of Cera Tec

  • non-conductive contains no solid constituents
  • anti-lock approved
  • facilitates brake assembly
  • reduces brake squealing protects against scratching and corrosion
  • free of copper (0% copper content) and acids

Gearbox Oil Change – Amsoil

So a box arrived this morning with the new gearbox oil:

Amsoil 75w-90 MTG

Amsoil 75w-90 MTG

Being an American company the bottles are 1 US Quart (946ml). The track car with the addition of the oil will take about 3 litres, and also the road car is due a gearbox oil change as well, so ordered 7 bottles to be on the safe side and have some spare.

After a lot of research, and some advice from Performance Oils Ltd, I chose AMSOIL Fully Synthetic Manual Transmission and Transaxle Gear Lube (MTG), 75w-90. Research indicated that it remains ‘in grade’ for longer at higher temperatures and also will stay in grade at temperatures up to 170 degrees C, which this oil will never see so will also be ideal in gearboxes where an oil cooler is not fitted.

It is a premium blend of the finest synthetic base oils and advanced, high-performance additives. It is formulated specifically for maximum protection in the most demanding manual transmission and transaxle applications where an extreme pressure GL-4 gear lube is specified, including those where high horsepower/high torque engines and towing or heavy loads increase transmission stress.

AMSOIL MTG prevents the thinning effects of mechanical shear. It maintains its viscosity and superior film strength for consistent, long-lasting wear protection. MTG excels in hot and cold temperature extremes that exceed the limits of conventional mineral oils. It protects against rust, keeps seals soft for long life, and is compatible with brass synchros for smooth synchromesh shift quality

Ideal for Front Wheel Drive Transaxles:
The advanced synthetic formulation provides ultimate protection for gears and bearings in front wheel drive transaxles.

MTG is a thermally stable, extreme pressure formulation that resists heat, oxidation, acid build-up and varnish. It is the ideal gear lube for high temperature applications, so should be ideal for the M32 gearbox.

Performance Features

• Reduces friction, heat and wear
• Superior high temperature stability
• Resists heat, oxidation, acid build-up and varnish
• Lasts two times longer than conventional petroleum oils
• Improves cold weather shifting

Cambelt and Timing Information.

Gates Technical Information for Cambelt Timing on the Z20LEx 2.0 Turbo family of engines; Z20LET, Z20LEL, Z20LER and Z20LEH (Astra H VXR). This is not a ‘How To’ guide but gives additional technical information for those with enough mechanical competency to carry out a cam belt change.

Cambelt Change Cycle suggested by the manufacturer:
Z20LET :: 4 years* or 40,000 Miles*
Z20LEL :: 8 years* or 80,000 Miles*
Z20LER :: 8 years* or 80,000 Miles*
Z20LEH :: 8 years* or 80,000 Miles*
*Whichever occurs first.
Notes: The cambelt (timing belt), plastic inlet roller and tensioner are common between all the engines (i.e. the same parts). The only different is that the LEL/LER and LEH kits use a metal exhaust roller (LET uses a plastic exhaust roller). For this reason I would suggest a 6 years* or 60,000 Miles* change cycle as best practice. Always use a new tensioner retaining bolt.

What is Needed……
As well as a good toolkit, with a good selection of sockets, allen head sockets, and male torx sockets, a 15mm spanner (or similar) to release tension on the auxiliary drive belt and a 17mm ½” drive socket and ratchet (makes turning the engine over to check tension much easier), you will also need for the later engine a very high quality T40 Male Torx ⅜” drive socket and a Camshaft Locking Tool such as a Draper CLT2 (Ref: 69929) or CLT-GM2 (Ref:61276) or similar. Also a ¼” drive E10 female torx socket (a slim one) is useful for removing the timing belt cover bolt next to the tensioner once the tensioner is in the ‘rest’ position.

The T40 Torx is required on the later engines for tightening the cambelt tensioner retaining bolt. It has a very shallow head and if you are not careful the socket can slip and/or chew out the head of the bolt. I only use a Snap On torx for this particular tensioner retaining bolt because they are particularly strong, and it gets used for nothing else other than this particular bolt so it doesn’t get general wear and tear or other damage.

Example Camshaft Locking Tools:

Camshaft Locking Tool

Camshaft Locking Tool CLT2

Camshaft Locking Tool

Camshaft Locking Tool CLT-GM2

When changing the cam belt always check the water pump and replace if in any doubt, especially on later engines where the change cycle of the cam belt is longer.

Gates Technical Data Sheet on how to time up the engine: PDF – Timing Information (4.8Mb)
Note: You will need a PDF reader for this file

PDF Icon

PDF – Timing Information

Remember the tensioner is tensioned ANTI-Clockwise!!

Timing Pointer - Correctly Tensioned

Timing Pointer – Correctly Tensioned

Note: E&OE. The above Technical Guidelines are provided for information only. No responsibility is accepted for damage, loss, injury or general stupidness. If you are not sure on exactly what you are doing when it comes to cambelt replacement, leave the job to a professional who does…. That is all.

Astra VXR Sprint.....

%d bloggers like this: